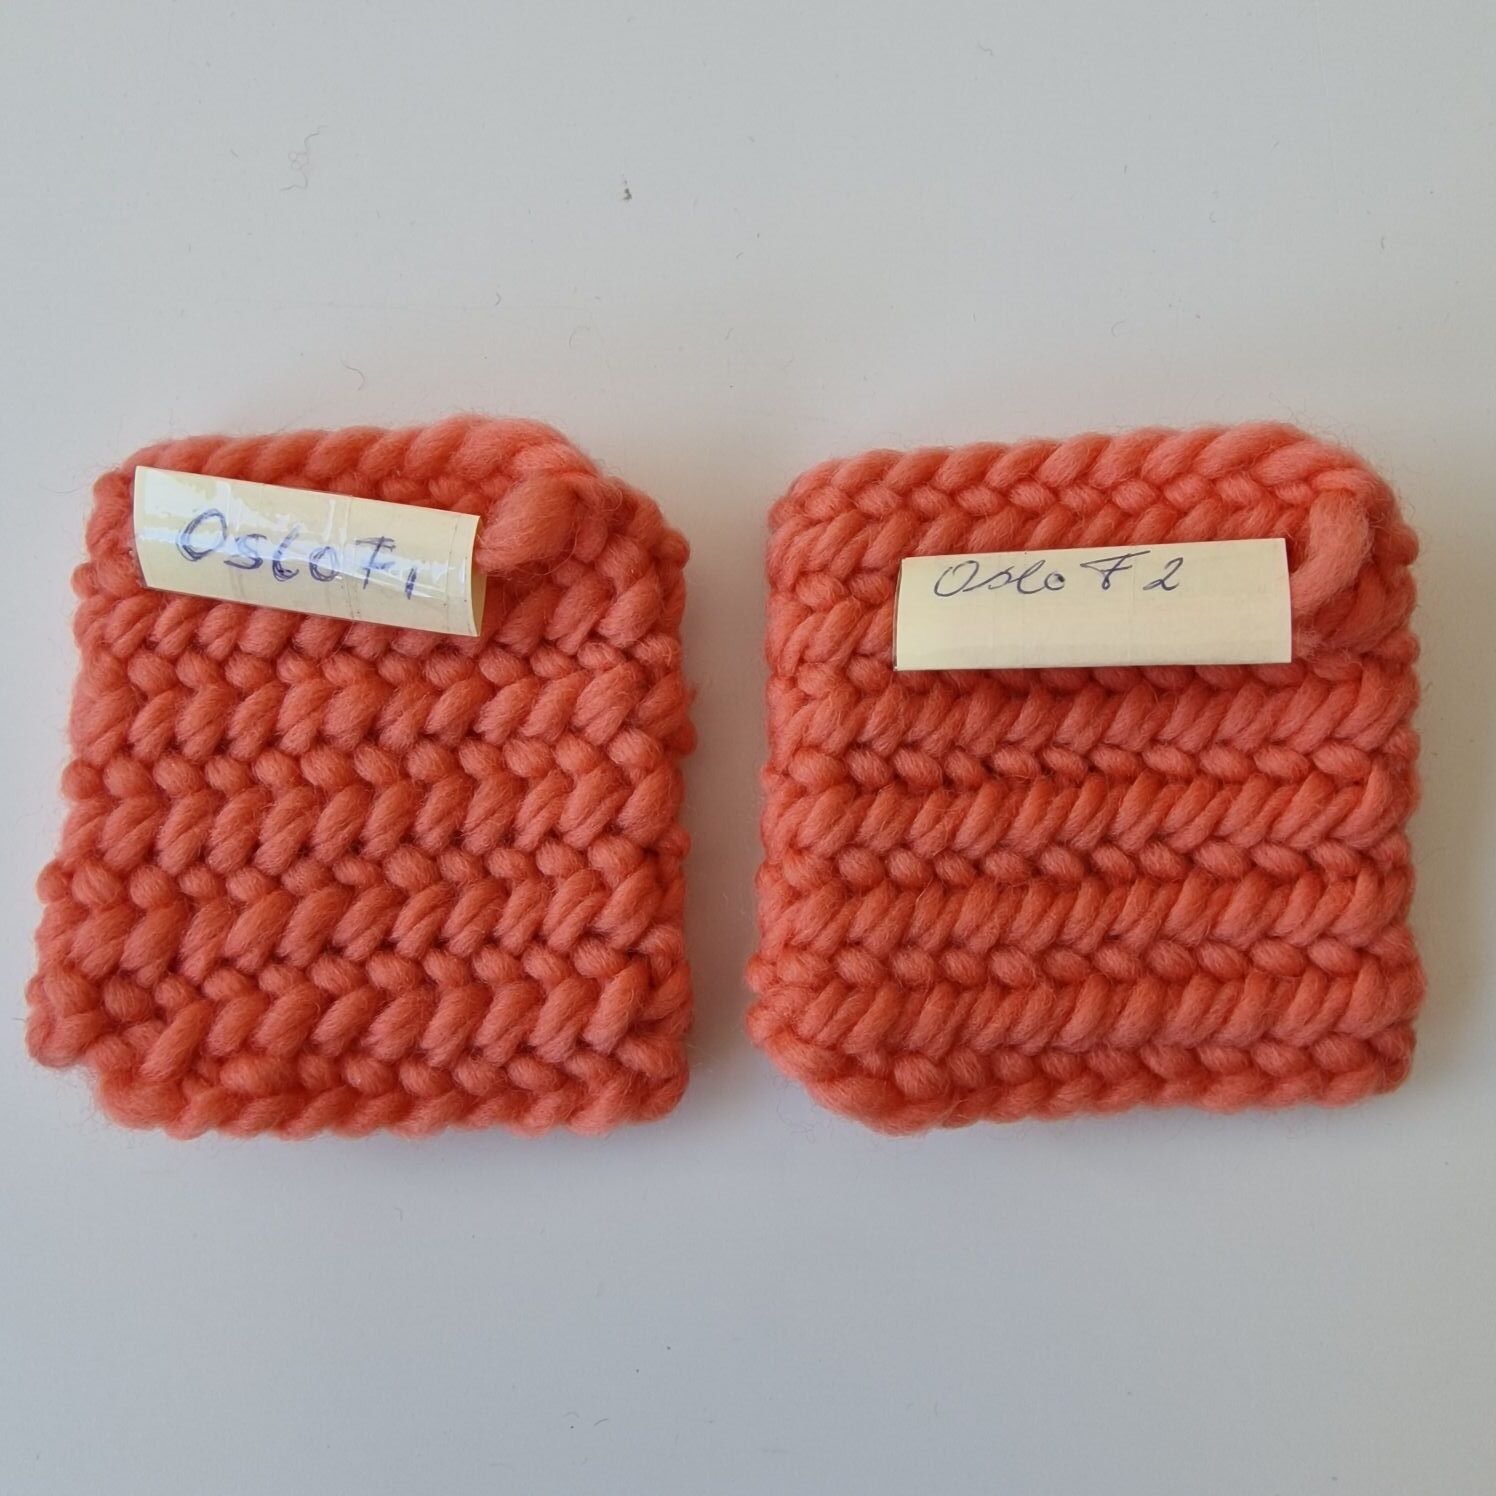
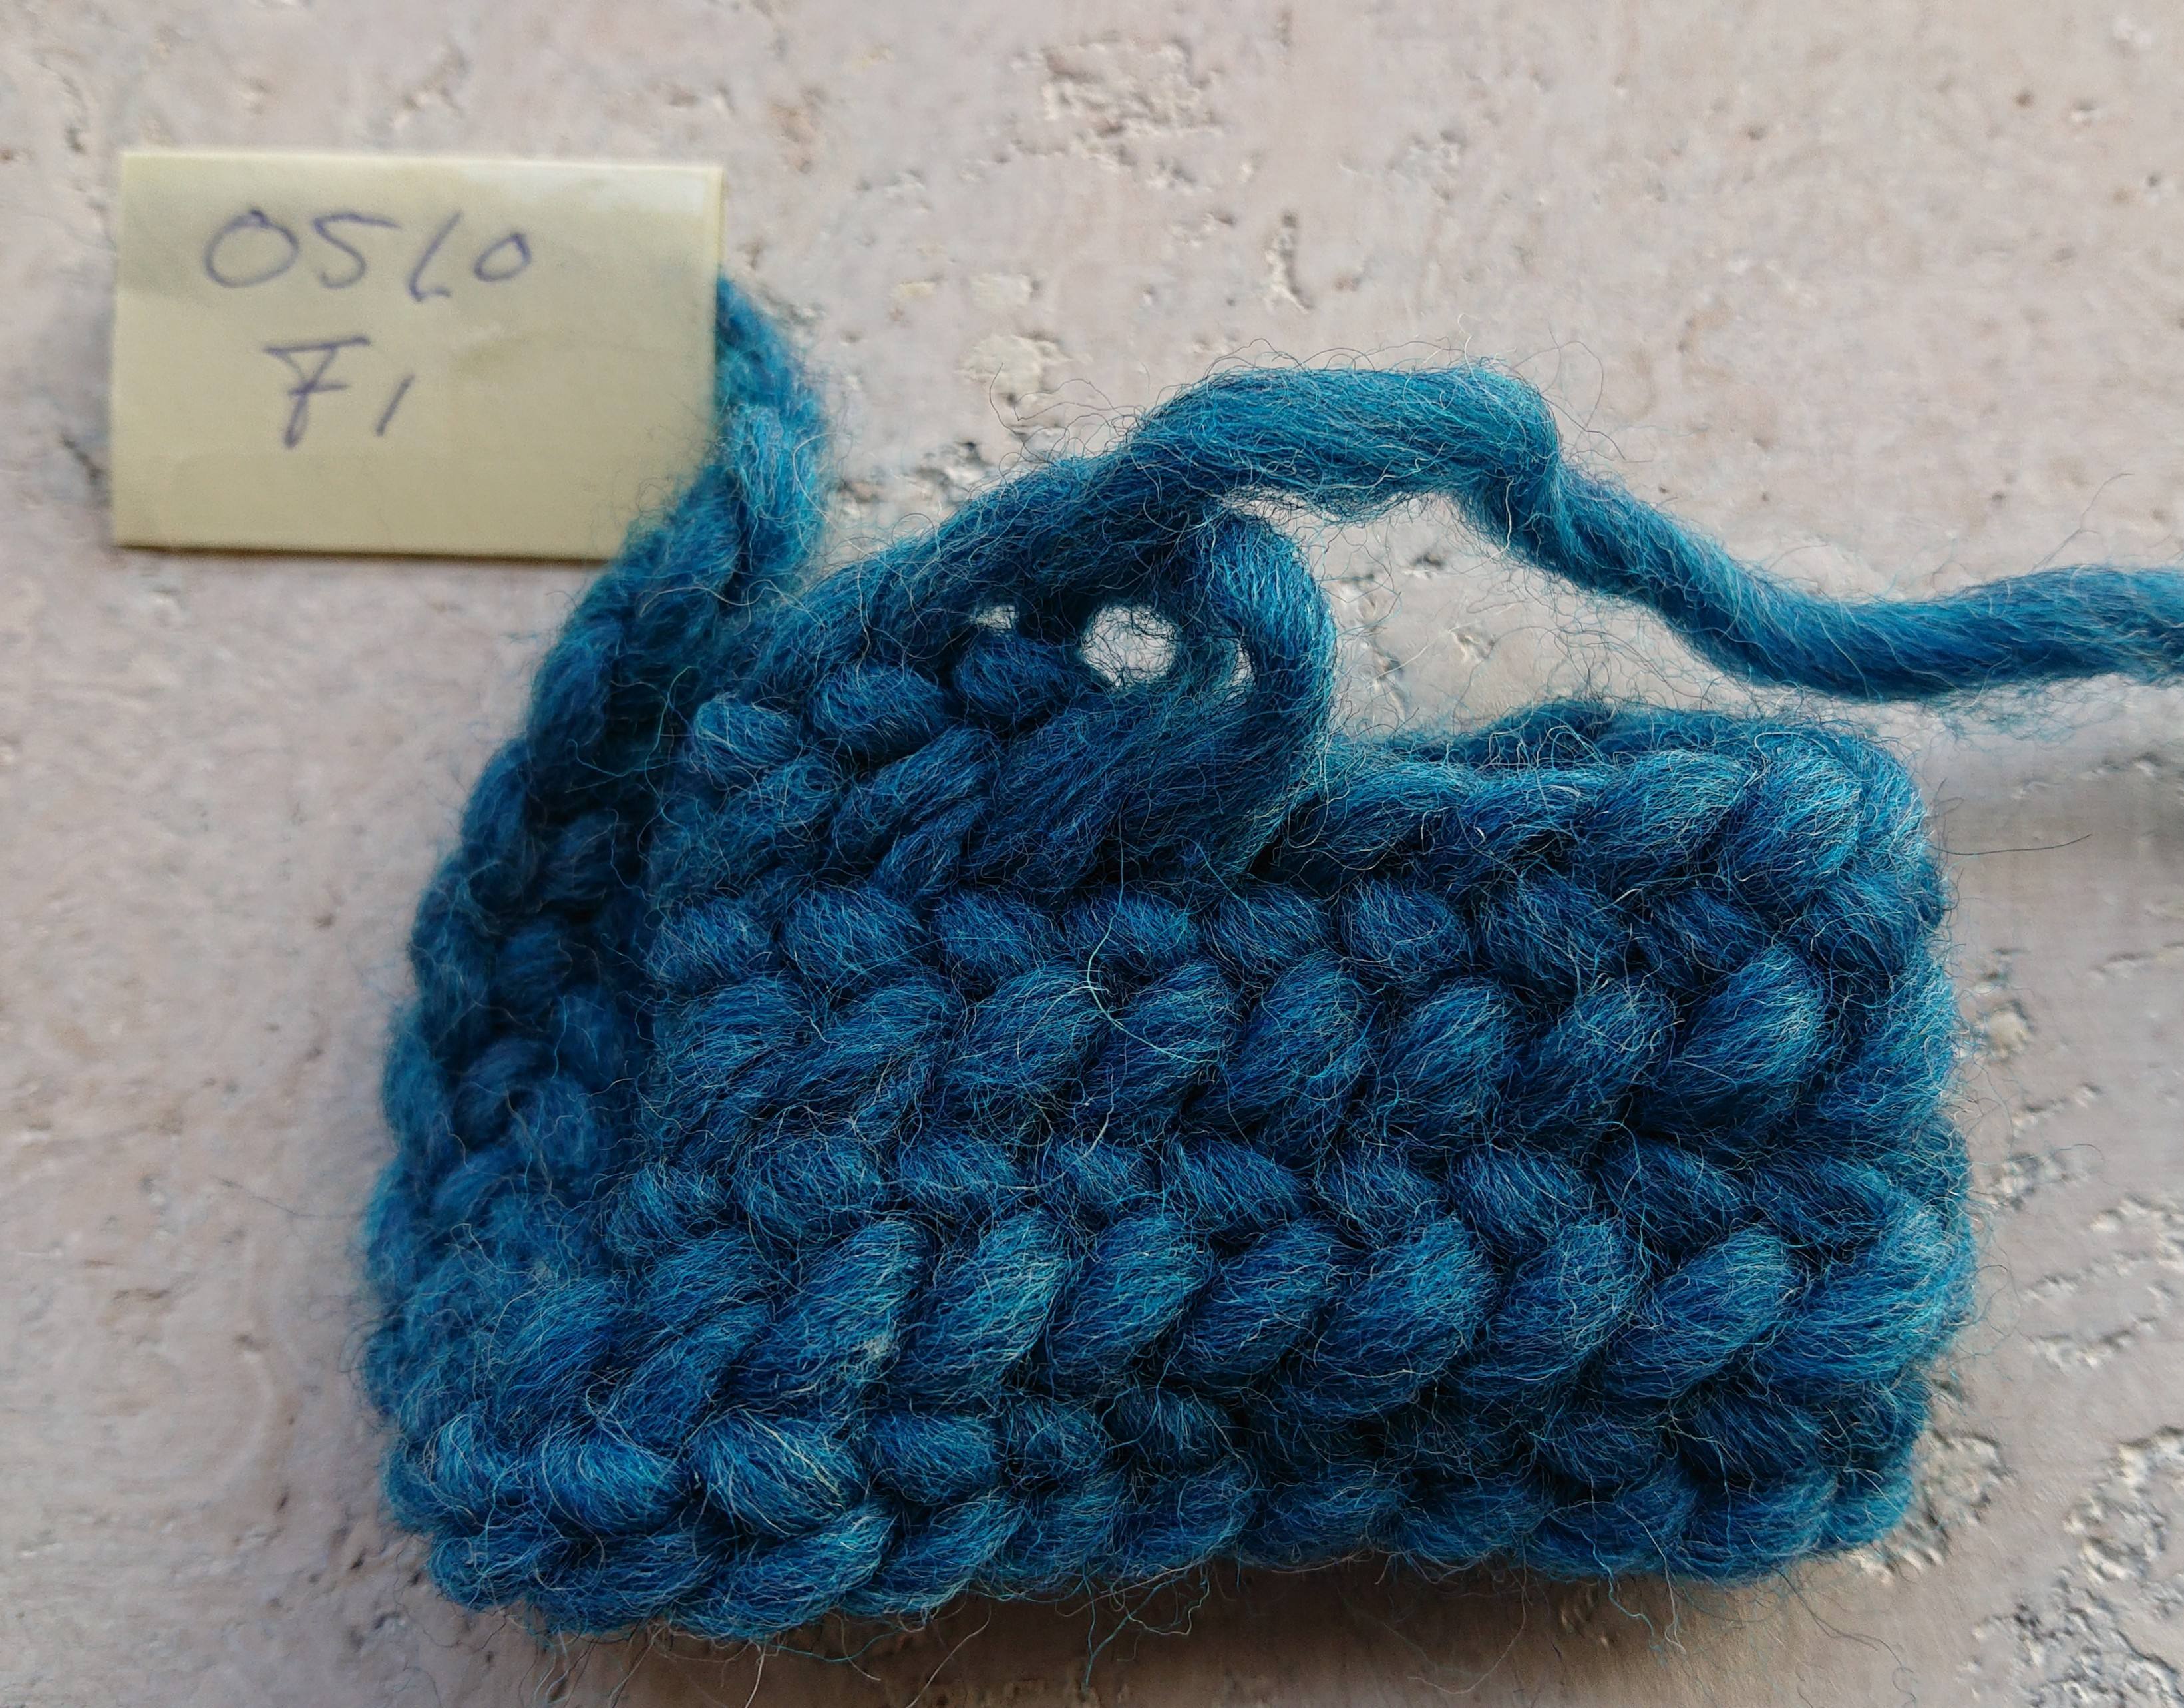
The Oslo stitch with F1.
When you needlebinding, the size of the stitch is determined by the size of your thumb and not by the needle you use.
If you want a very dense fabric you can use for example the Asle stitch, or the Finisch stitch 3+2 with F2.
With needlebinding you have a choice of about 3 to 4 thousand stitches and with the different connecting stitch combinations many more.
The great thing about needlebinding is that you only need one needle for either thick or thin yarn.
That is the big difference with knitting and crocheting where you need a lot of needles
Connection stitches makes stitches together to form a woolen fabric.
The different stitches and connection stitches determine the flexibility, strength, density and structure of the woolen fabric.
It is not necessary to tighten the thread strongly on the needle, needle binding is relaxed and above all there is no tension with your thread or needle.
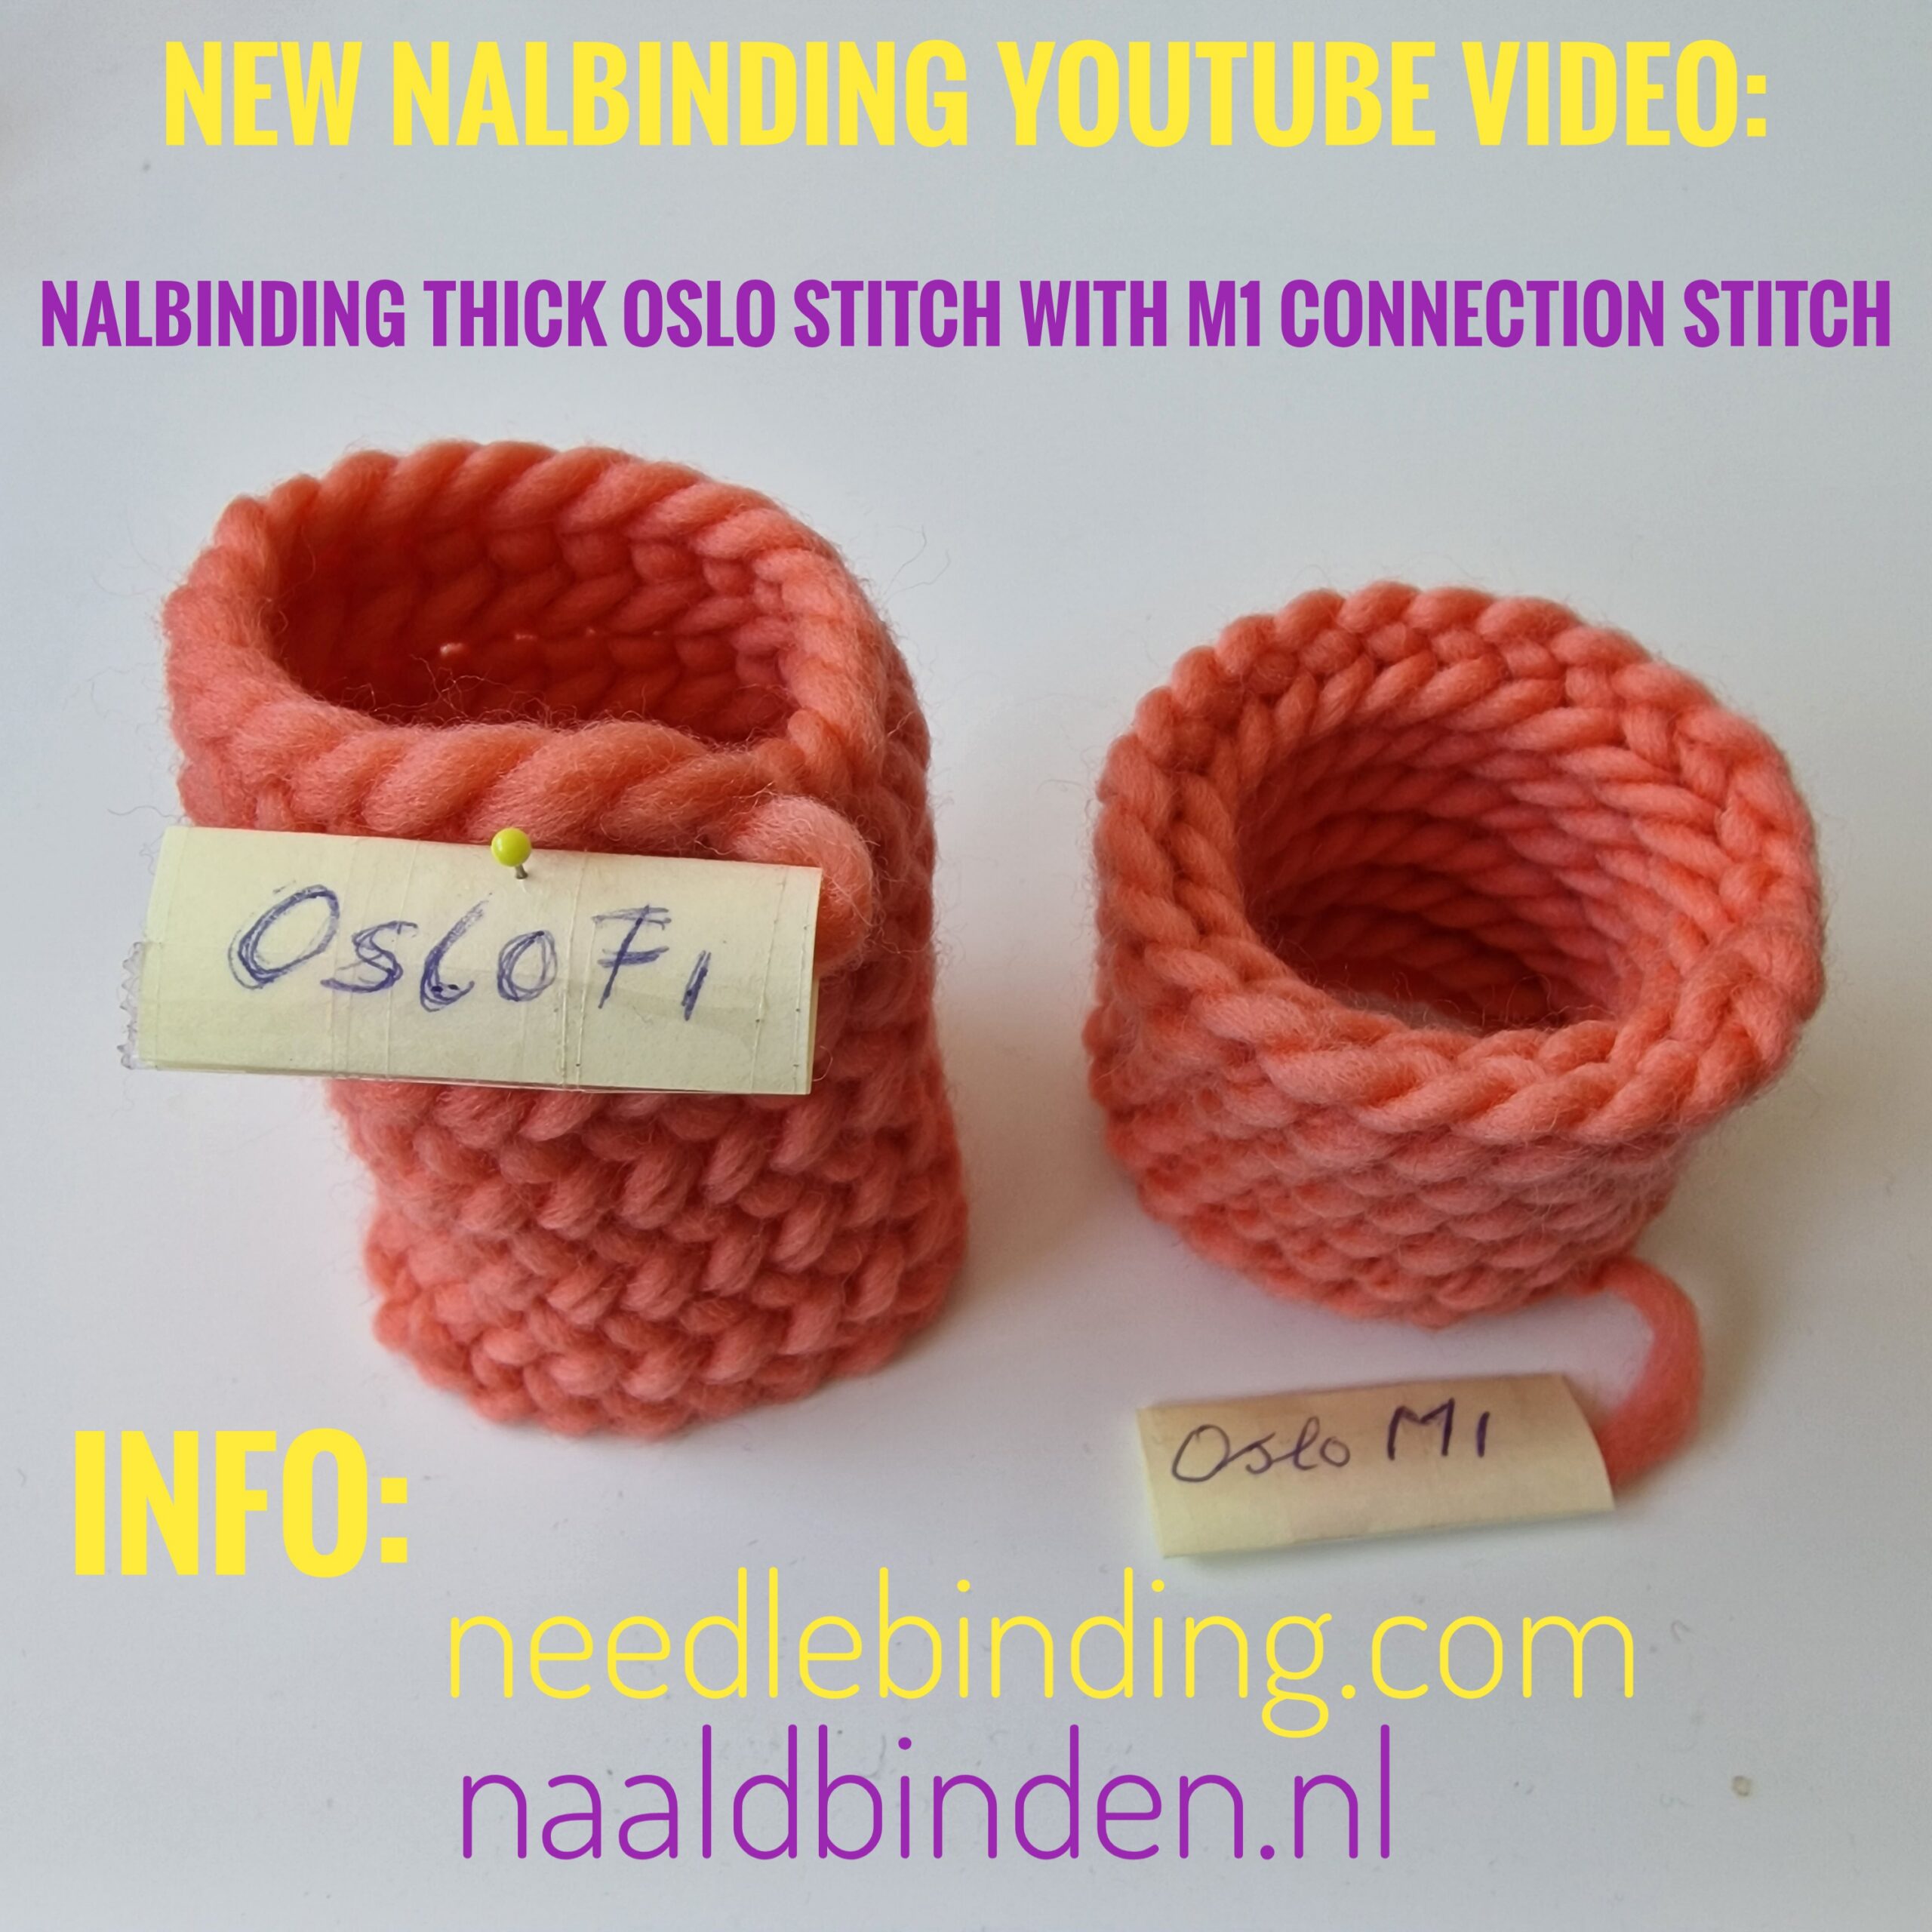
Different connecting stitches and combinations are possible, the examples that i show are made with the Oslo stitch and a the Faberg stitch. Clear picture off the difference between F1 and F2 connection stitch, you can see that the F2 patch is smaller then the F1.

If you have set up a row of needlebinding stitches to make a wristband out of it, for example, you need to needlebind two ends together with a connecting stitch.
The most used connection stitch is the F1 which means front and one next stitch.
You put the needle through 1 loop.
The Oslo stitch with F2.
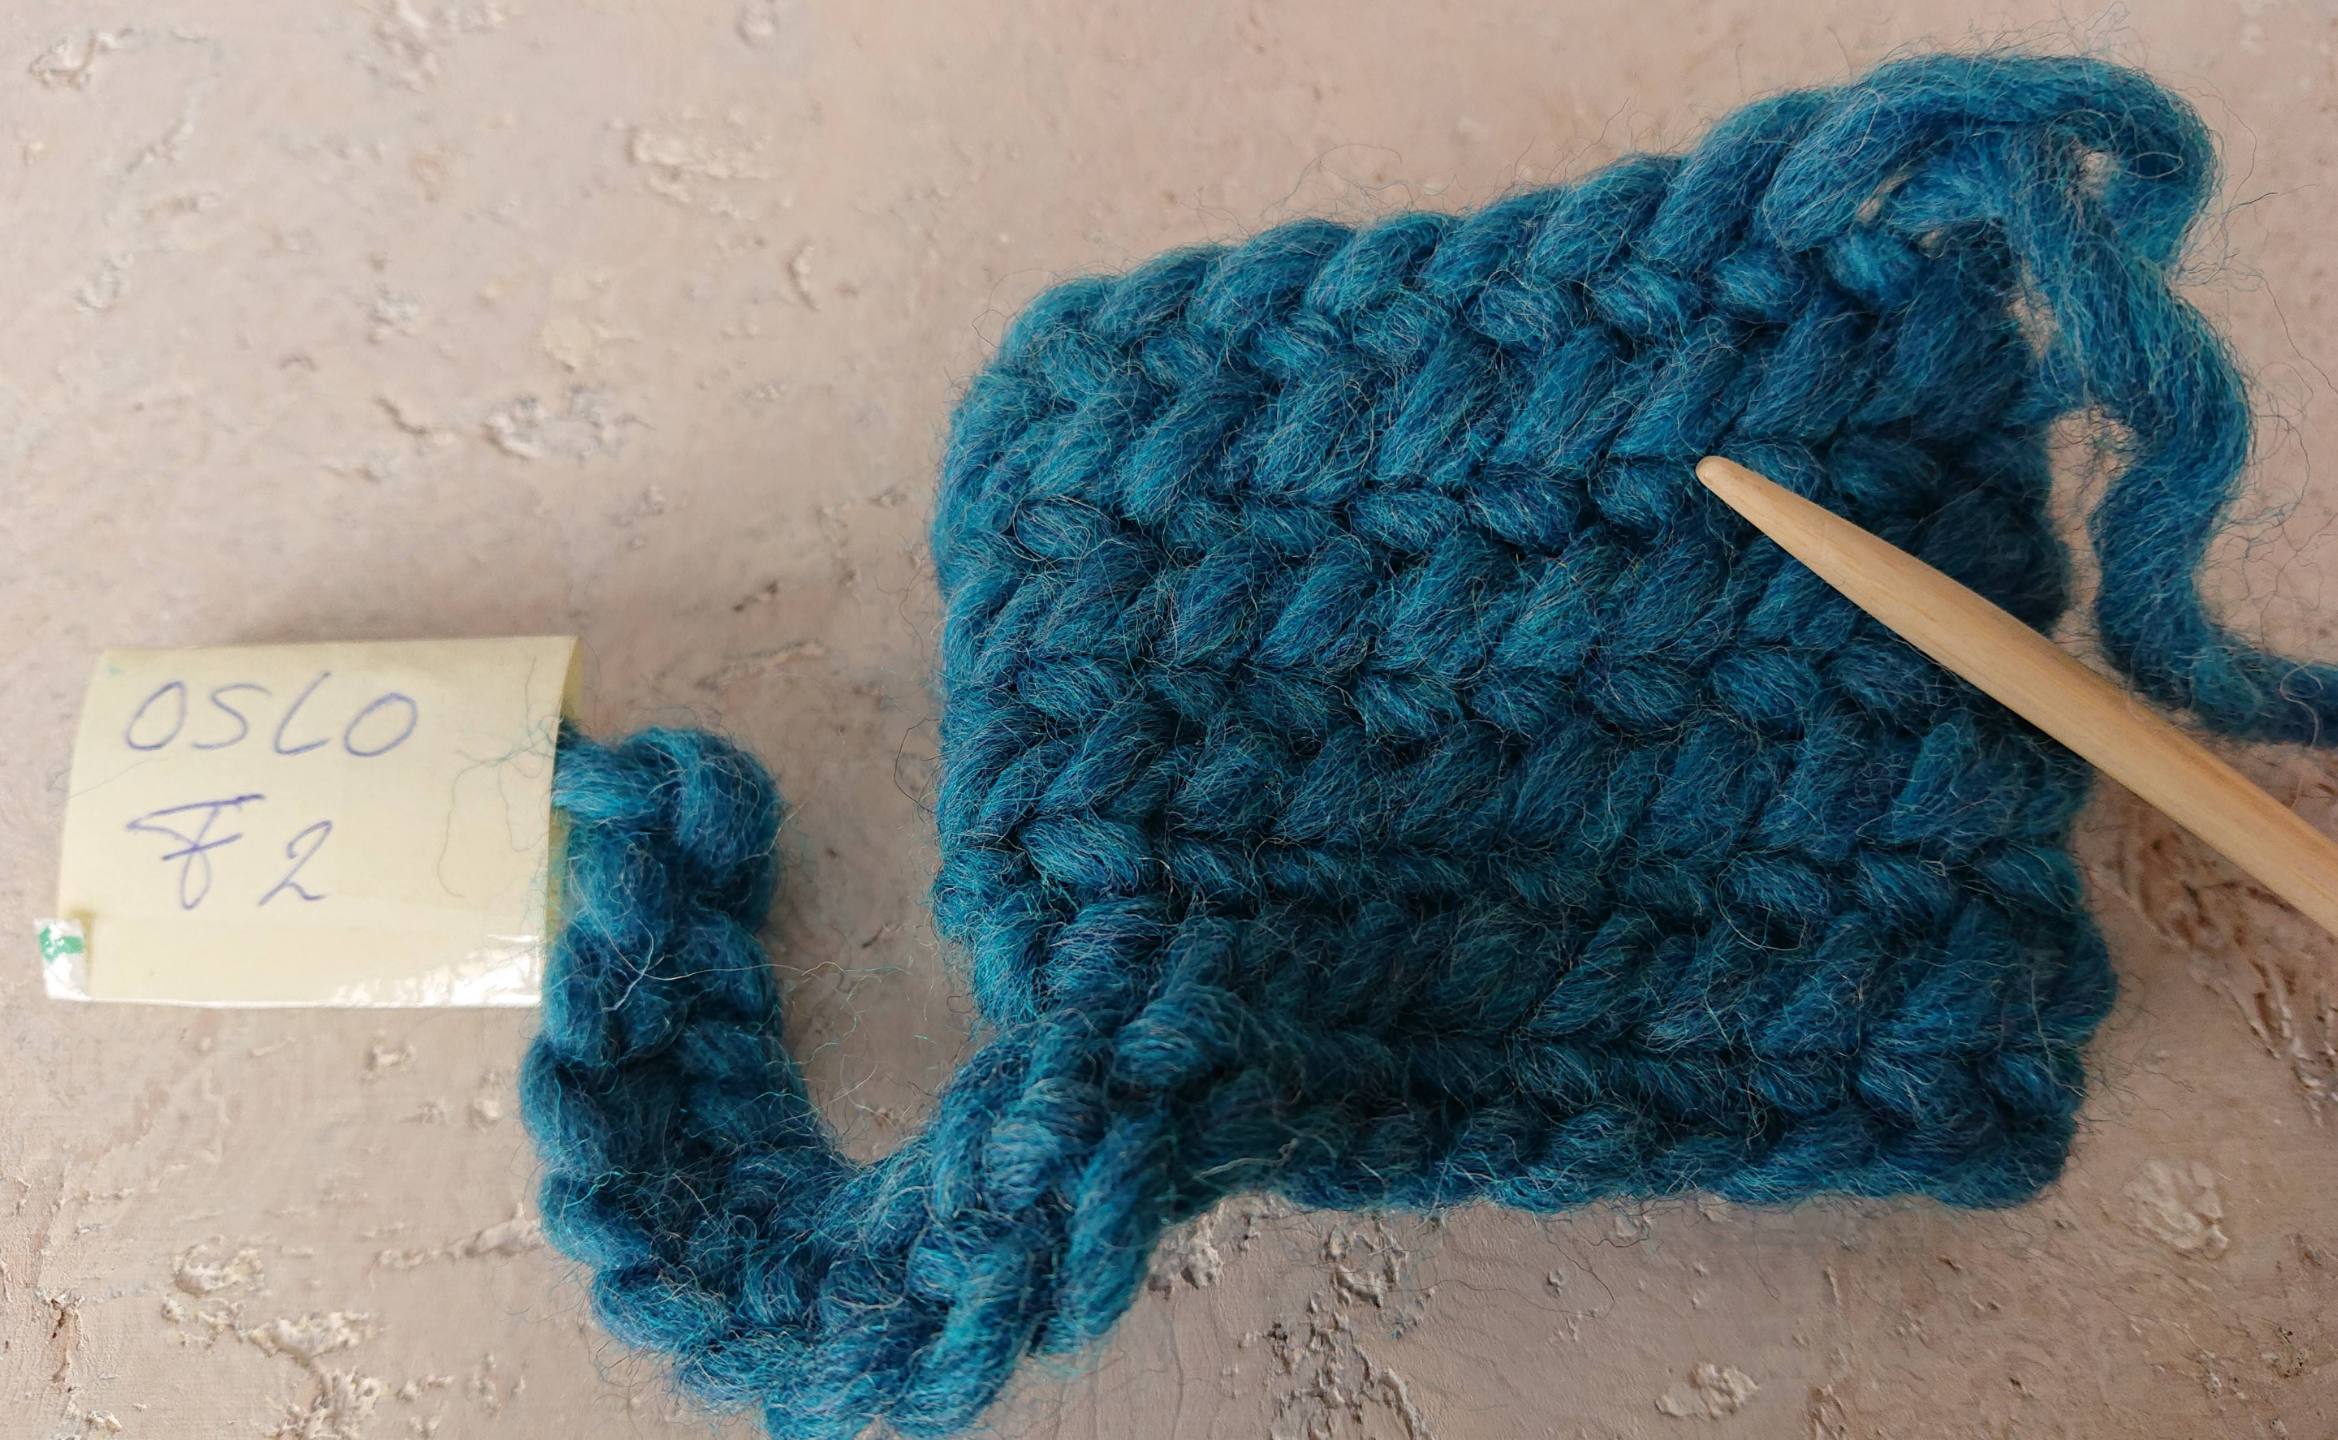
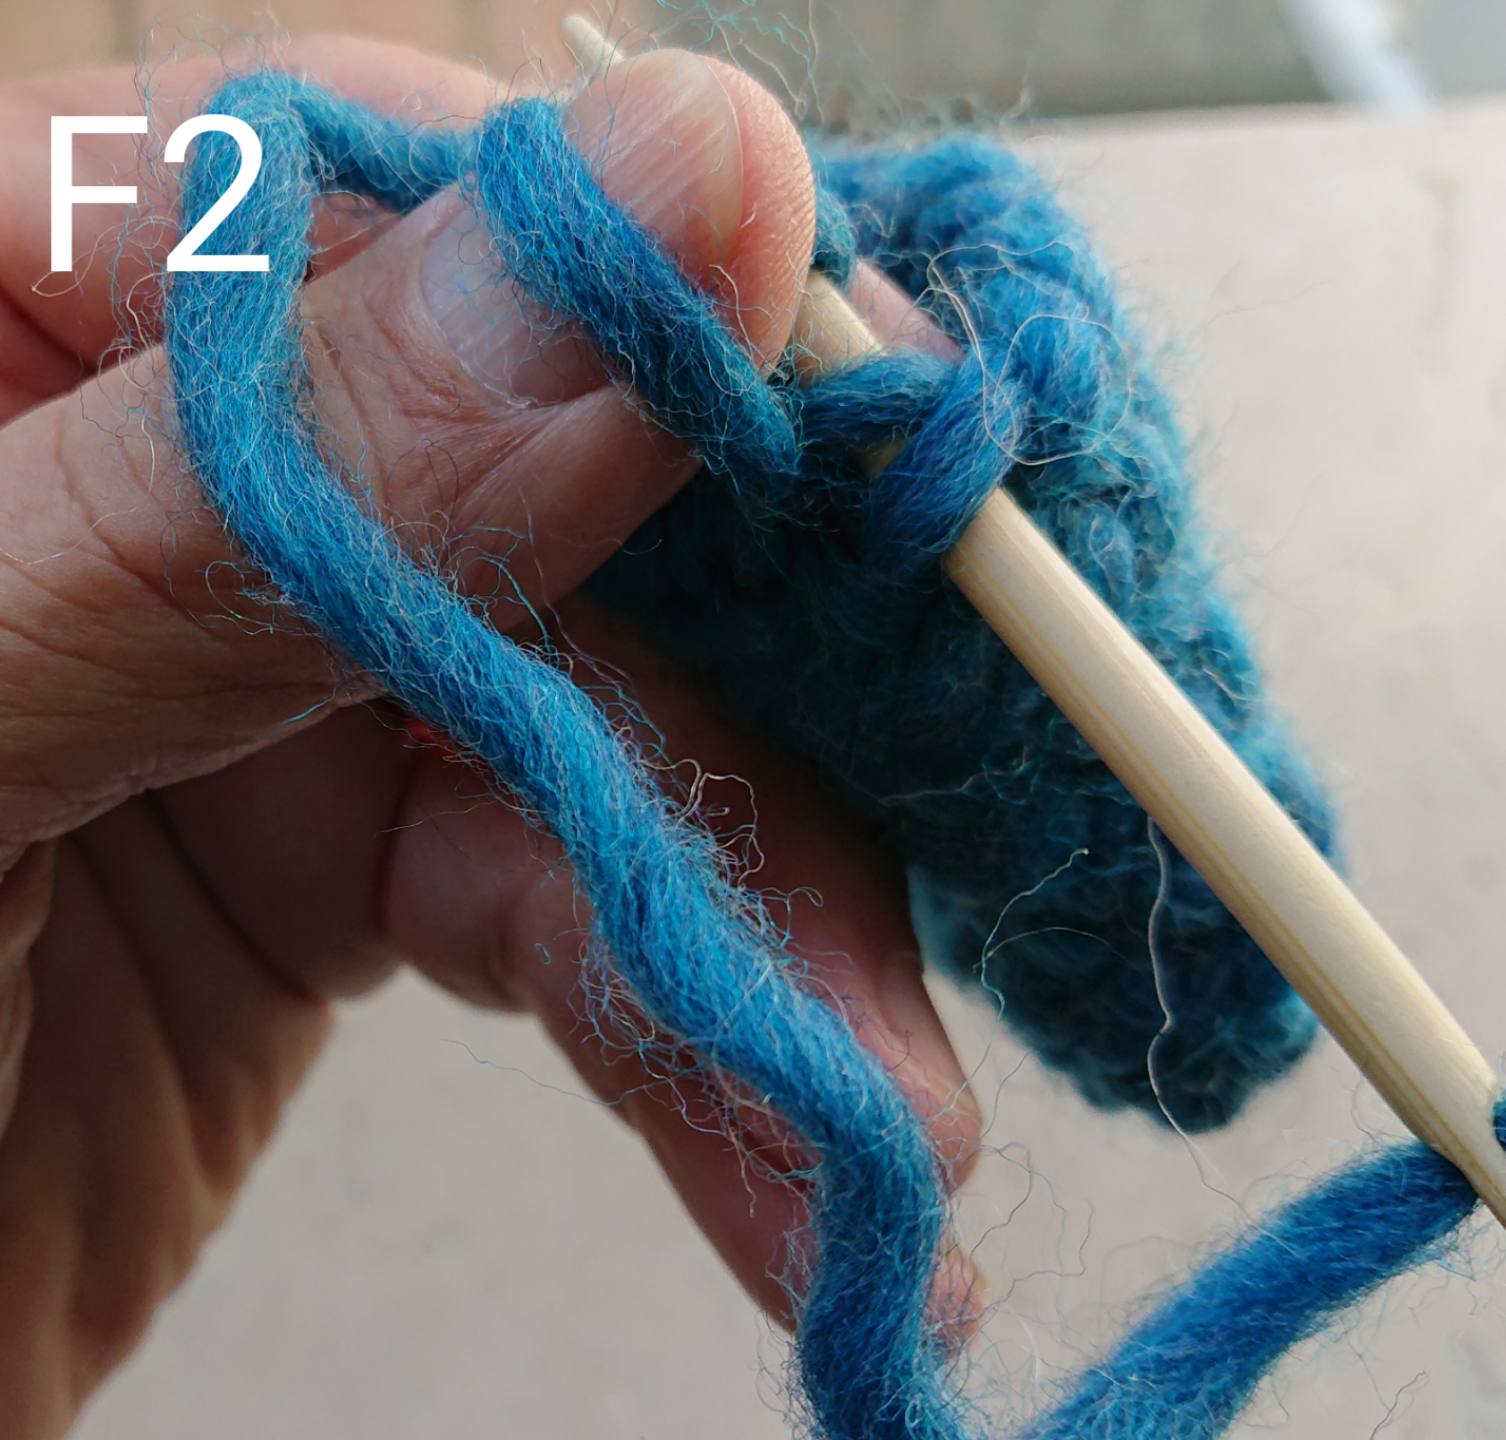
F2 means front two stitches, you have two stitches on your needle the old and the new stitch and then you make your stitch as usual.
This F2 stitch gives you a dense fabric.
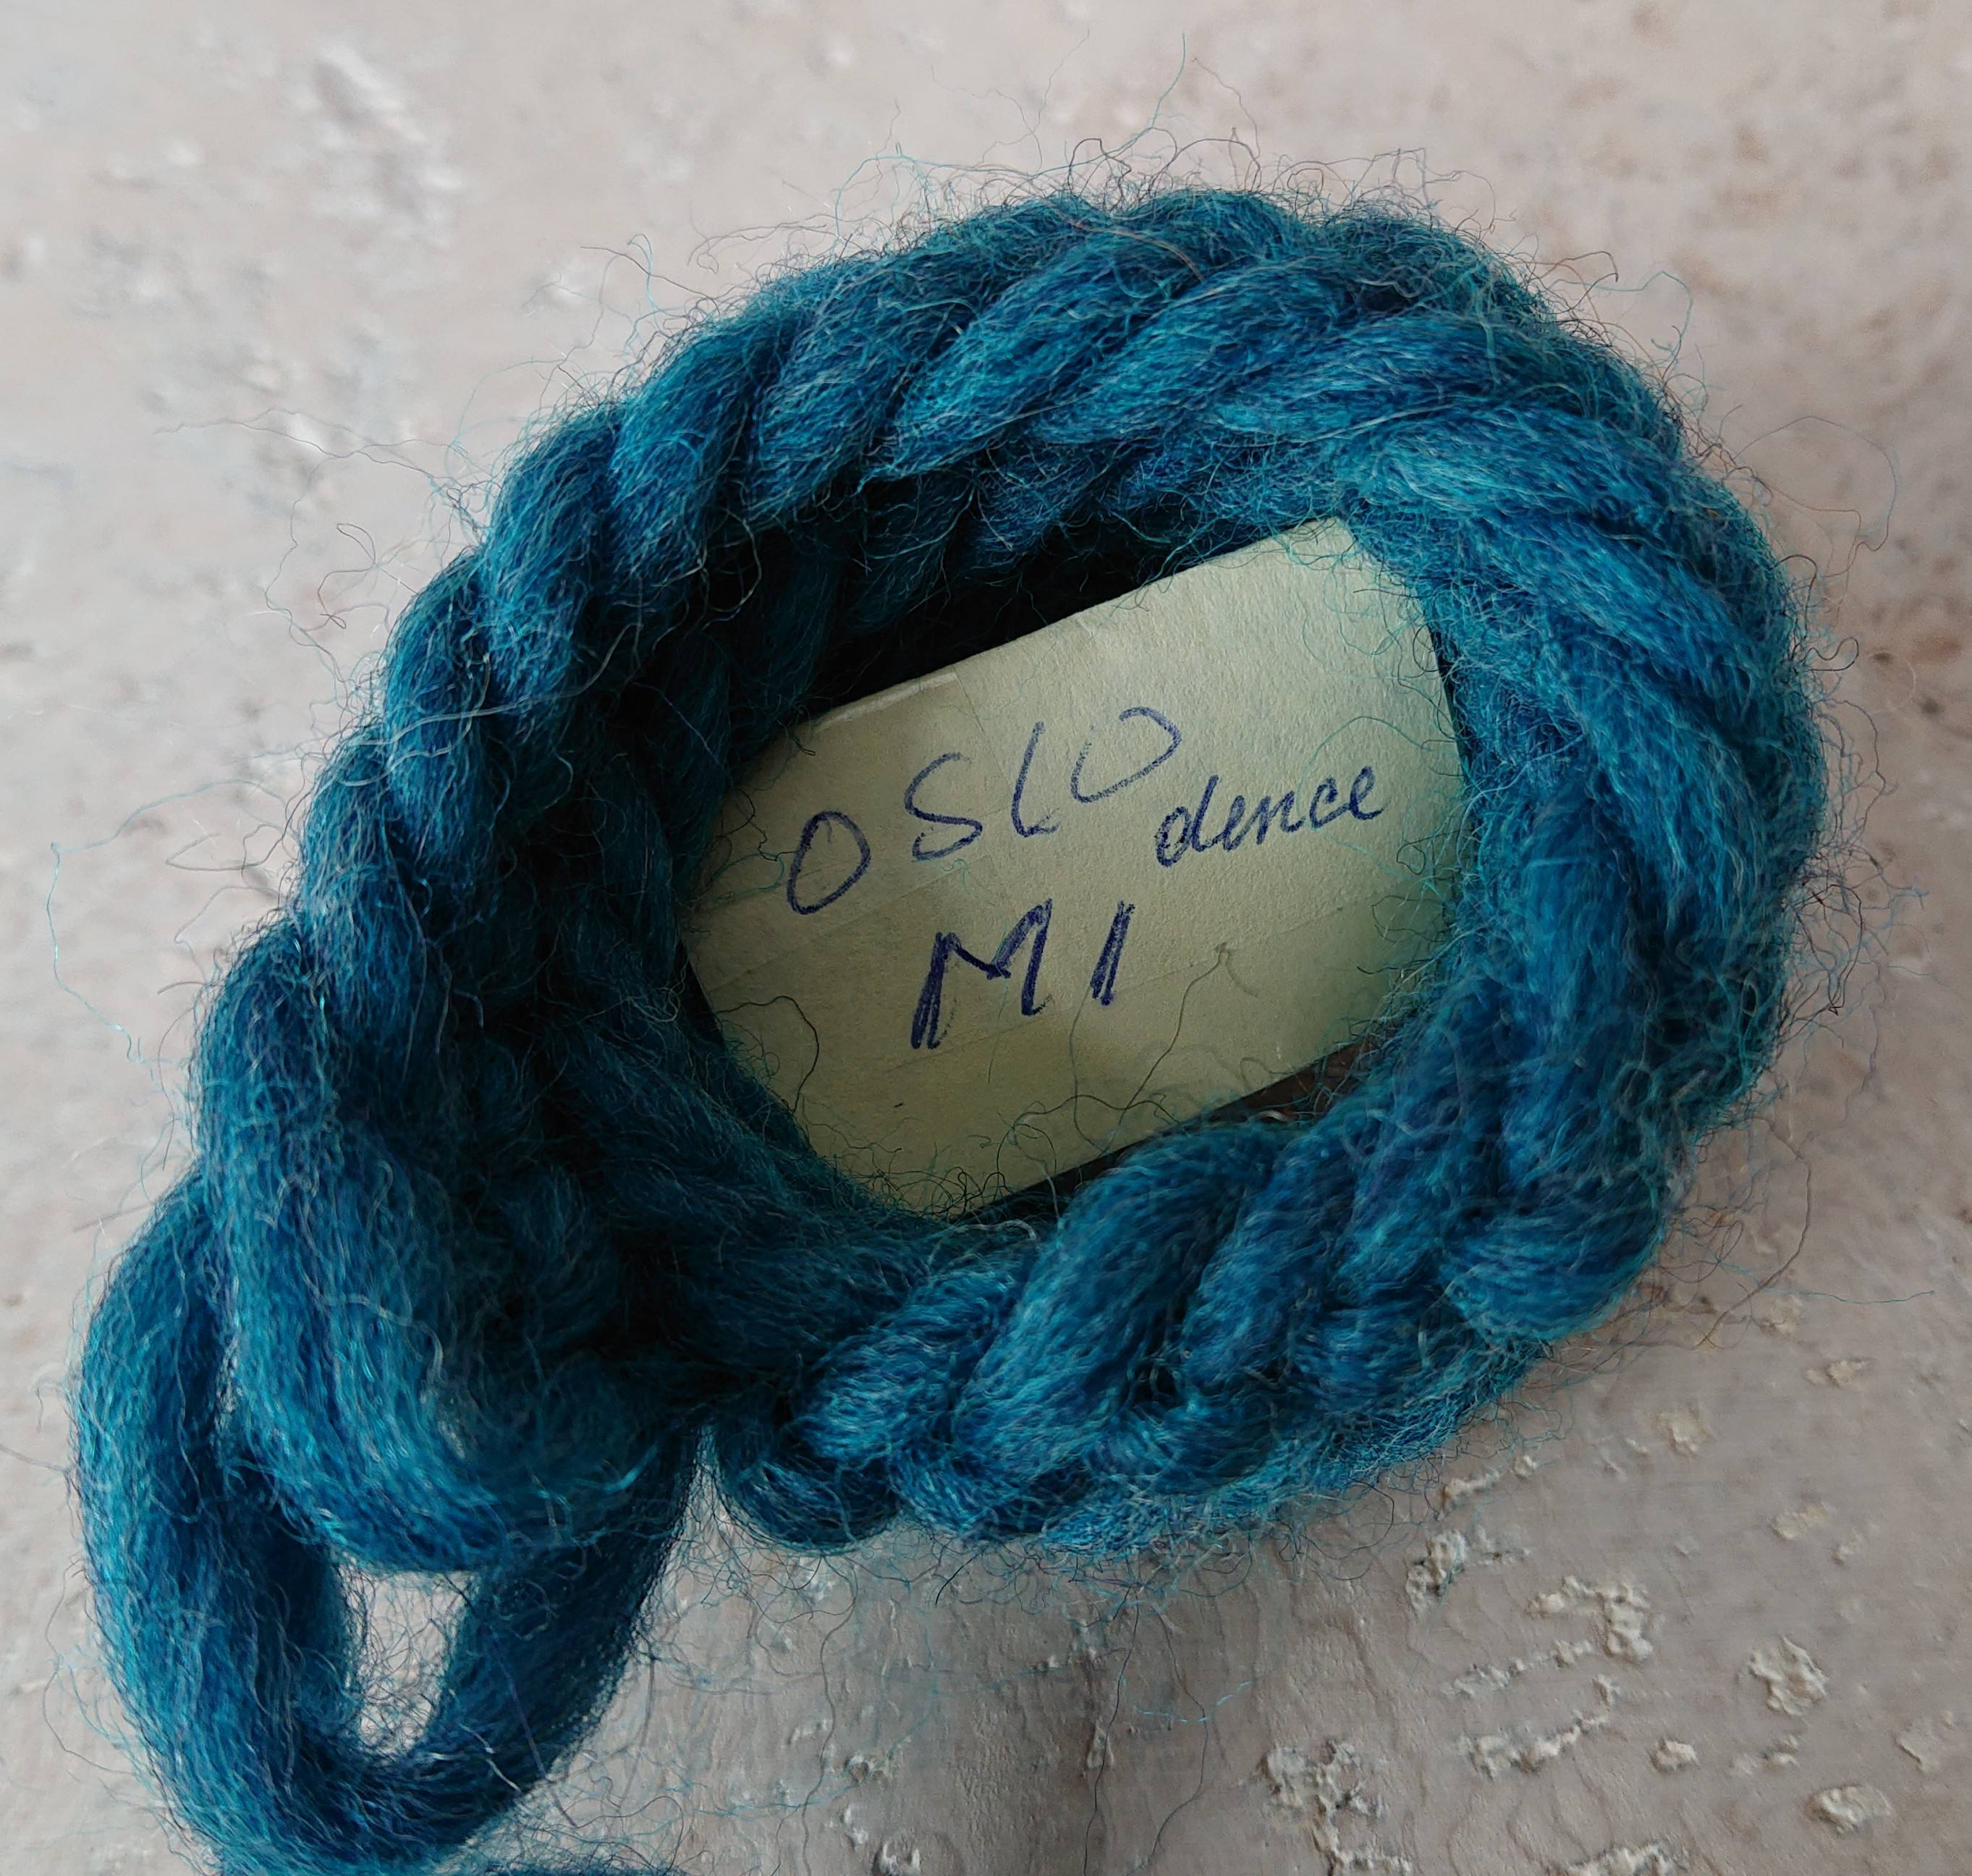
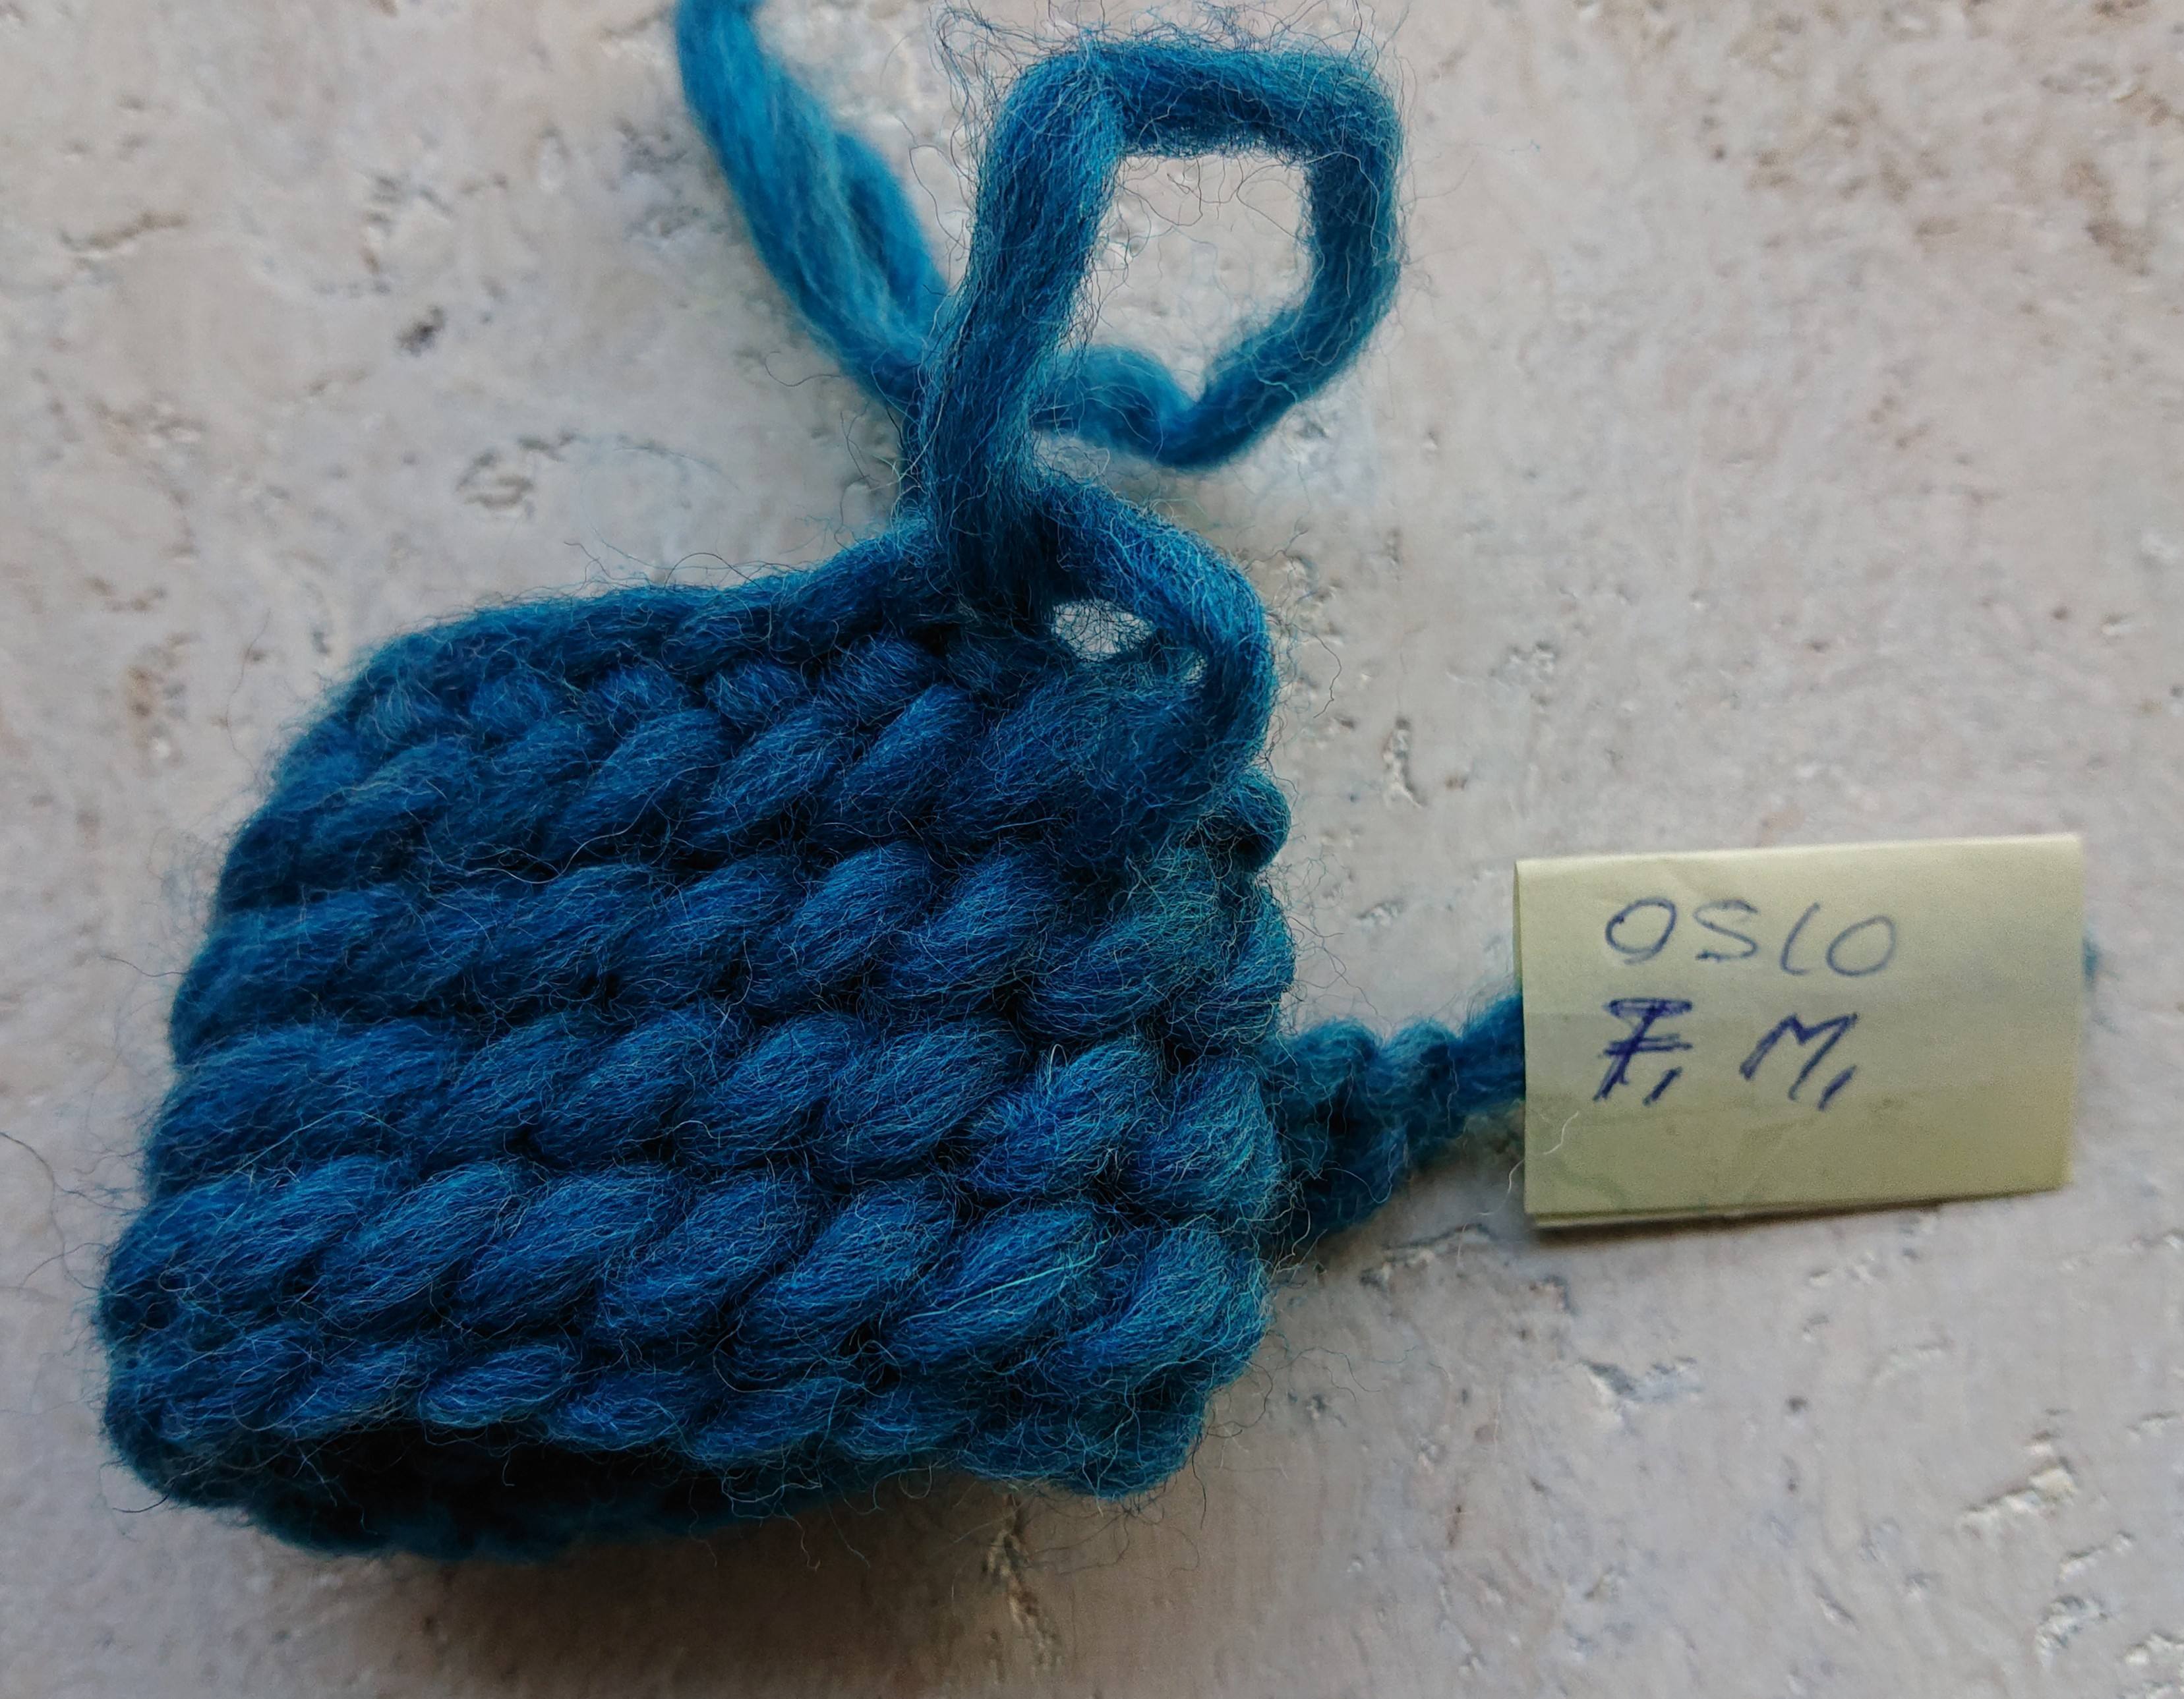
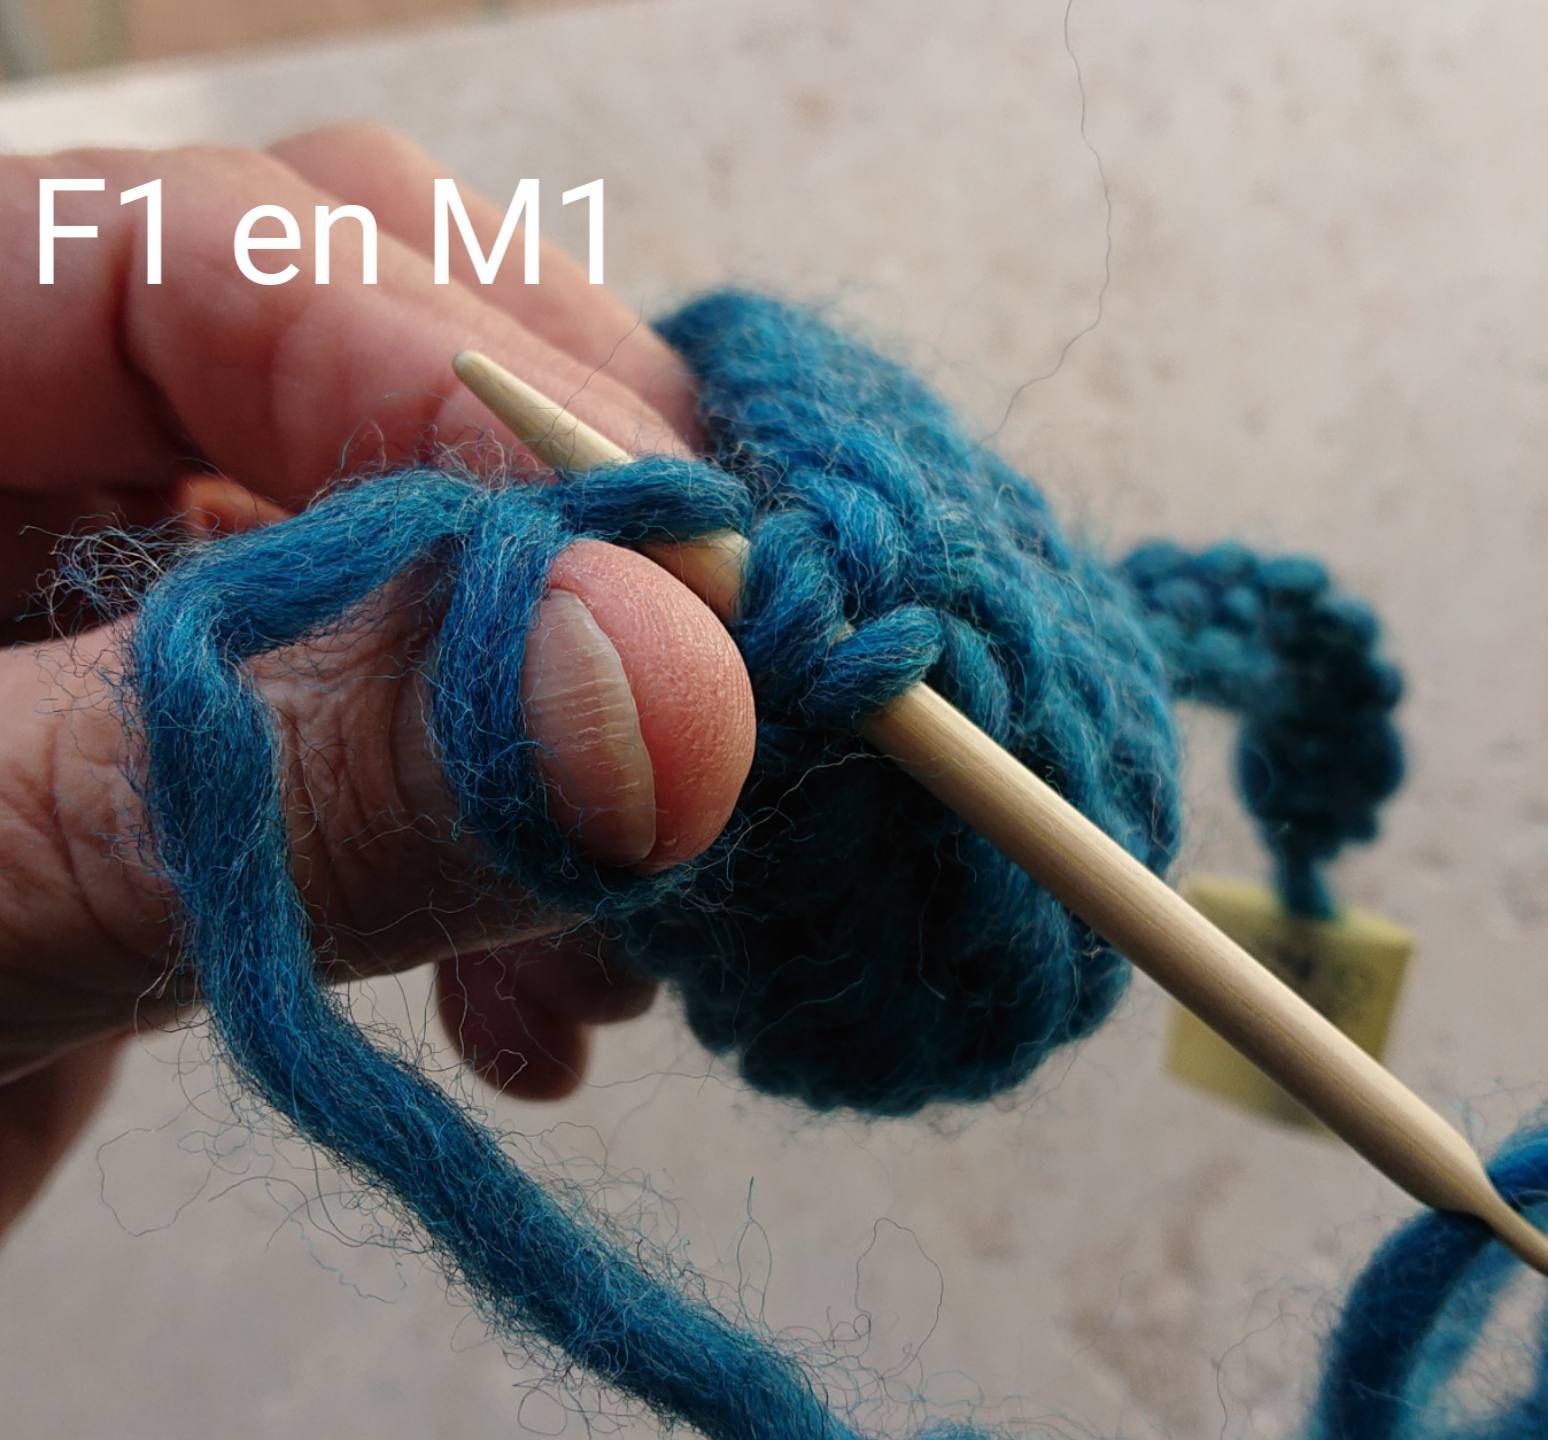
The Oslo stitch with M1.
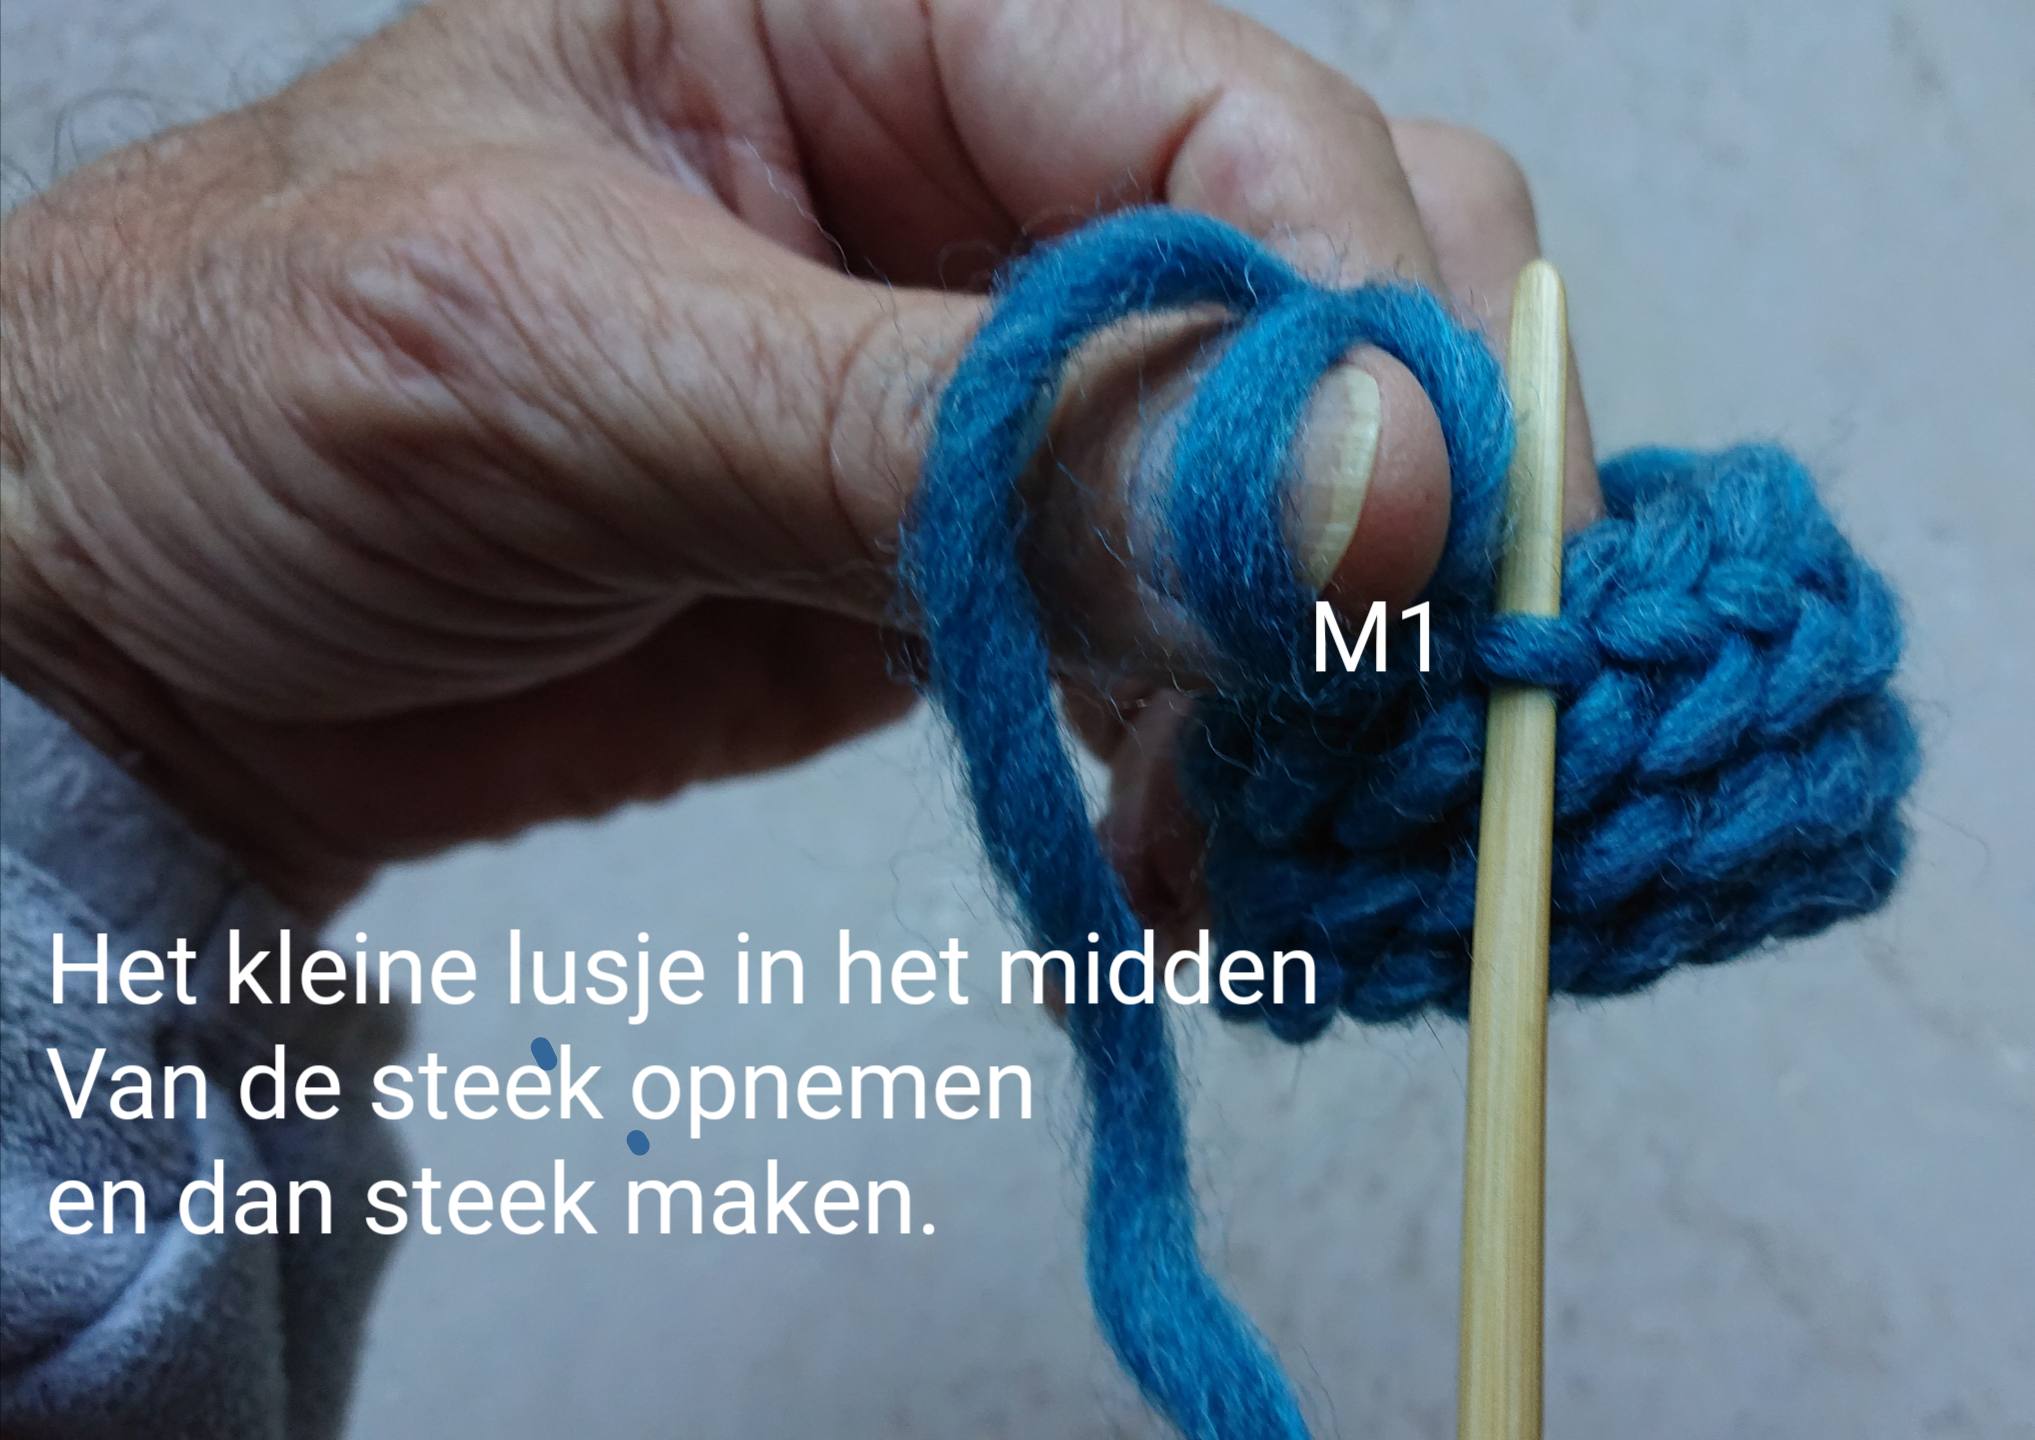

The fabris is about 1 cm thick.
With M1 connection stitch the needle goes through the small loop in the middle of the stitch. Then through your stitch and under the your thumb loop and under the working thread. You get twice as thick fabric and at the back side there are ridges.
With this fabric you can needlebind a very warm slippers or hat.
The Faberg stitch with M1.
With M1 connection stitch the needle goes through the small loop in the middle of the stitch and then through your stitch and under the 2 thumb loops en under the working thread.
You get twice as thick fabric and at the back side there are ridges.
This stitch is a very, very thick fabric.
I always forget to ask if you’d like to subscribe to my YouTube channel: happy needlebinding If I have a lot of subscribers, I can email magazines to write an article about this wonderful old craft so I can pass it on to the next generation.
Thank you kindly in advance. bert veugelers.
The Oslo stitch with F1 and M1.
Combination stitch with F1 and M1.
The needle goes first through the small loop in the middle of the stitch and then through the stitch.
The fabric that is created has a dense structure (there are no rows at the back).
Furthermore the fabric is very dence, smoother and naturally wonderfully warm.
Your imagination, creativity, patience and perseverance means that you can create incredibly beautiful and surprising objects with needlebinding. 🙂
Next video is about how to finish your nalbinding project.
Next video is called: nalbinding easy project.