At the European Wool Camp in Elsloo, where i gave needlebinding workshops for a week, I saw crocheted wind spinner for the first time.
The lady who gave the workshops asked me (I didn’t know her) “how are you going needlebind them now?”
I have an idea, the wind spinners are very beautiful, was my answer and I wished her good luck with her workshops.
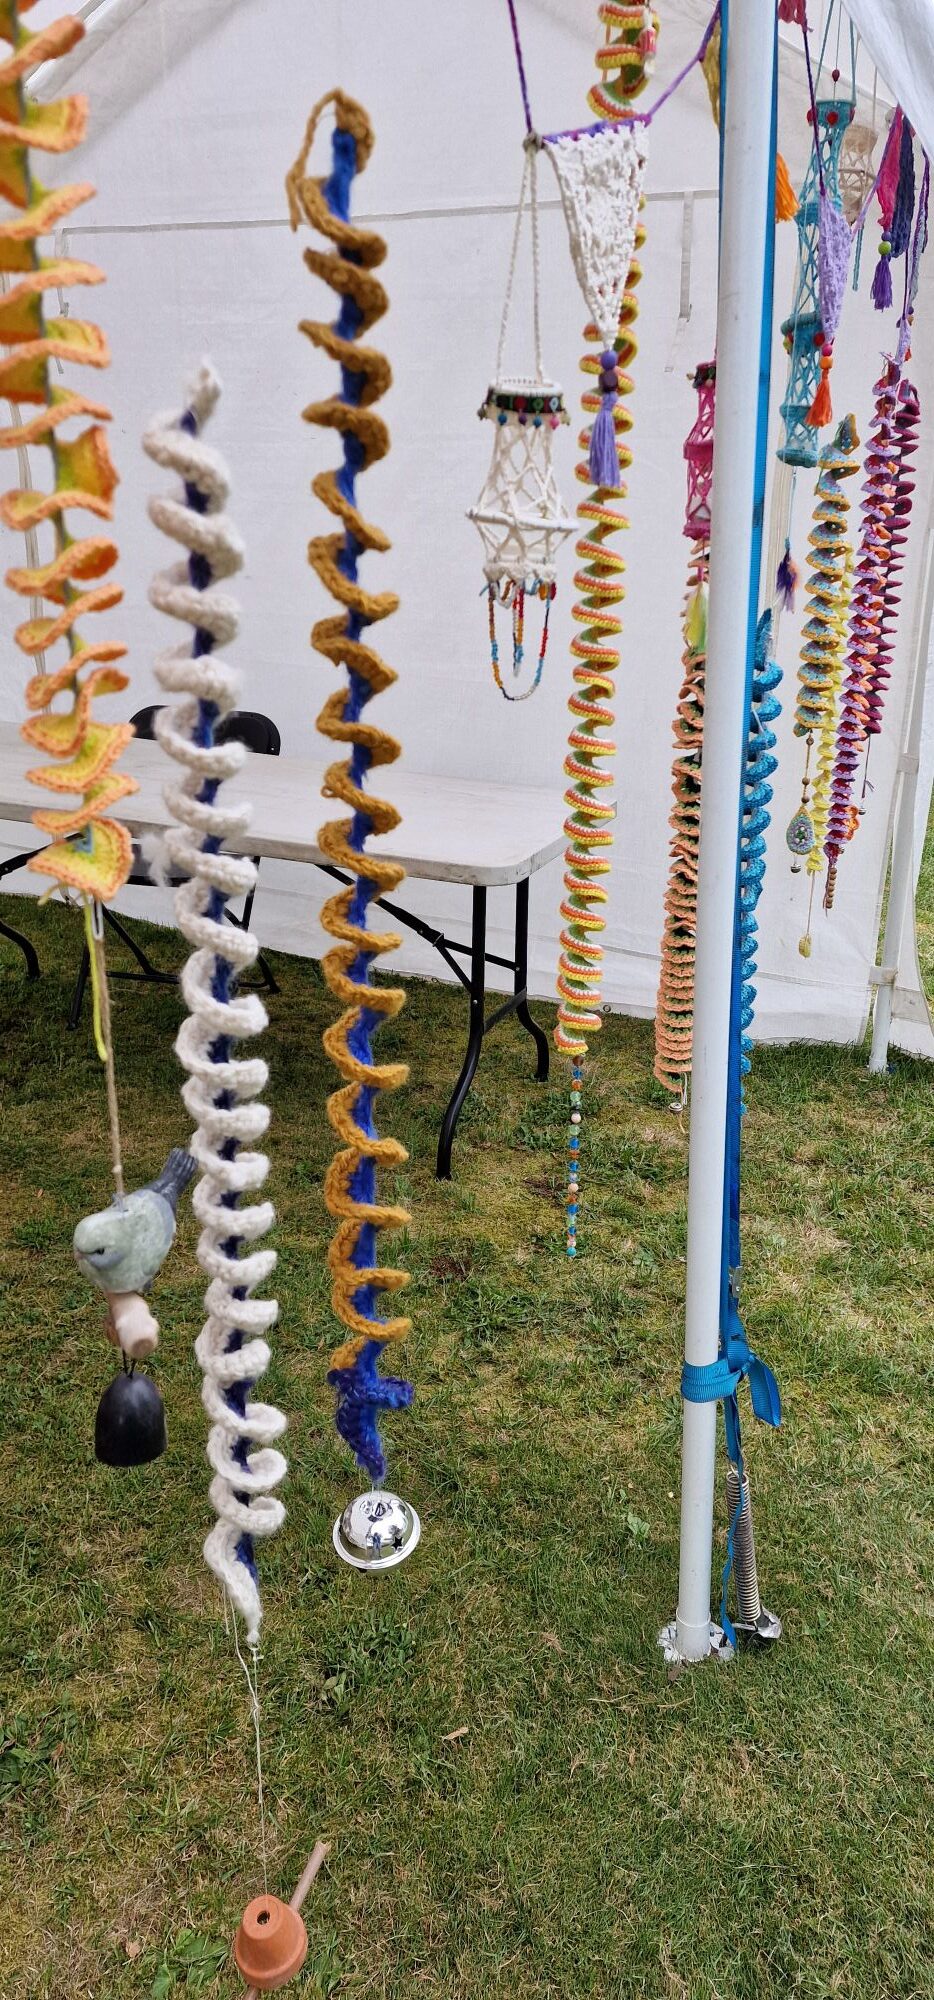
The wind spinners fascinated me, all those beautiful colors and the shape that turned in the wind as if it was a colorful autumn leaf that moved in the wind.
I should be able to needle bind that too? was my thought.
When I got home I watched some YouTube videos about crocheting wind spinners.
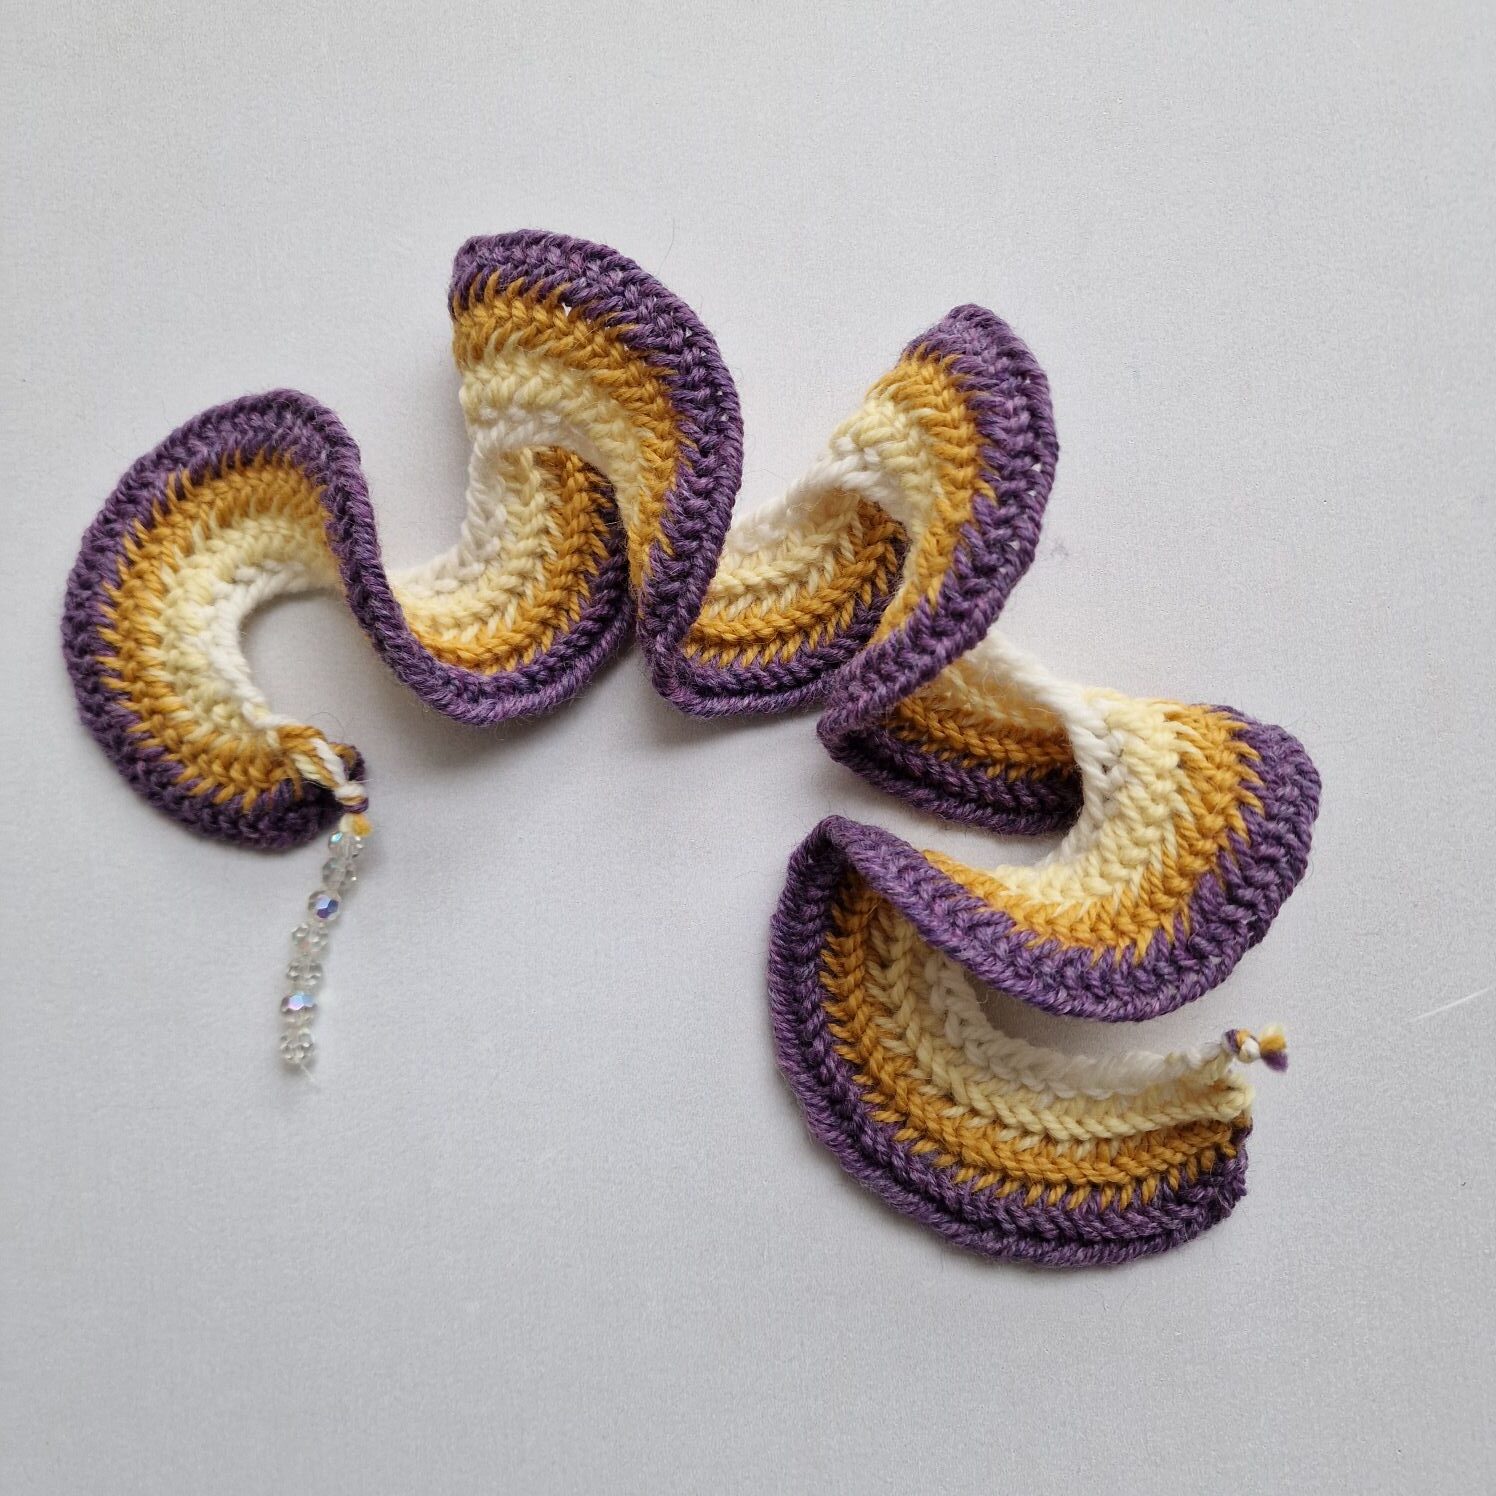
Wind spinner with the Oslo and the Faberg stitch.
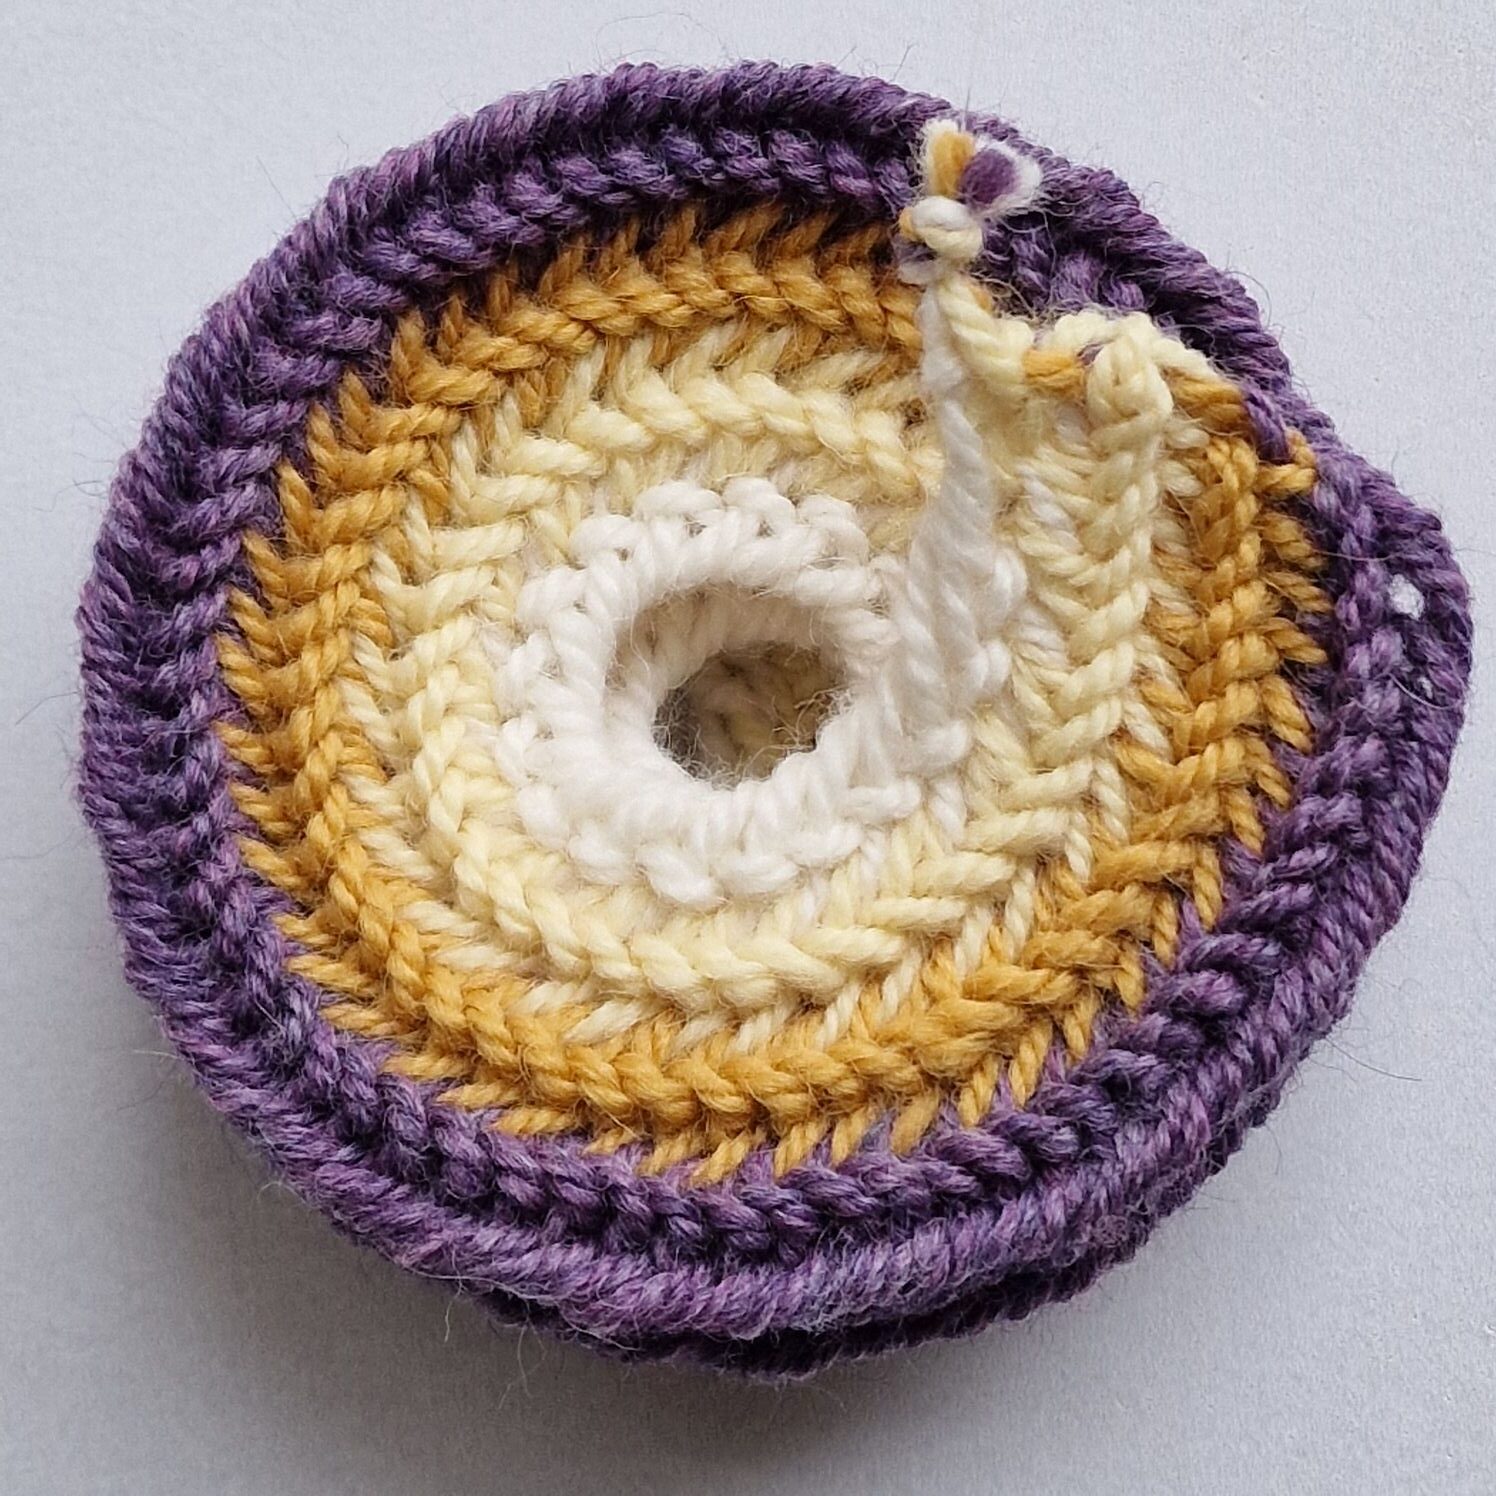
I started with a row of 60 Oslo stitches. (purple)
Then I inserted the needle into the starting knot and then increased in each stitch. (yellow)
The next picture is my secound start with a wind spinner. (I forgot to make picture of my first wind spinner).
After the yellow color you start again with the starting knot and this time you needlebind with the Faberg stitch.(this stitch is wider than the Oslo stich).
You increase 3 stitches with the rose color in each stitch.
After the rose collor you start again with the beginning knot with the blue colour with the Oslo stitch.
You don’t increase.
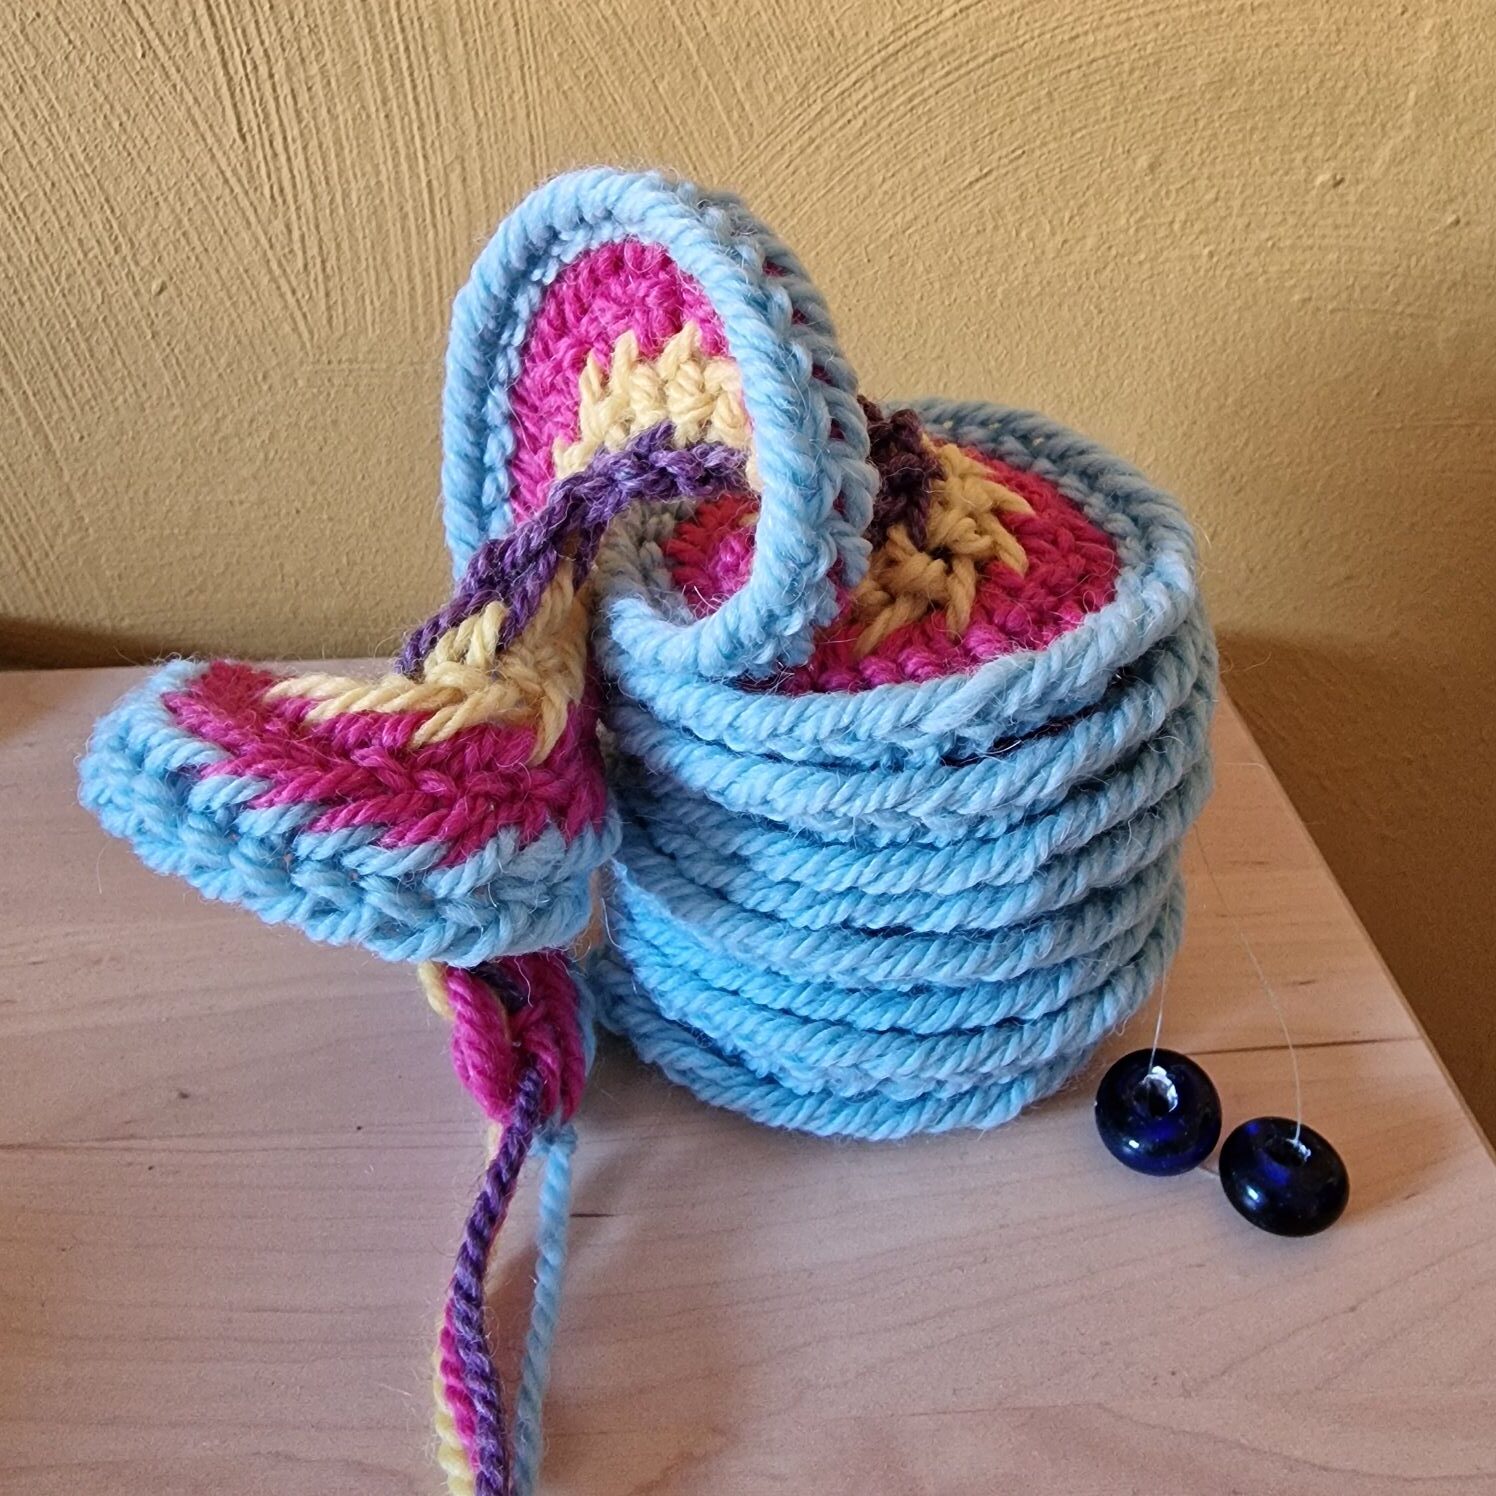
I make a knot at the top and bottom and tie nylon thread to it.
There are 2 glass beads at the bottom for weight.
The bottom is where you starting knot of you row of stiches is.
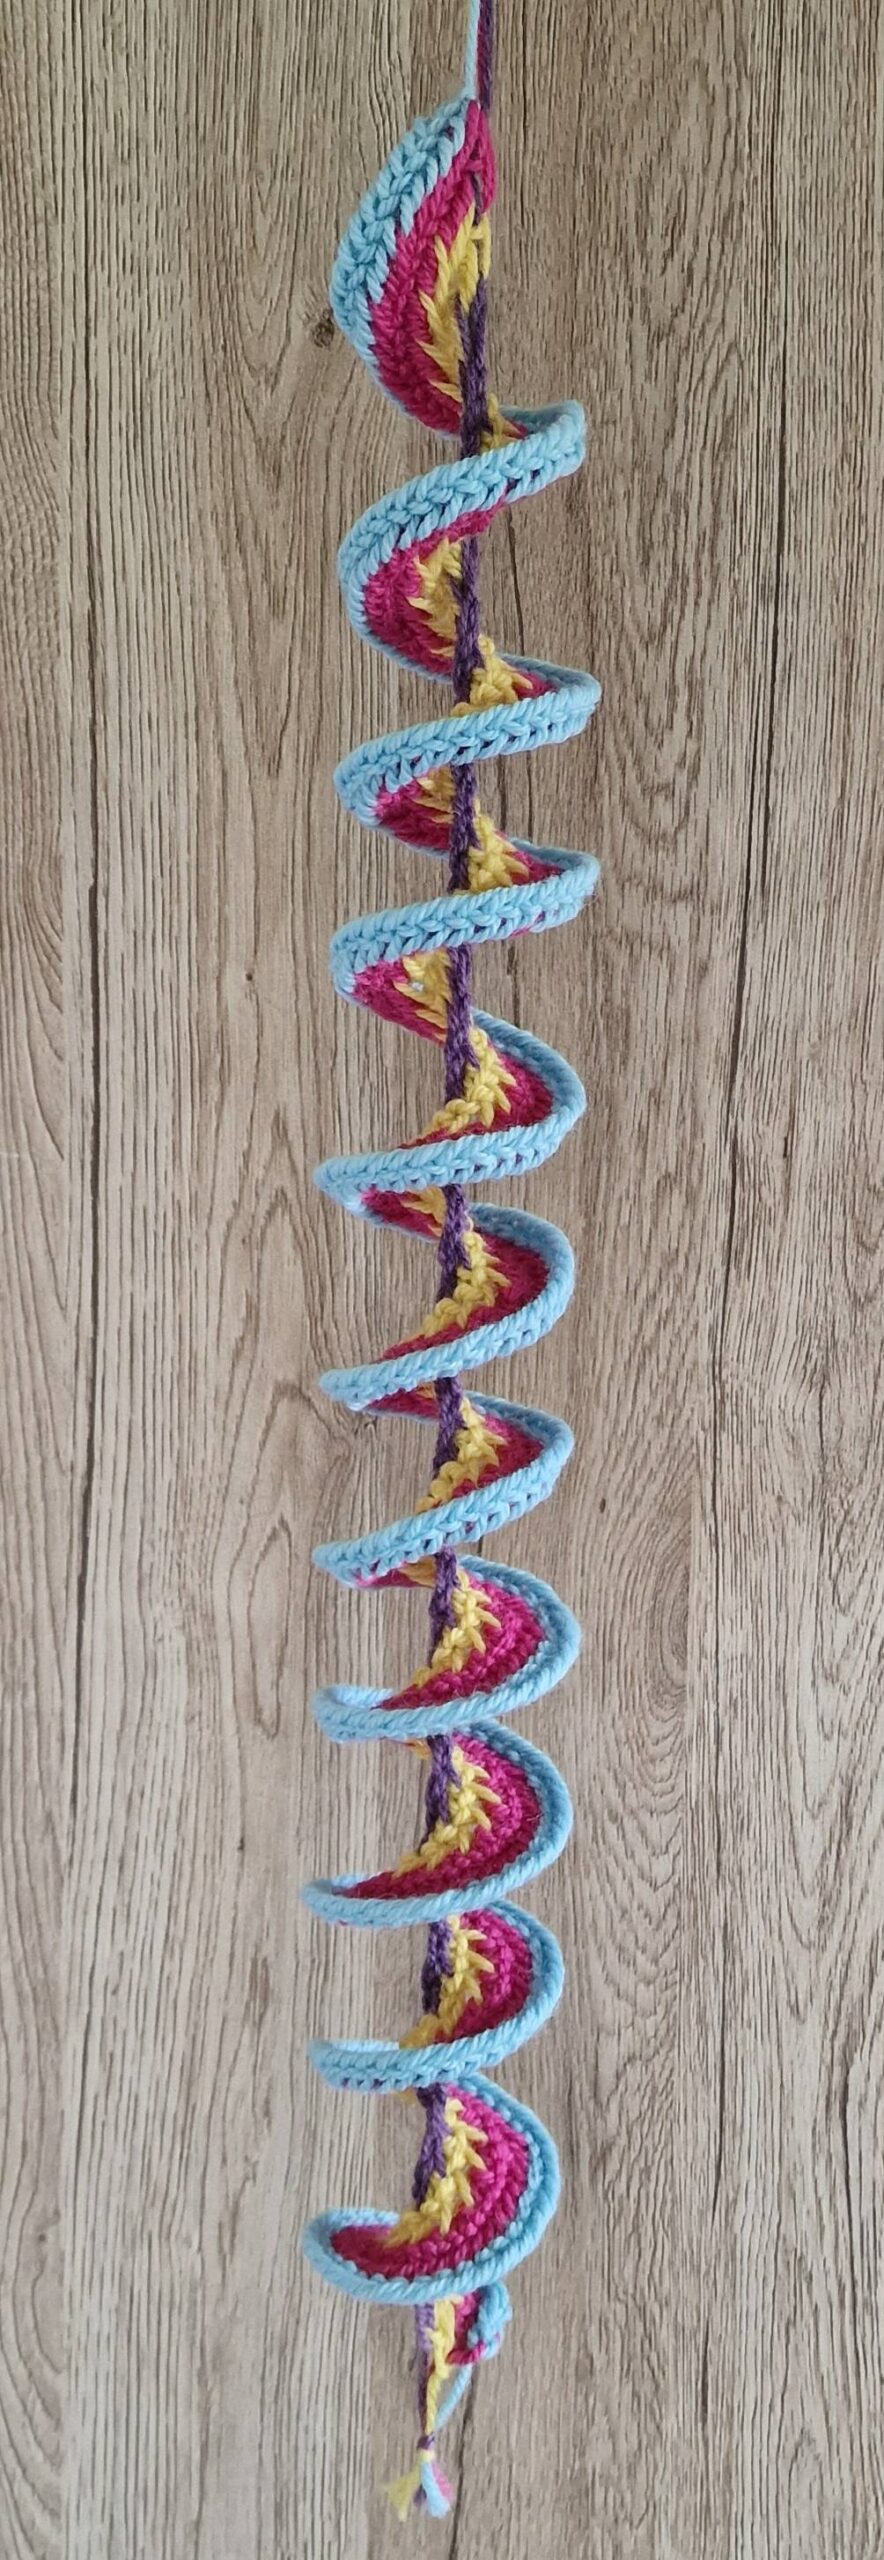
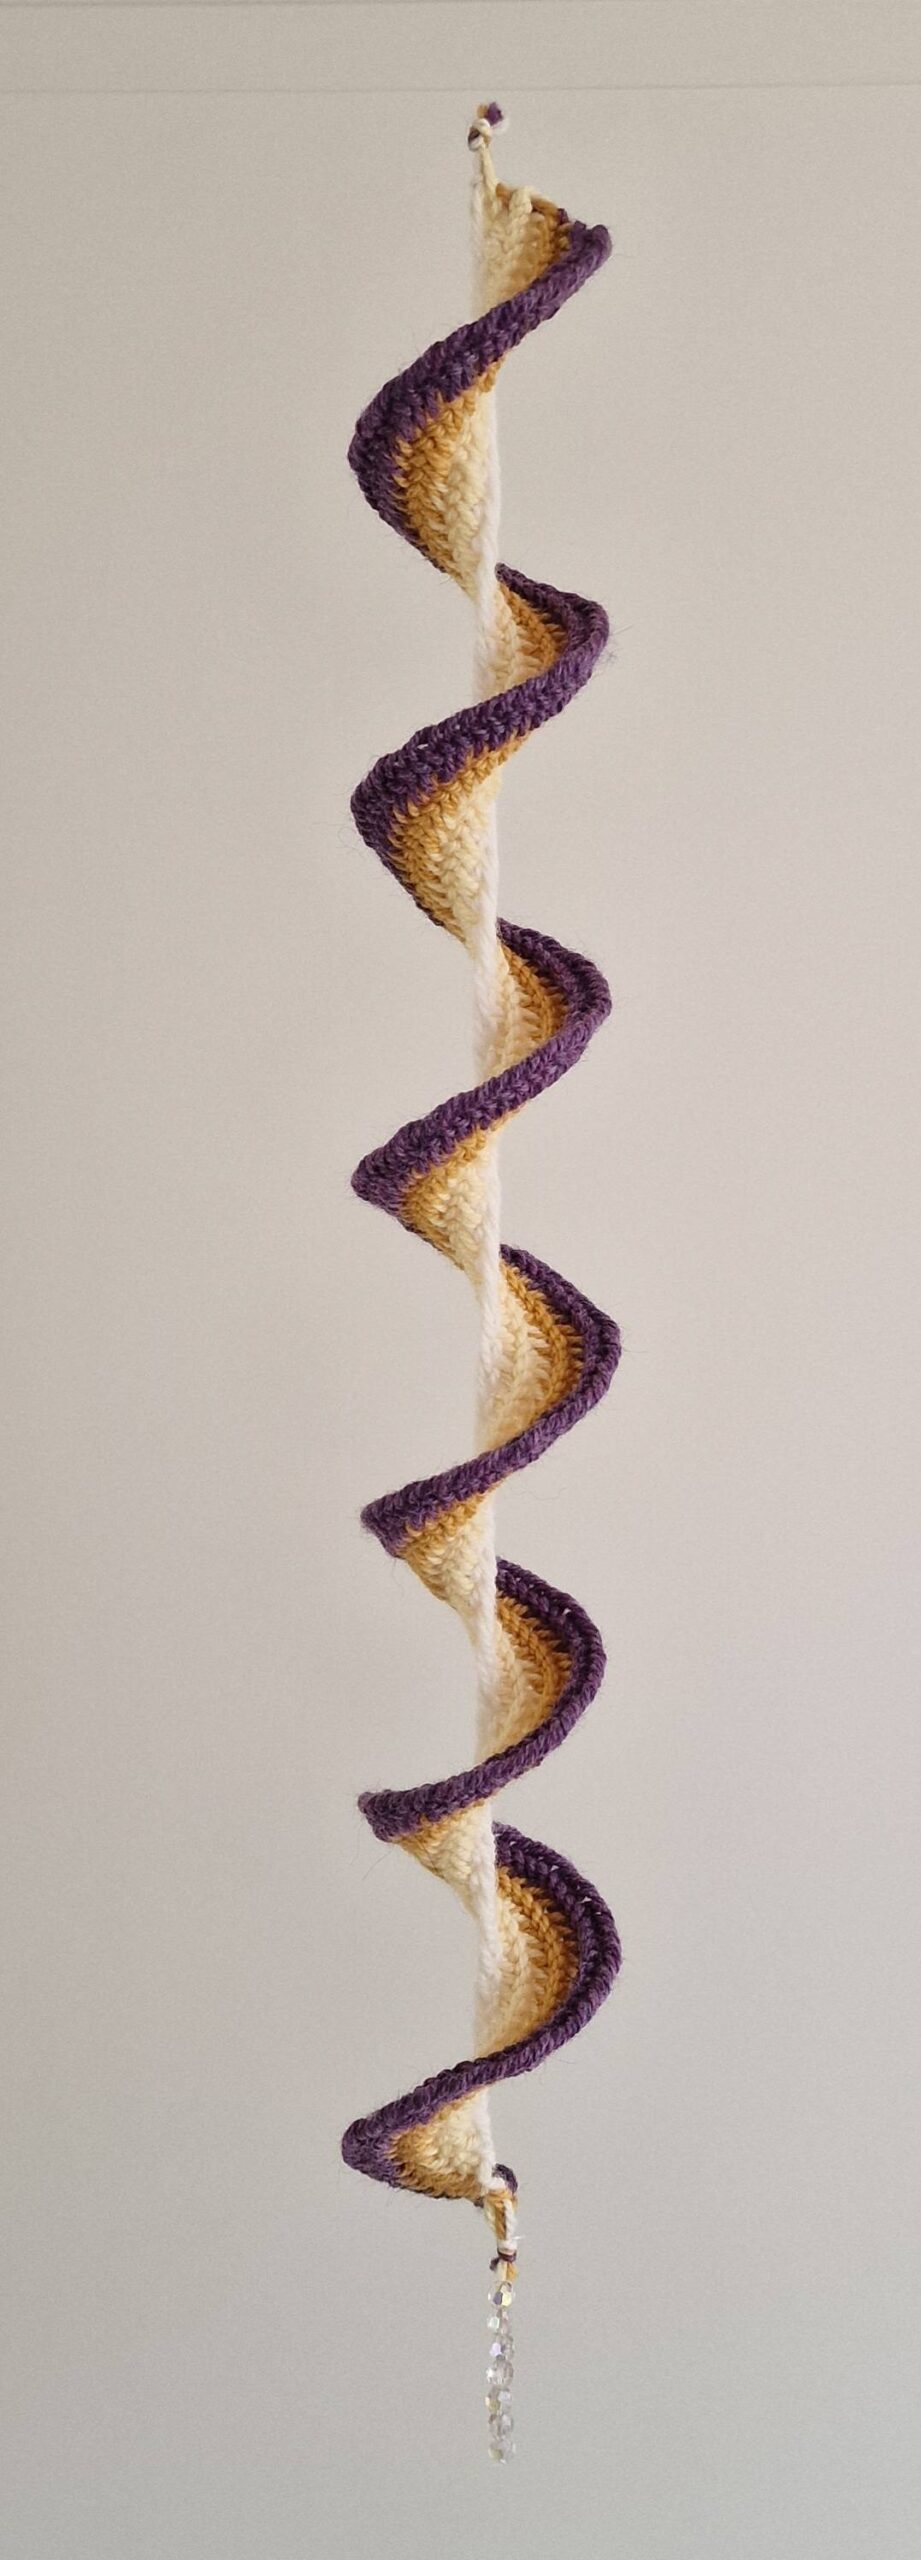
This is my first wind spinner made with 2 different stitches, the Oslo stitch and the Faberg stitch.
The spinner consists of 4 colors and I will make more spinners with more colors and even more different stitches.
The wind spinner is an ideal project to start needlebinding.
I am very happy that I discovered the wind spinner and will make many more of them.

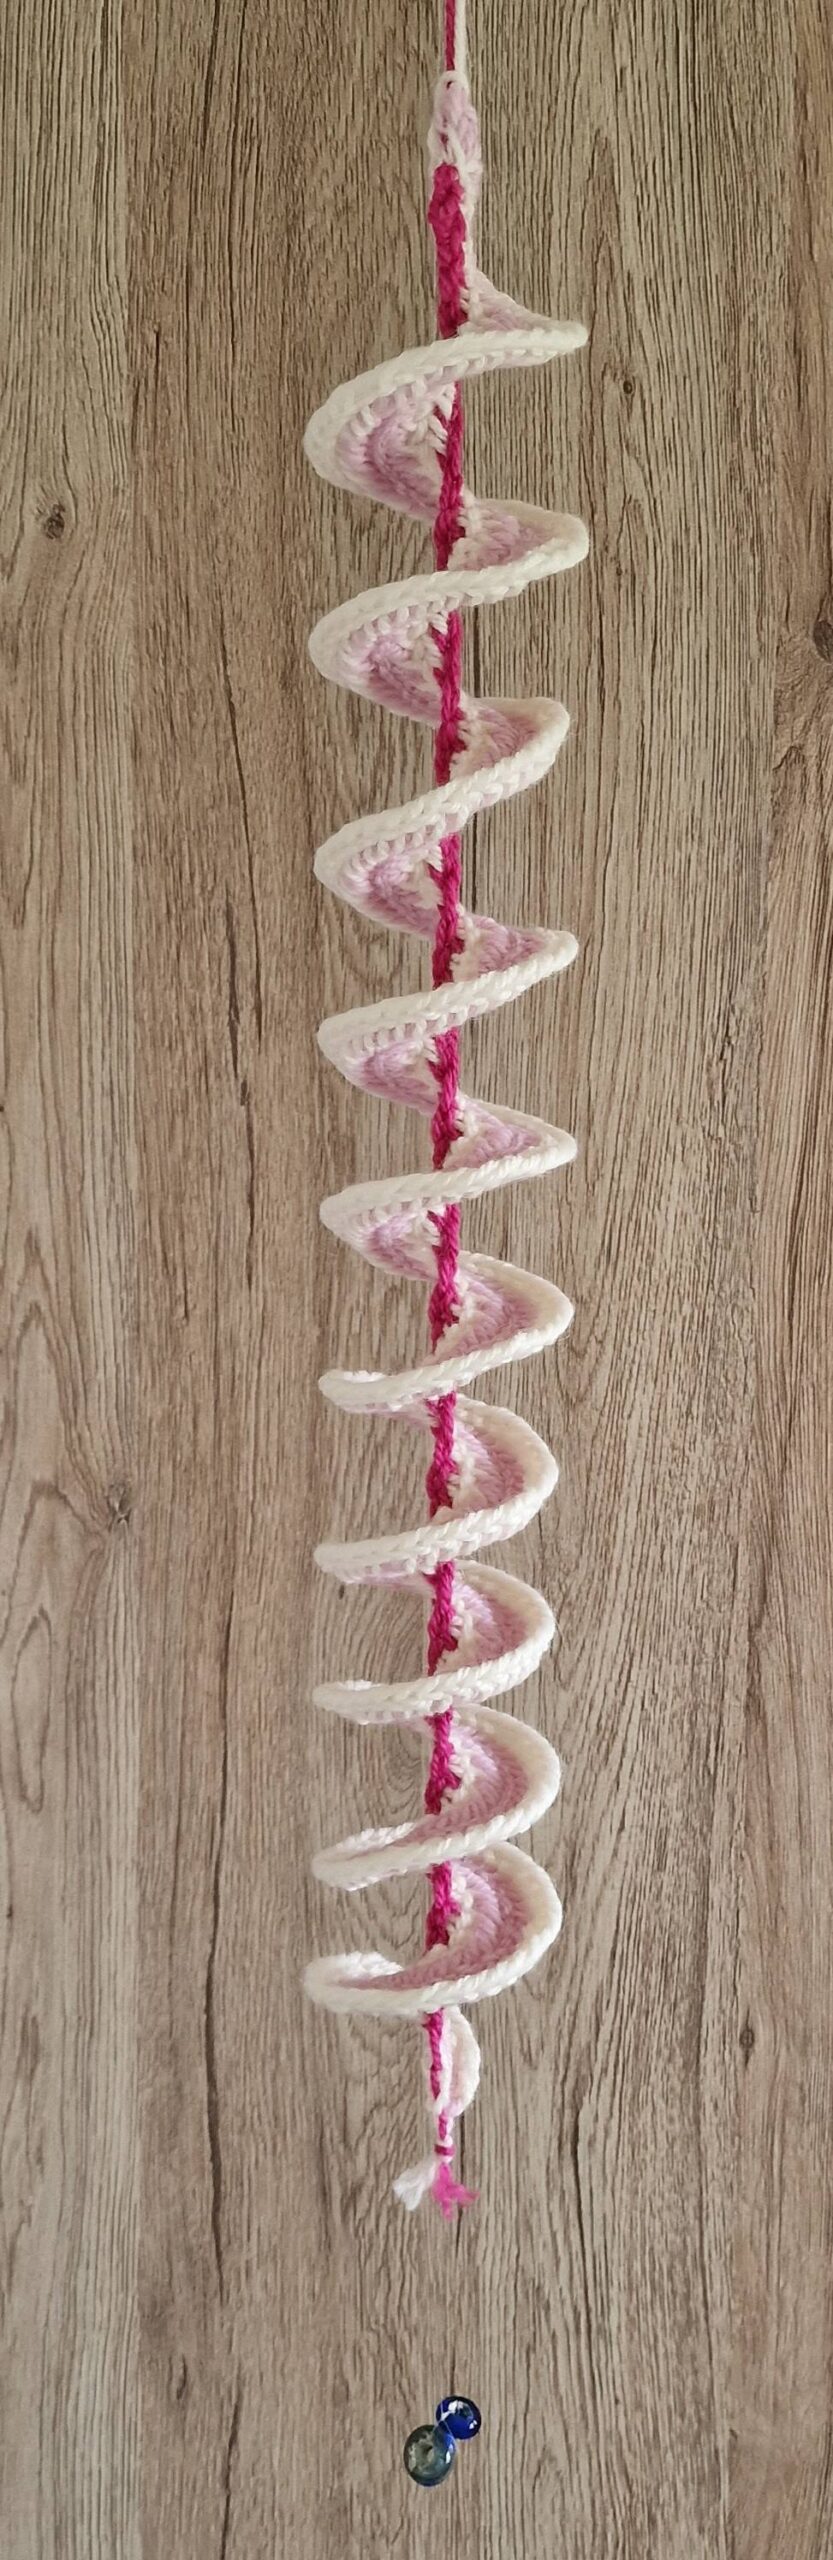
Wind spinner with the Oslo and the Faberg stitch.
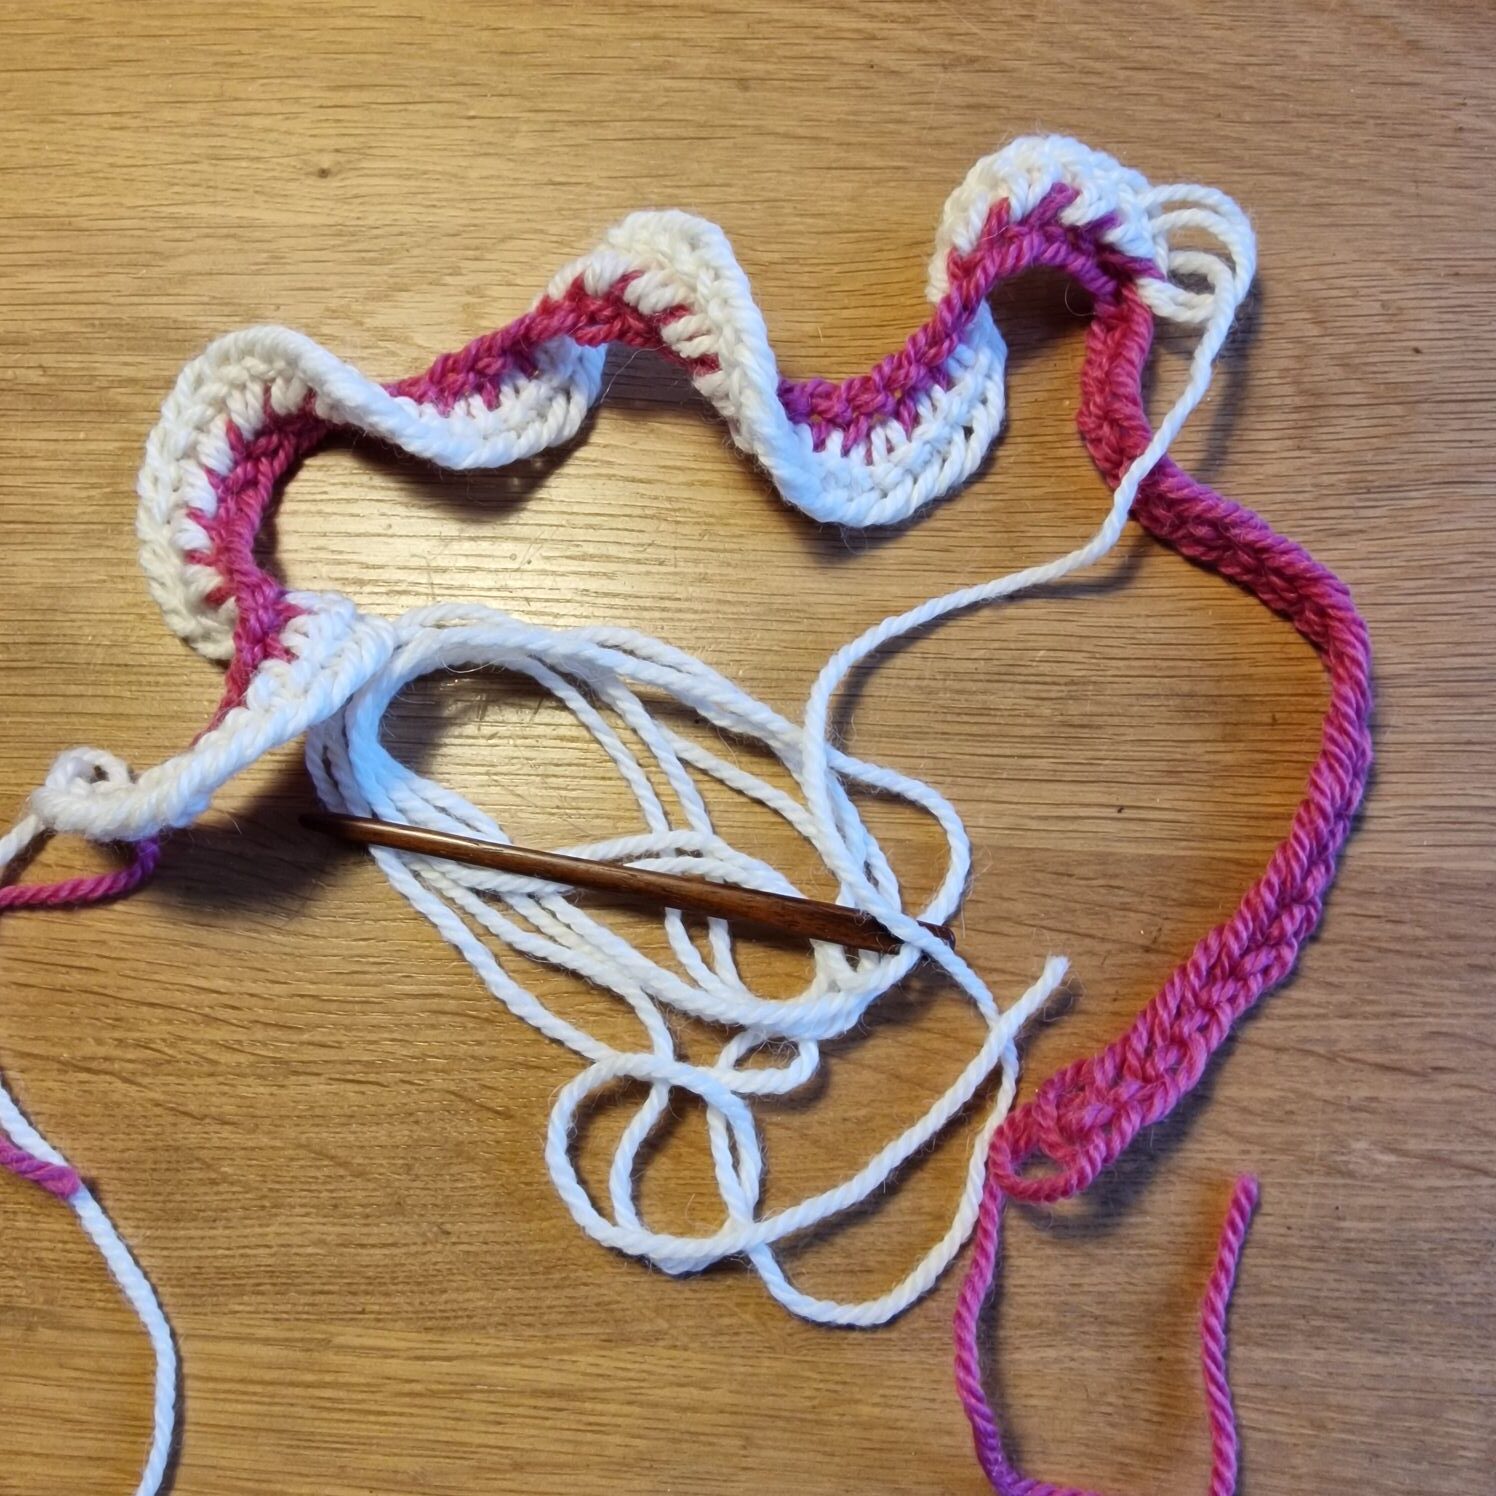
The next spinner start with rose 60 Oslo stitches.
Then with white with the Faberg stitch F2. and increase every stitch.
Next with light rose with the Faberg stitch F2 and increase 3 stitches in every stitch.
The last row is white with the Oslo stitch F2.
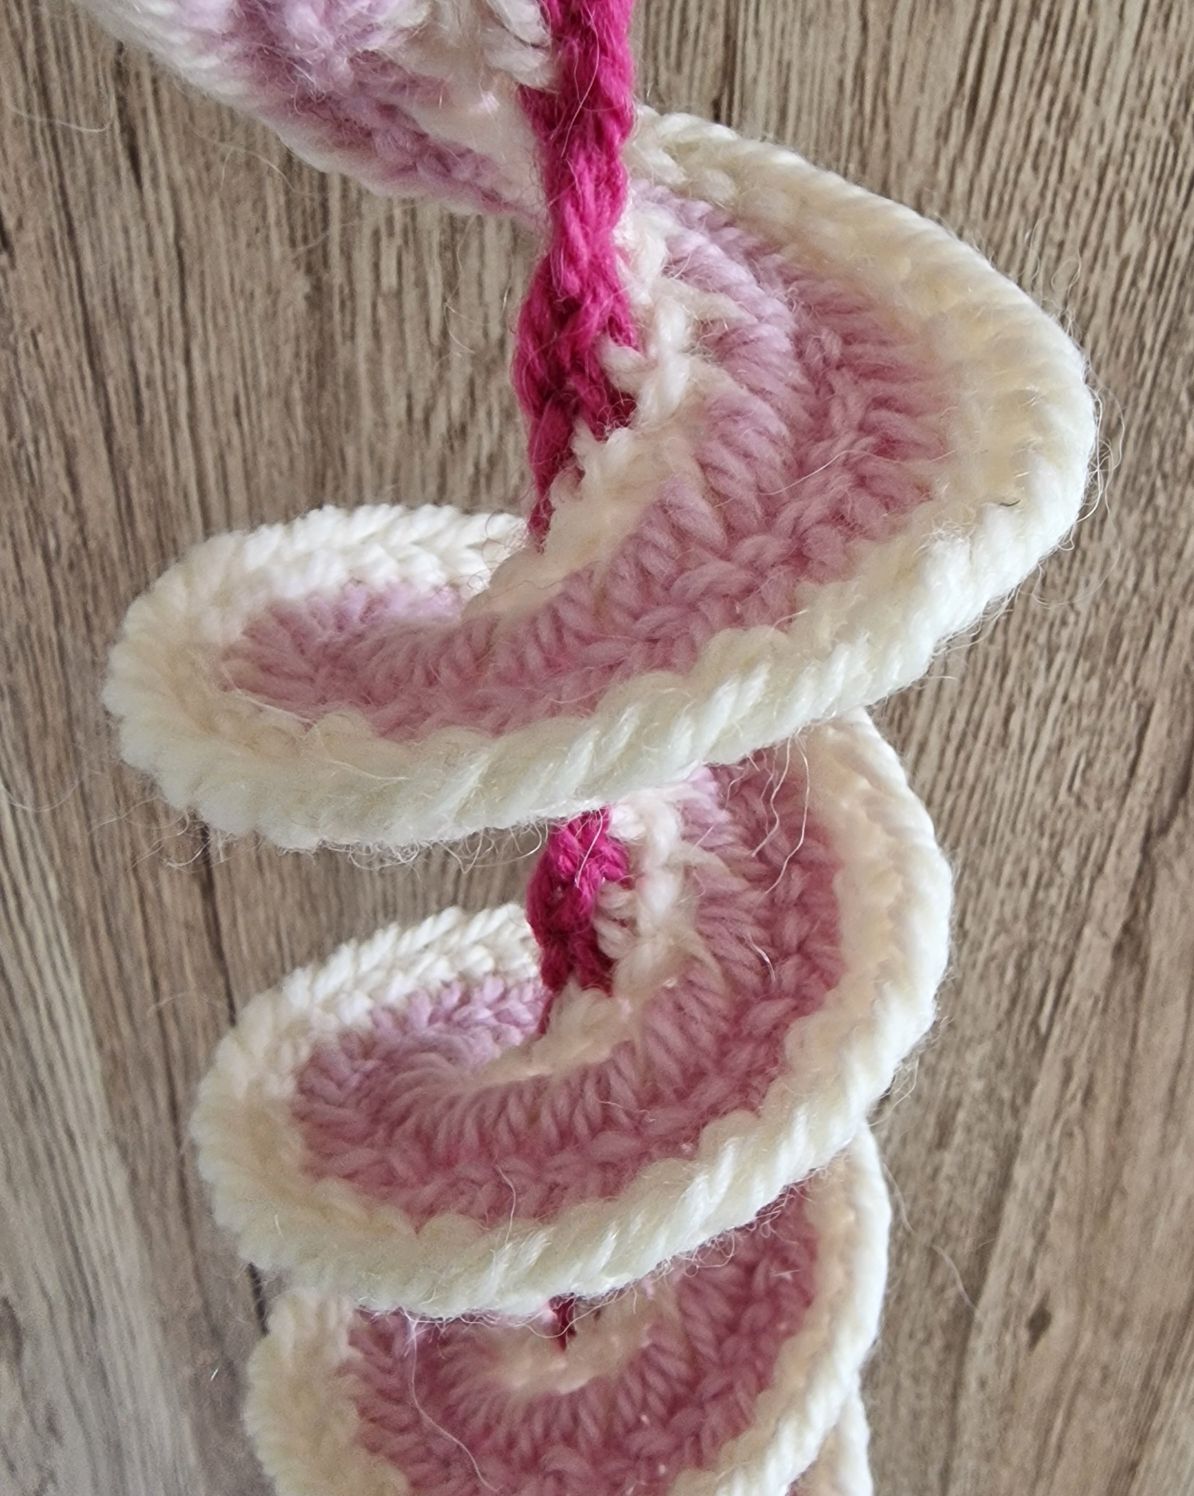
Nice detail photo of the stiches.
I made these spinners from the stitch pattern of crocheting.
I will make the following wind spinner from the needlebinding perspective of the stitch pattern, and the different connection stitches.
The following wind spinner pattern is how I nalbind round.
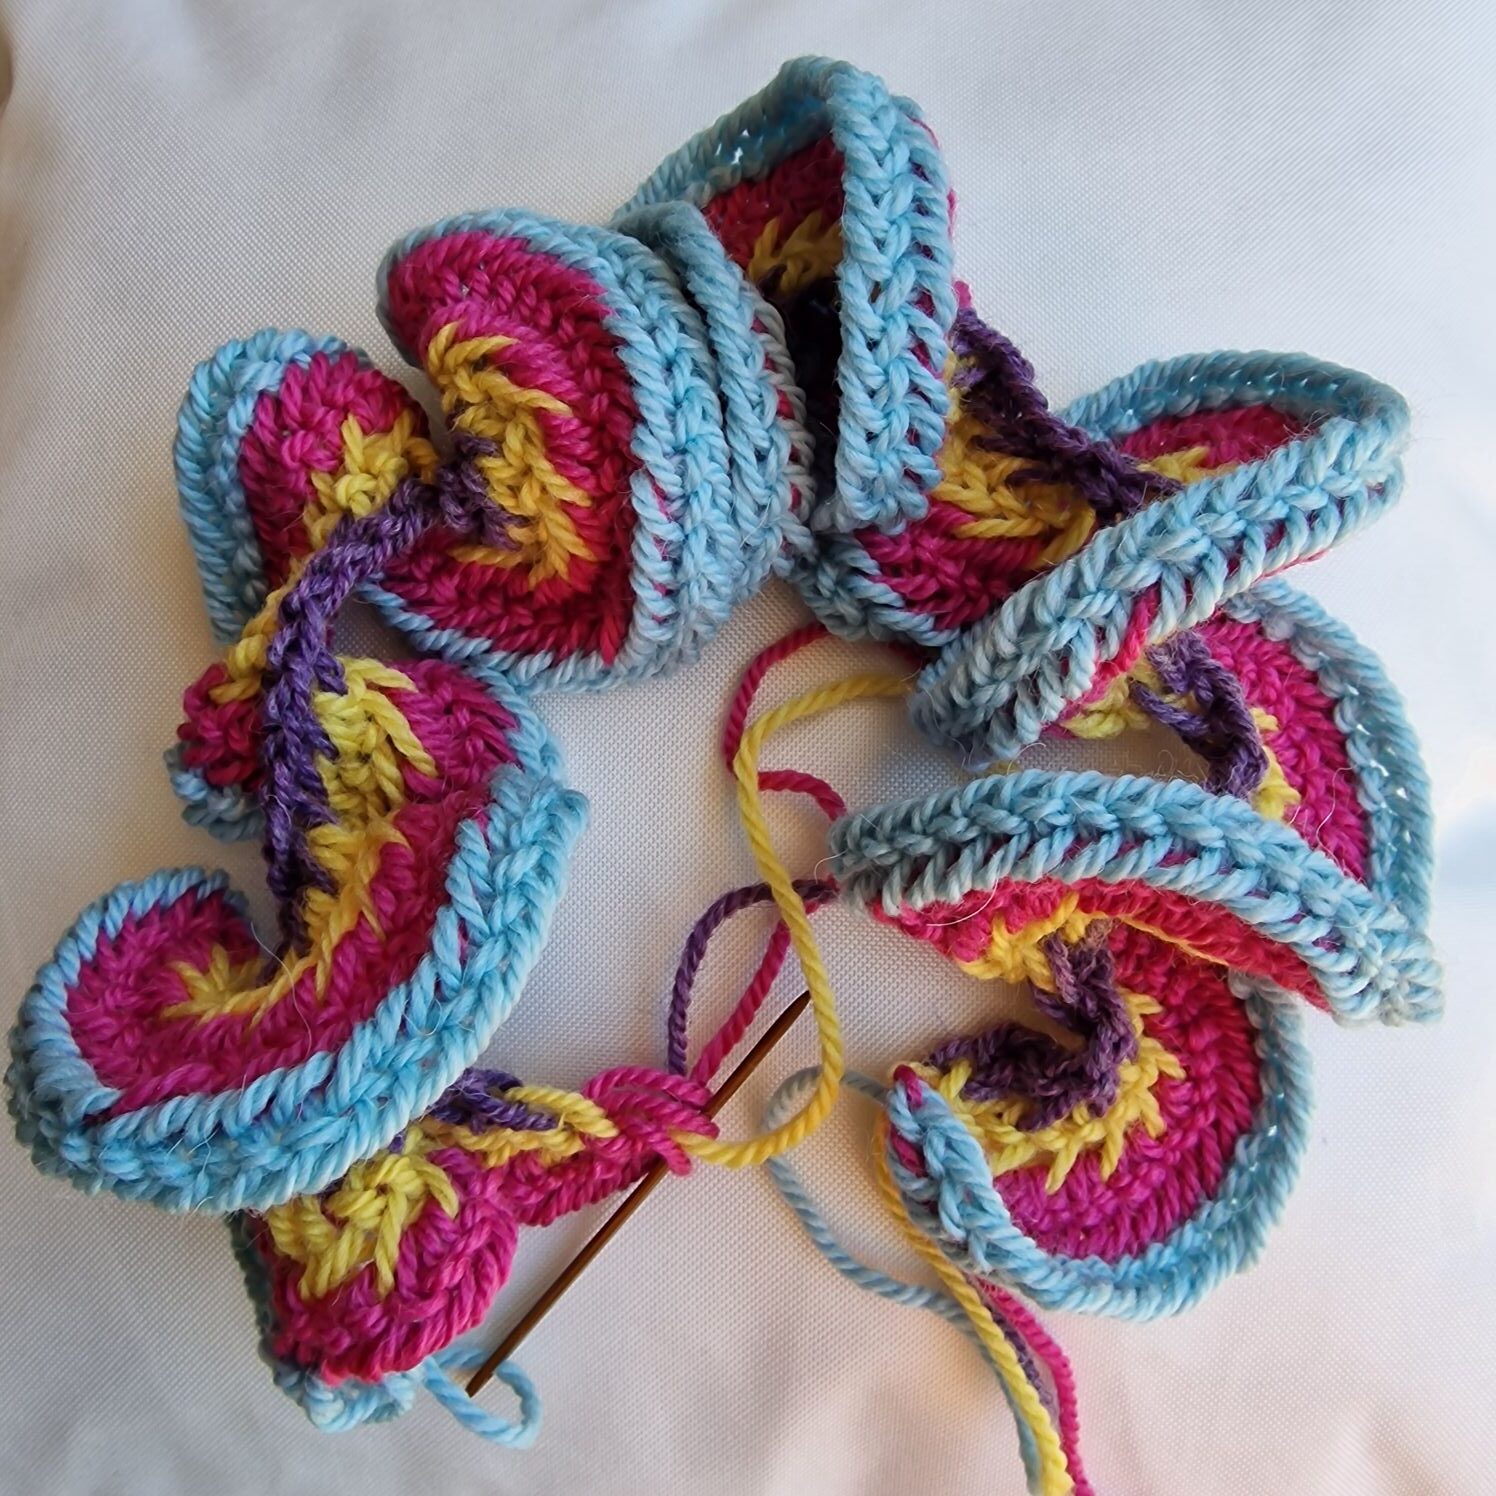
Wind spinner with the Oslo stitch.
For this spinner I only used the Oslo stitch and the connecting stitch F2.
I started with a row of 60 Oslo stitches (brown/red).
After this, insert the needle again into the beginners knot and increase all stitches. (white), and also use the connecting stitch F2 (you take the old stitch and your new stitch on your needle). Then you needlebind 1 stitch normal and increase the 2nd. (green).
Then you needlebind 2 stitches normal and increase the 3rd (yellow).
During the last round you will needlebind 3 stitches normally and increase the 4th stitch (brown/red).
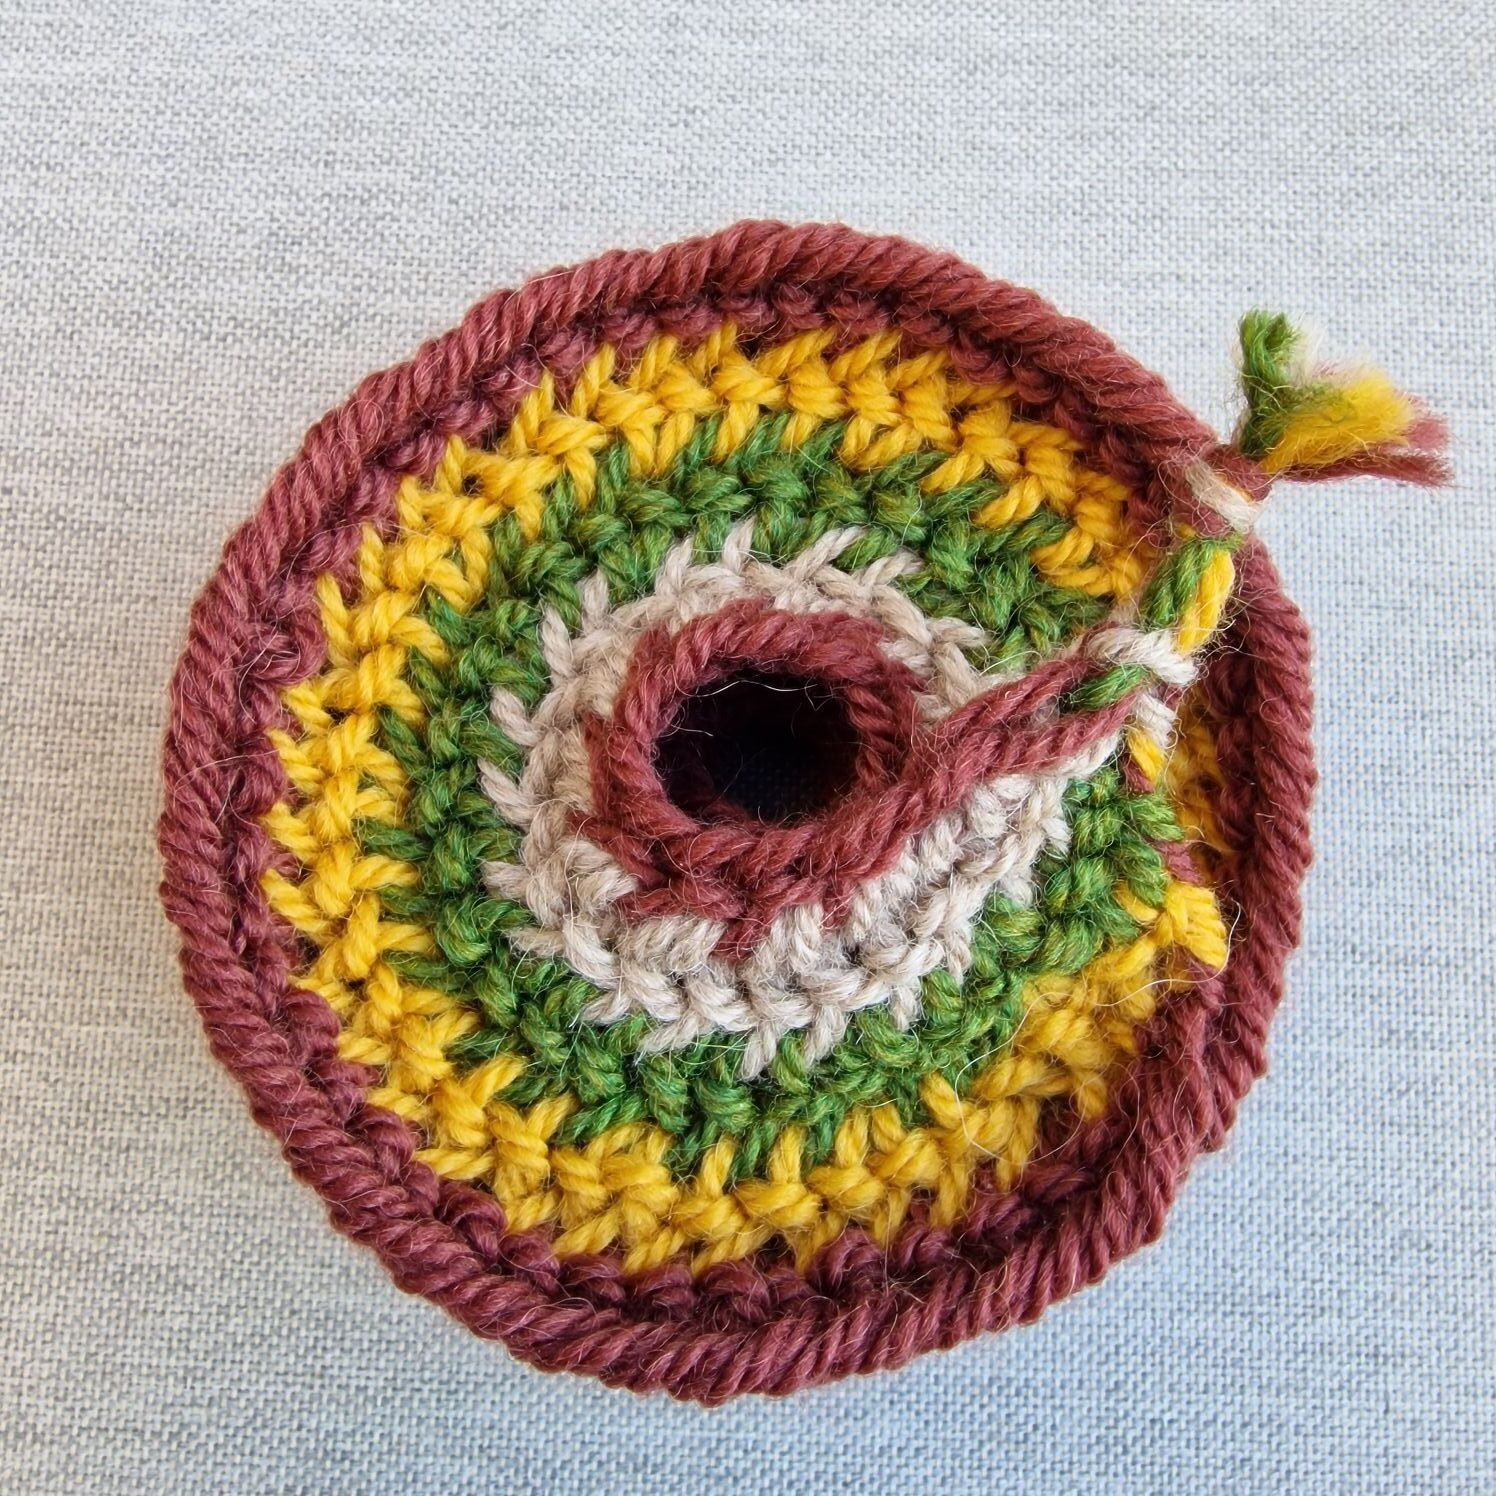
On the photos you can clearly see the increases (looks like V's).

The color in the photo below are lighter (too little daylight).
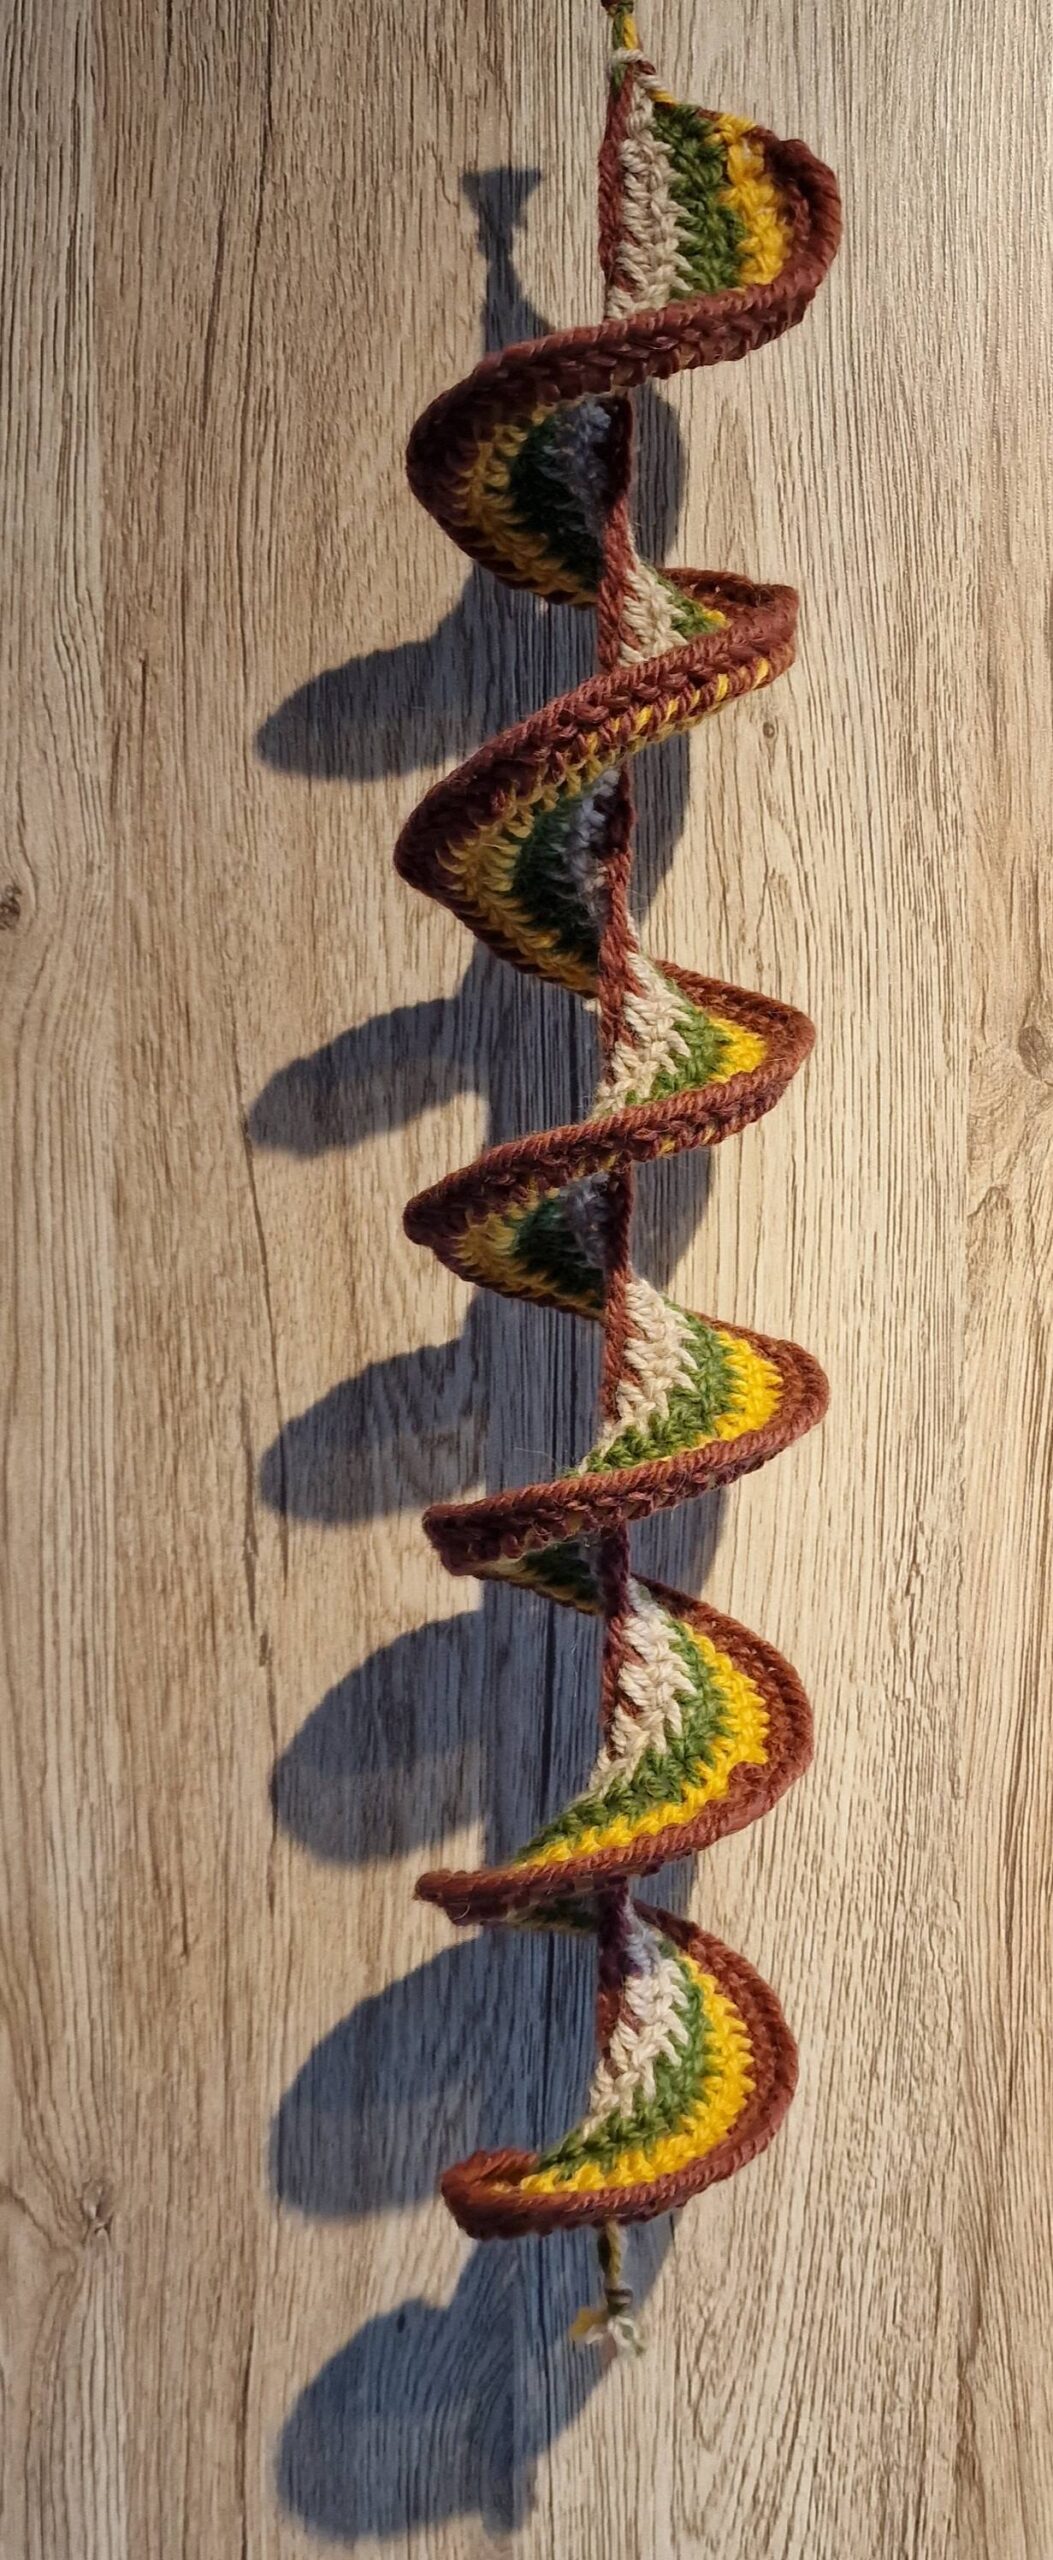
The shape of the spinner is well done and spins very nicely.
My pattern is easy to nalbind and like all my patterns it is also free.
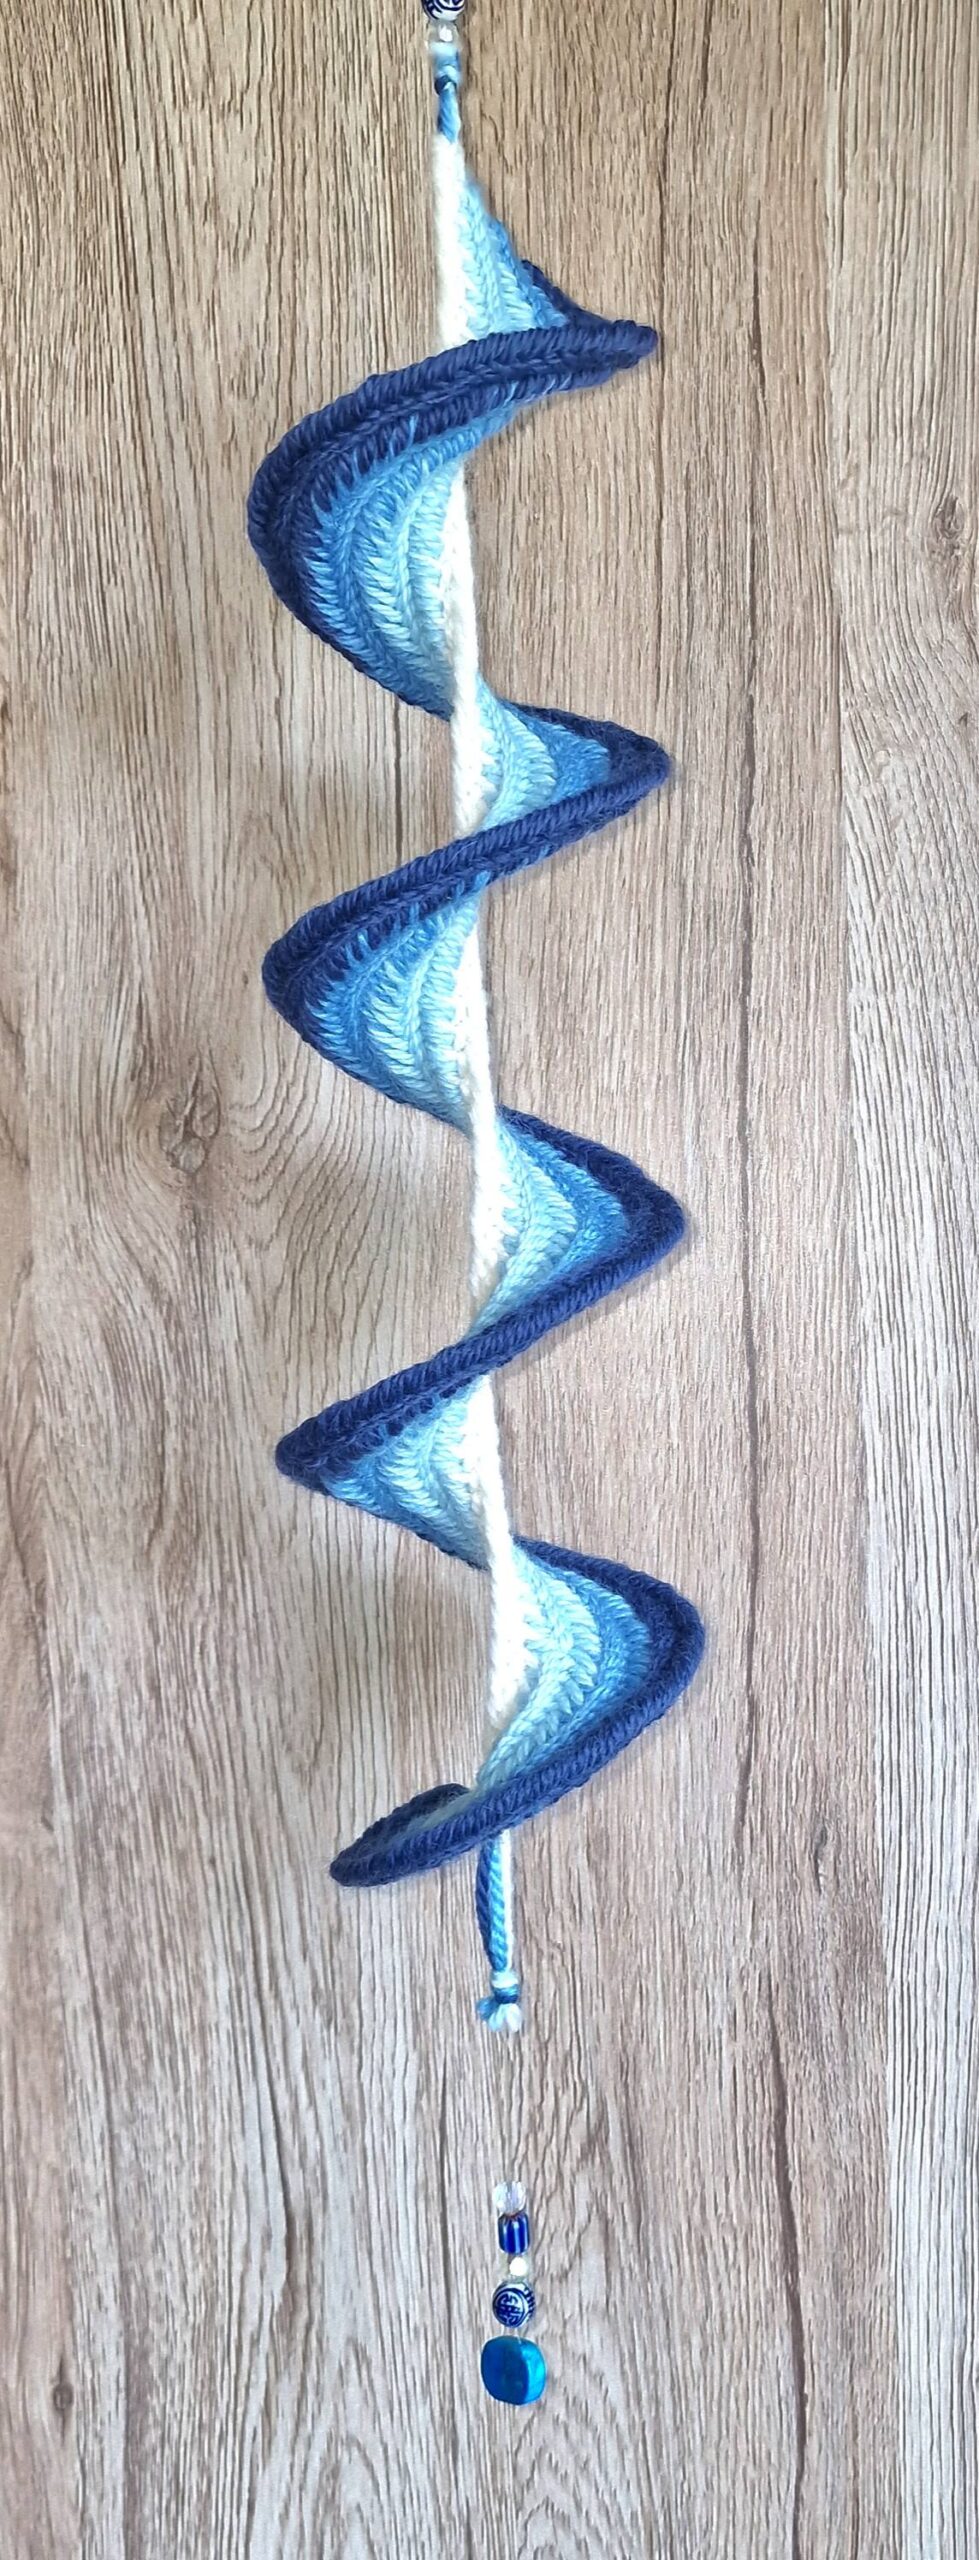
Wind spinner with the Faberg and the Finnish Stitch.
For this spinner I use the Faberg and the Finnish stitch and connecting stitch F2.
I start with a row of 50 Faberg stitches (white).
After this, insert the needle again into the beginners knot and increase all stitches. (light bleu), and also use the connecting stitch F2
Then next row needlebind 1 stitch normal and increase the 2nd. (bleu).
The last row you needlebind 2 stitches normal and increase the 3rd (dark bleu).
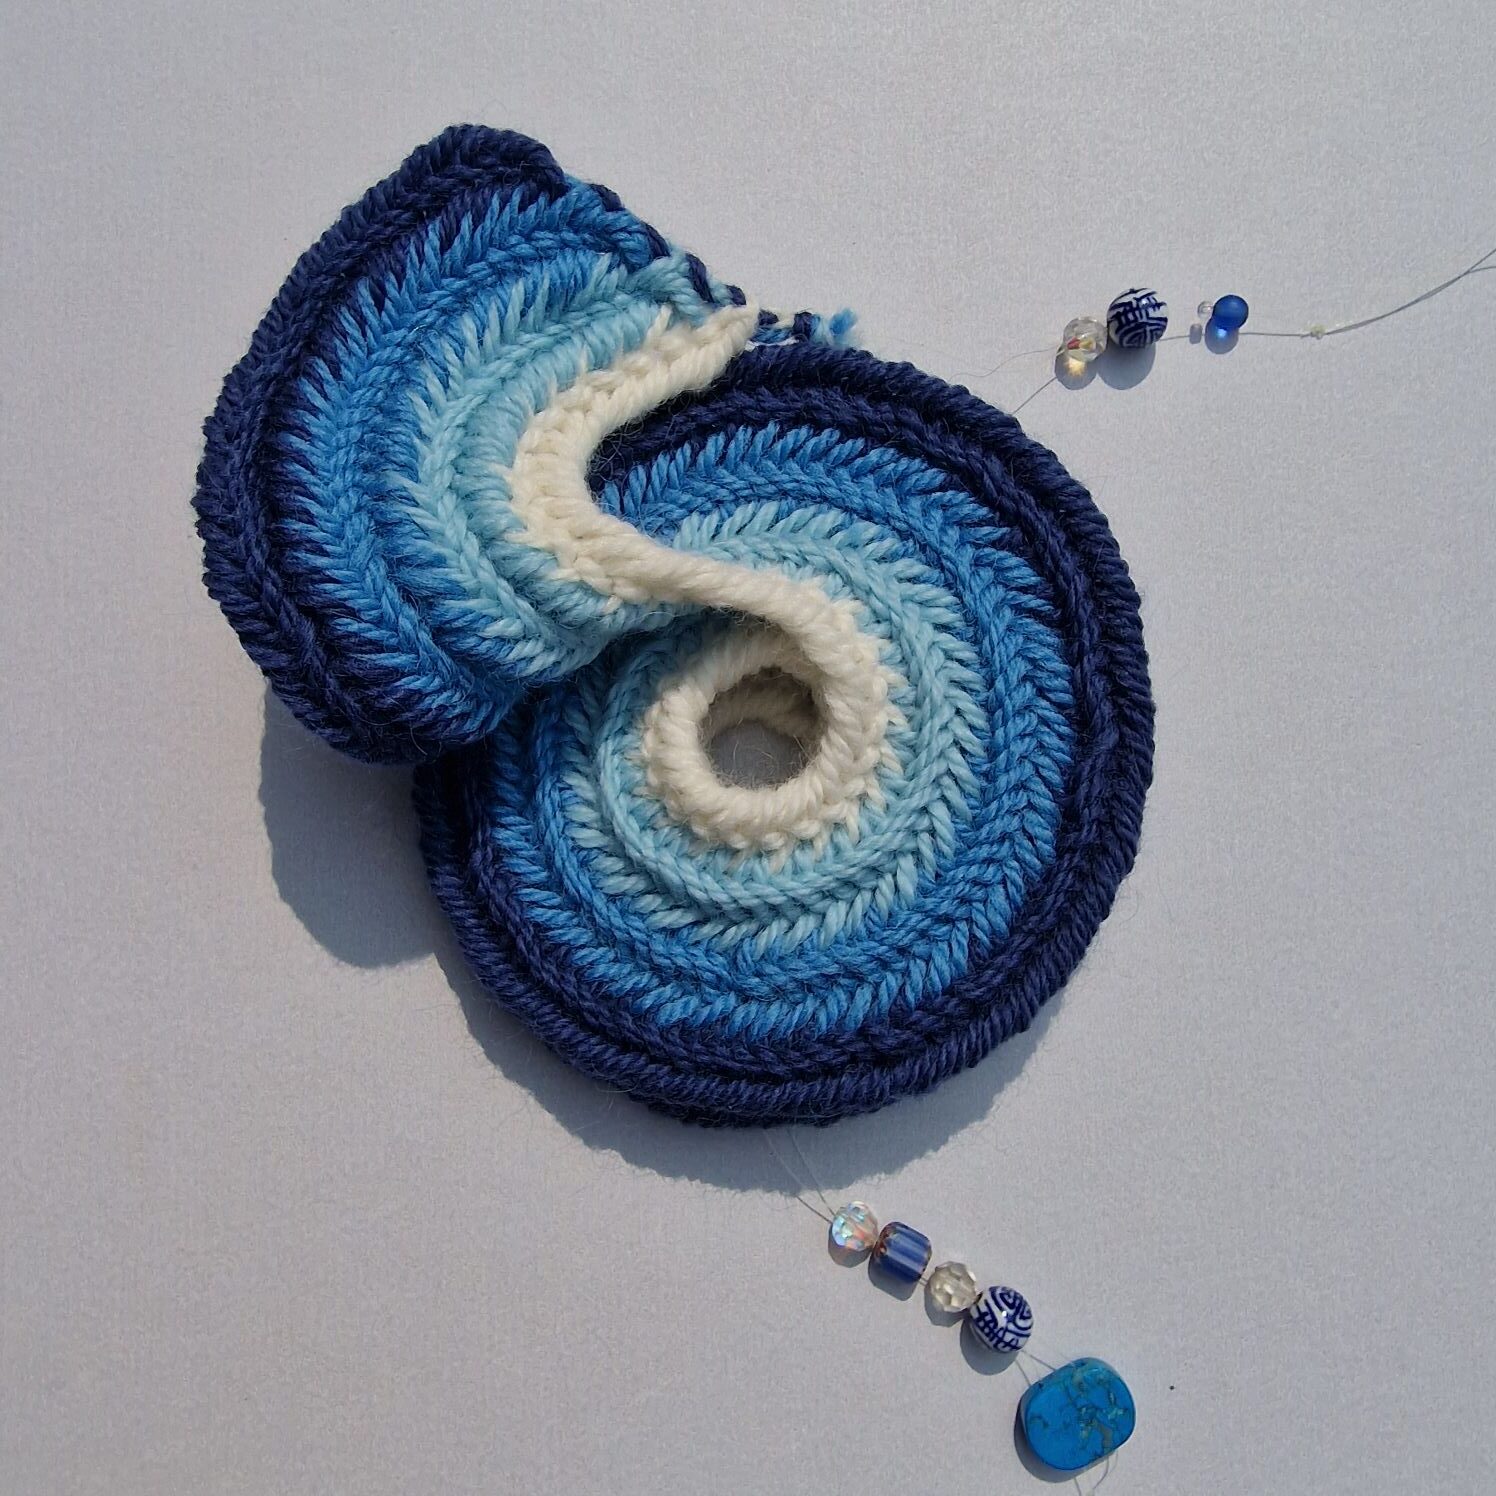
Nice detail photo of the Finnish stitches.
Wind spinner with the Oslo and the Arboga stitch.
For this spinner I use the Faberg and the Arboga stitch and connecting stitch F2.
I start with a row of 70 Oslo stitches ( white ).
After this, insert the needle again into the beginners knot and increase all stitches.
(light yellow ), and also use the connecting stitch F2
Then next row needlebind 1 stitch normal and increase the 2nd. ( orange ).
The last row you needlebind 2 stitches normal and increase the 3rd ( purple ).
Nice detail photo of the Arboga stitches.

Nice detail photo of the Arboga stitches.
This is one of my most beautiful color combinations.