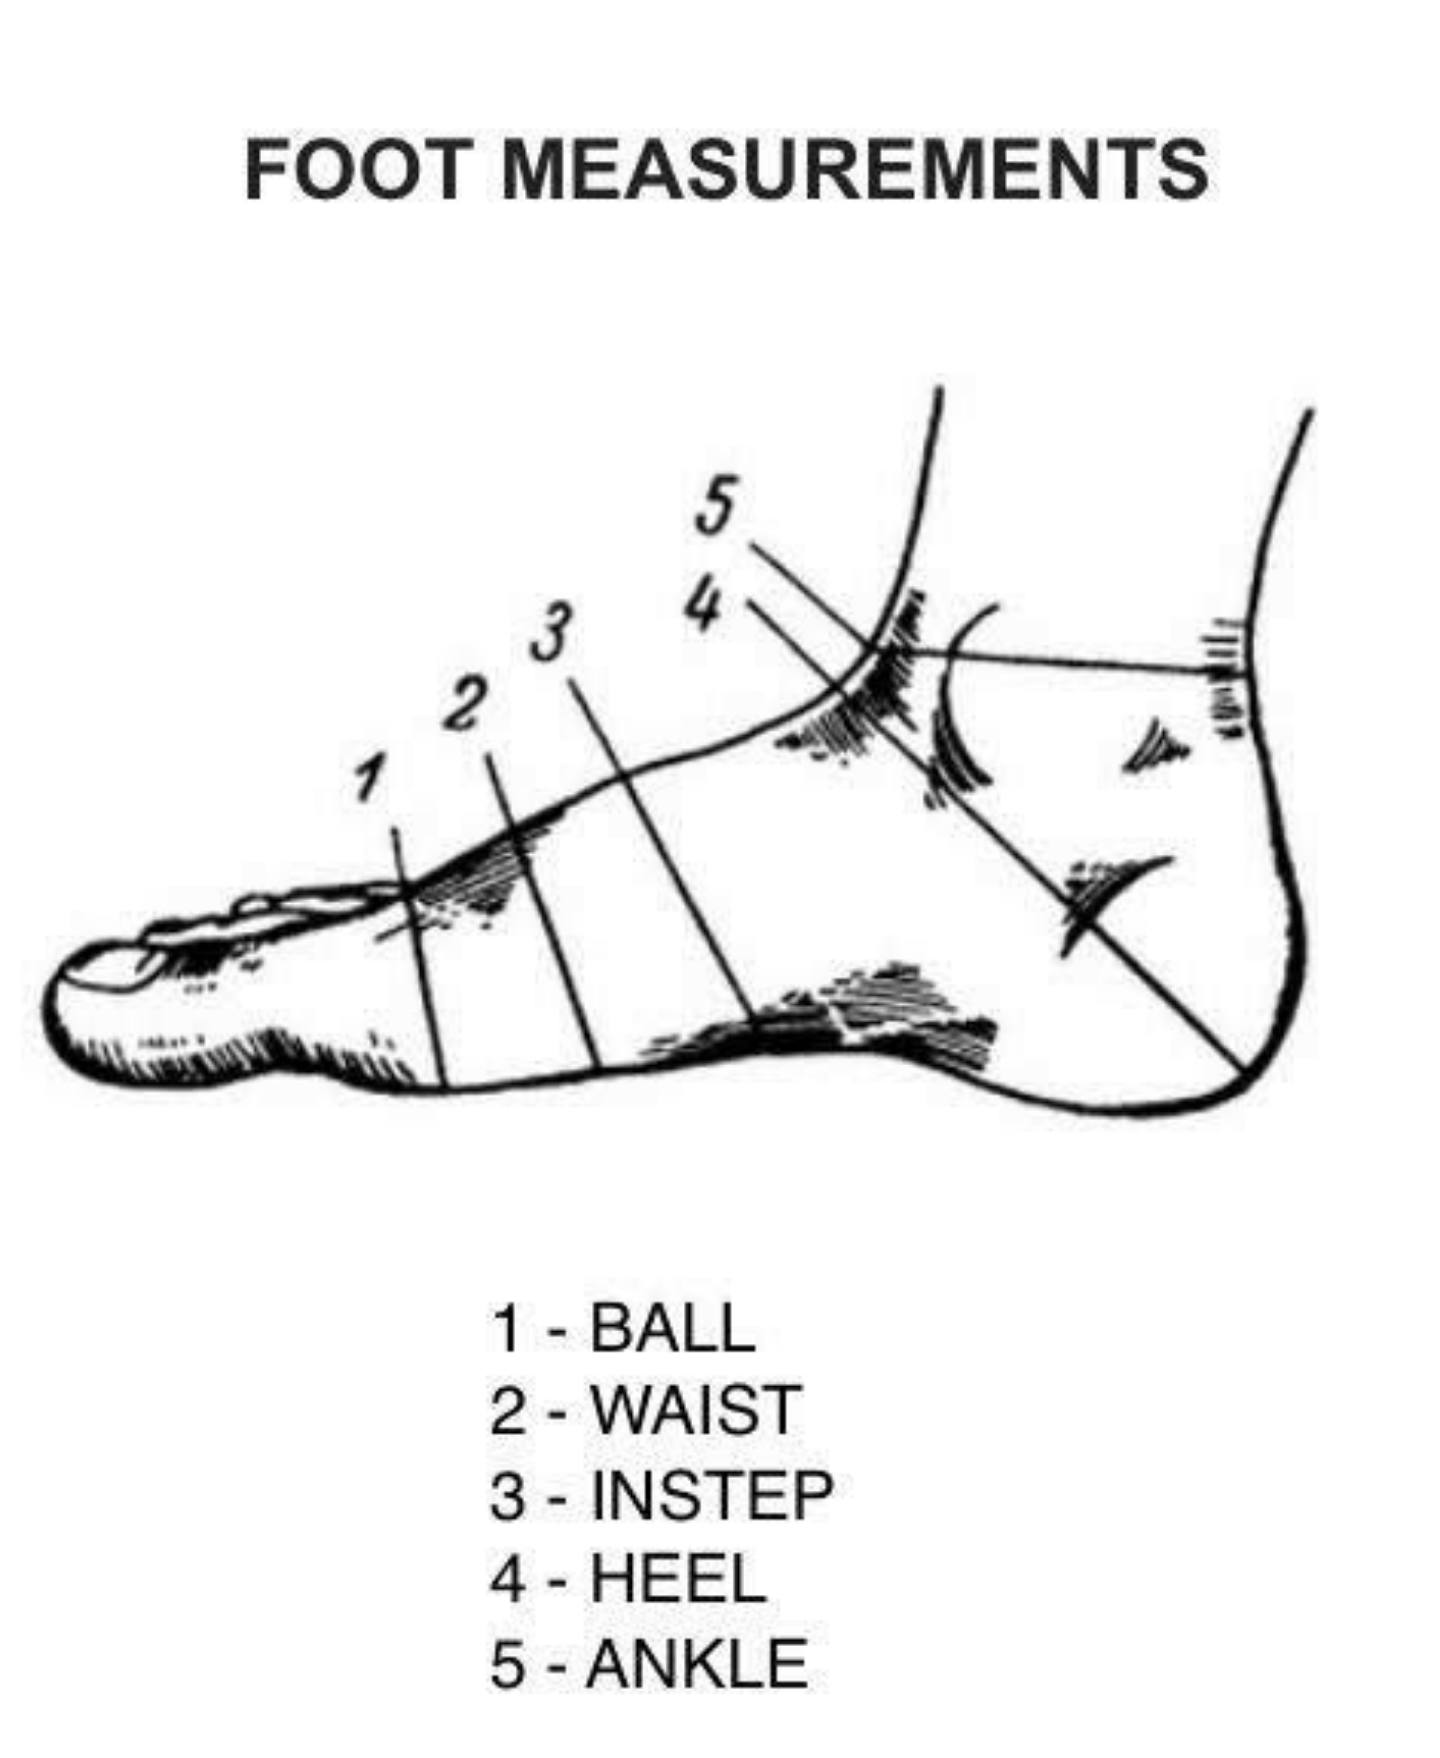
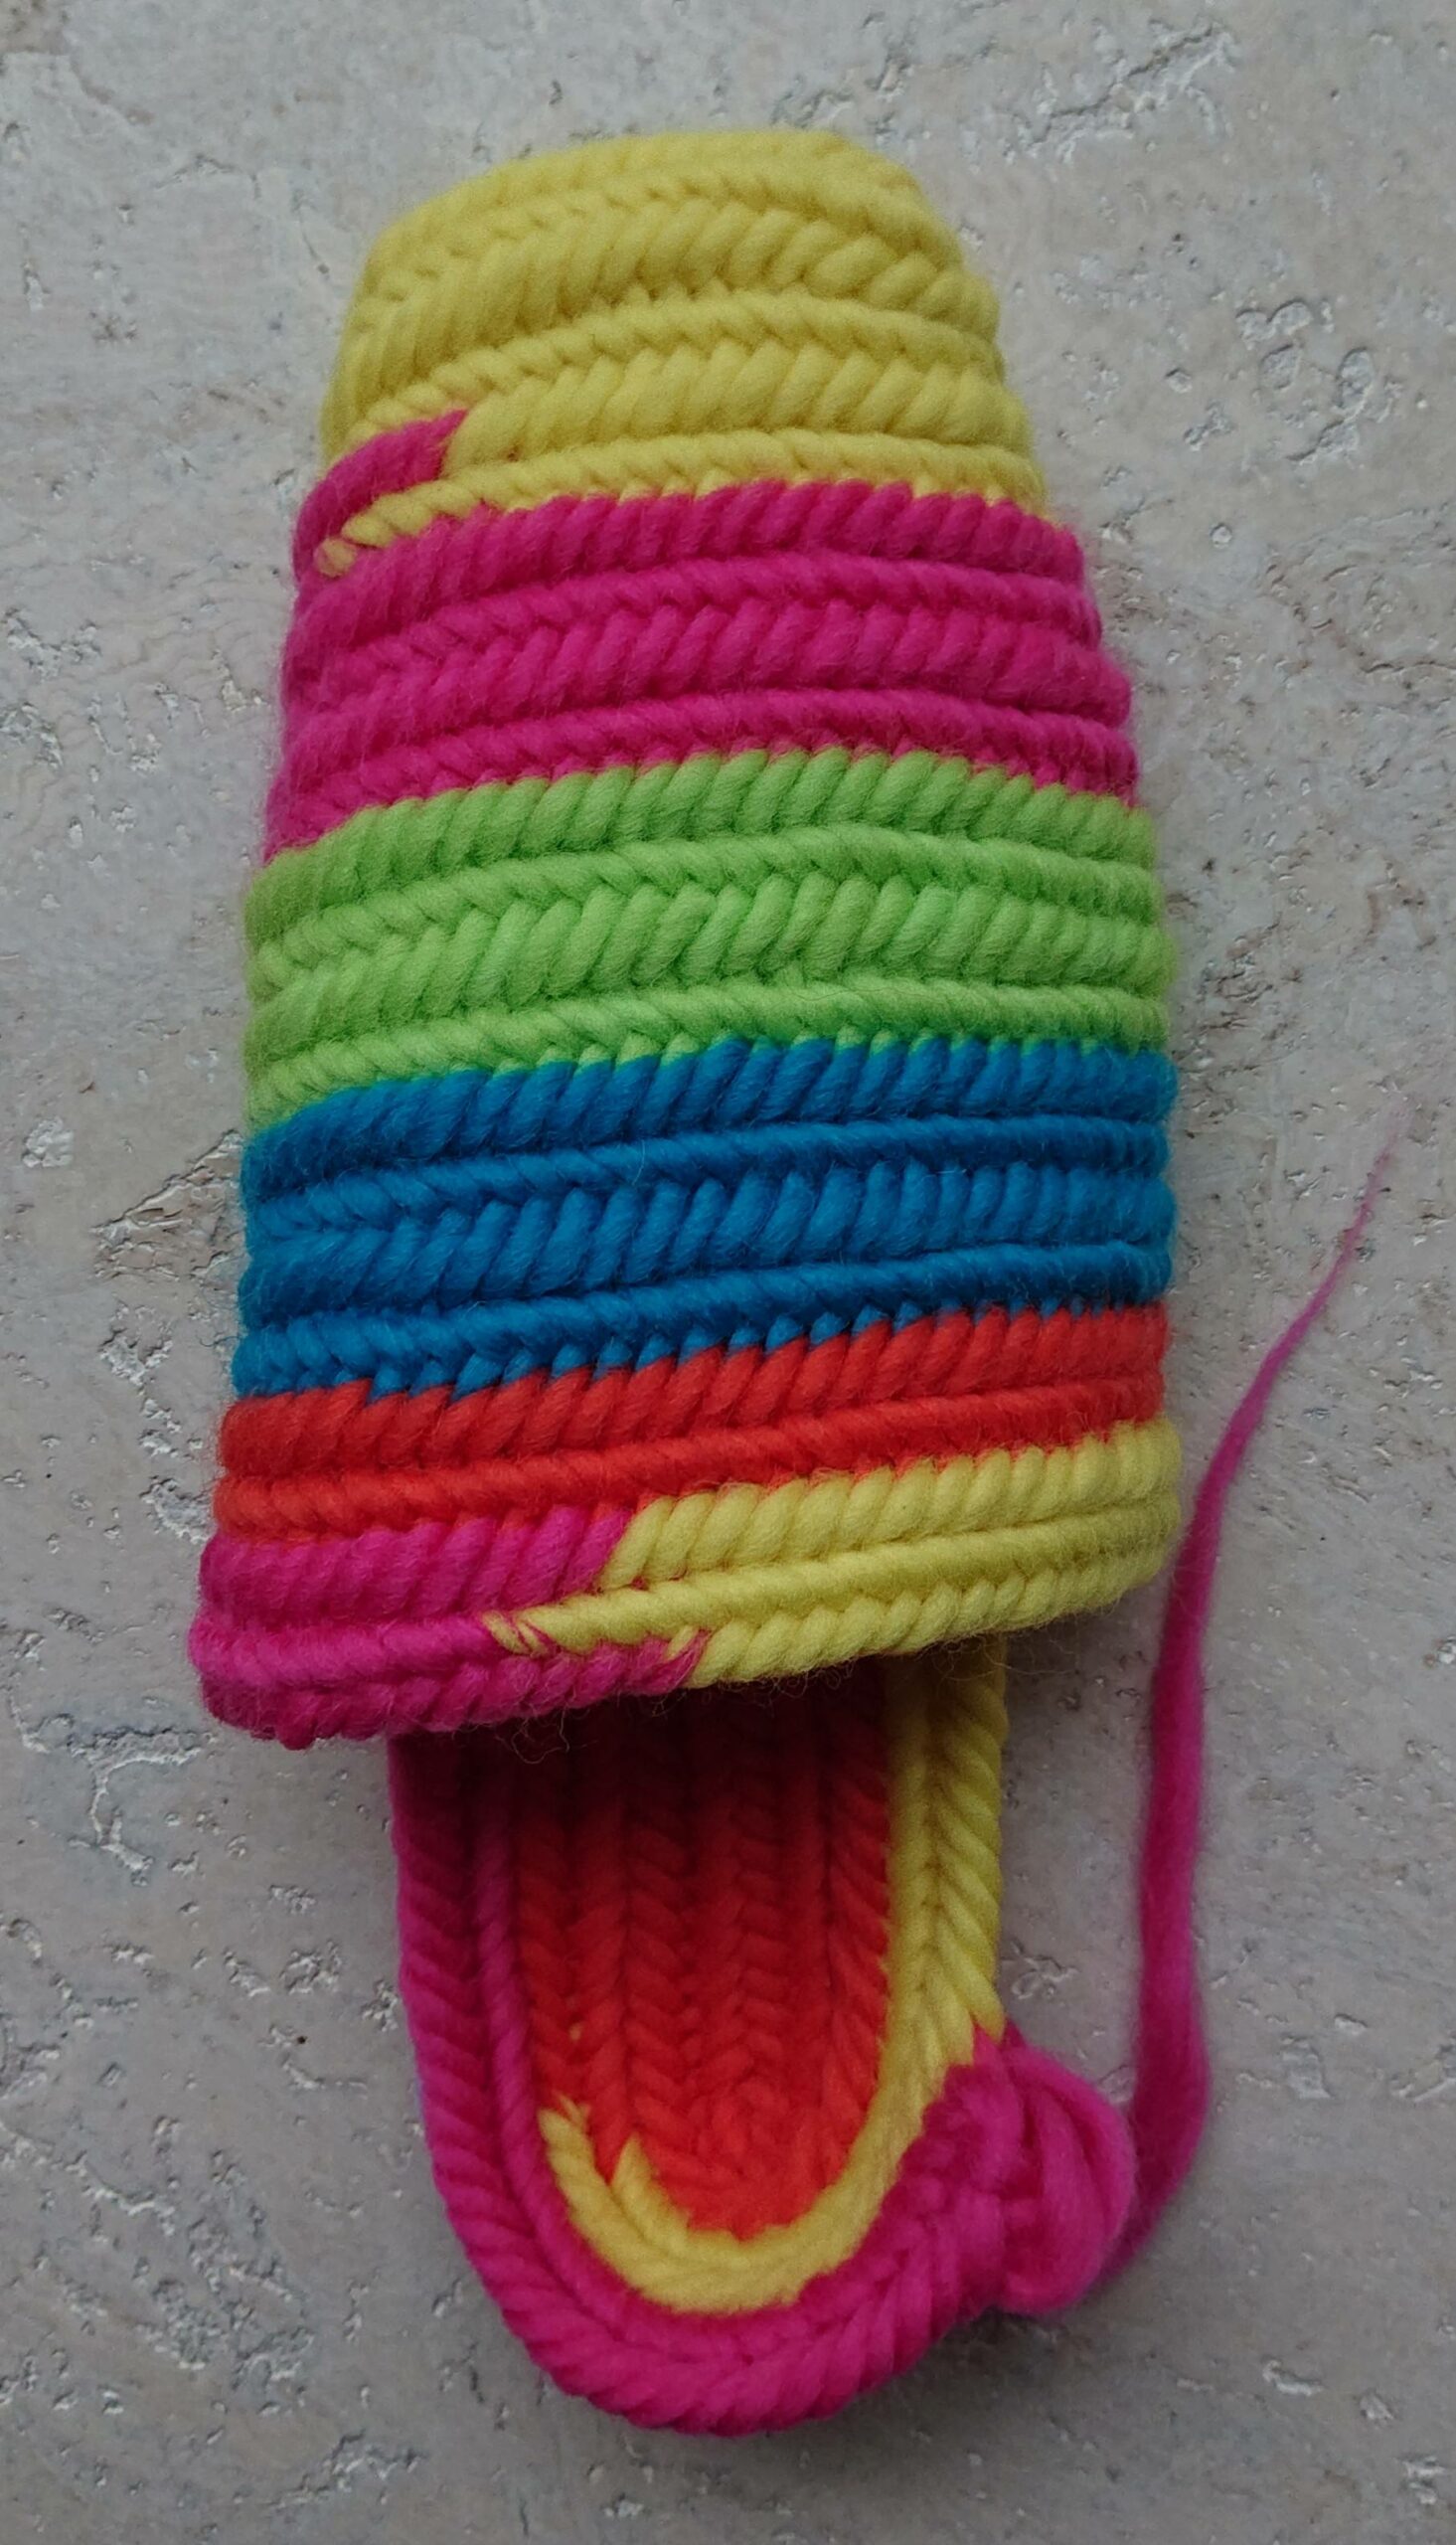
Needlebind socks with the Swedish Klas Brita style you get a different kind of heel than the basic socks (no small holes).
These socks are easy to needlebind and have a very beautiful heel and with one needle
Make a row of stitched (18) and bend back and at the end of the row increase 3 stitches.
And the next rows increase 2 stitiches on both sides, so that the sock becomes wider.
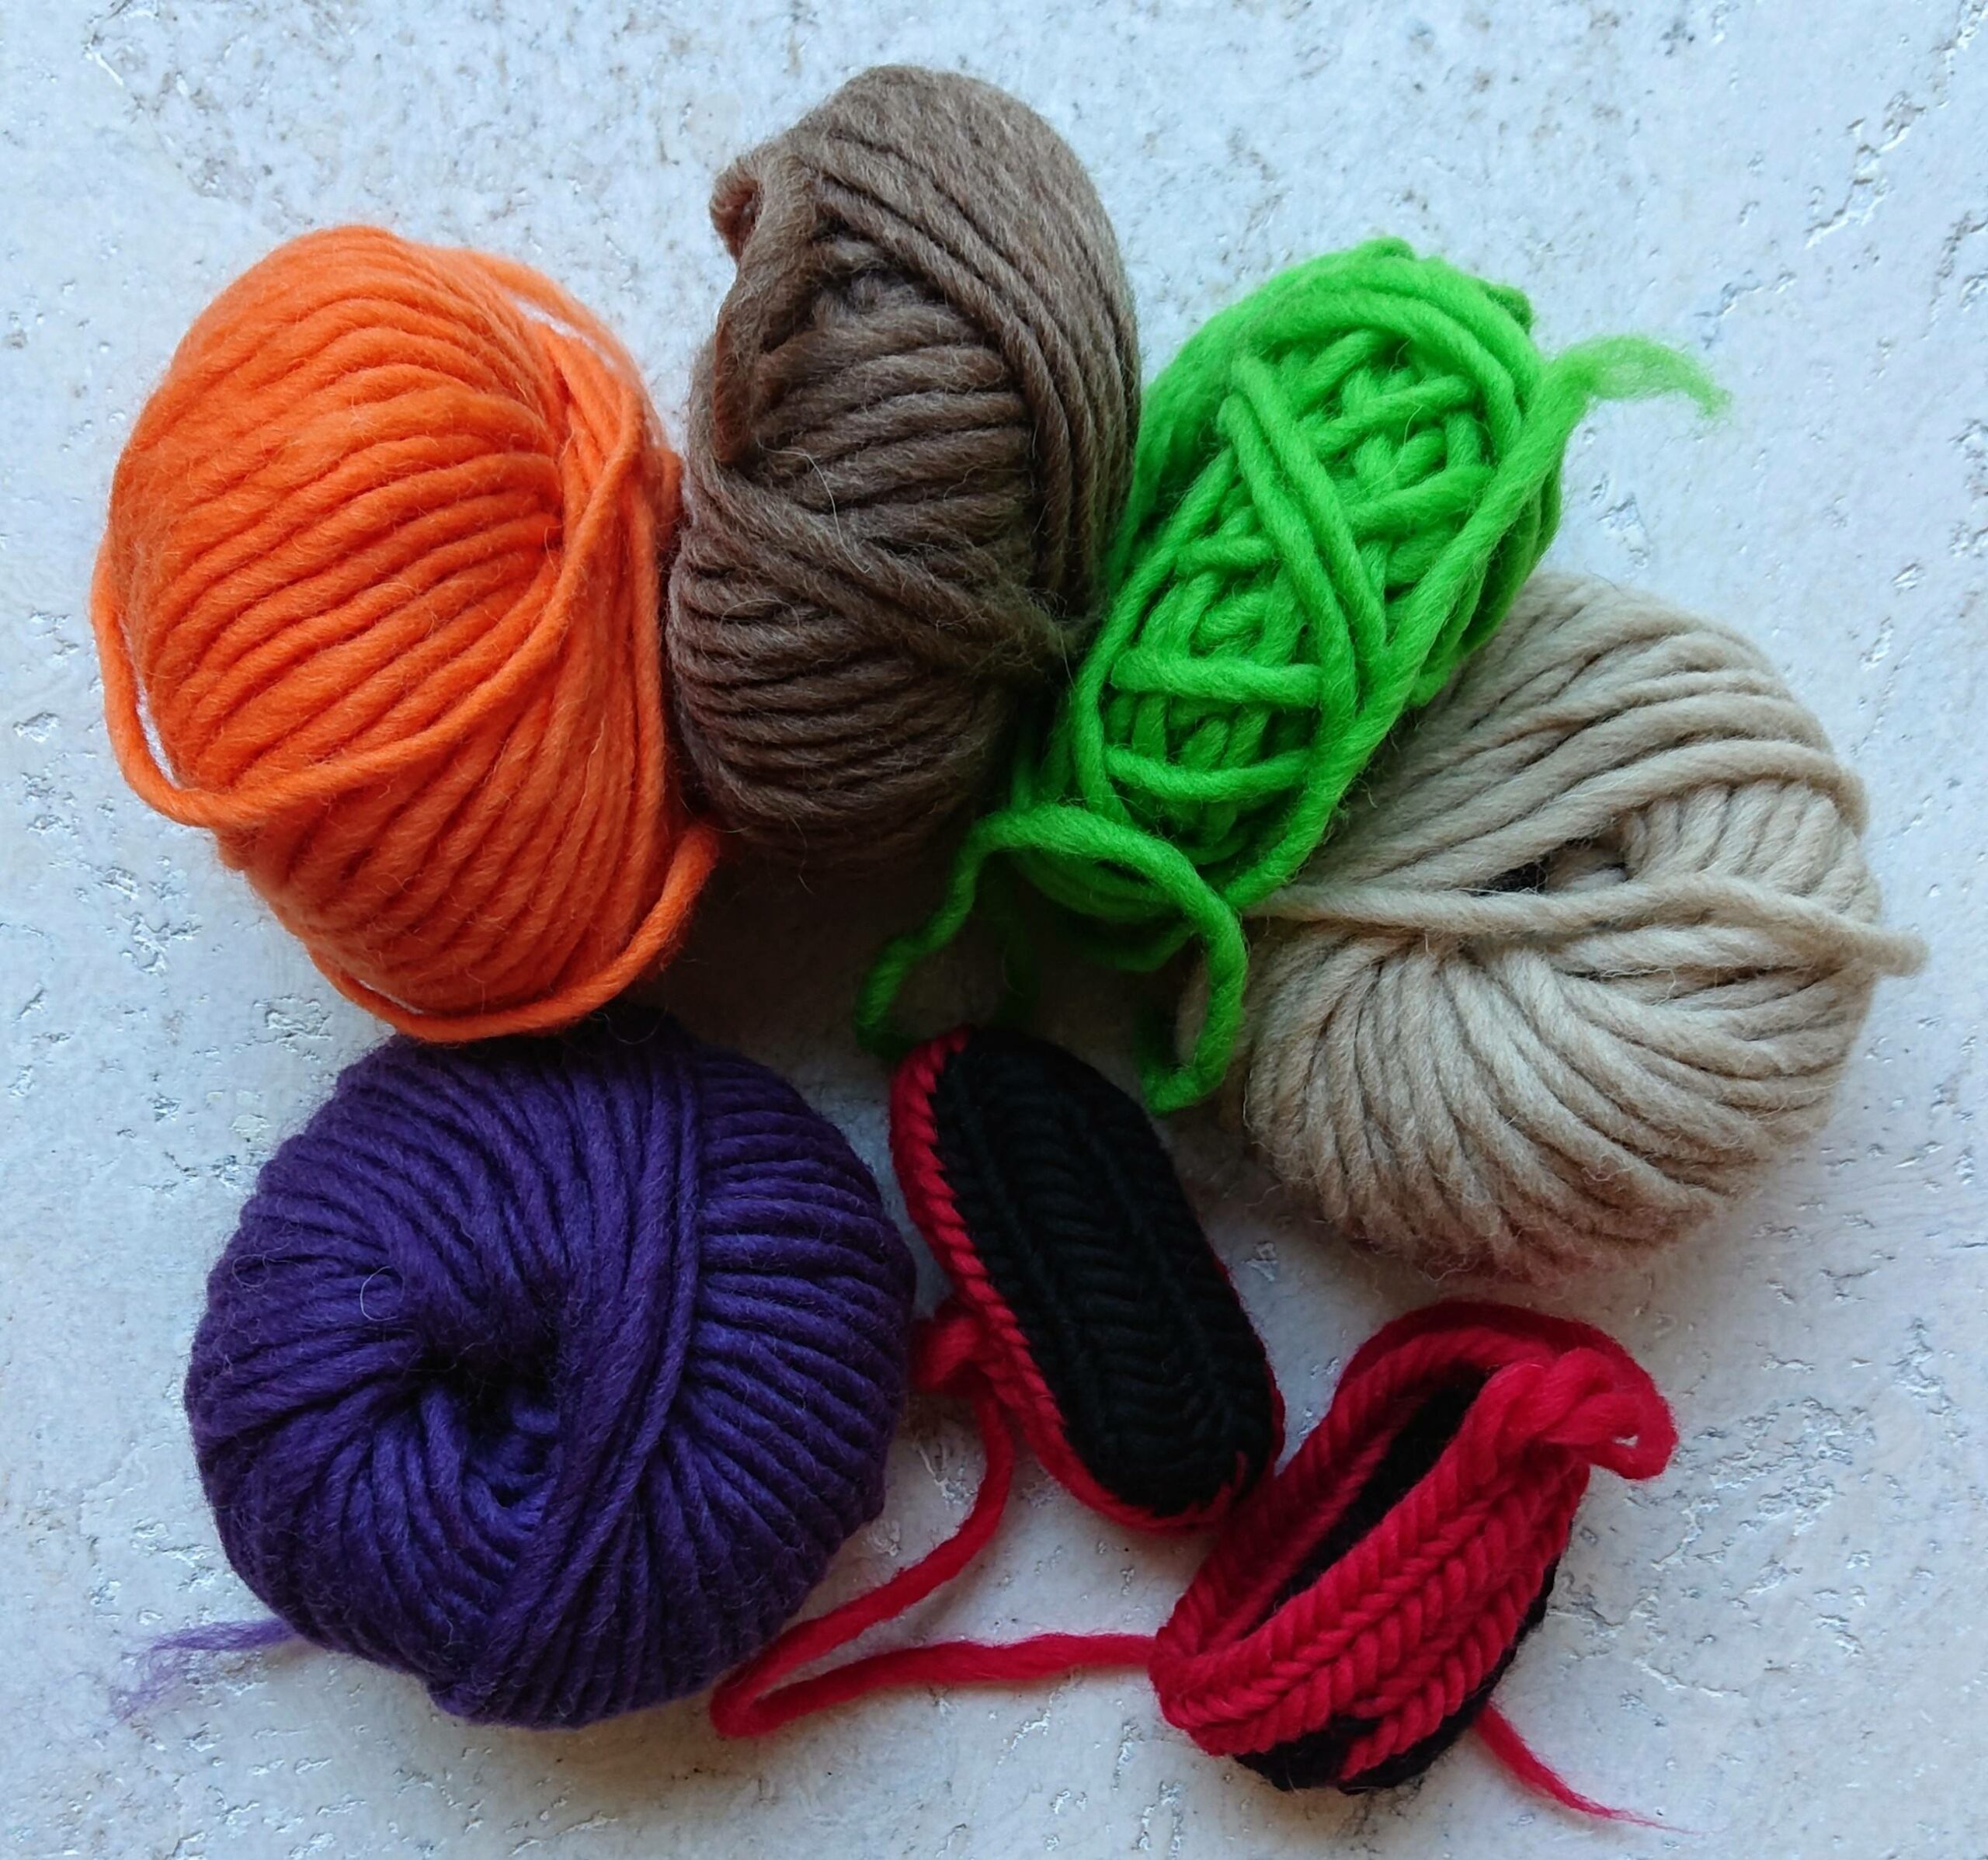
I Needlebind socks at the same time so that they are made with the same strength. I regularly adjust the sock around my feet to see if the size is right.
Slightly beyond the center of the foot i make a loose row of stitches so called ‘finger’.

The lenght of the finger is half the lenght of your foot, when needlebind the corner, the lenght of the finger gets shorter, a few centimeters and that is, what we want becauce when you needlebind the heel it becomes longer because of increasing.
At the base of the finger decrease 3 stitches on both sides.
When you reached the top of the finger increase 5 stitches.
Then at the base of the finger decrease 5 stitches.
When you reached the top of the finger you increace 3 stitches.
Now you nalbind 4 rounds with decreasing 5 stitches at base of the finger so that the sharp corners get round.
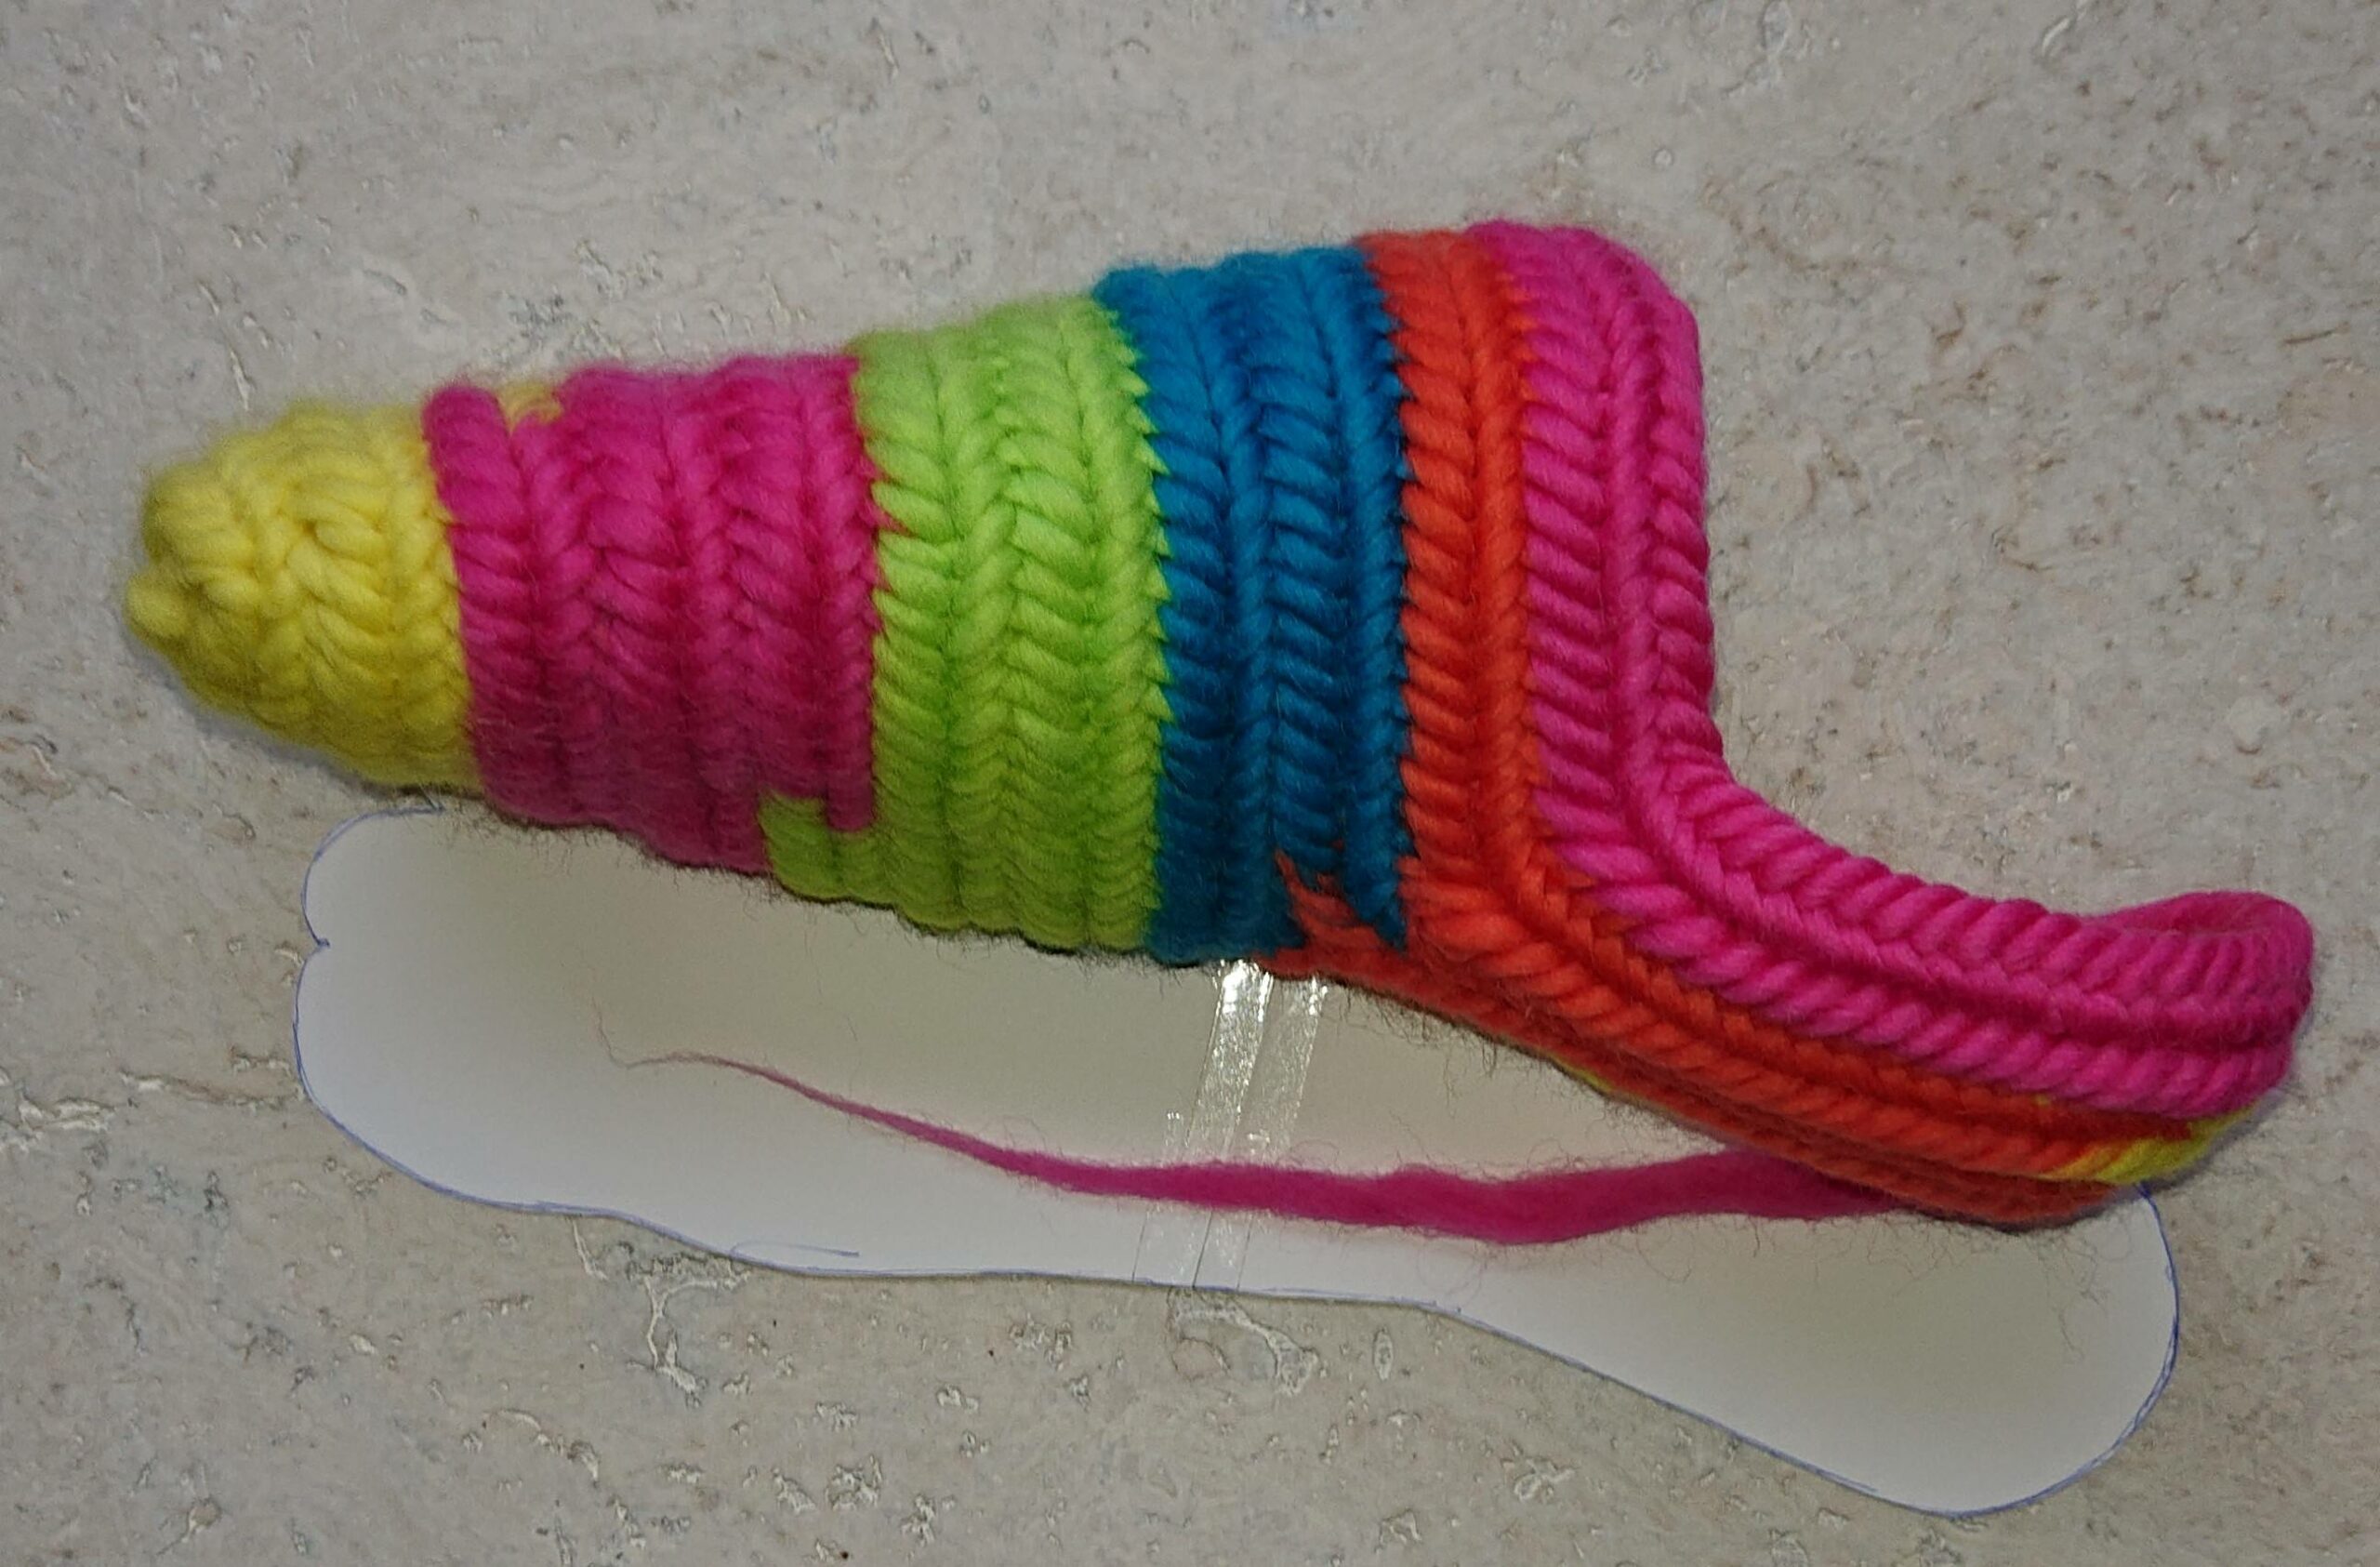
Measure the sock and when you are at the ankle you will not increase more and just needlebind.
If the sock has the desired length then finish the sock.

To needlebind socks was a great challenge and i was very very happy that it worked. 🙂
Nalbinding easy slippers is my 37 Youtube video.
I always forget to ask if you’d like to subscribe to my YouTube channel: happy needlebinding If I have a lot of subscribers, I can email magazines to write an article about this wonderful old craft so I can pass it on to the next generation.
Thank you kindly in advance. bert veugelers.
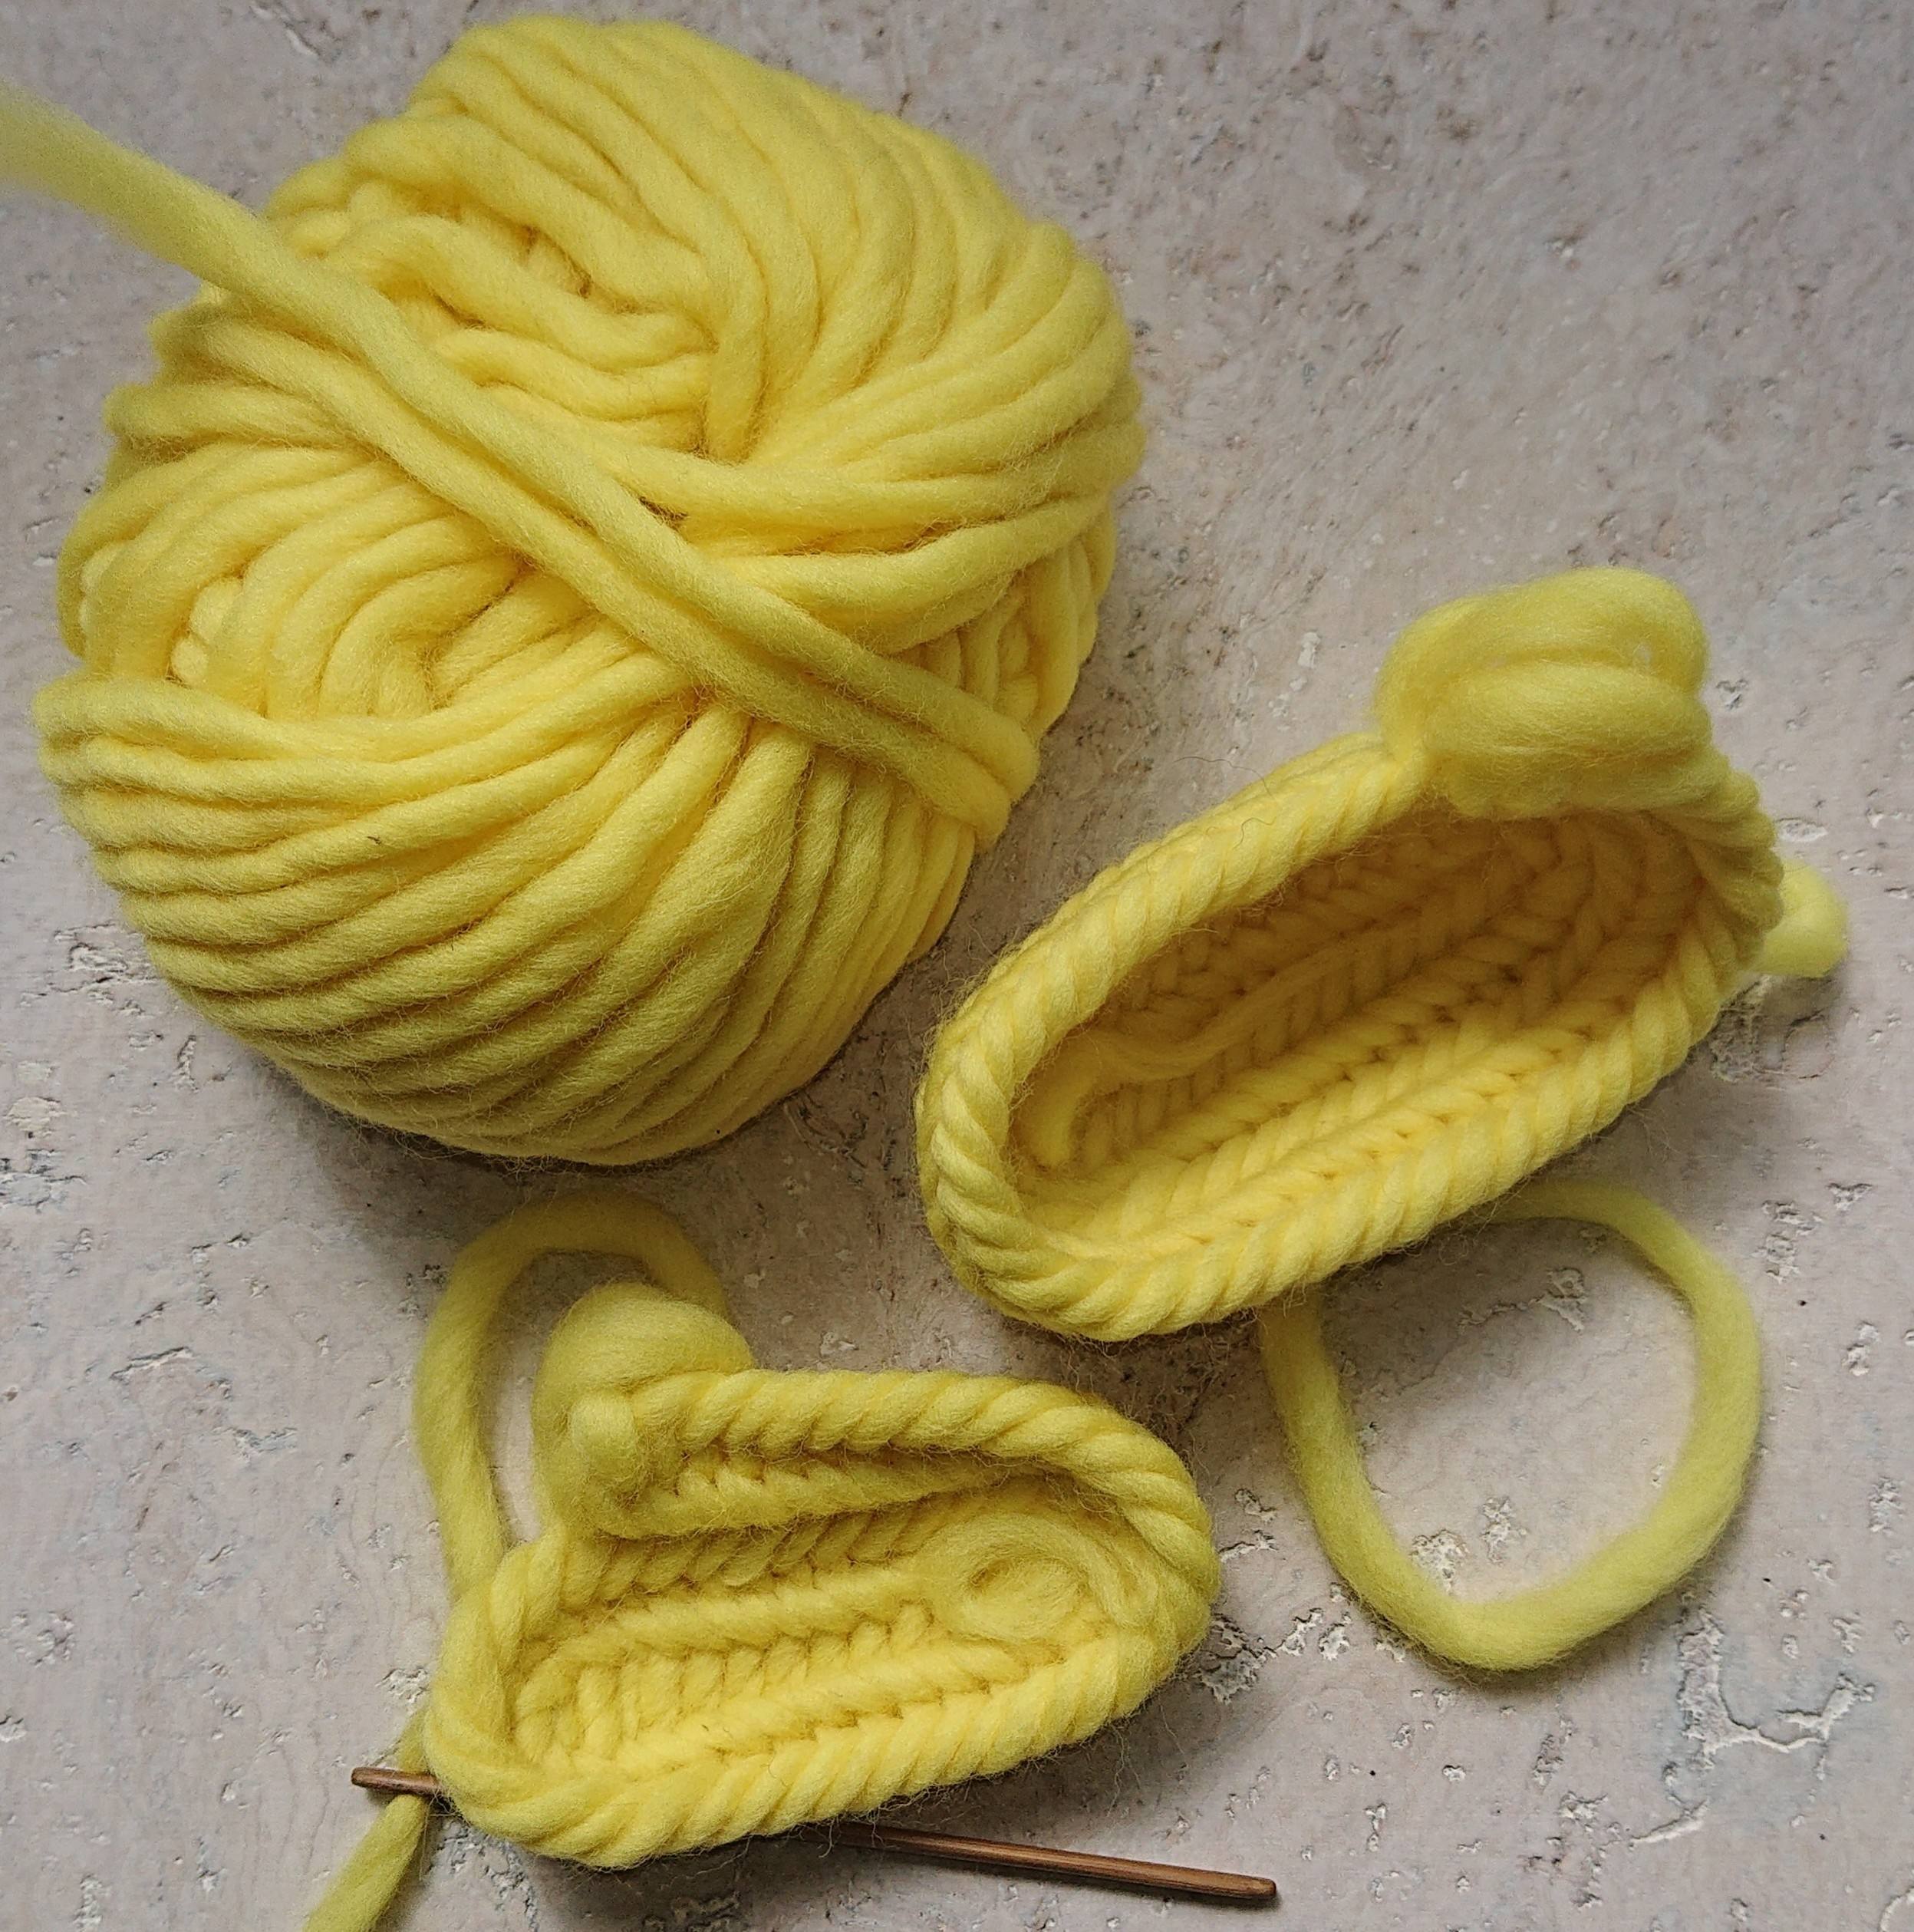
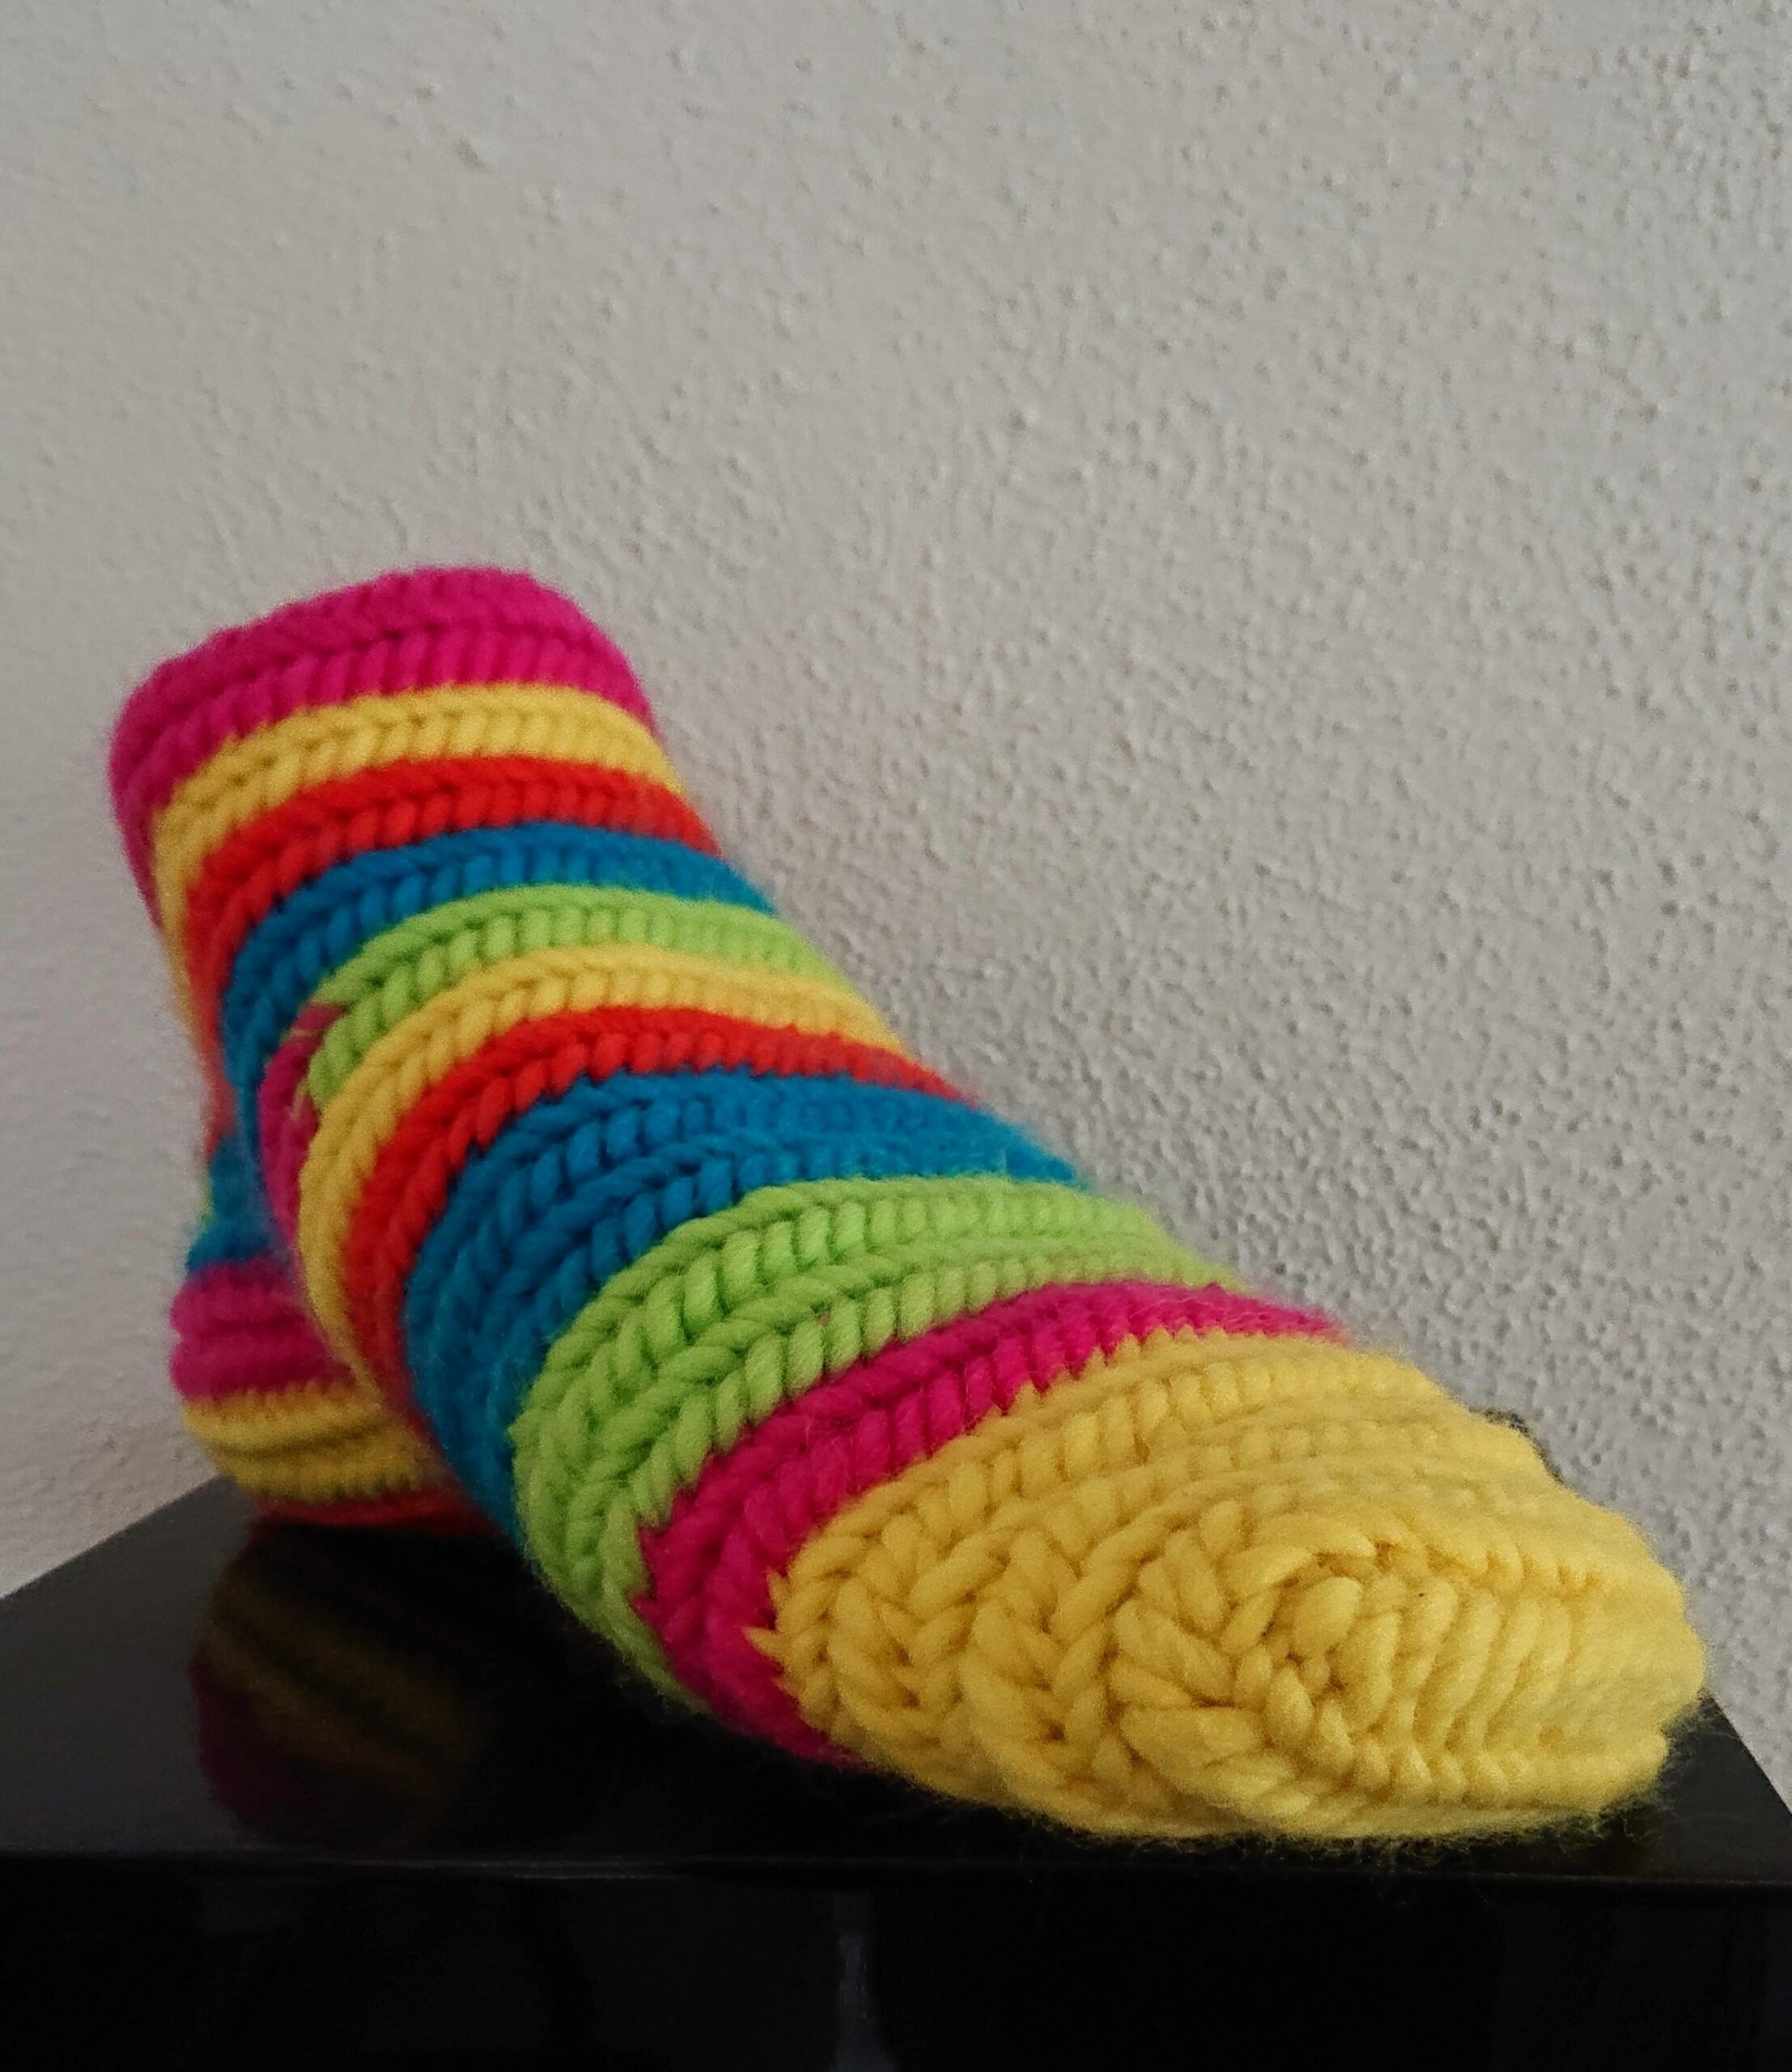
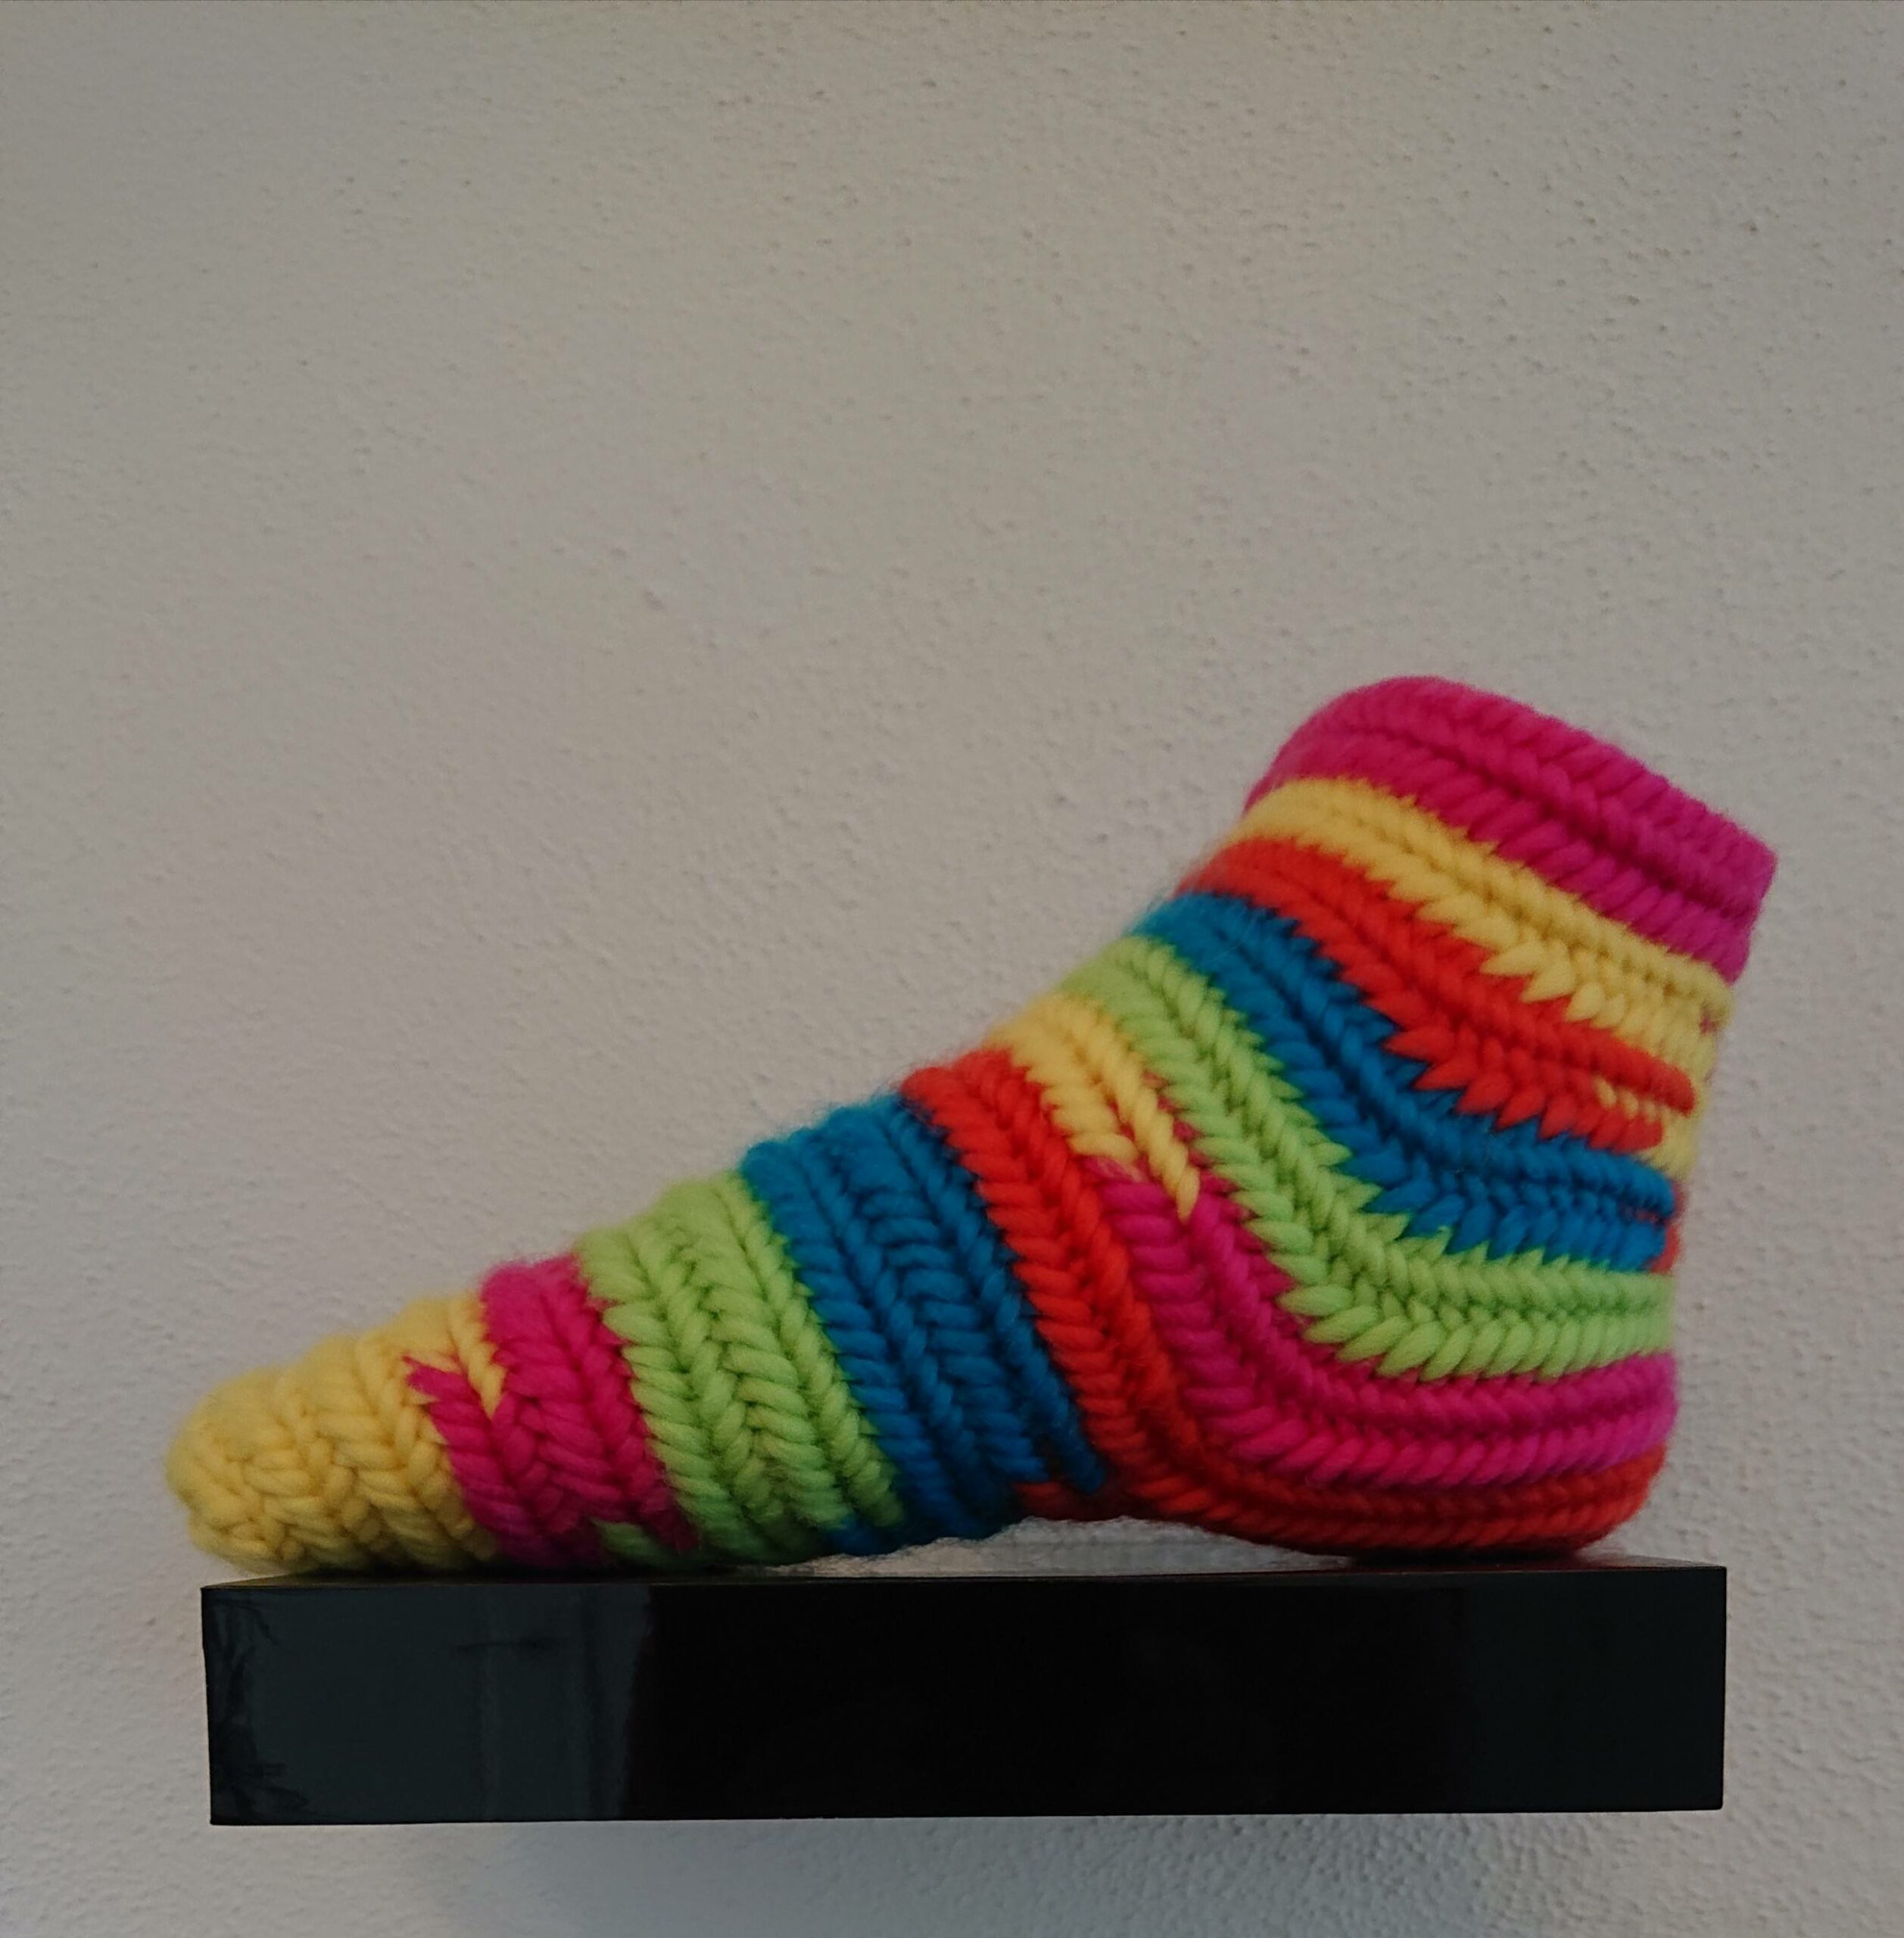
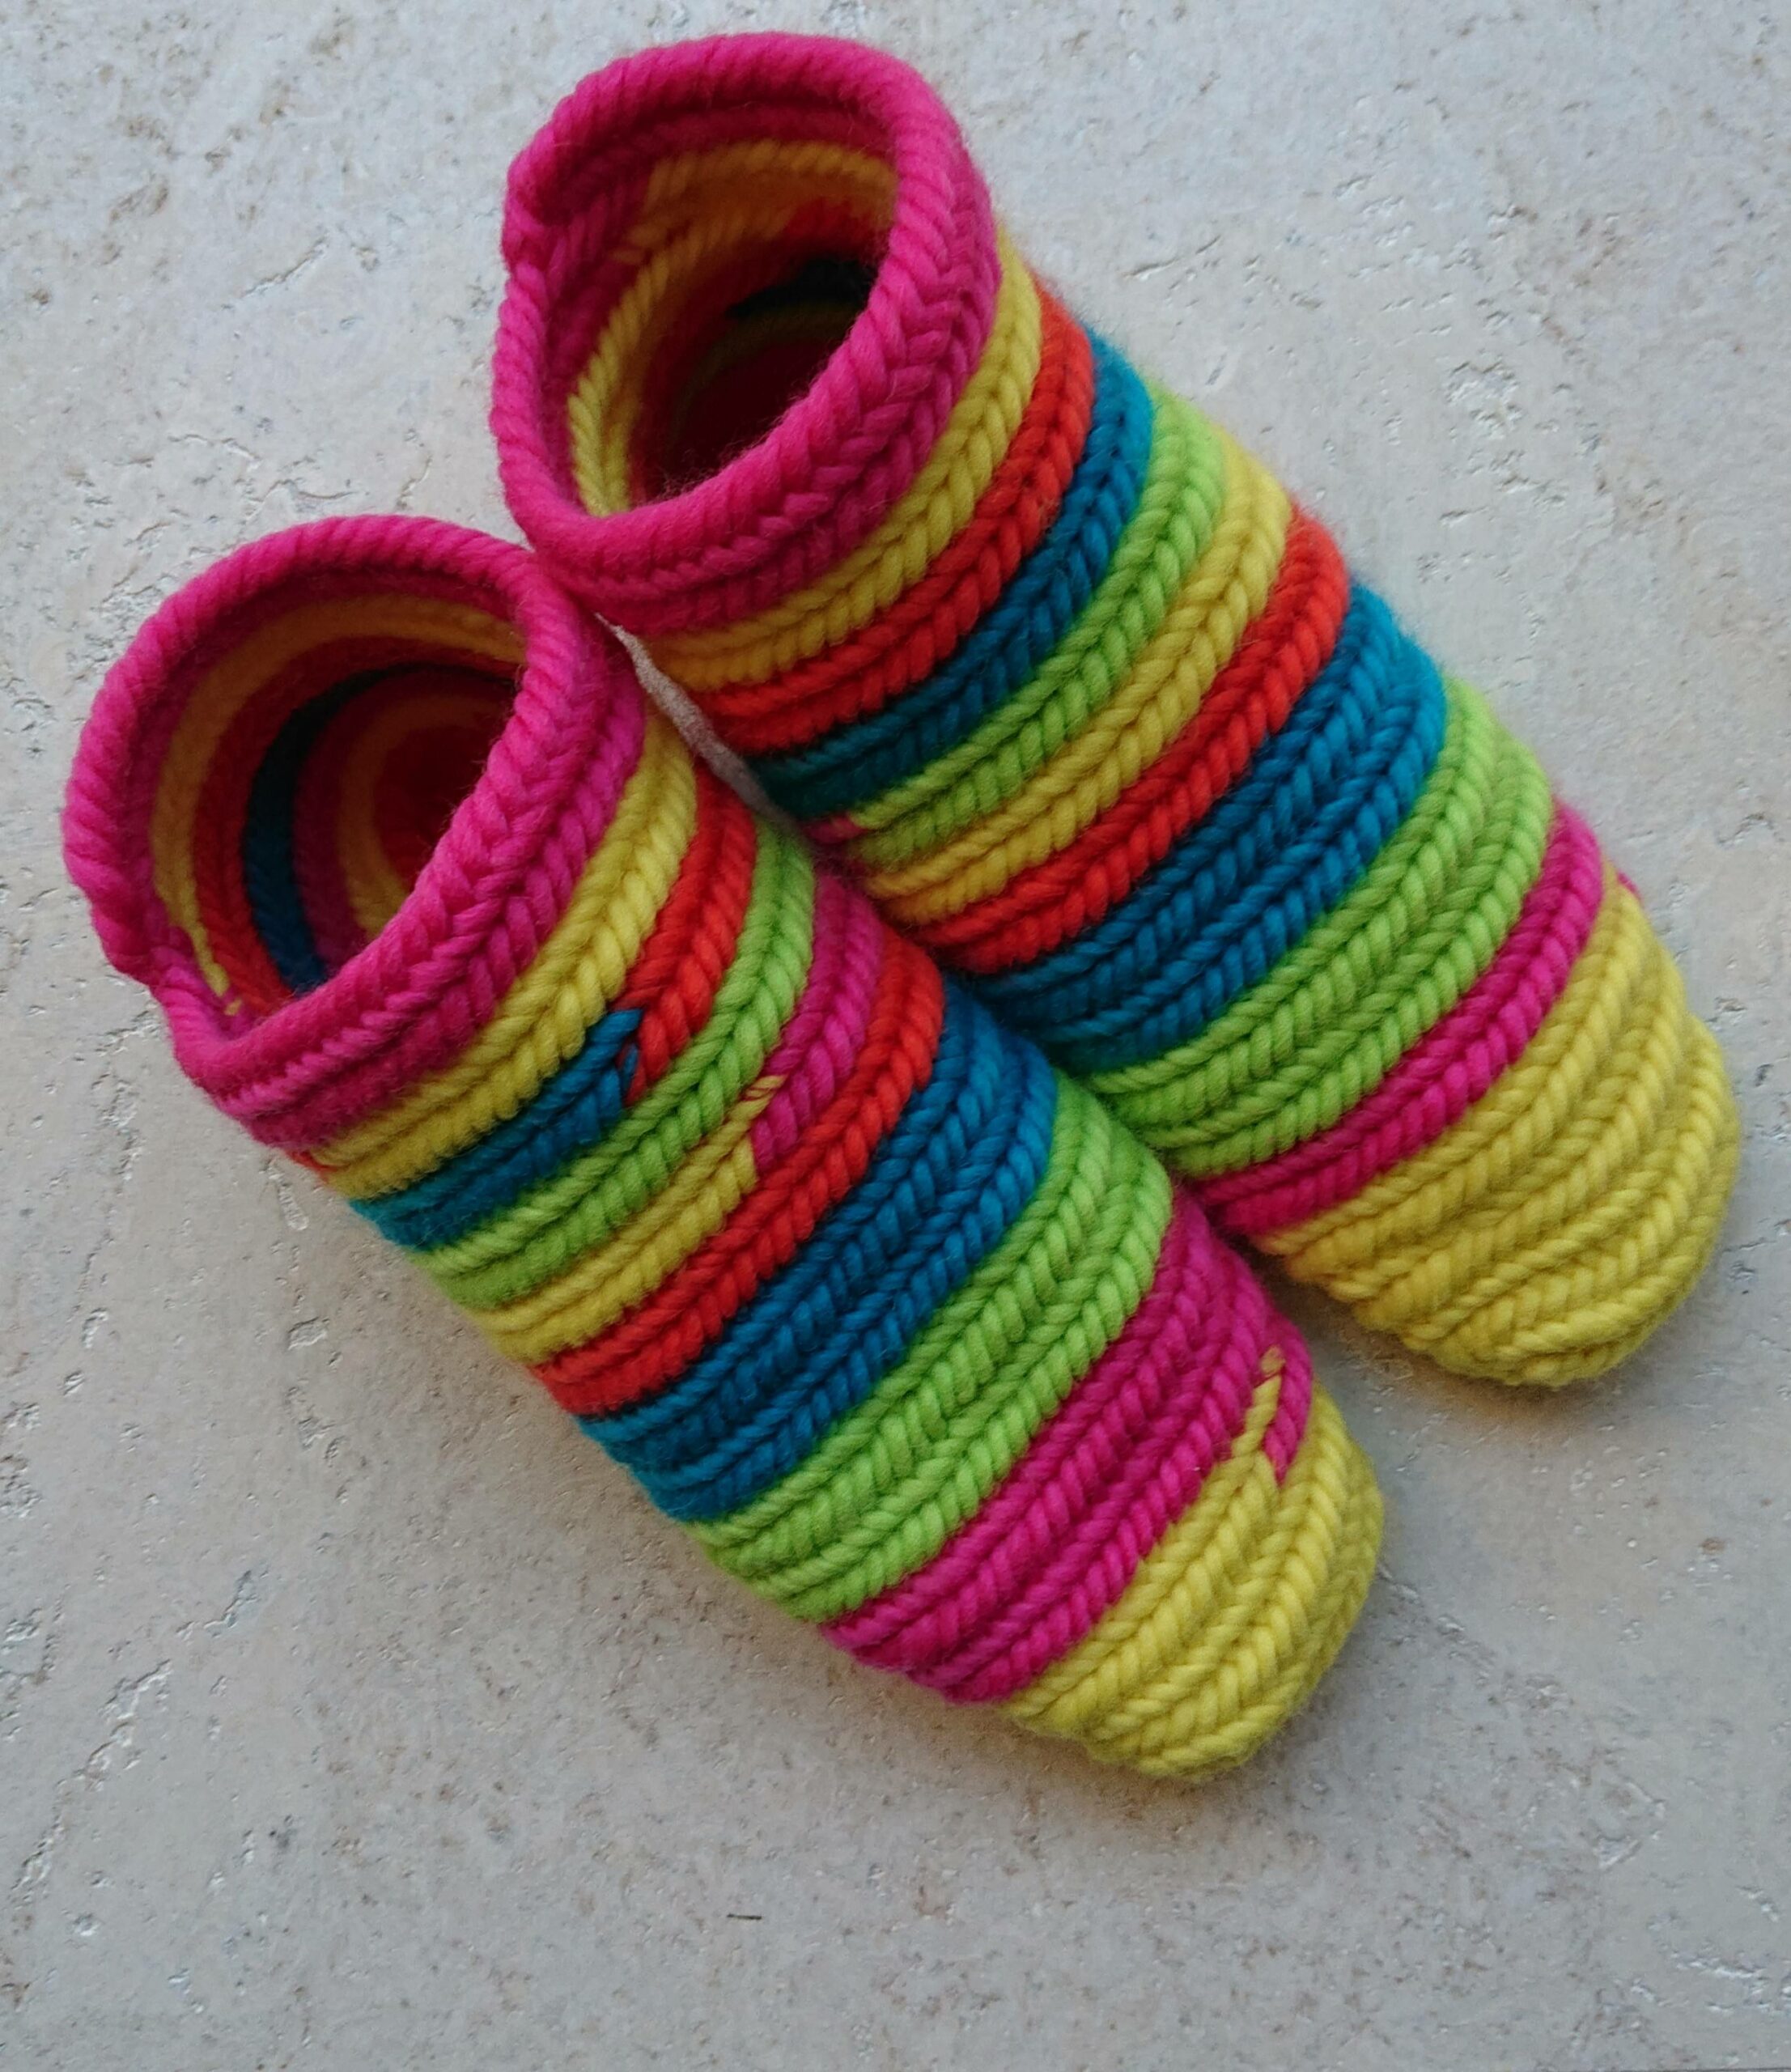
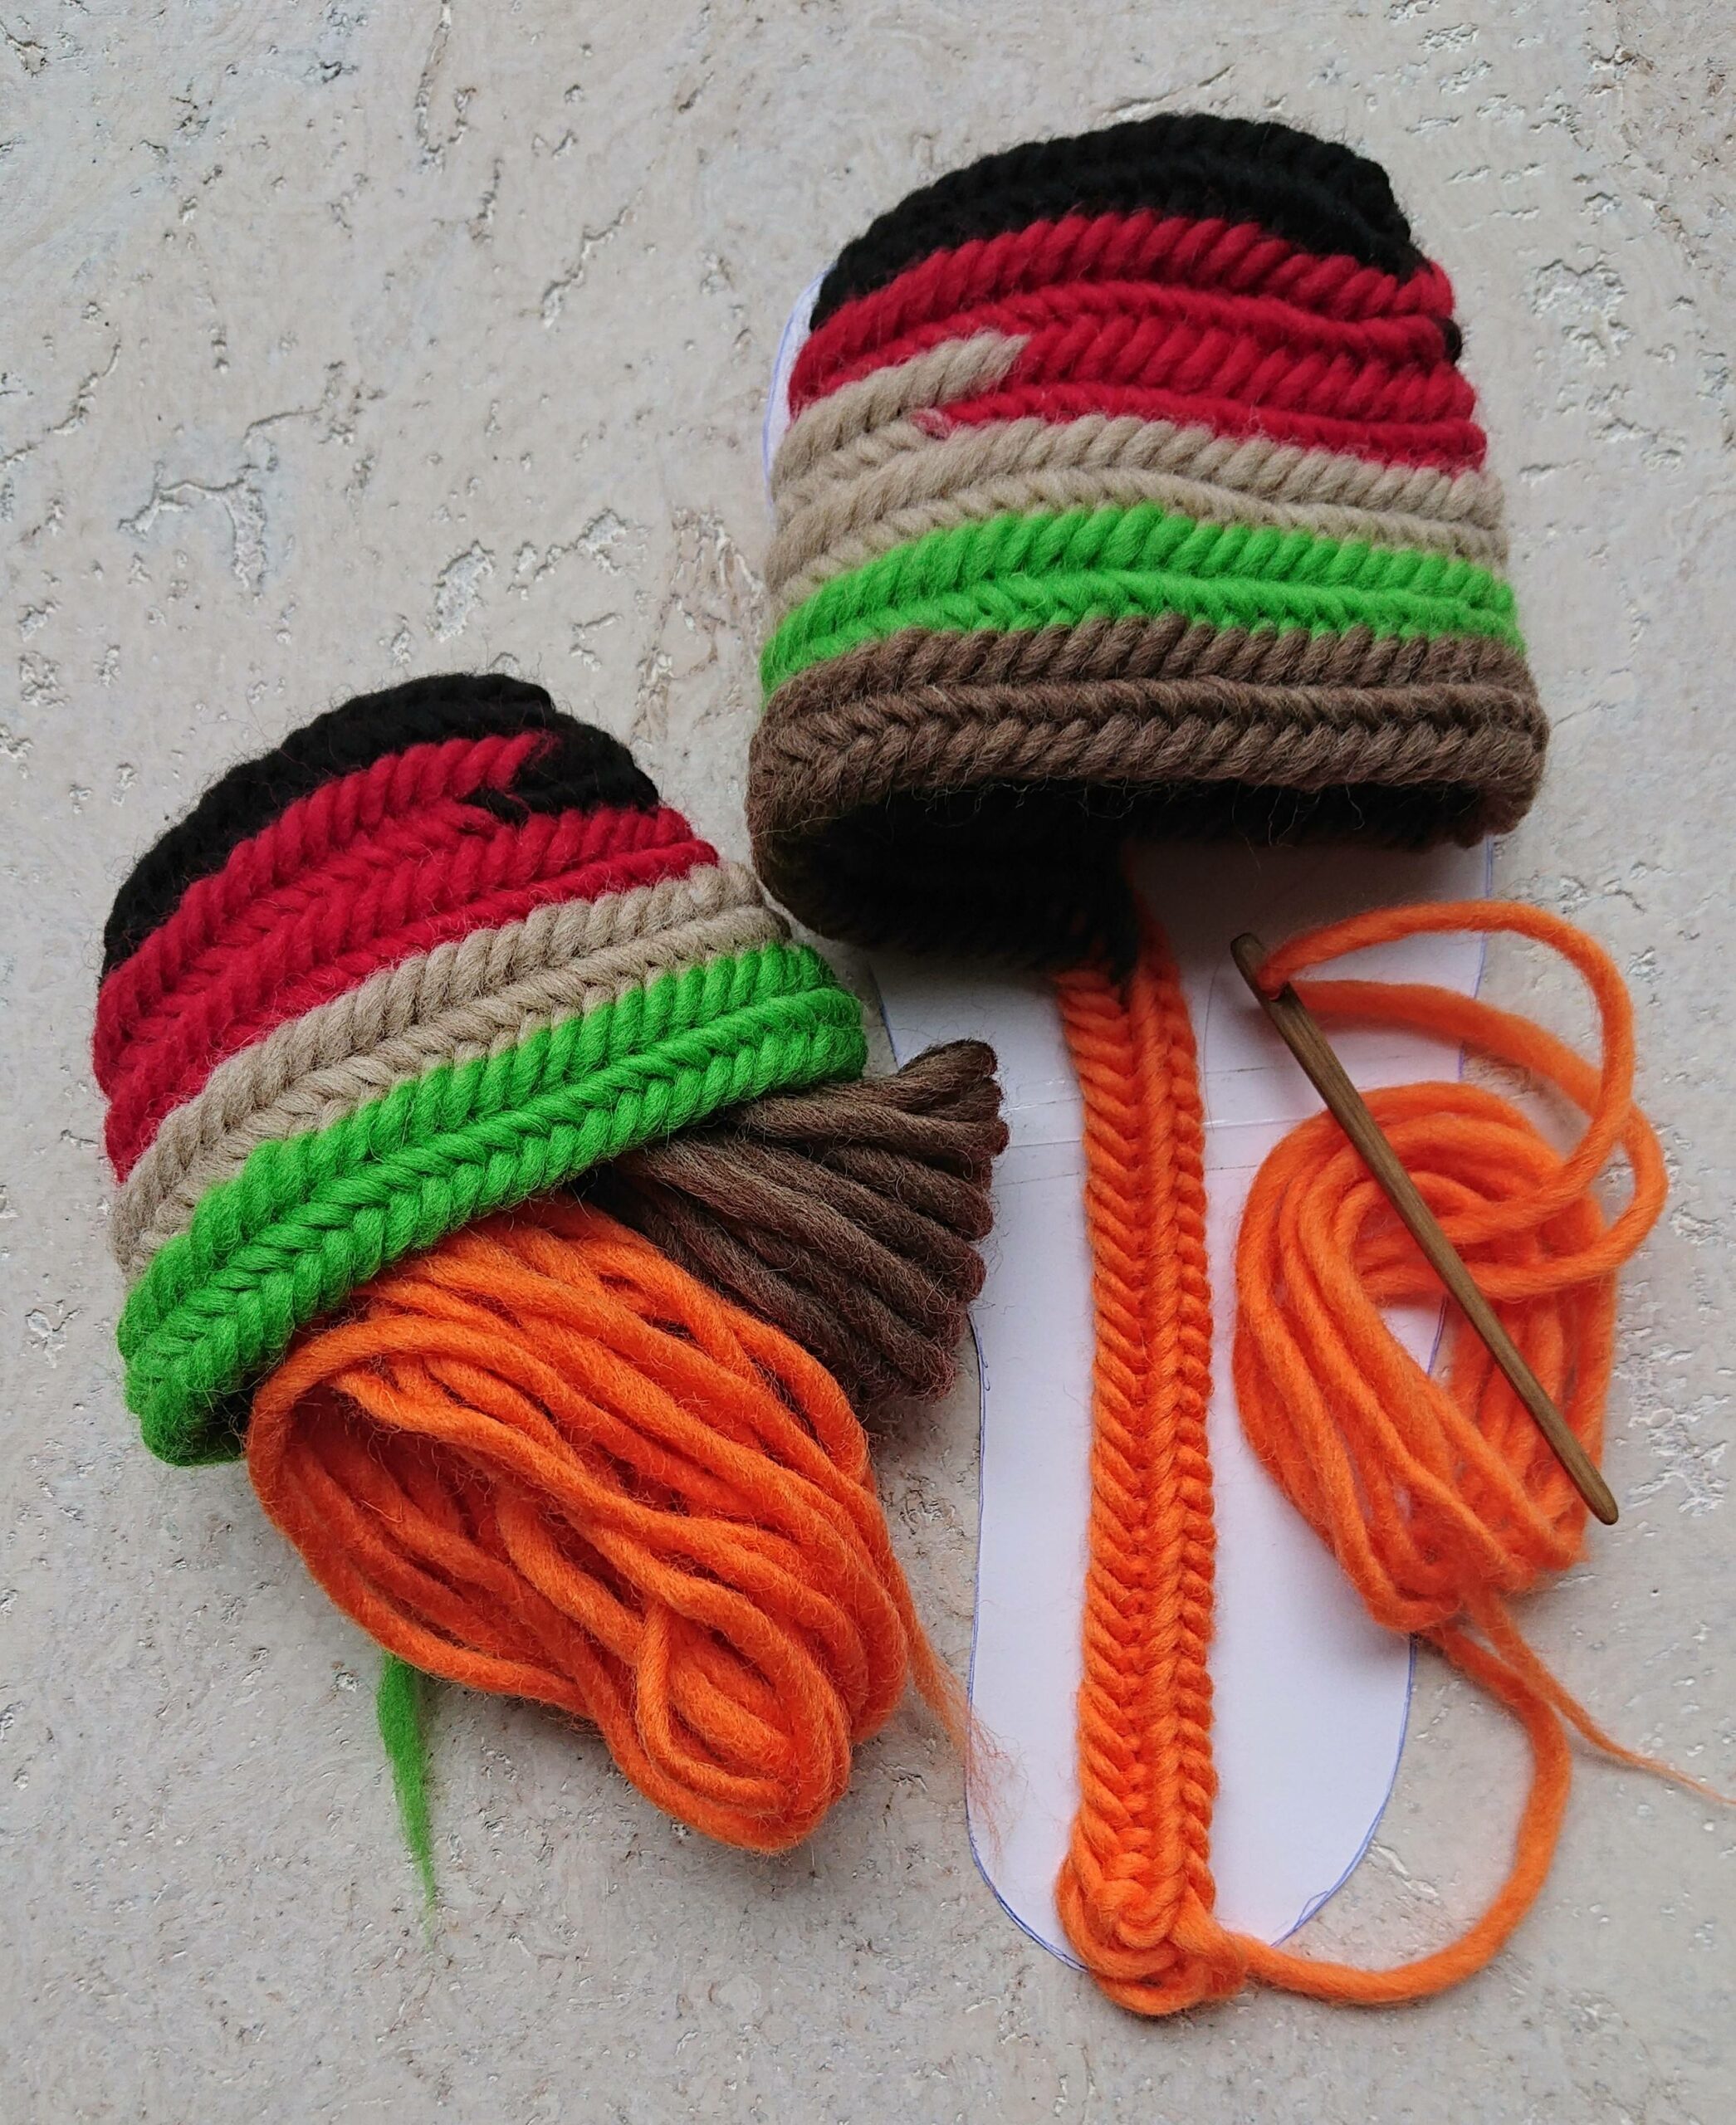
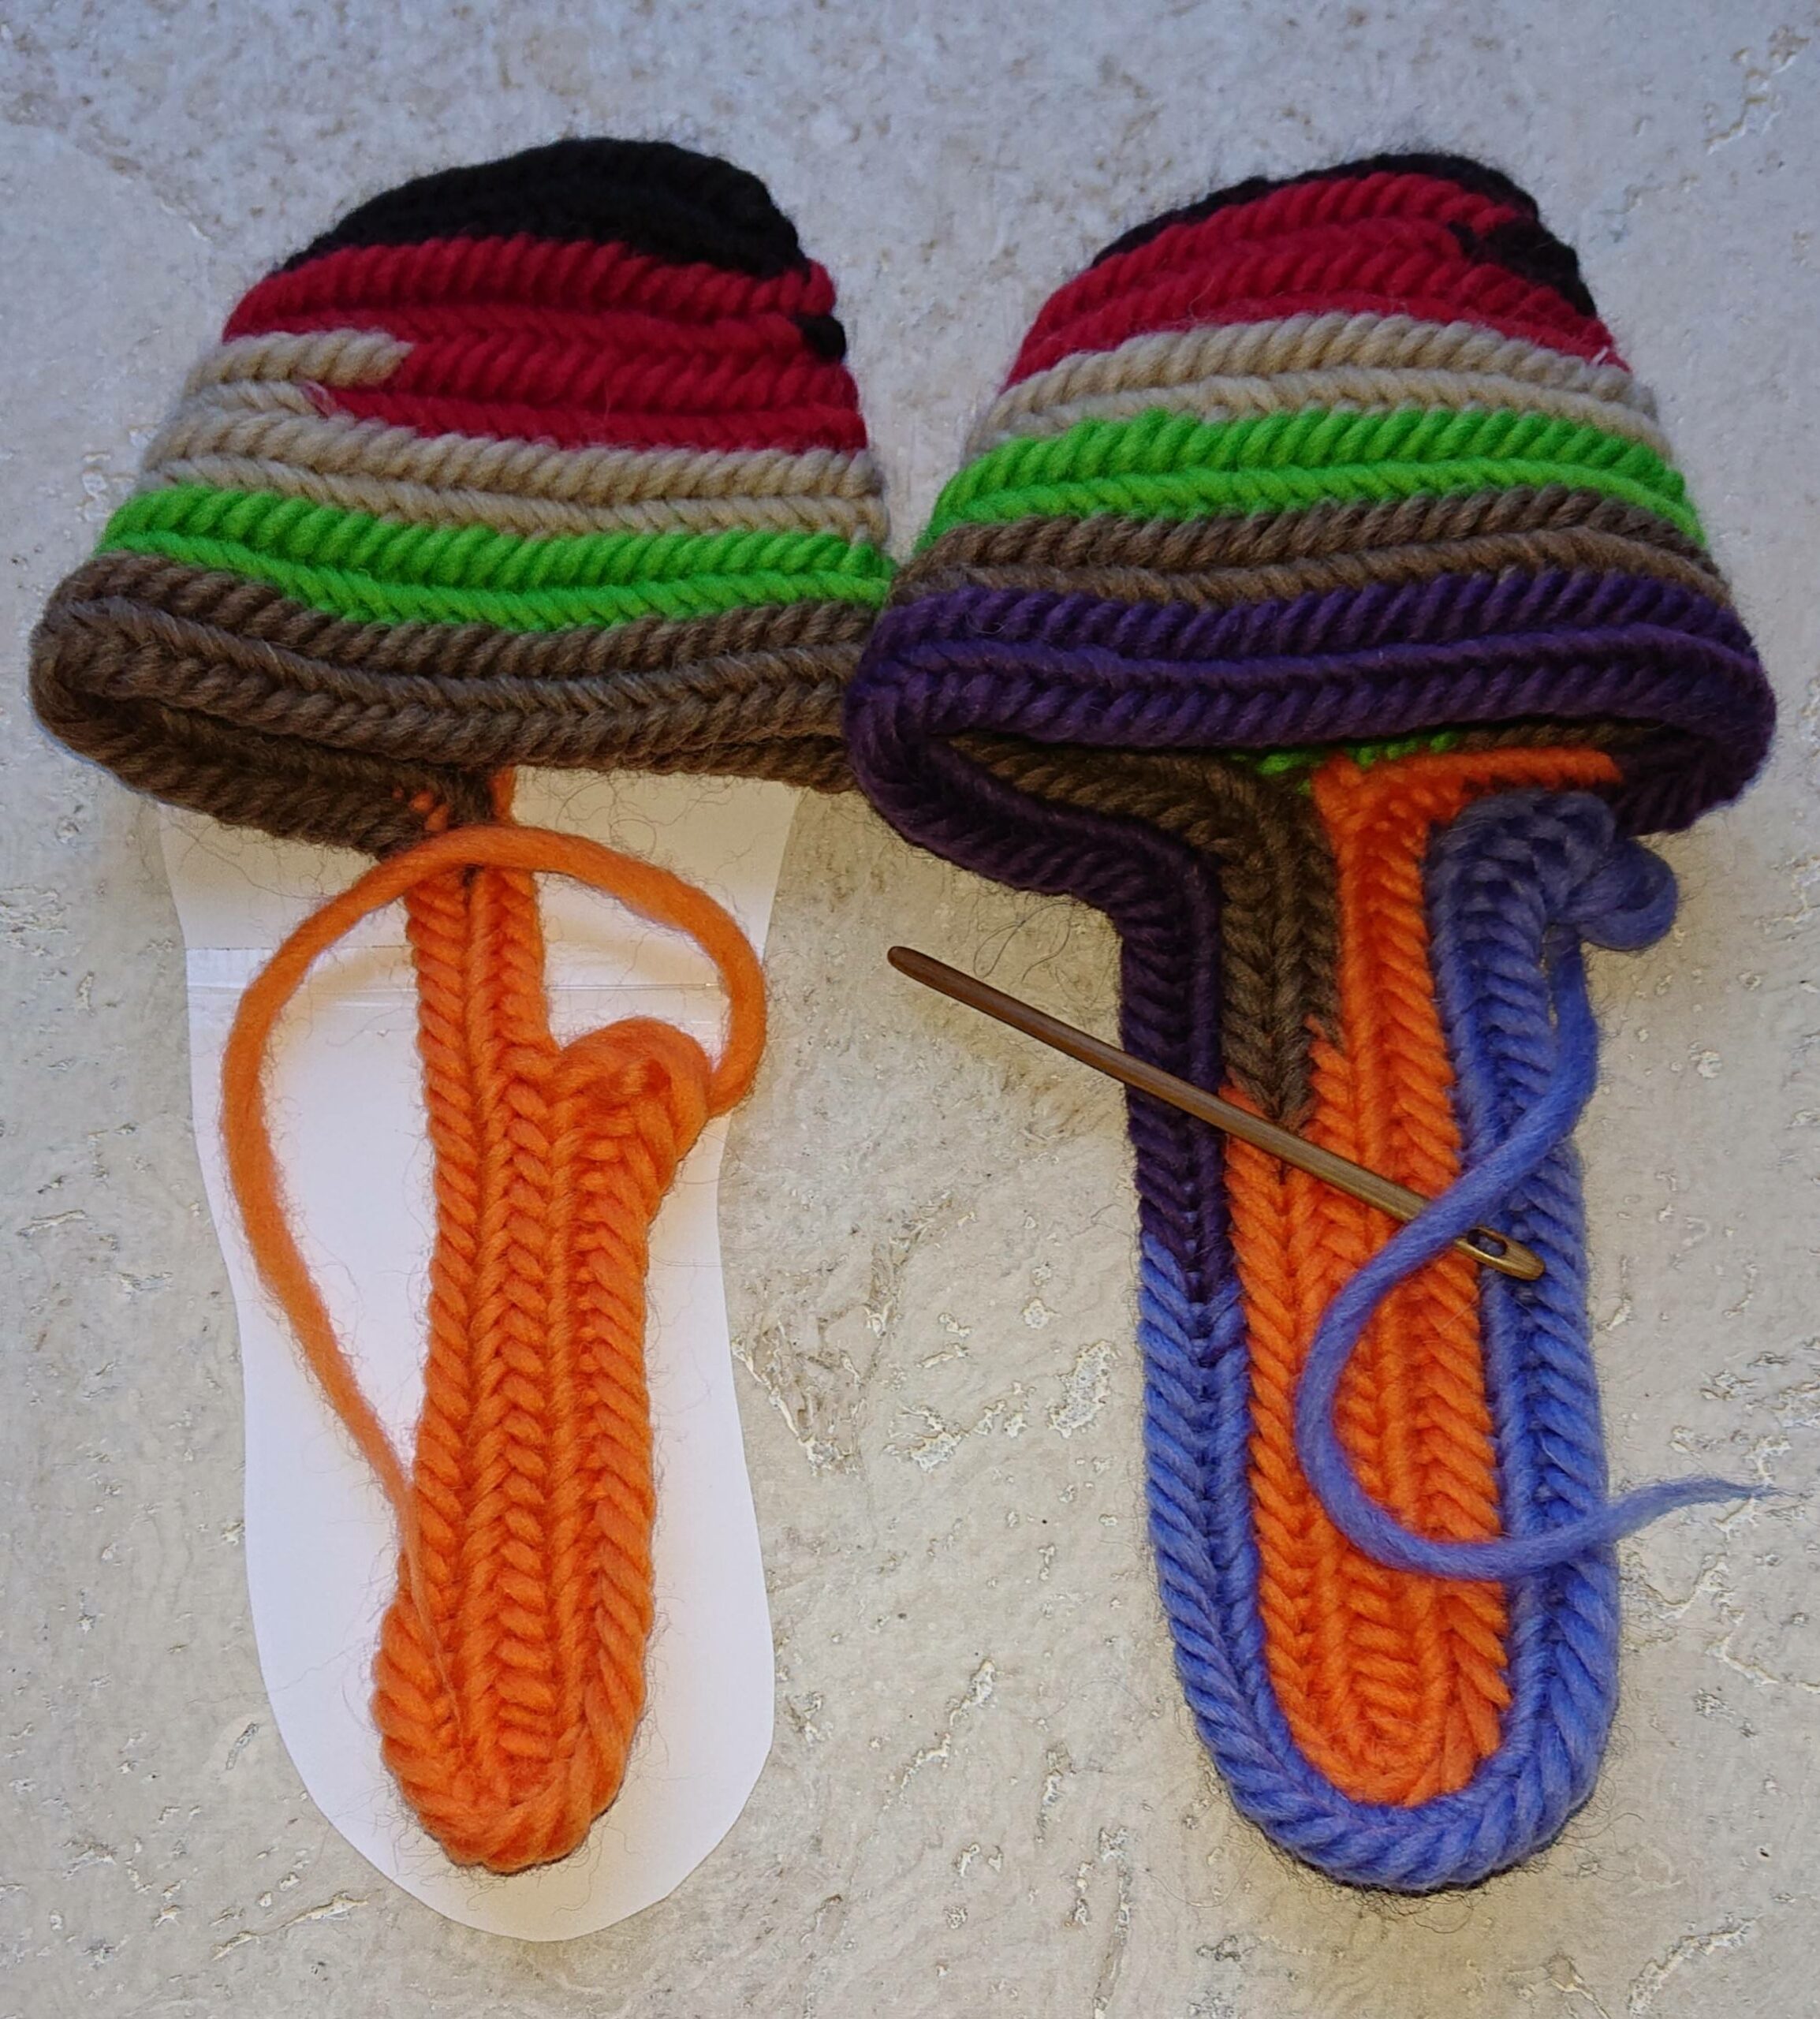
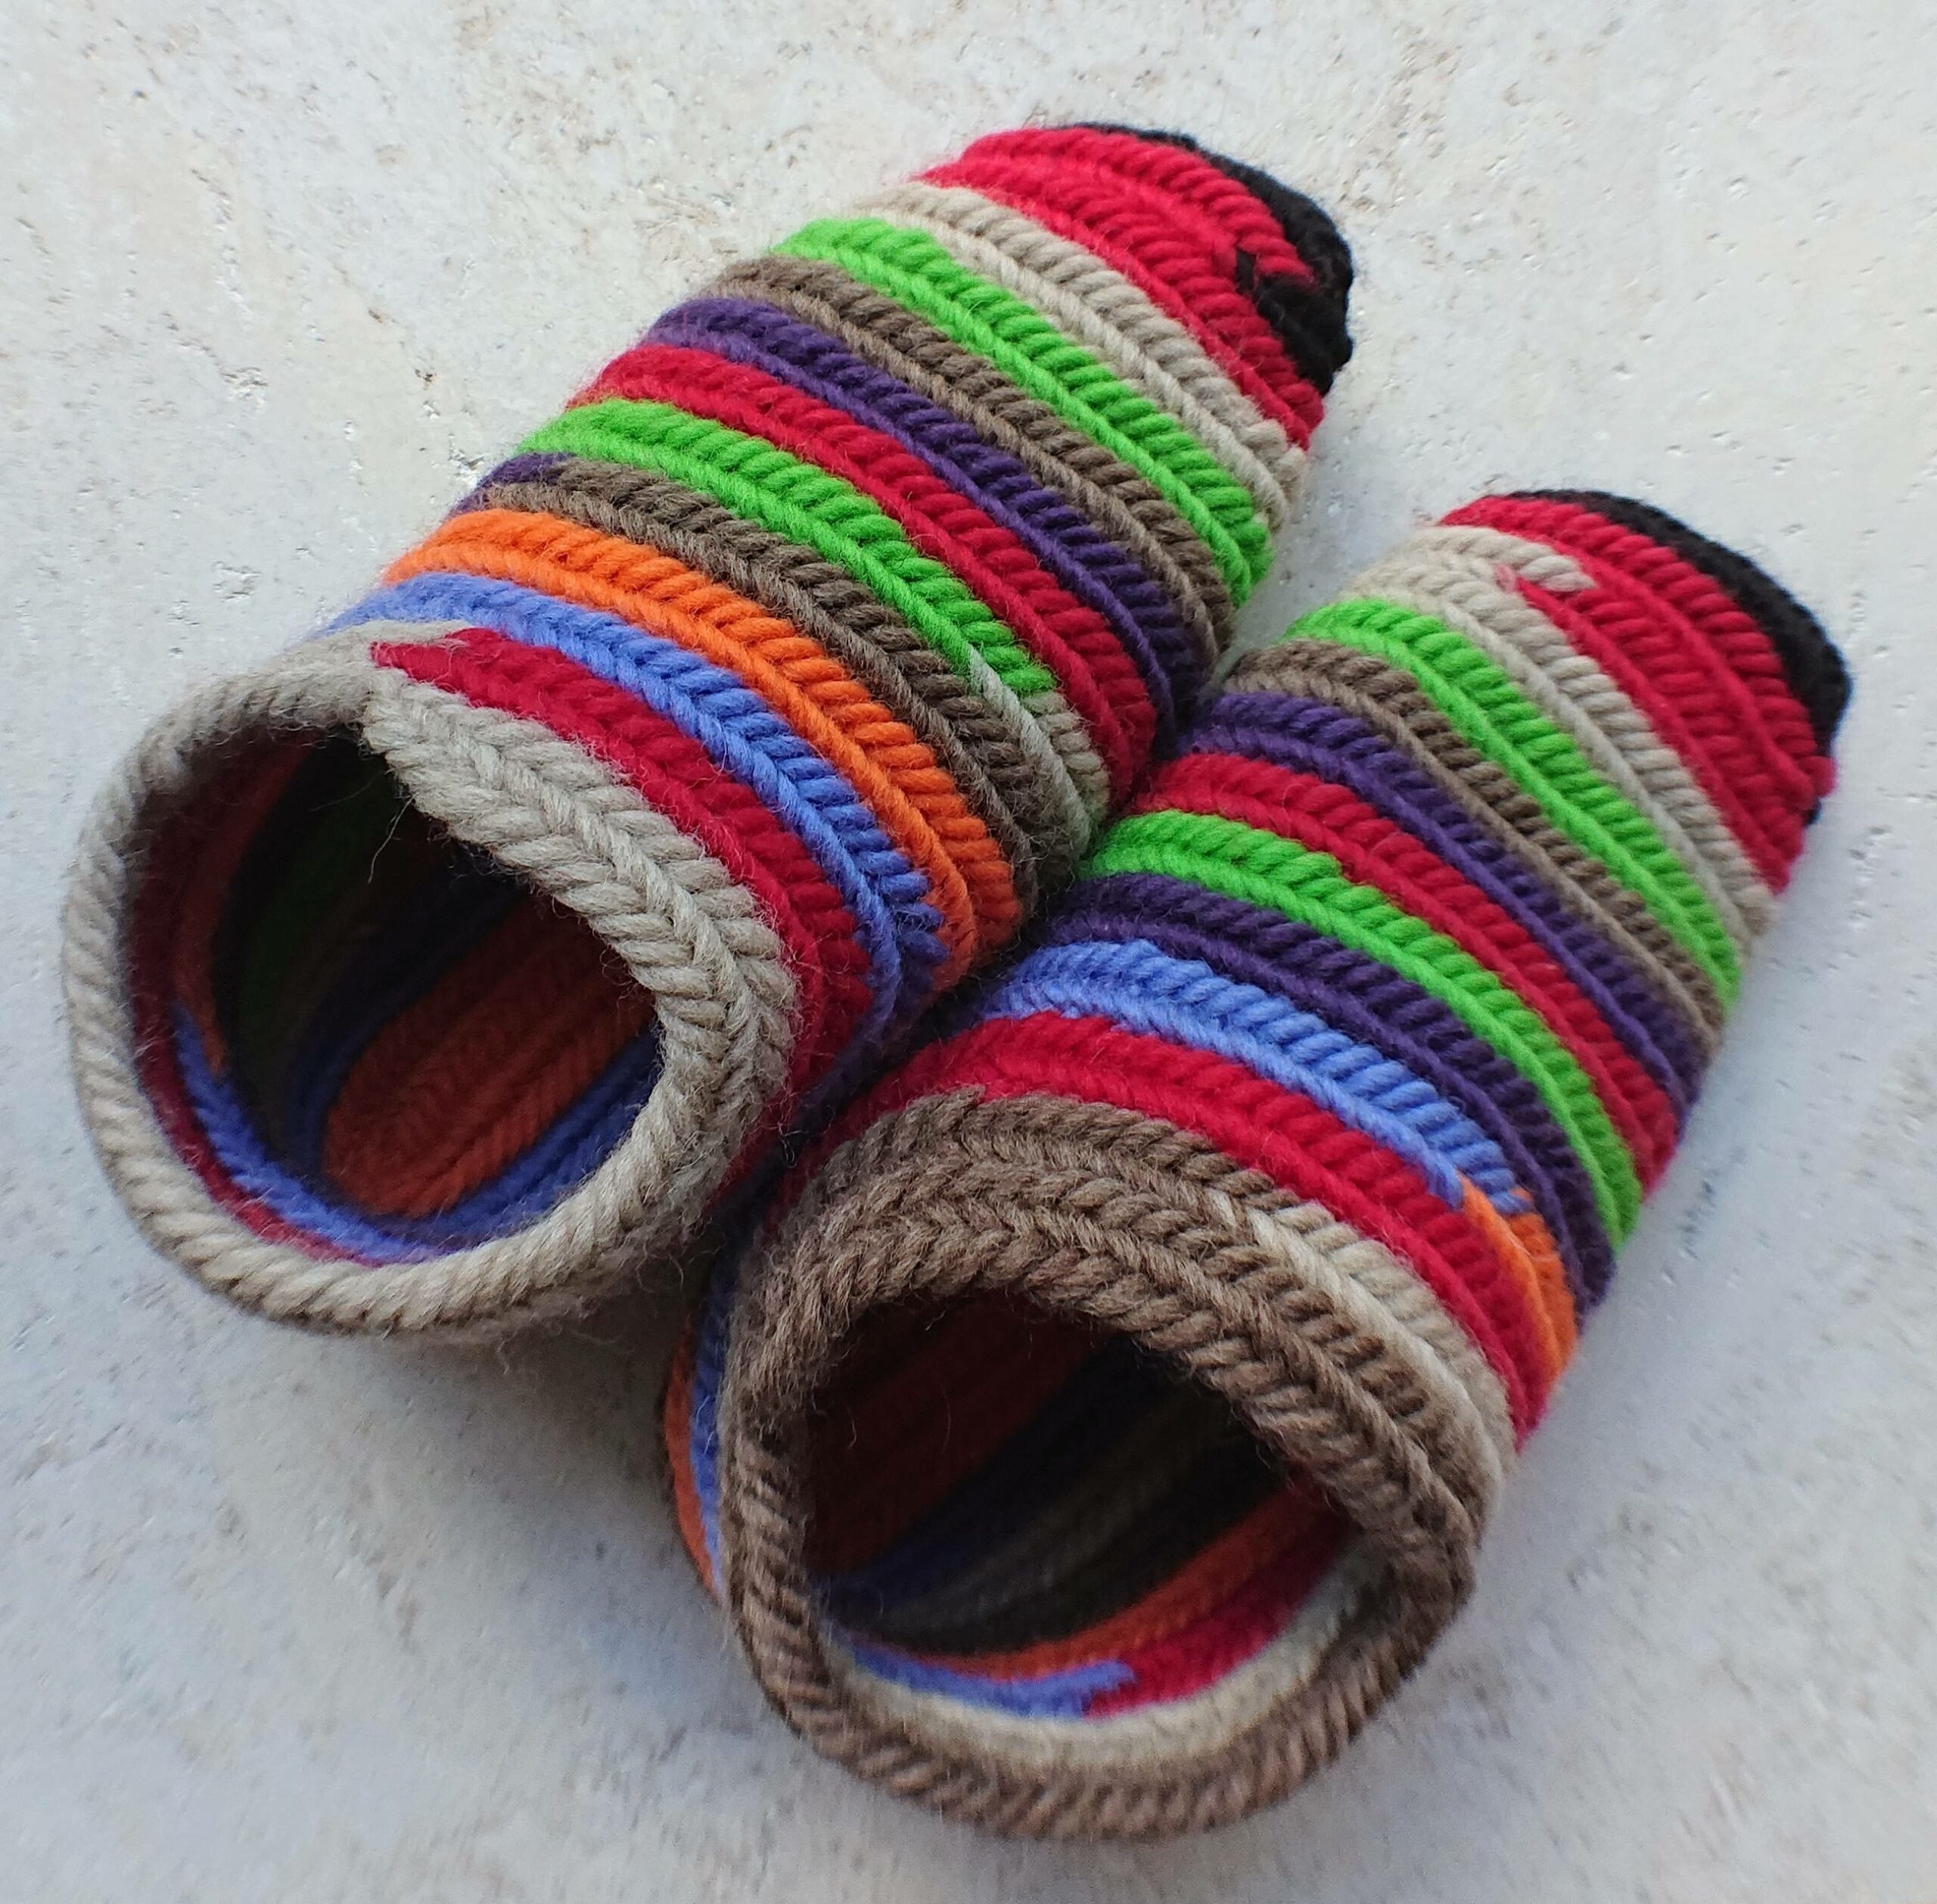
I always needle nalbind Klas Brita heel slippers/socks according to her style because it is much easier and because the shape is beautiful and fits well.
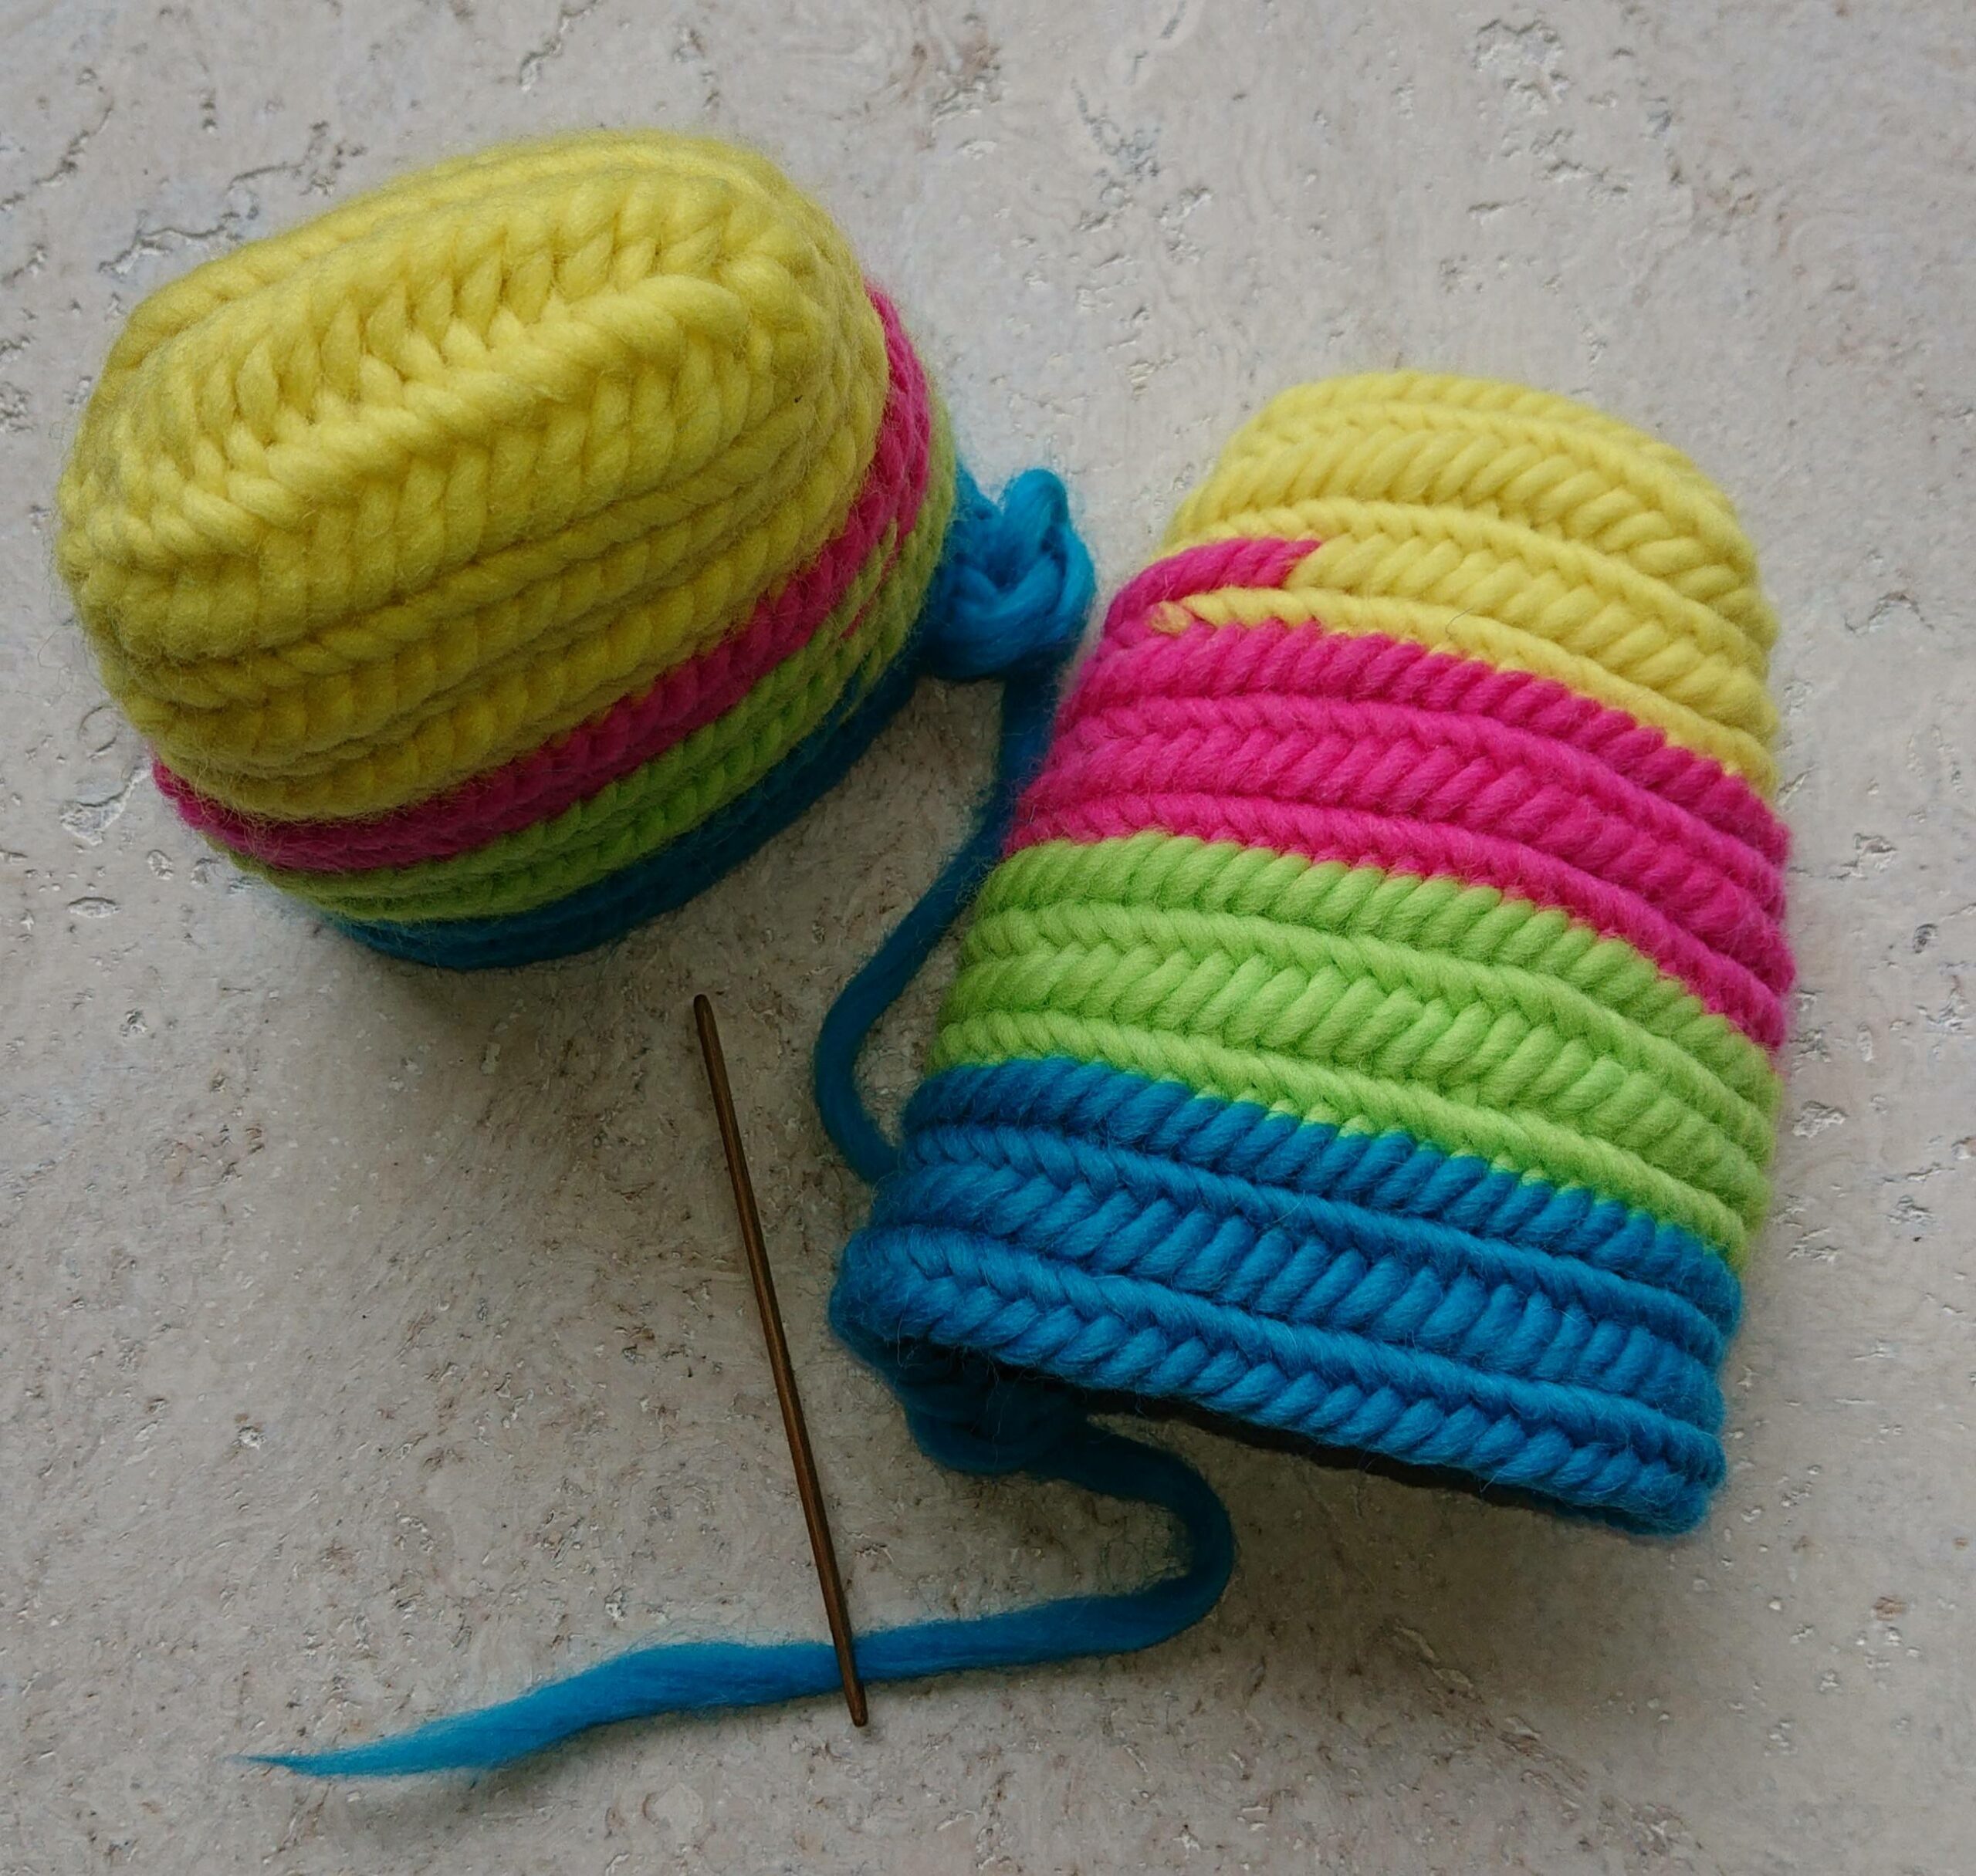
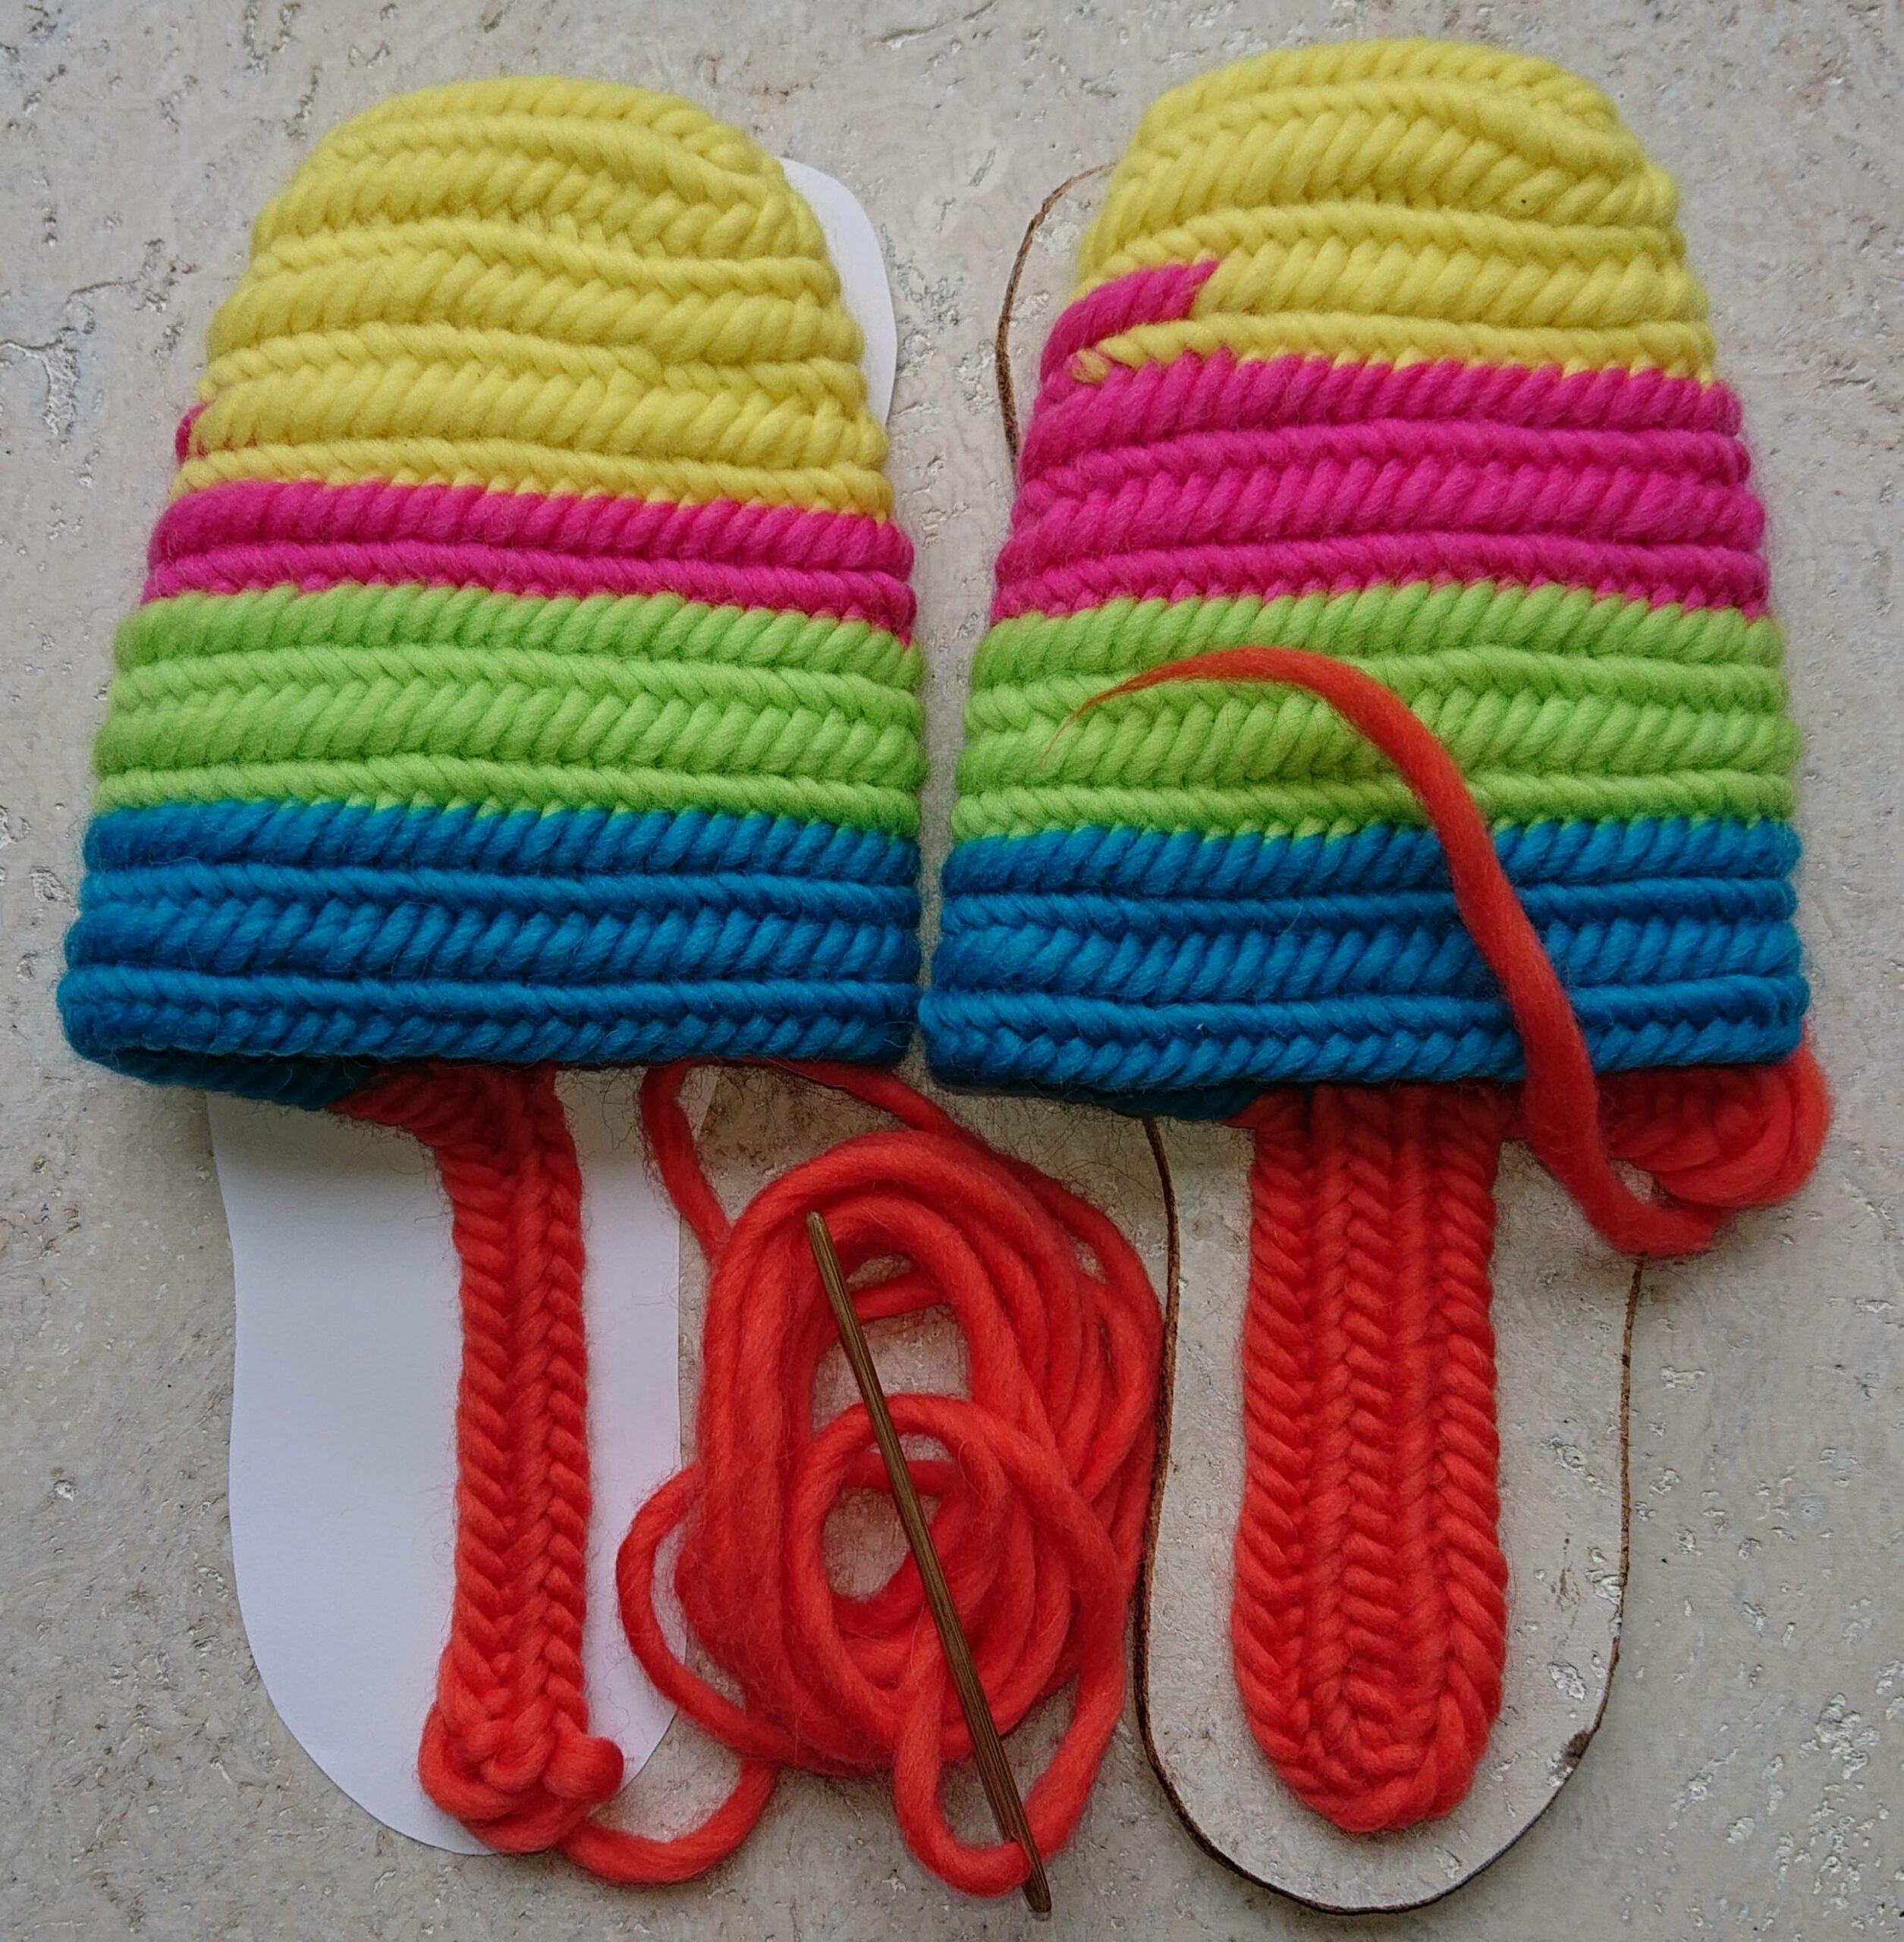
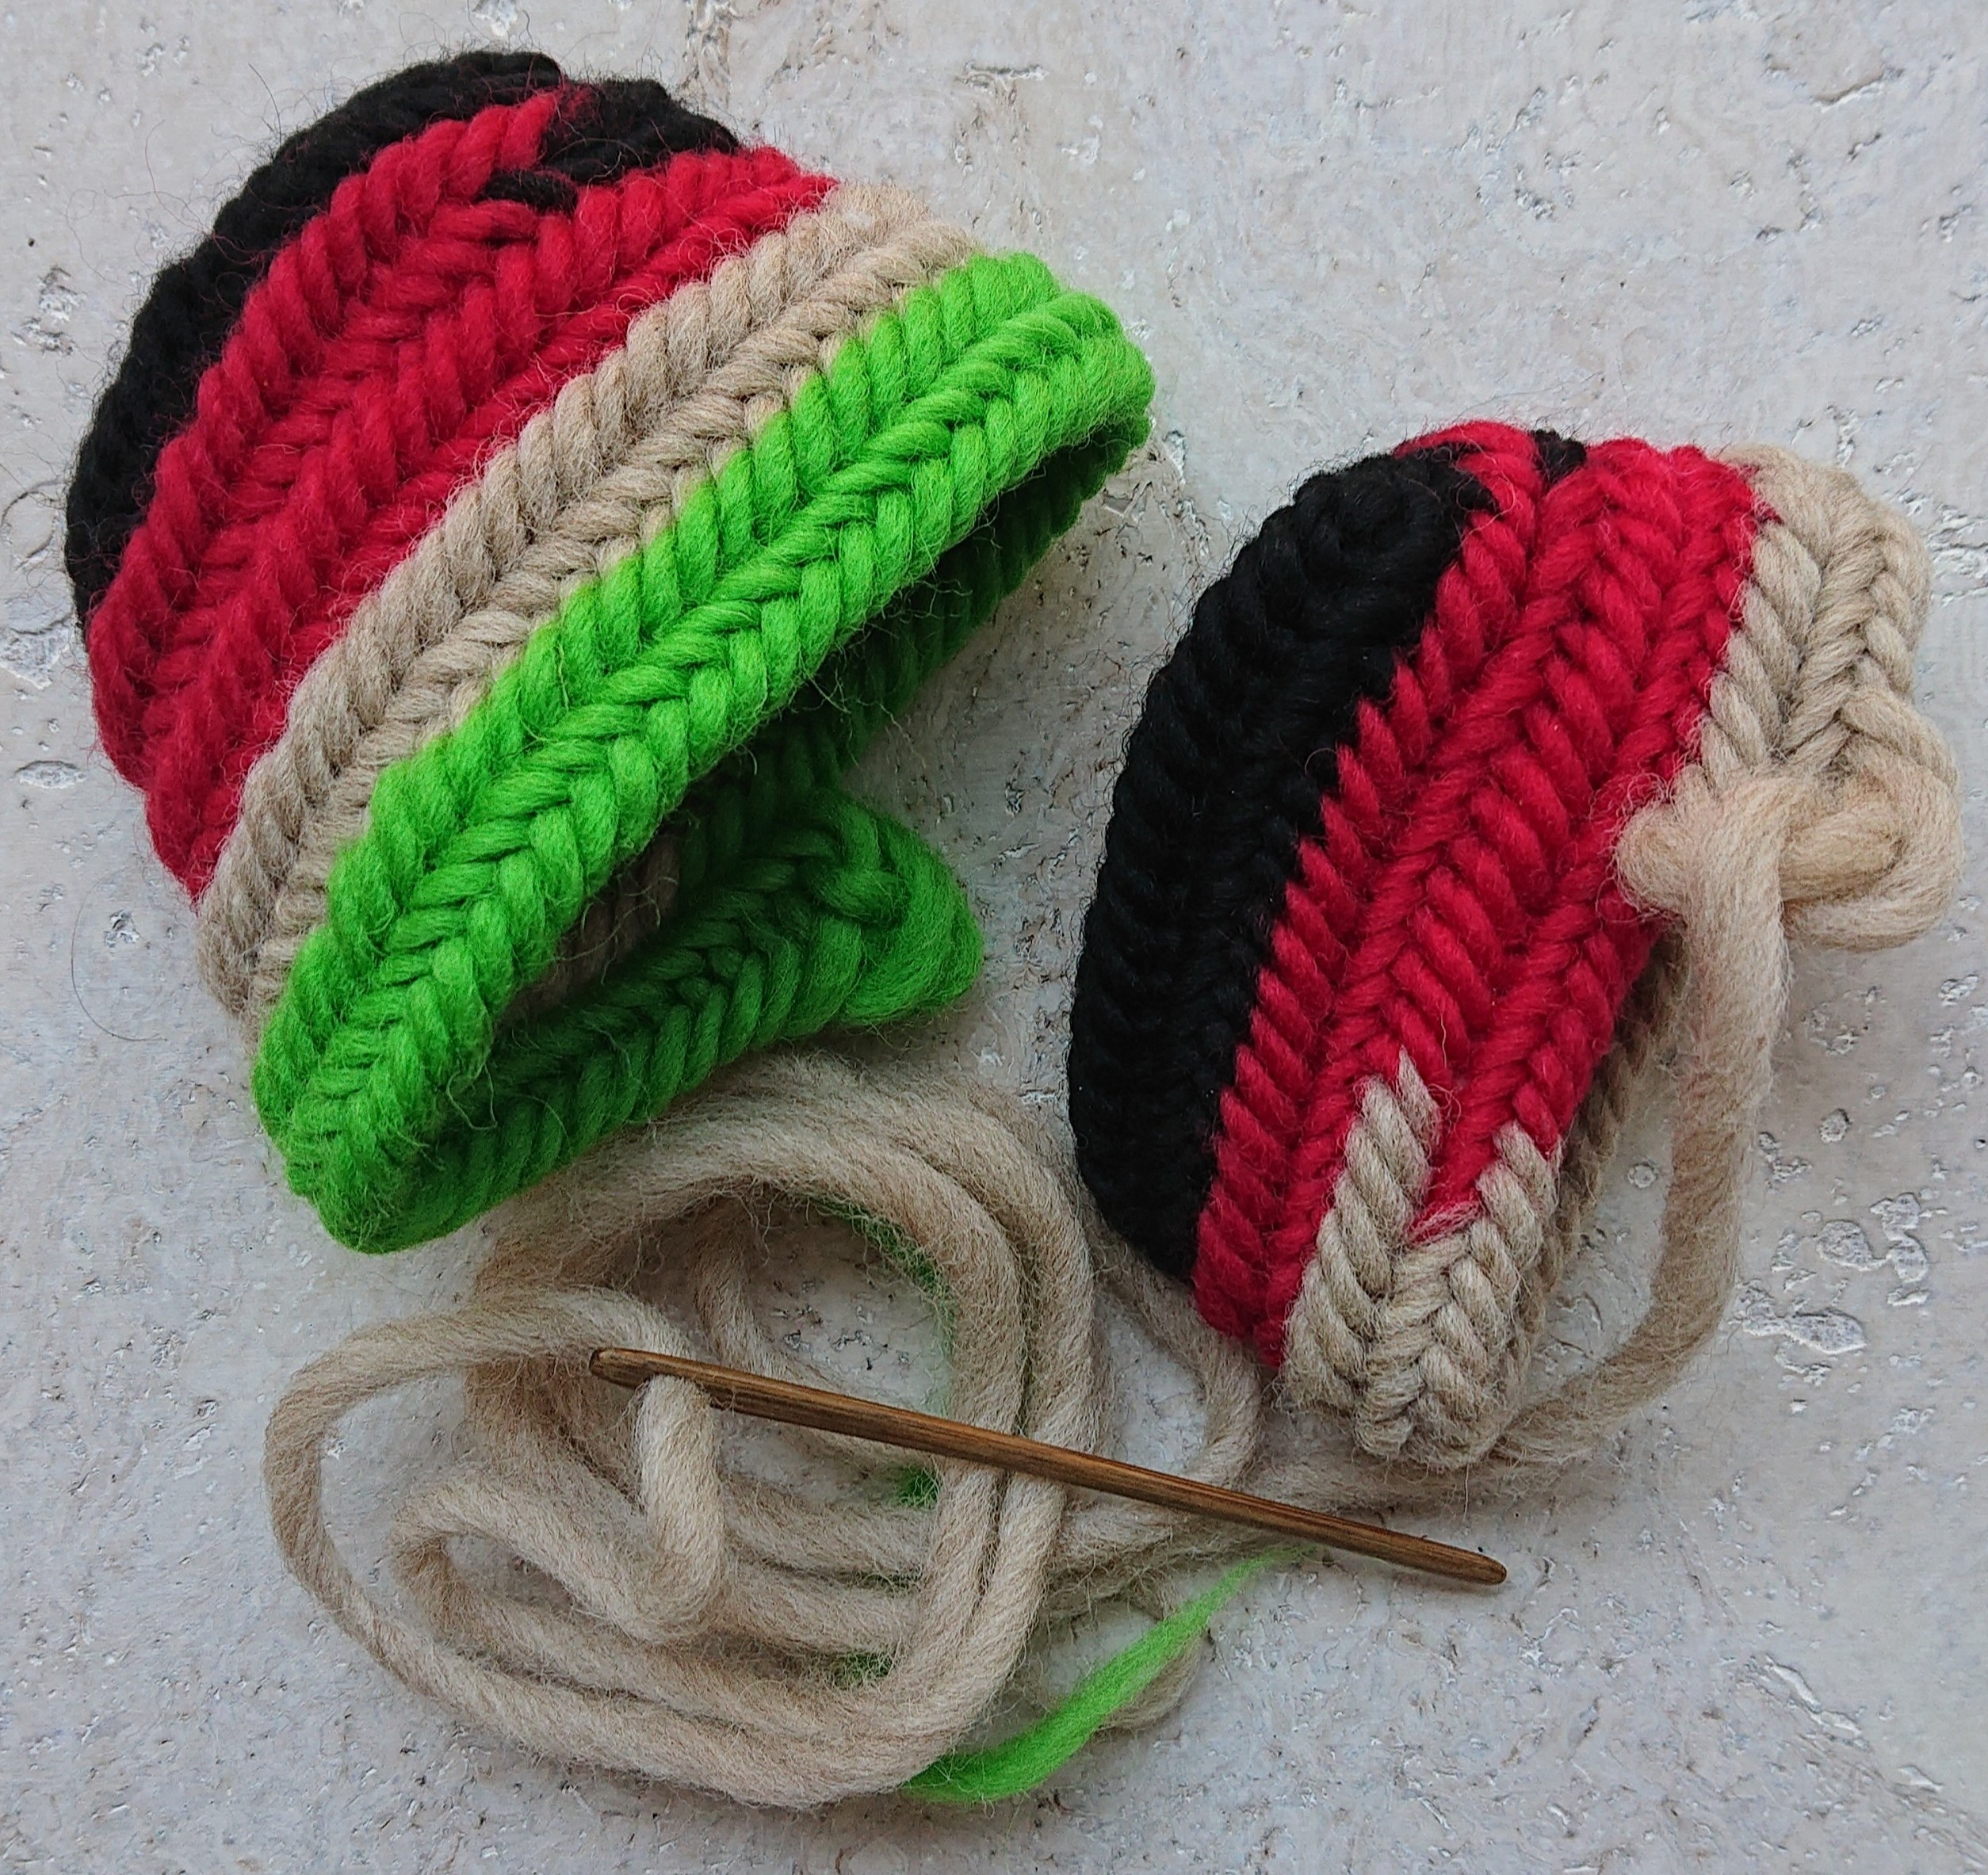
The slippers/socks below are needle-binding according to the above pattern.
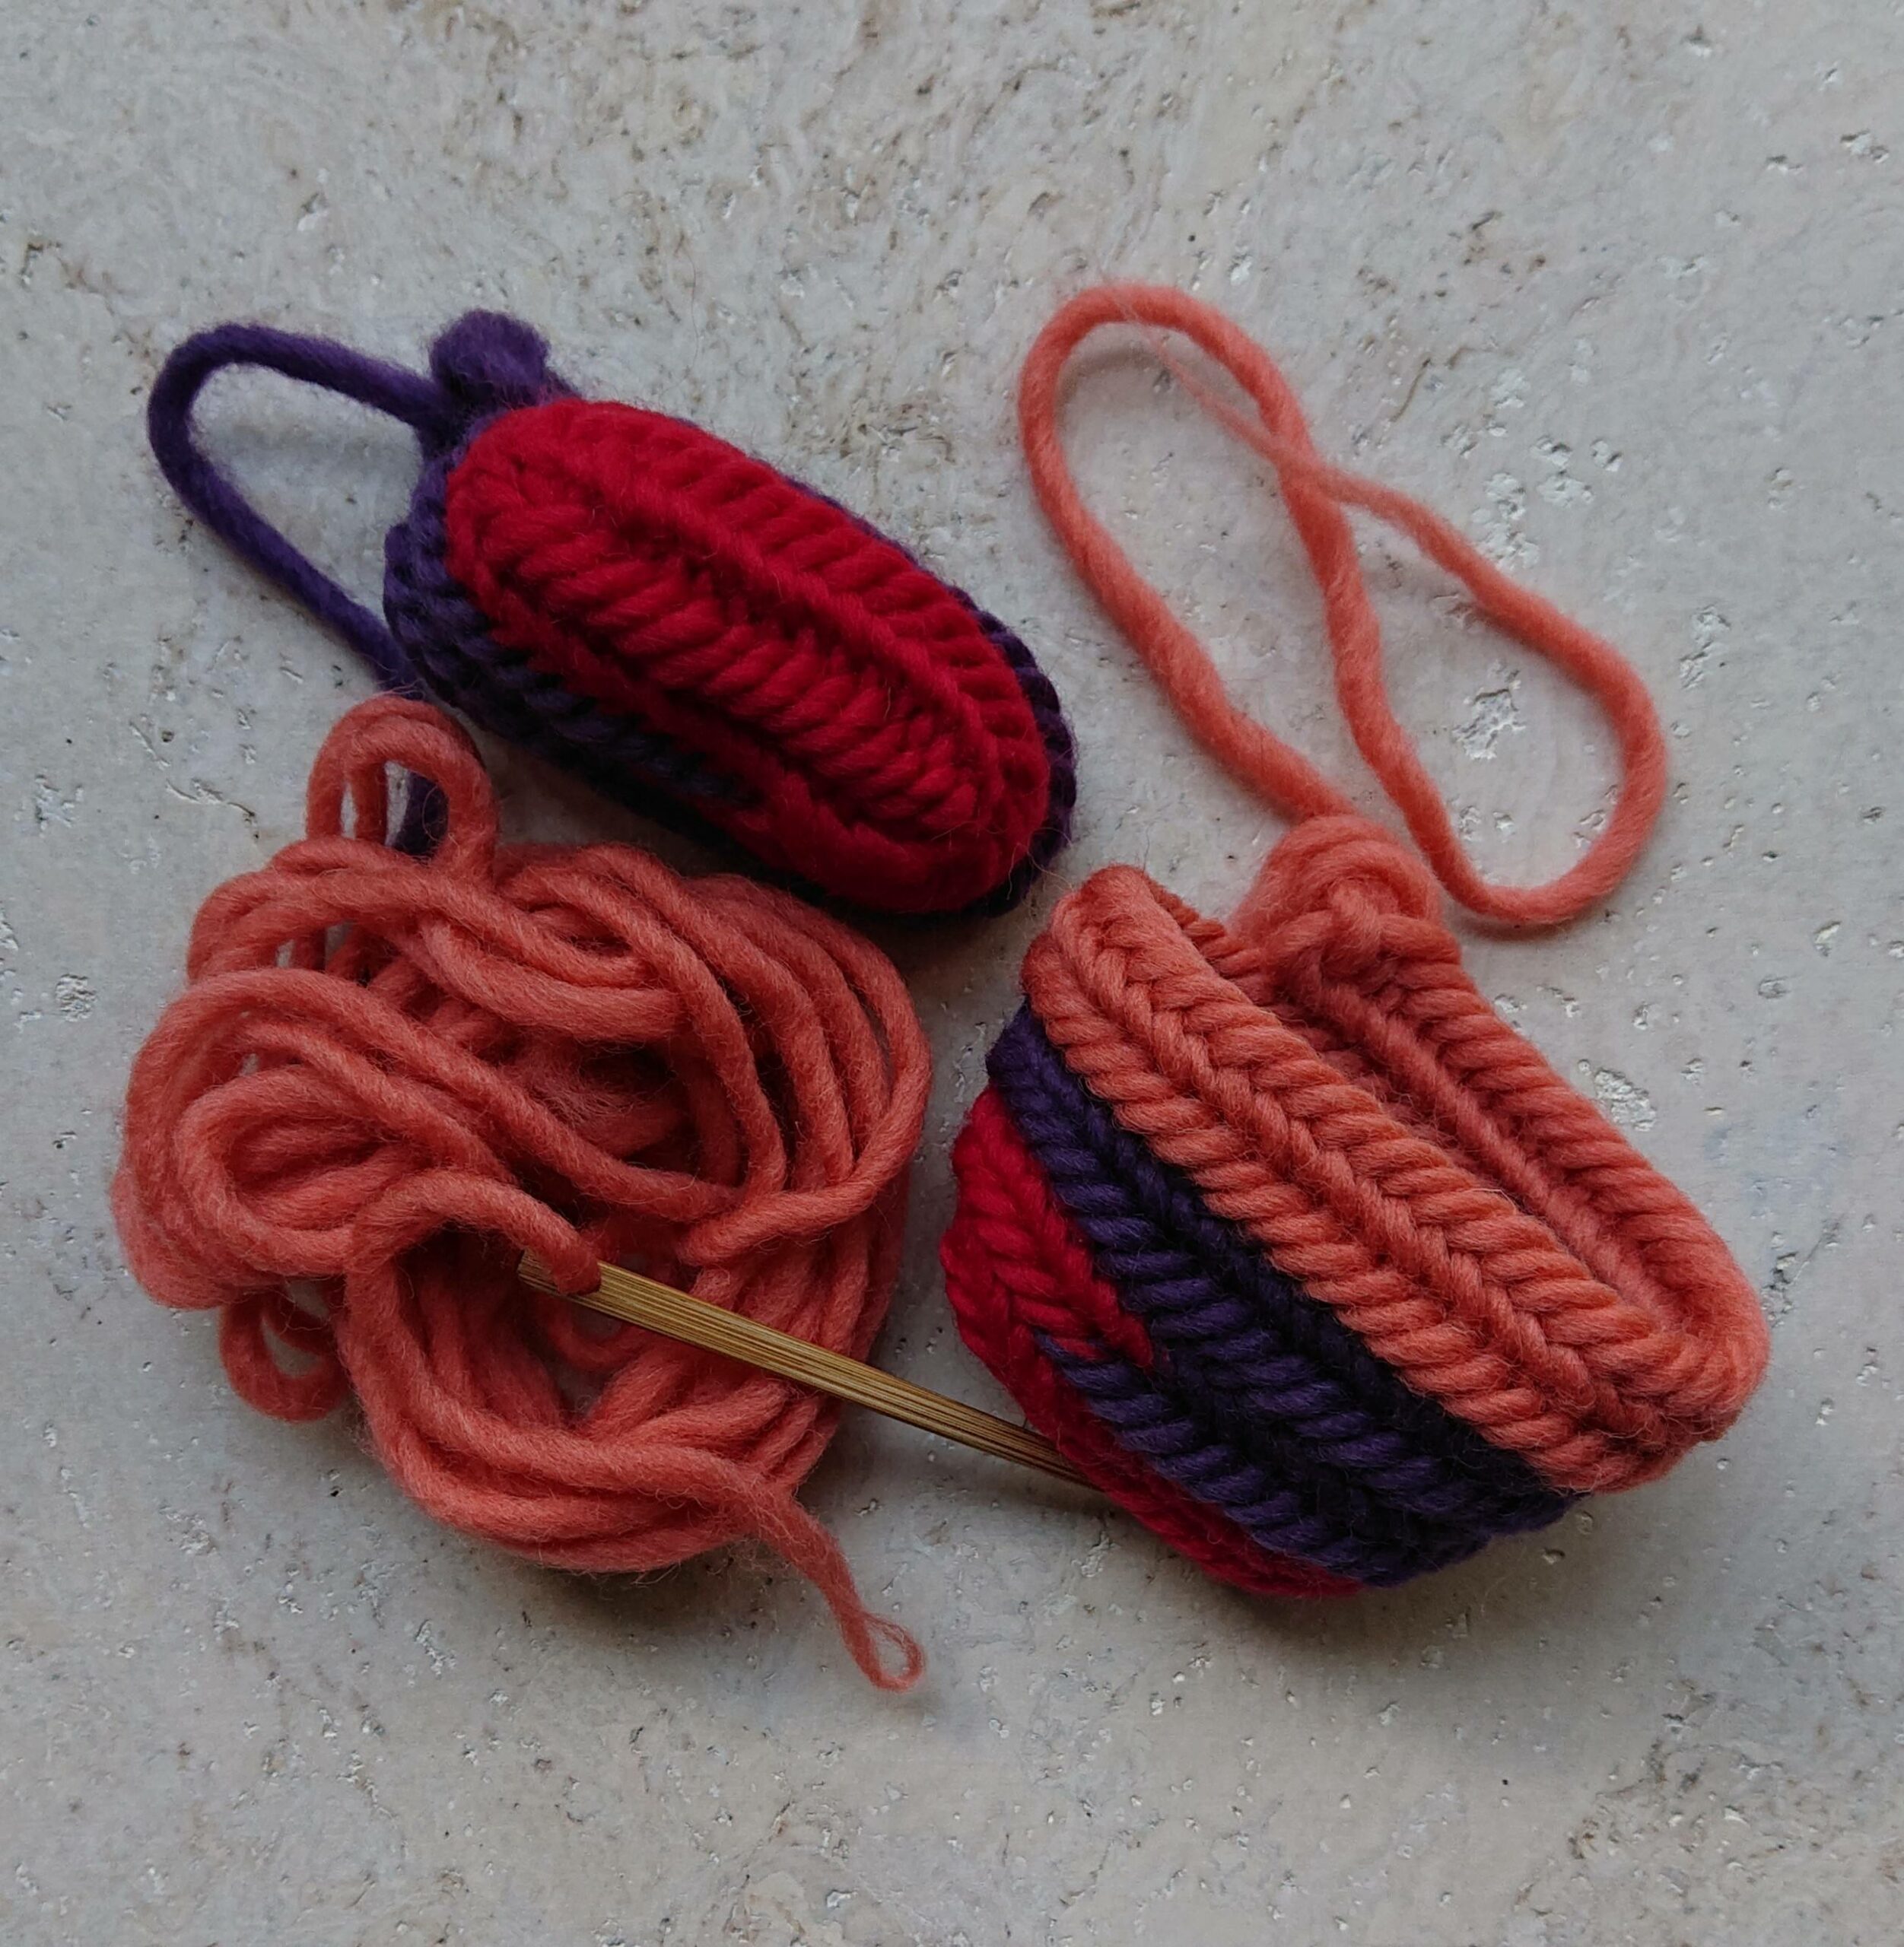
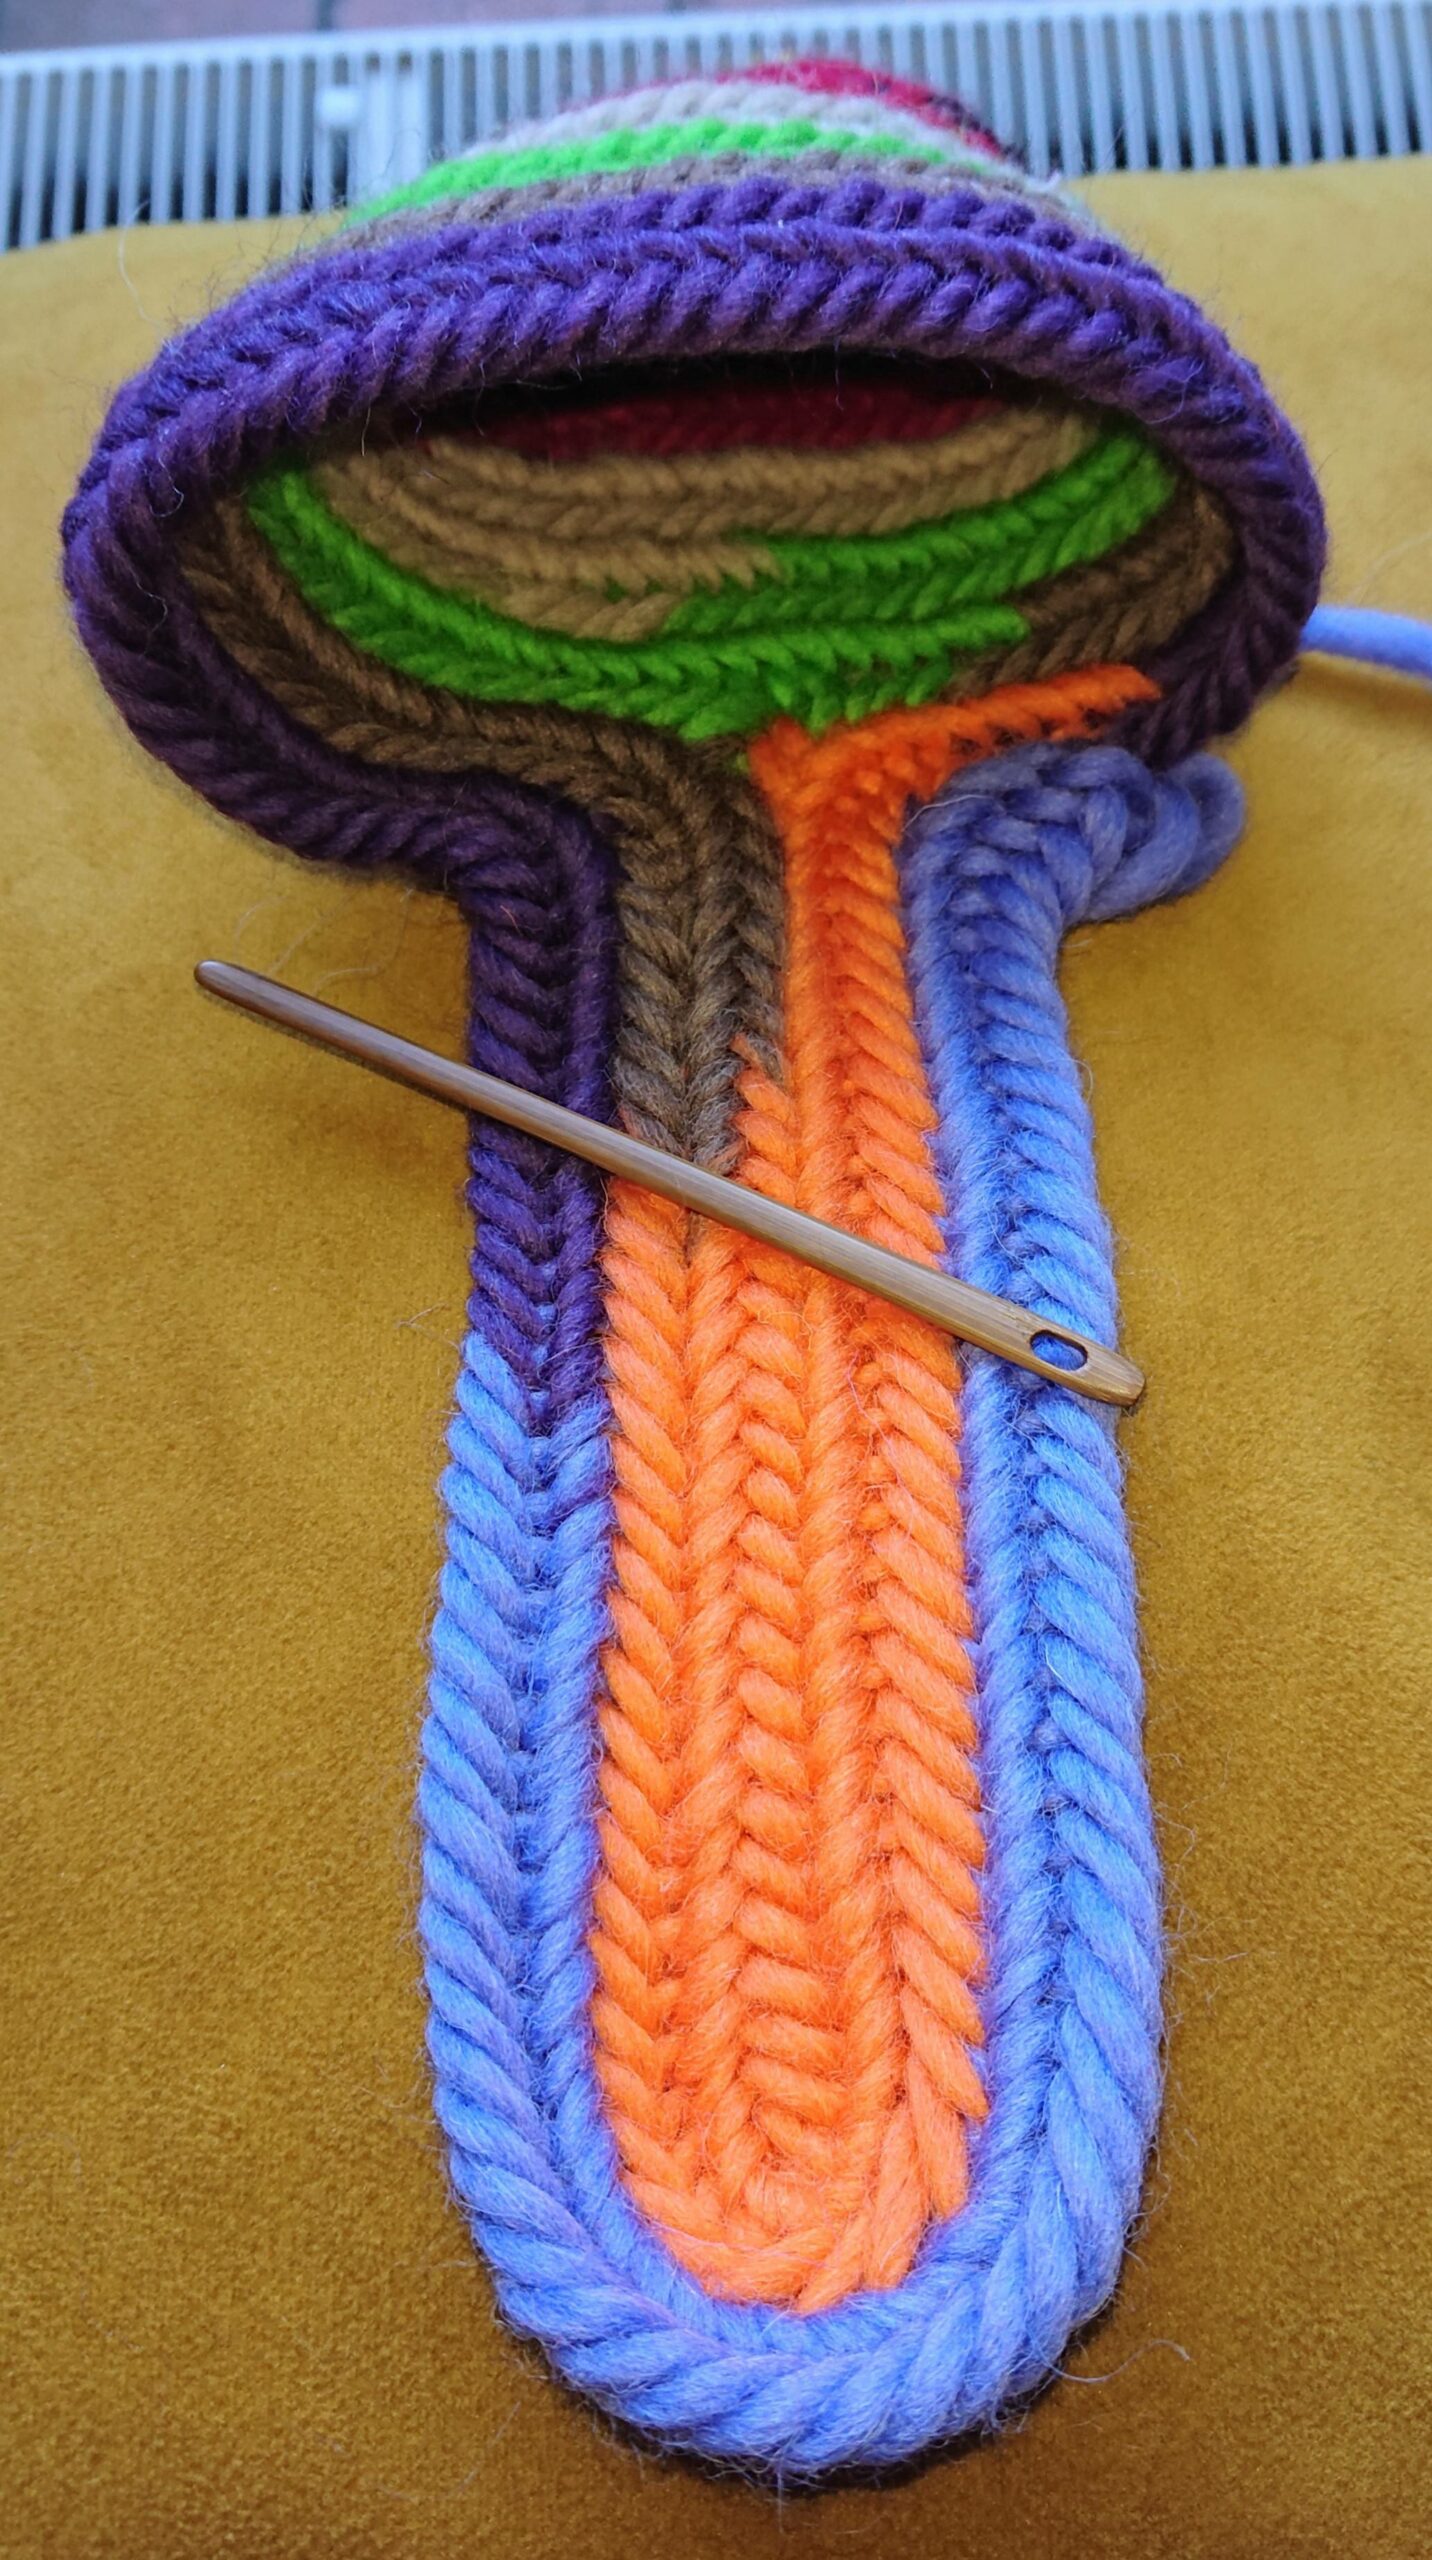
If you tighten the finger of the slipper/sock, a hole can sometimes occur. which you later have to darn with a darning needle.
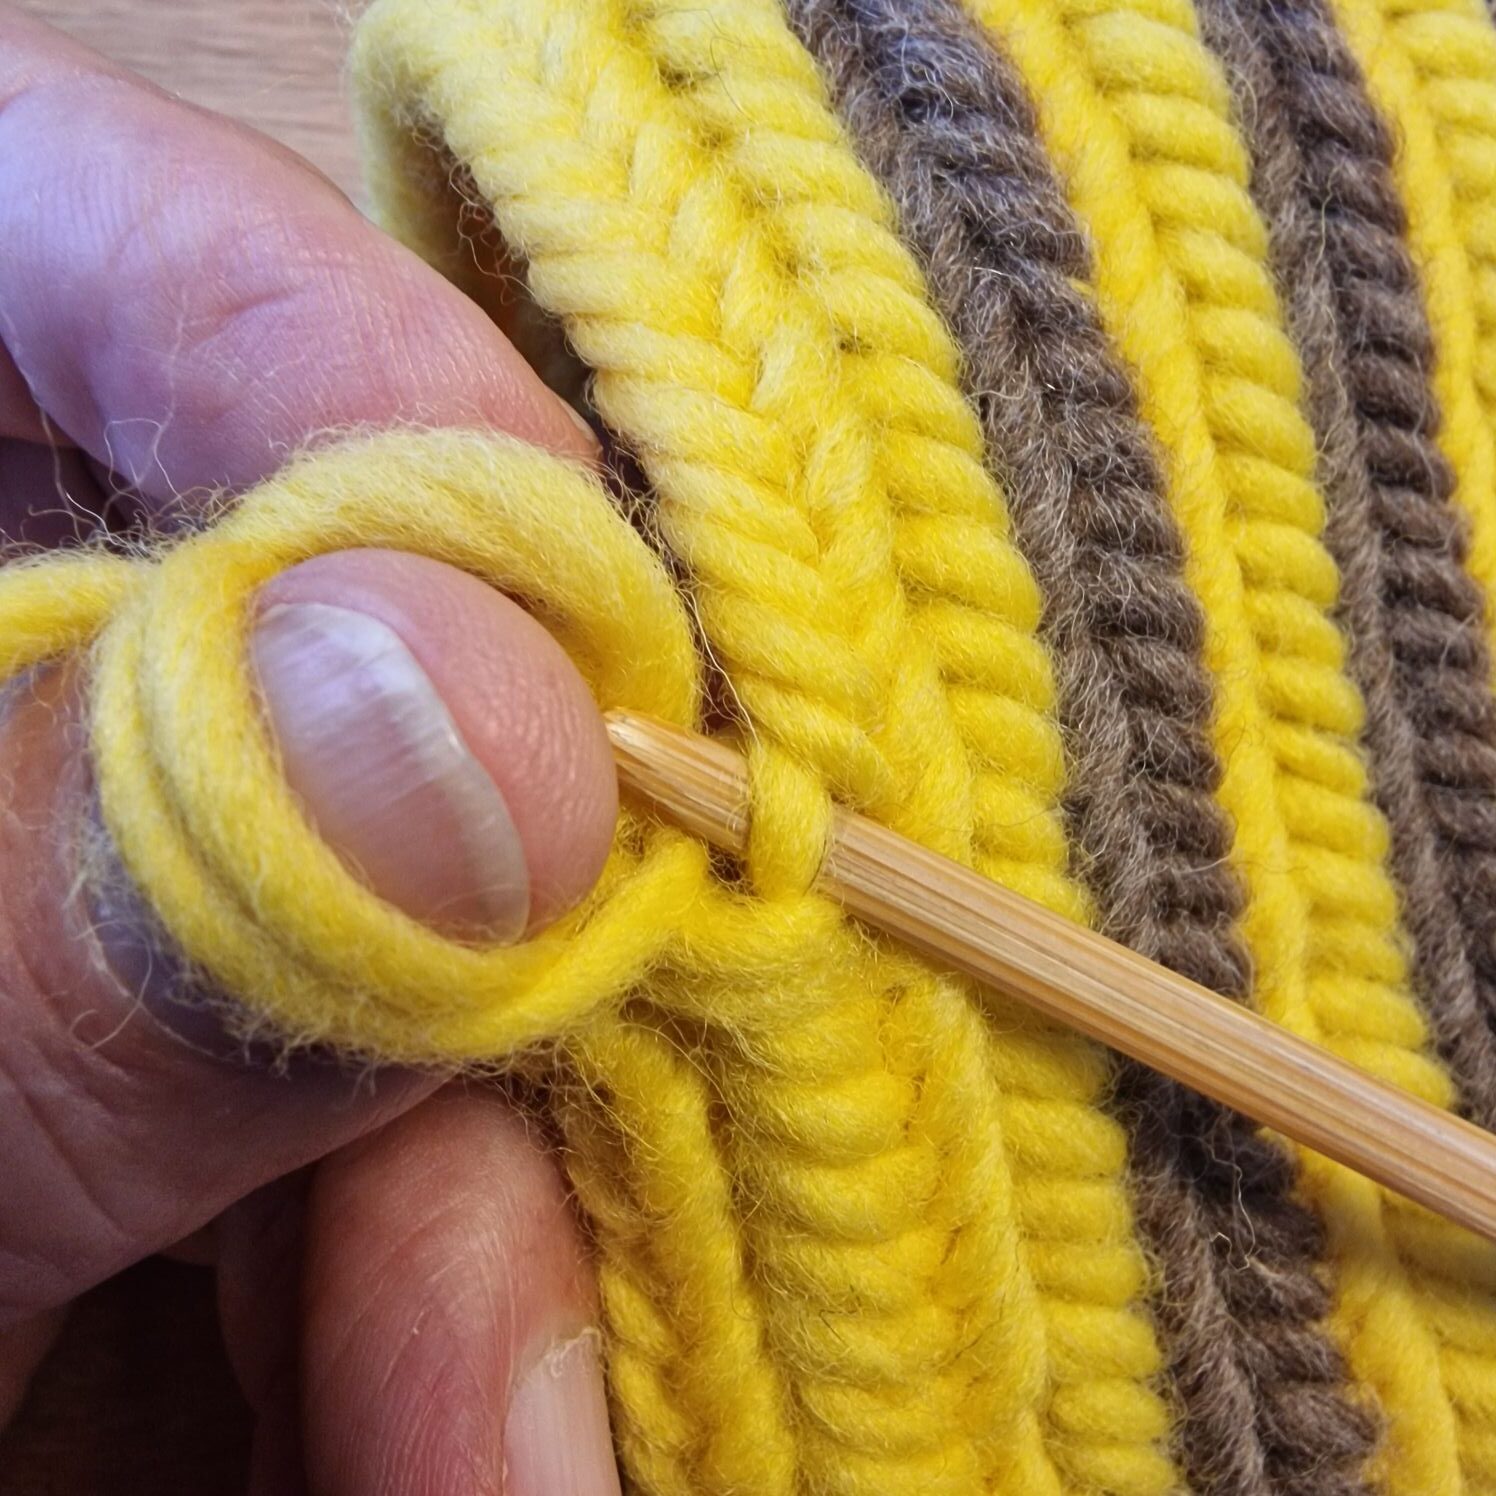
The following photos should solve this.
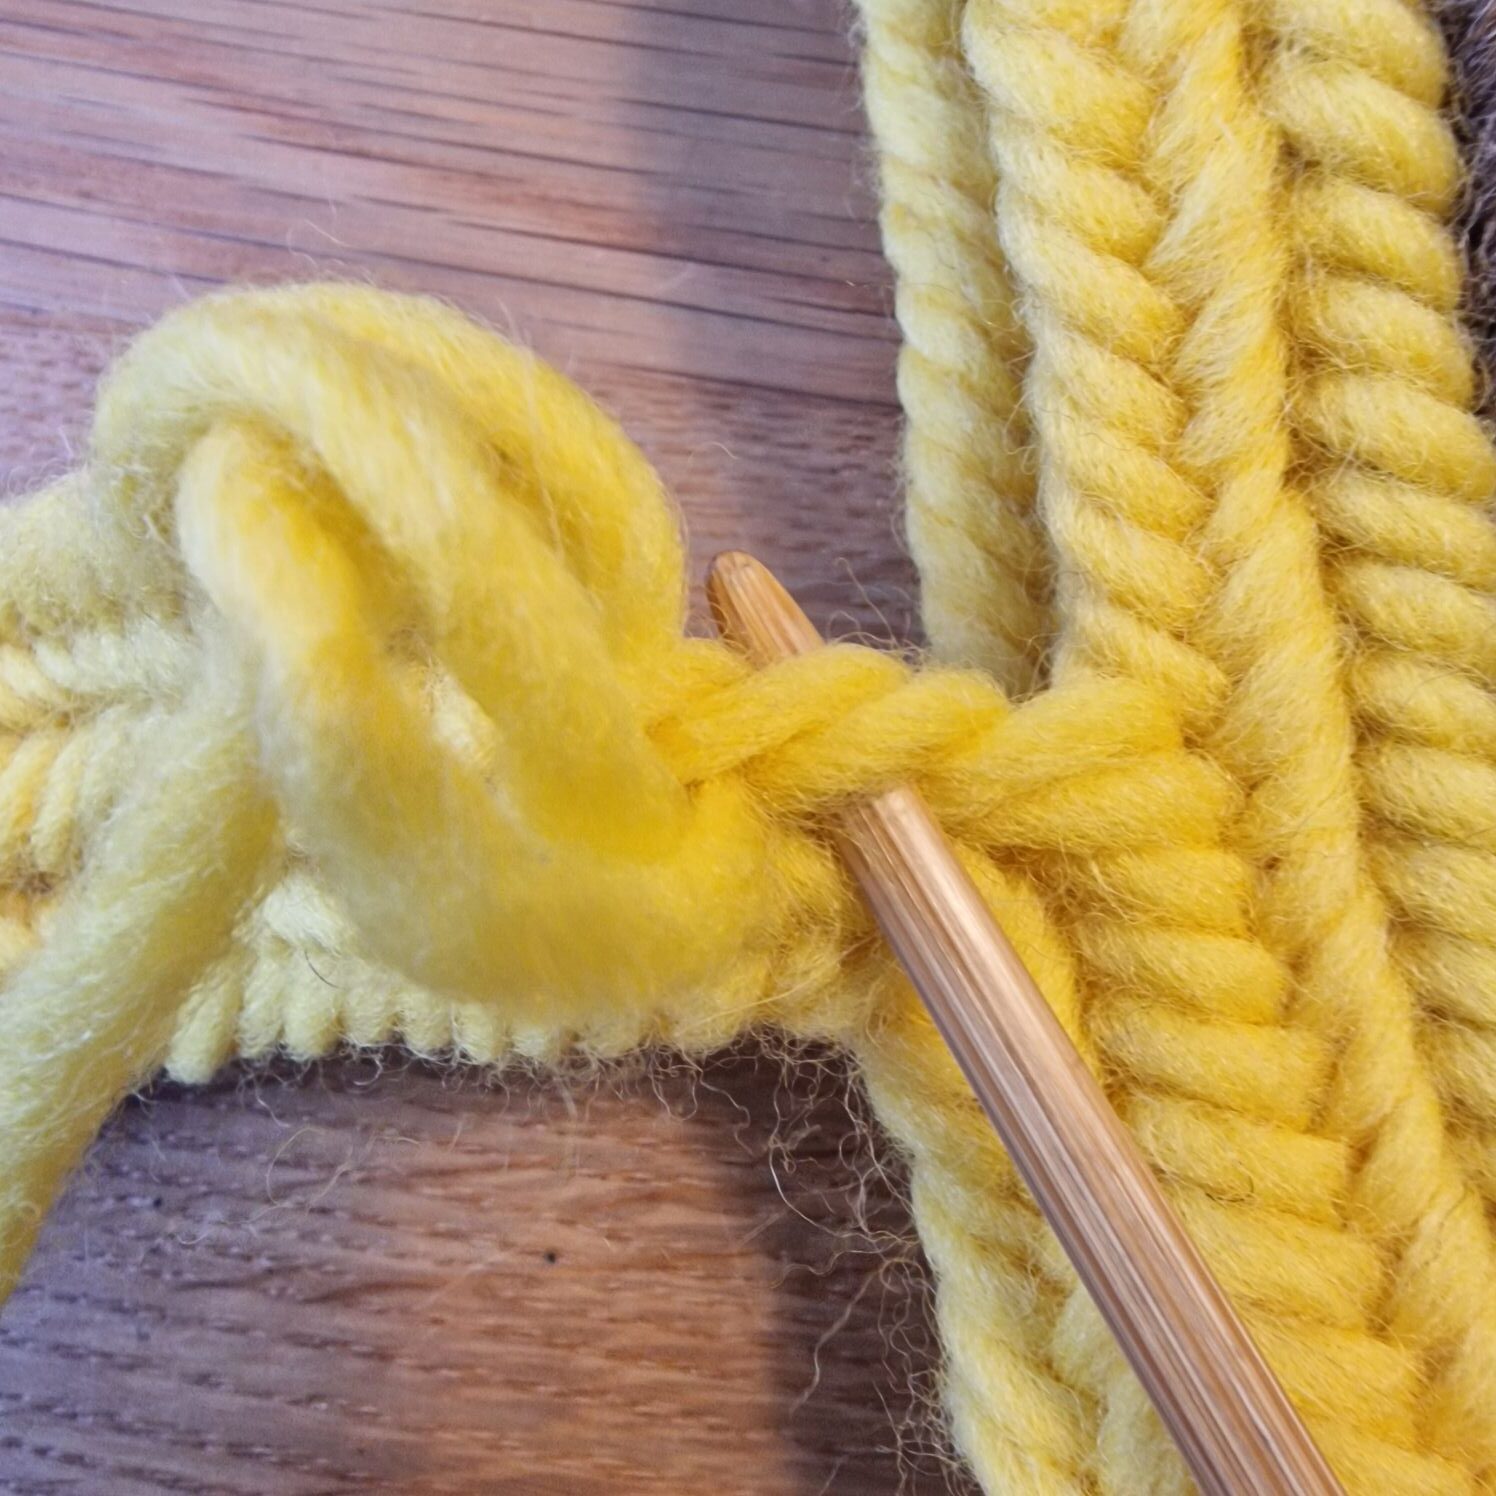
This is the last stitch before the finger is tied..
You insert the needle into the loop, see red arrow.
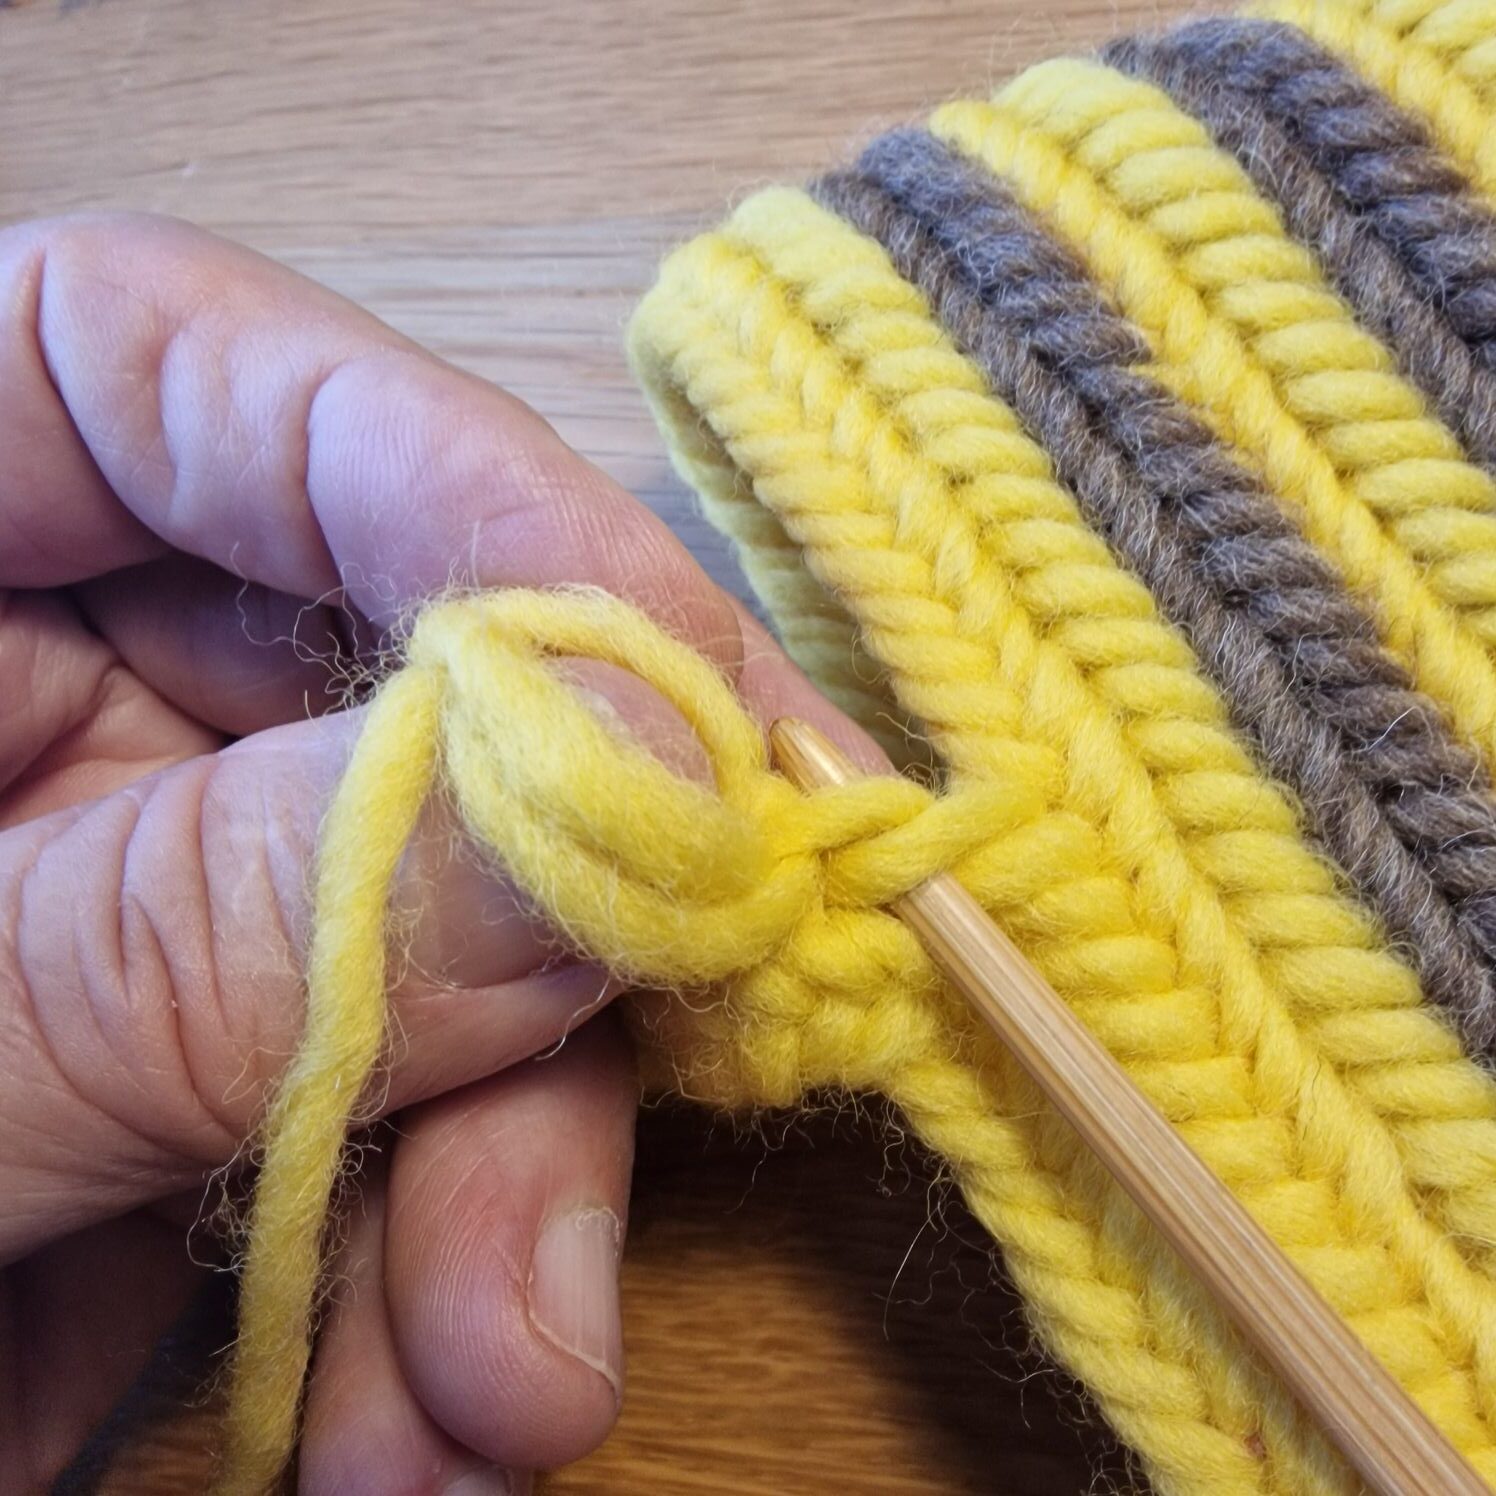
.You make the stitch as you are used to, this time it is the Finnish stitch with connecting stitch F2.
So pick up the stitch and then under the 2 back thumb loops and under the 2 thumb loops and under your working thread.
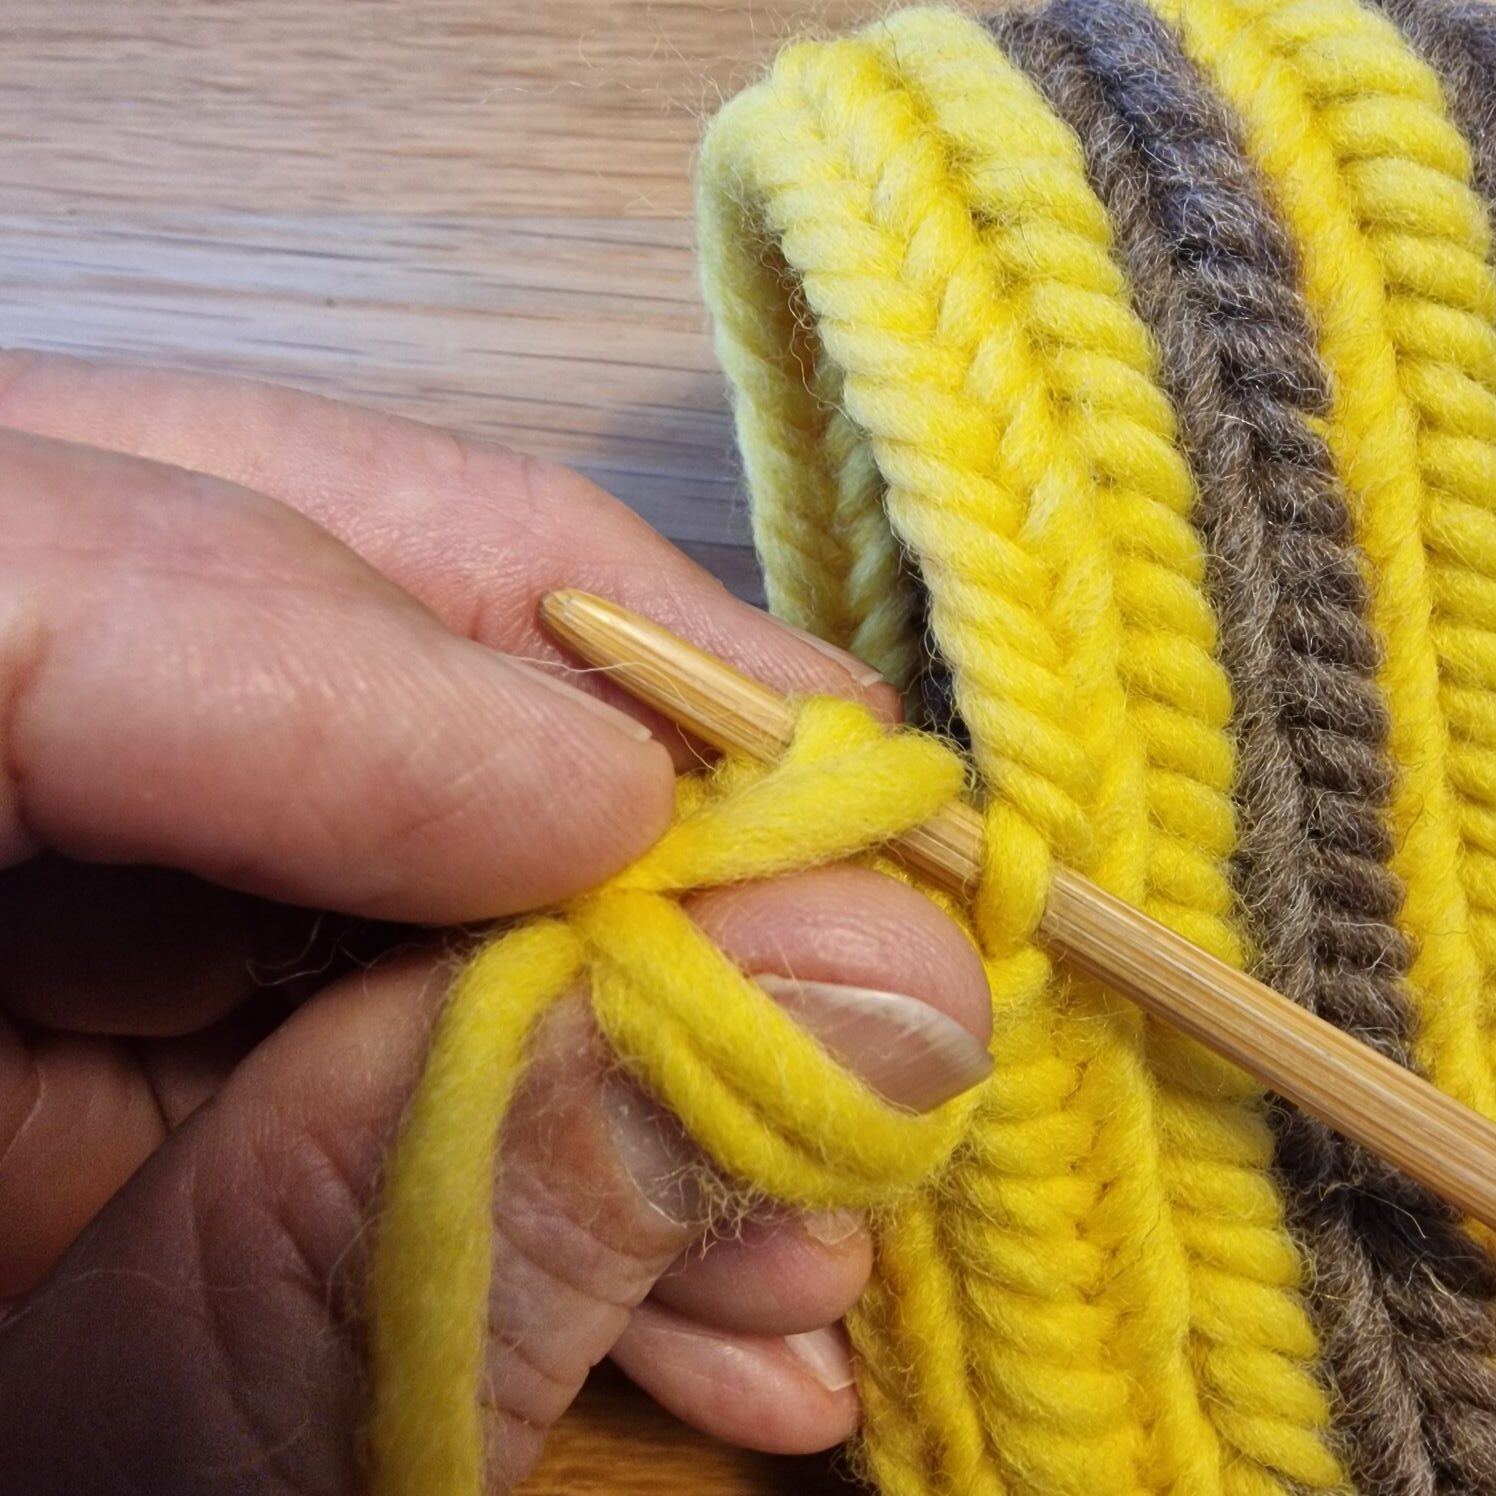
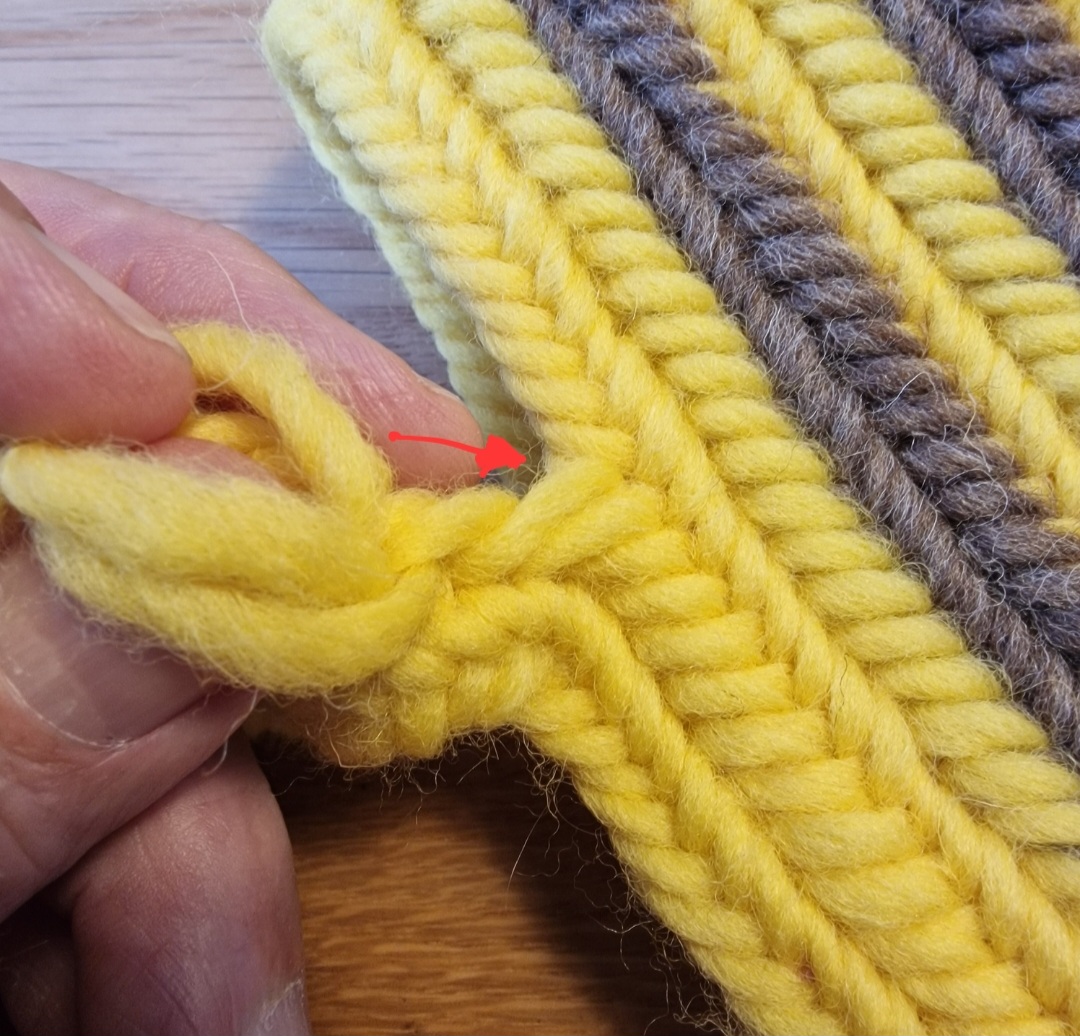
Then the next stitch and then decrease the next 2 stitches.
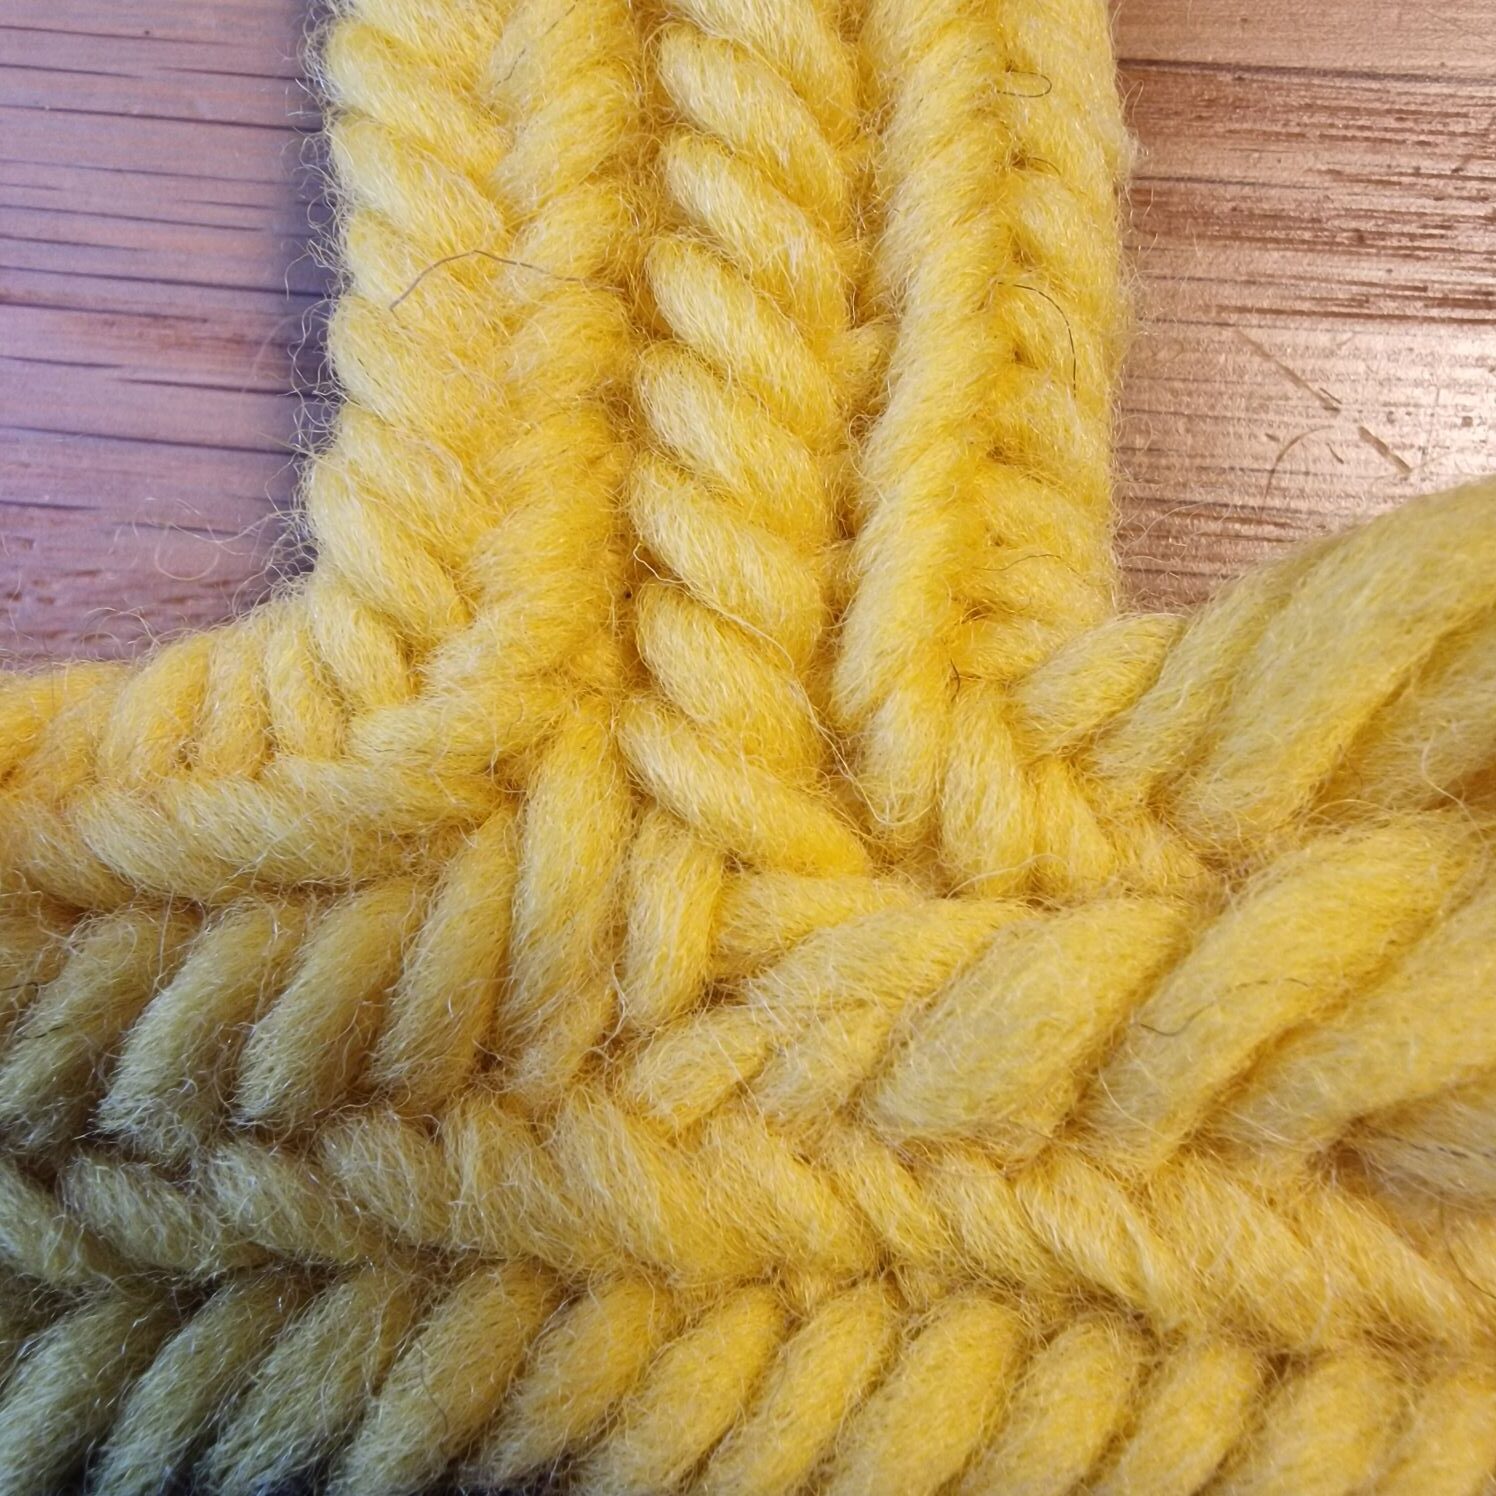
After that you have no small hole that you have to cover with a darning needle.
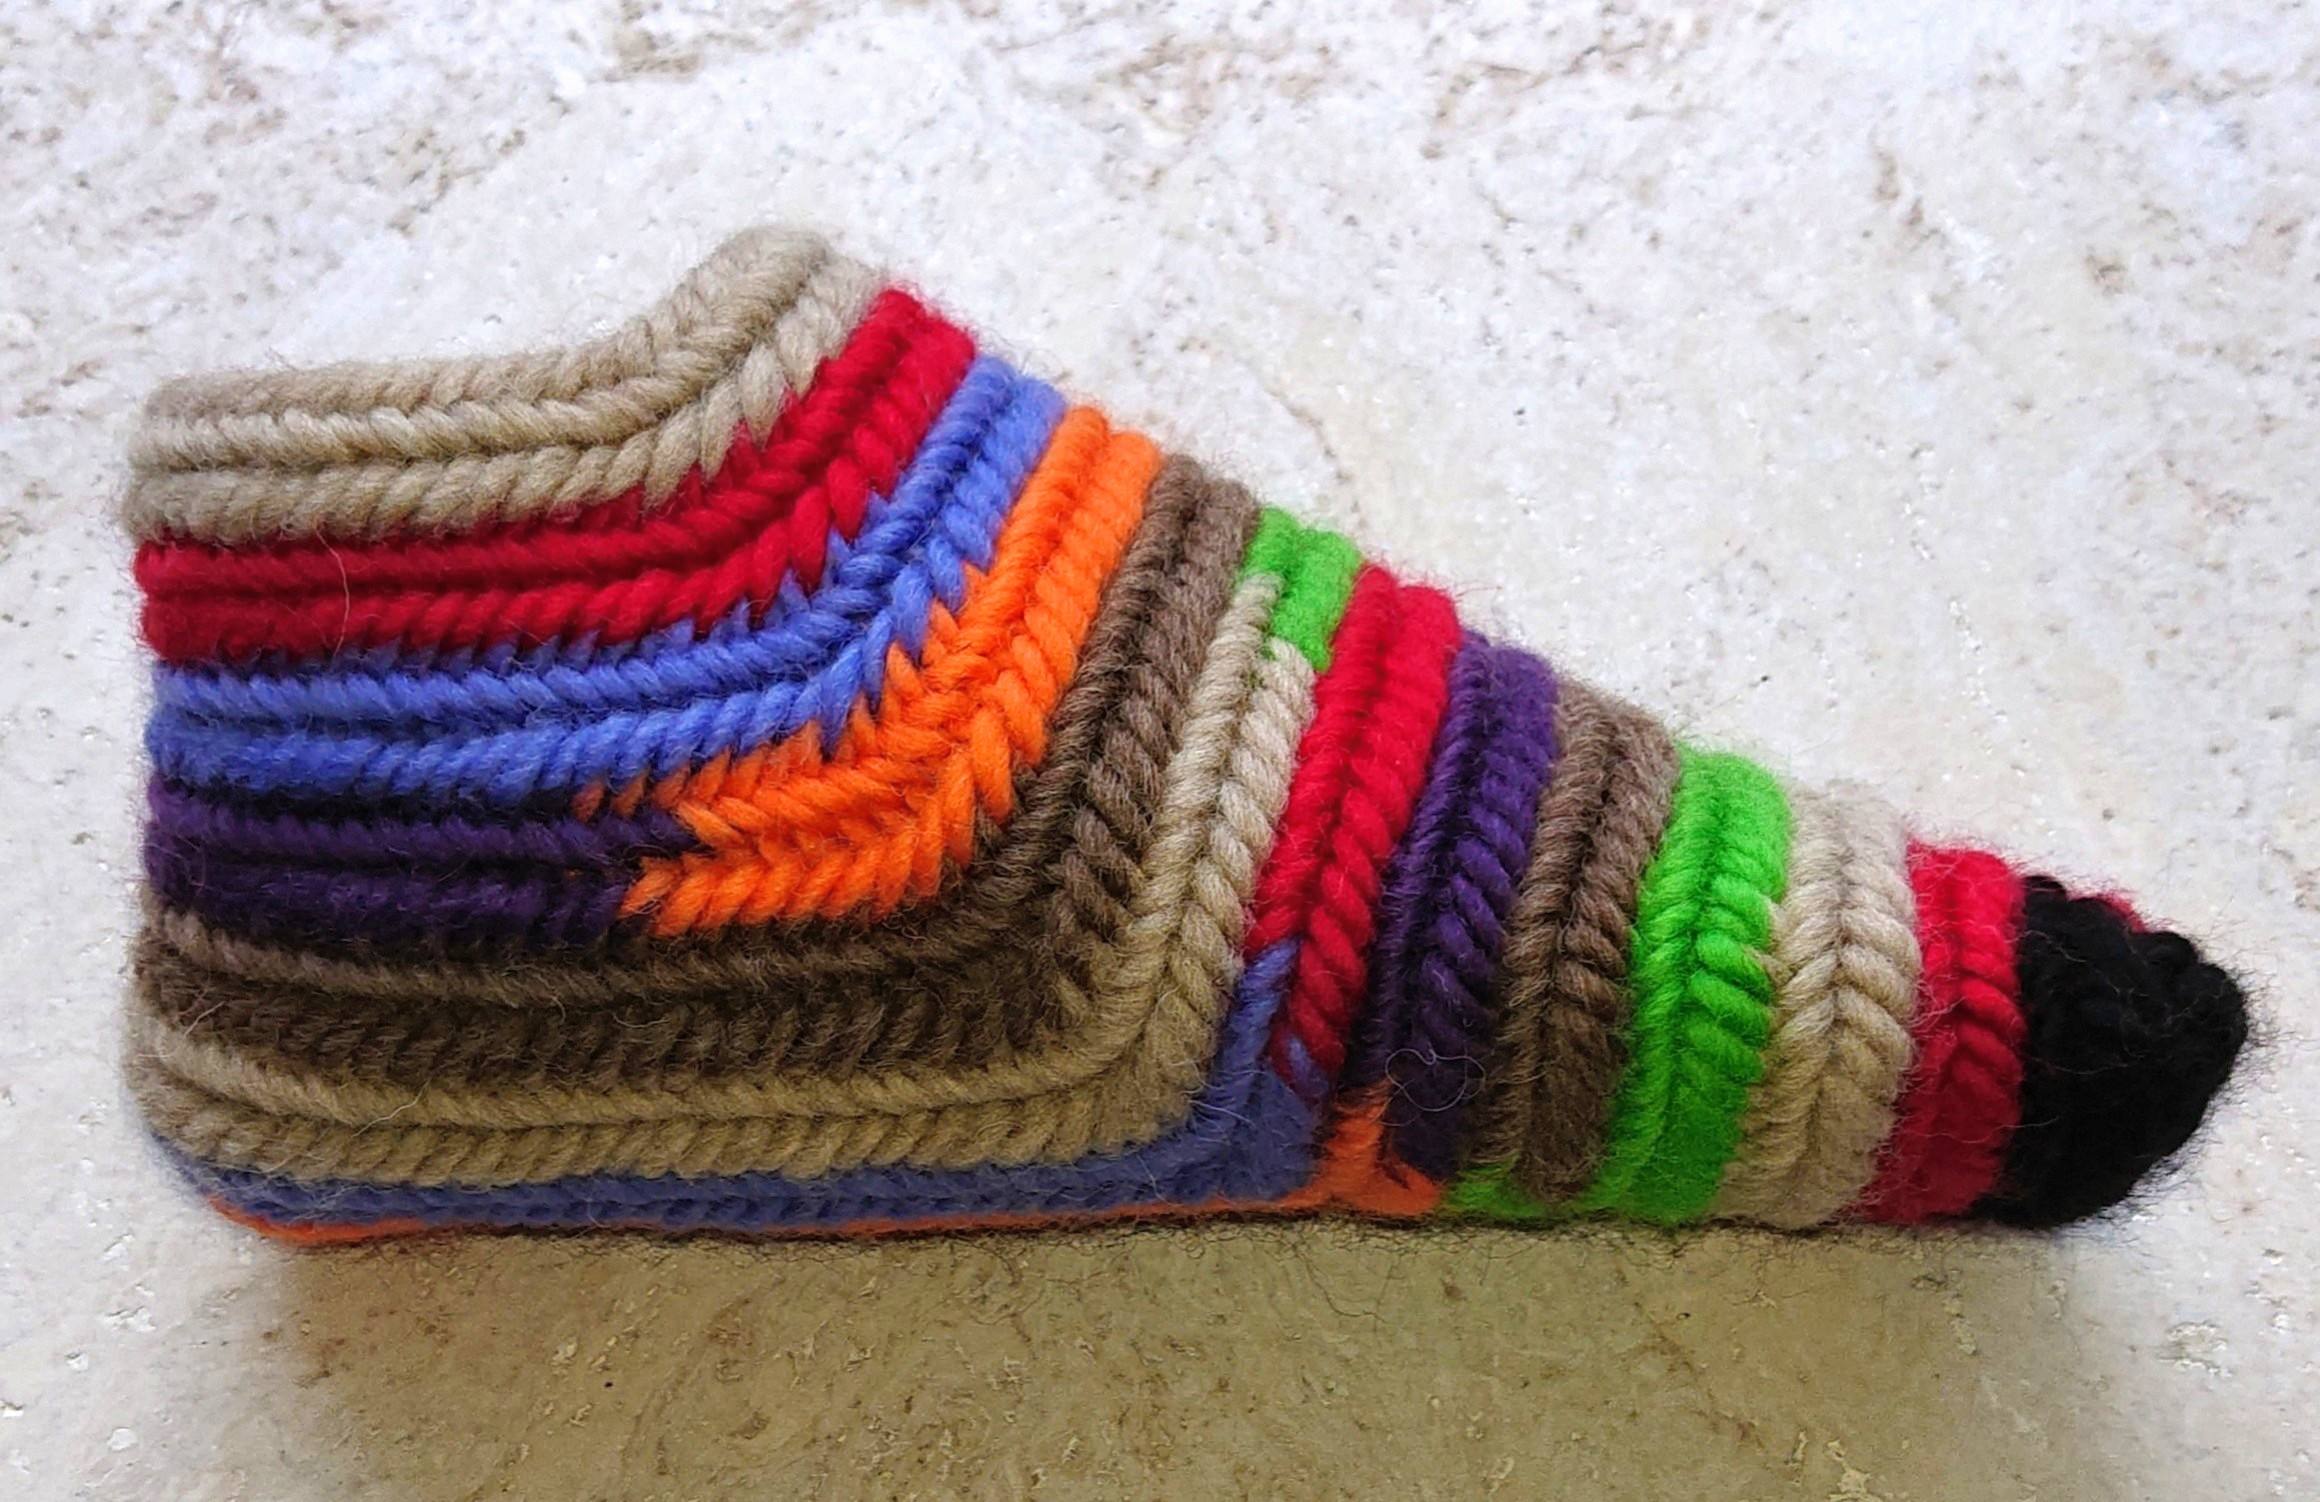
Finished slippers.
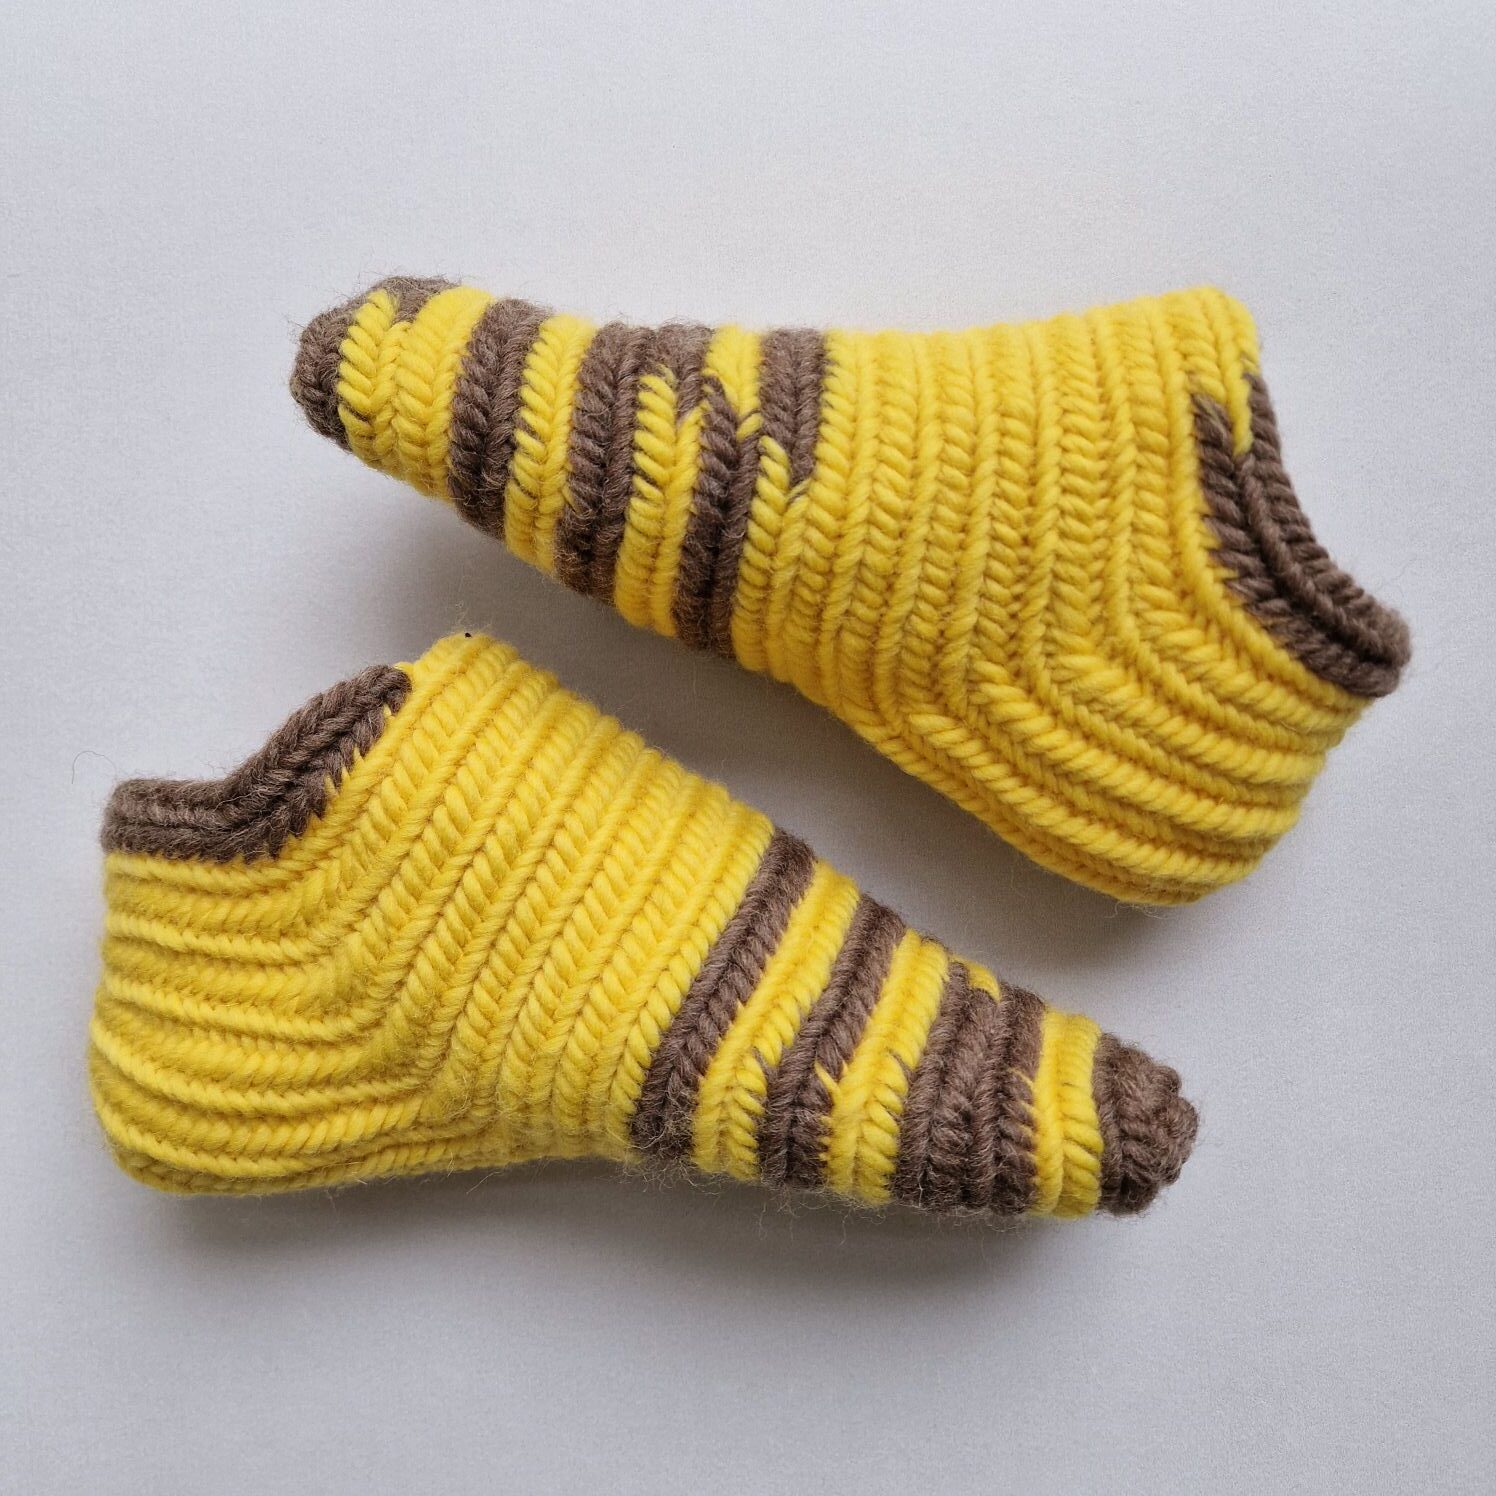
These slippers are made with the Finish stitch 2+2 and connection stitch F2.