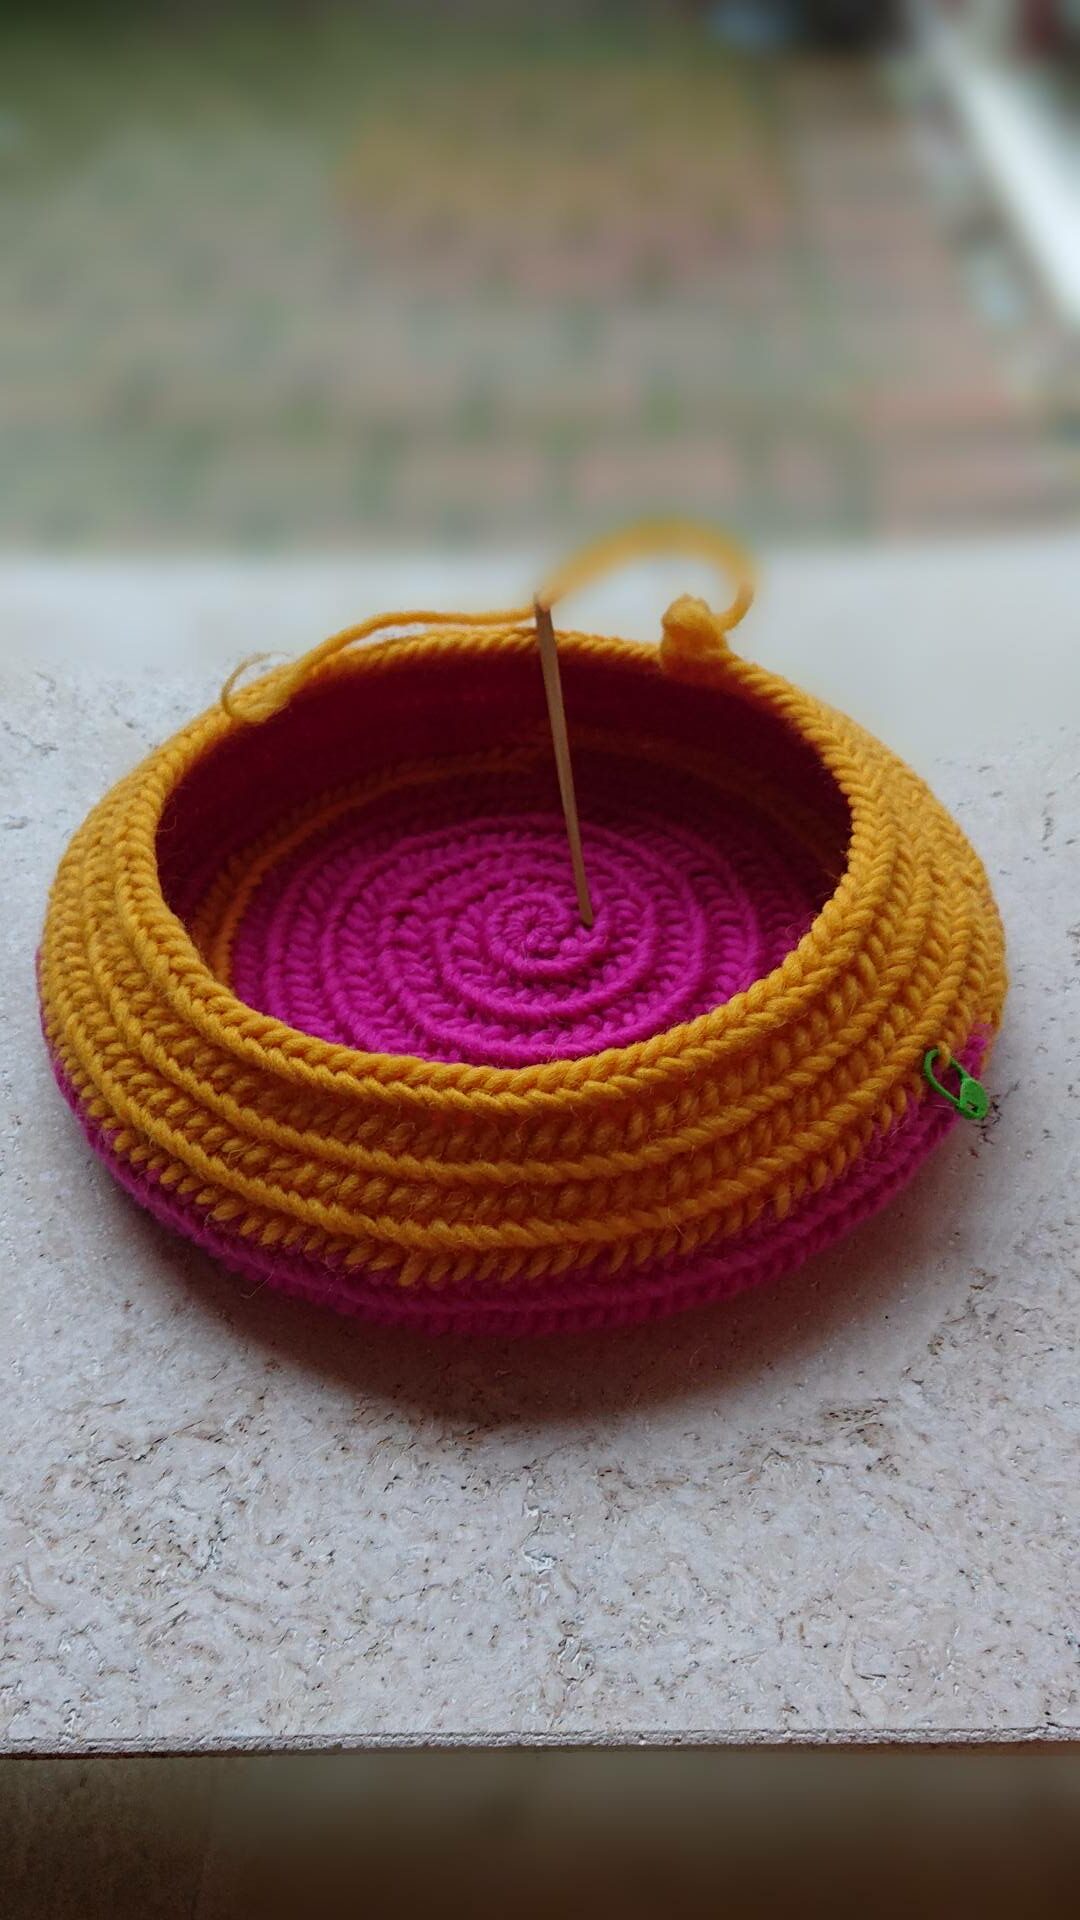
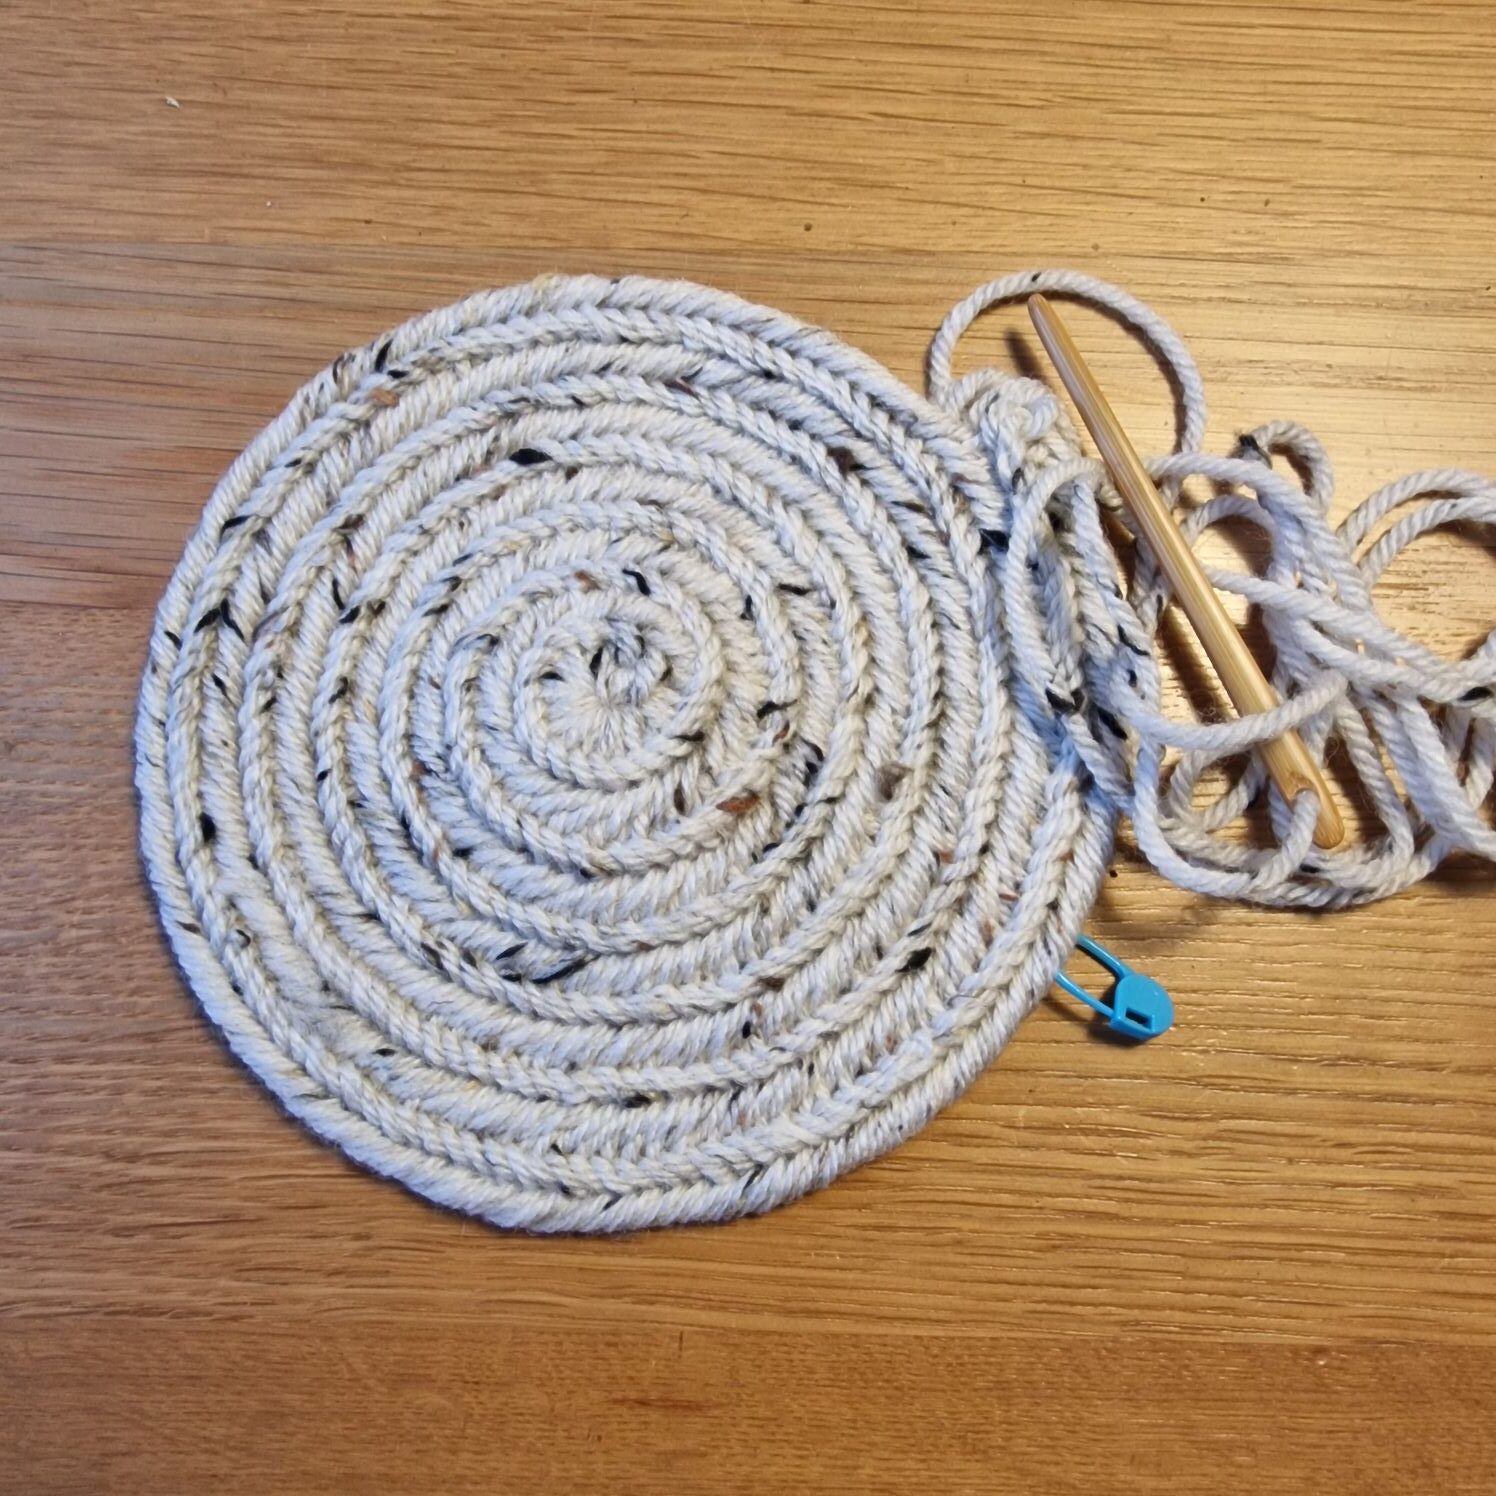
Needlebind round start.
I start with 18 stitches with the Finnish stitch 2+2 F1.
In the 1 rnd you increase all stitches and then attach a stitch marker, you know when a round starts and ends.
The 2 rnd 1 stitch normal and the secound increase.
The 3 rnd 2 stitches normal and the third increase.
The 4 rnd 3 stitches normal and the fourth increase.
The 5 rnd 4 stitches normal and the fifth increase.
The 6 rnd 5 stitches normal and the sixth increase
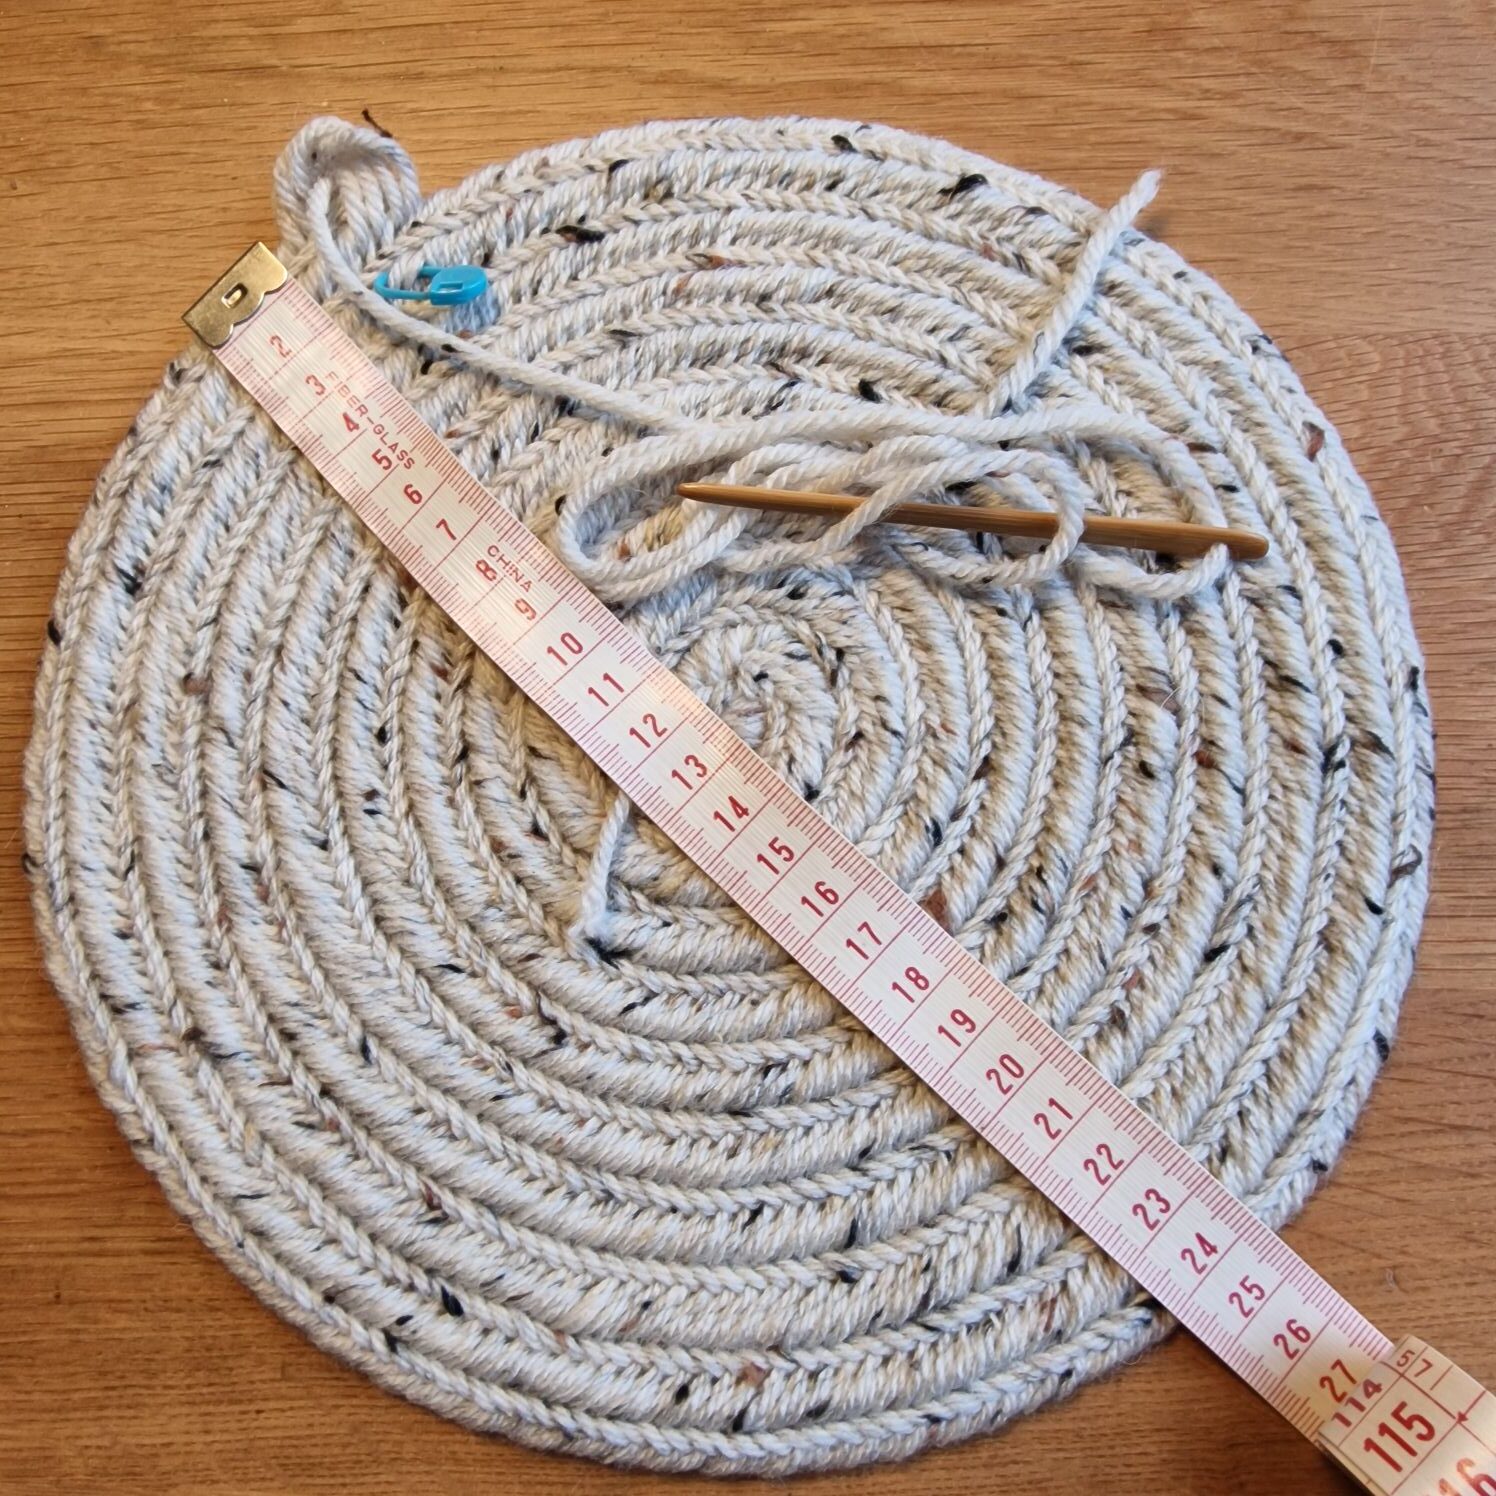
The 7 rnd measure, is the diameter 25 or 26 cm then all stitches normal one round, depending the size of your head.
The 8 rnd 5 stitches normal and the sixth decrease.
The 9 rnd 4 stitches normal and the fifth decrease.
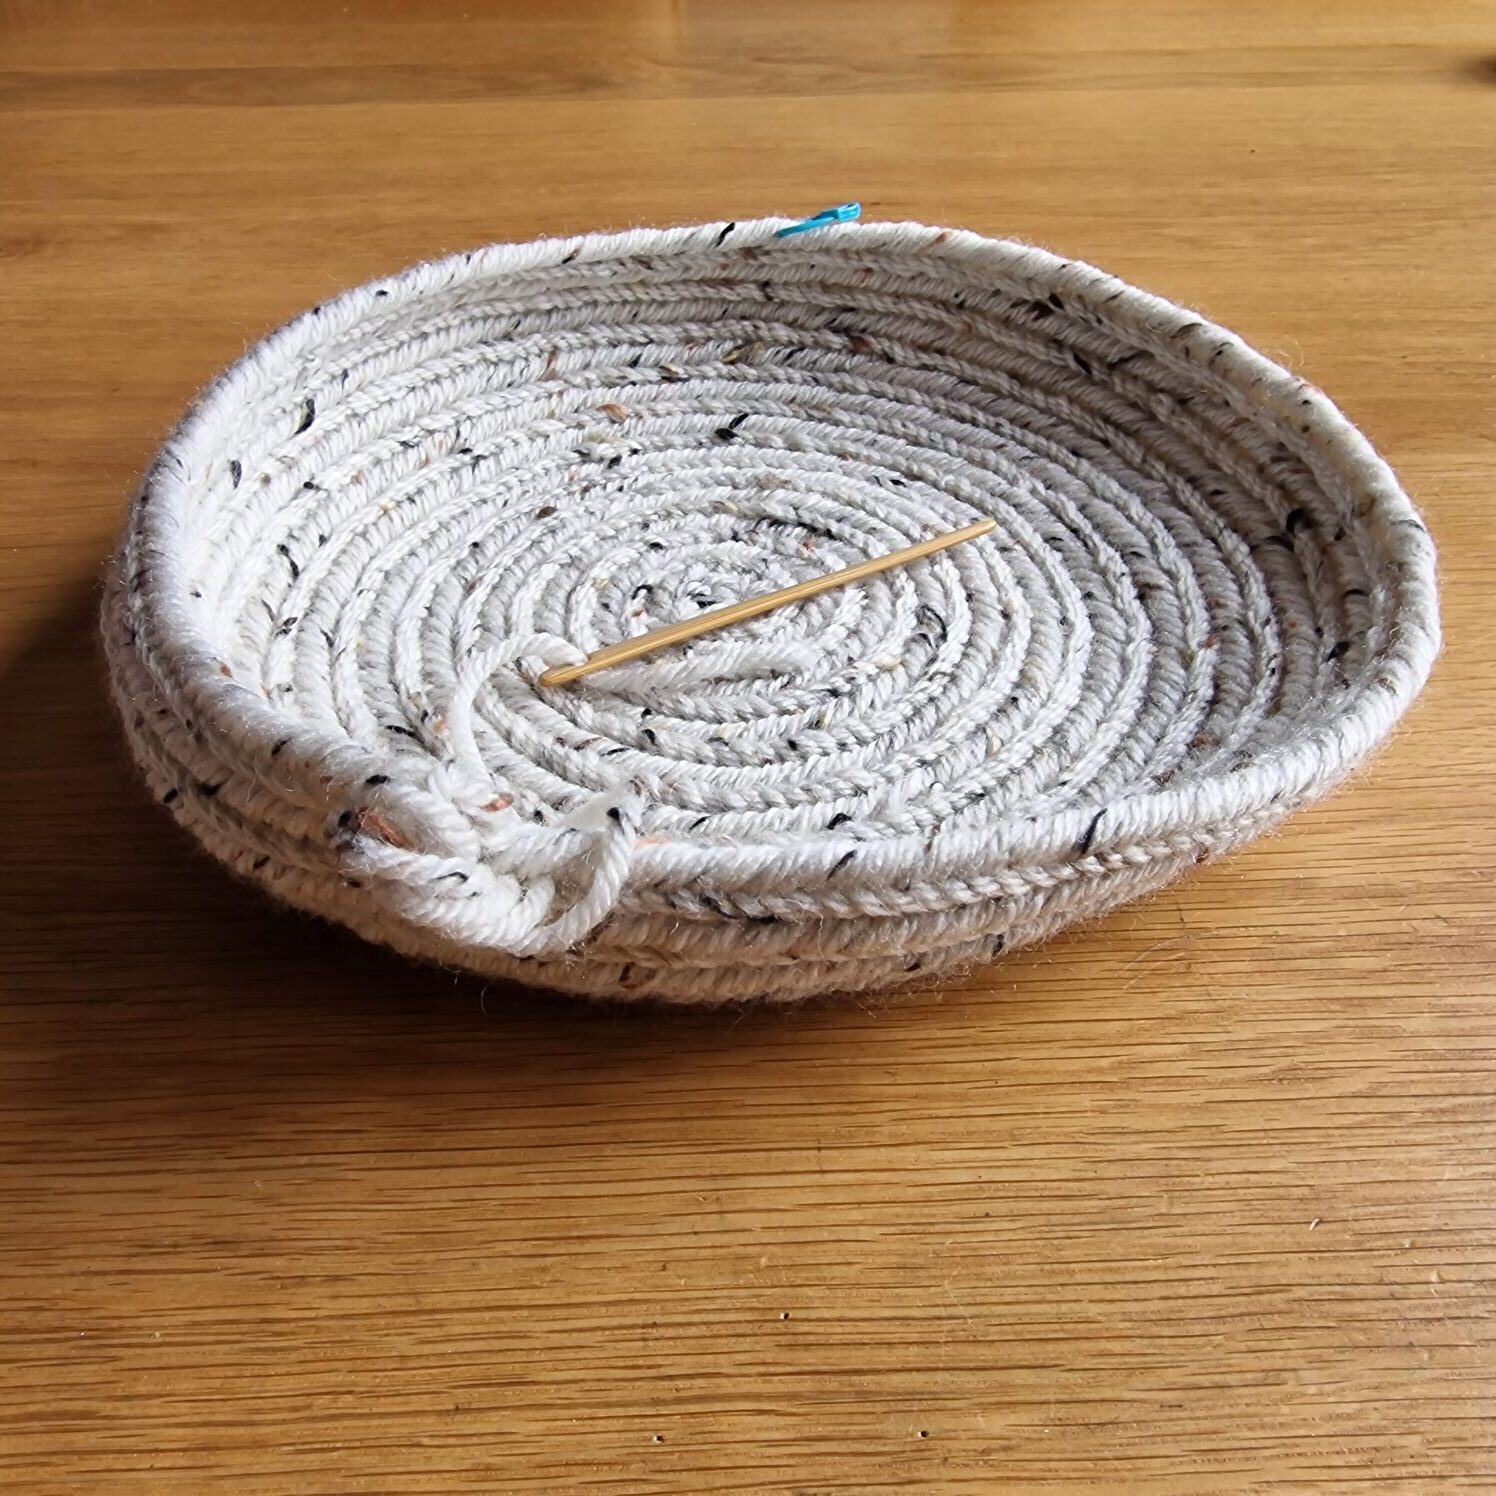
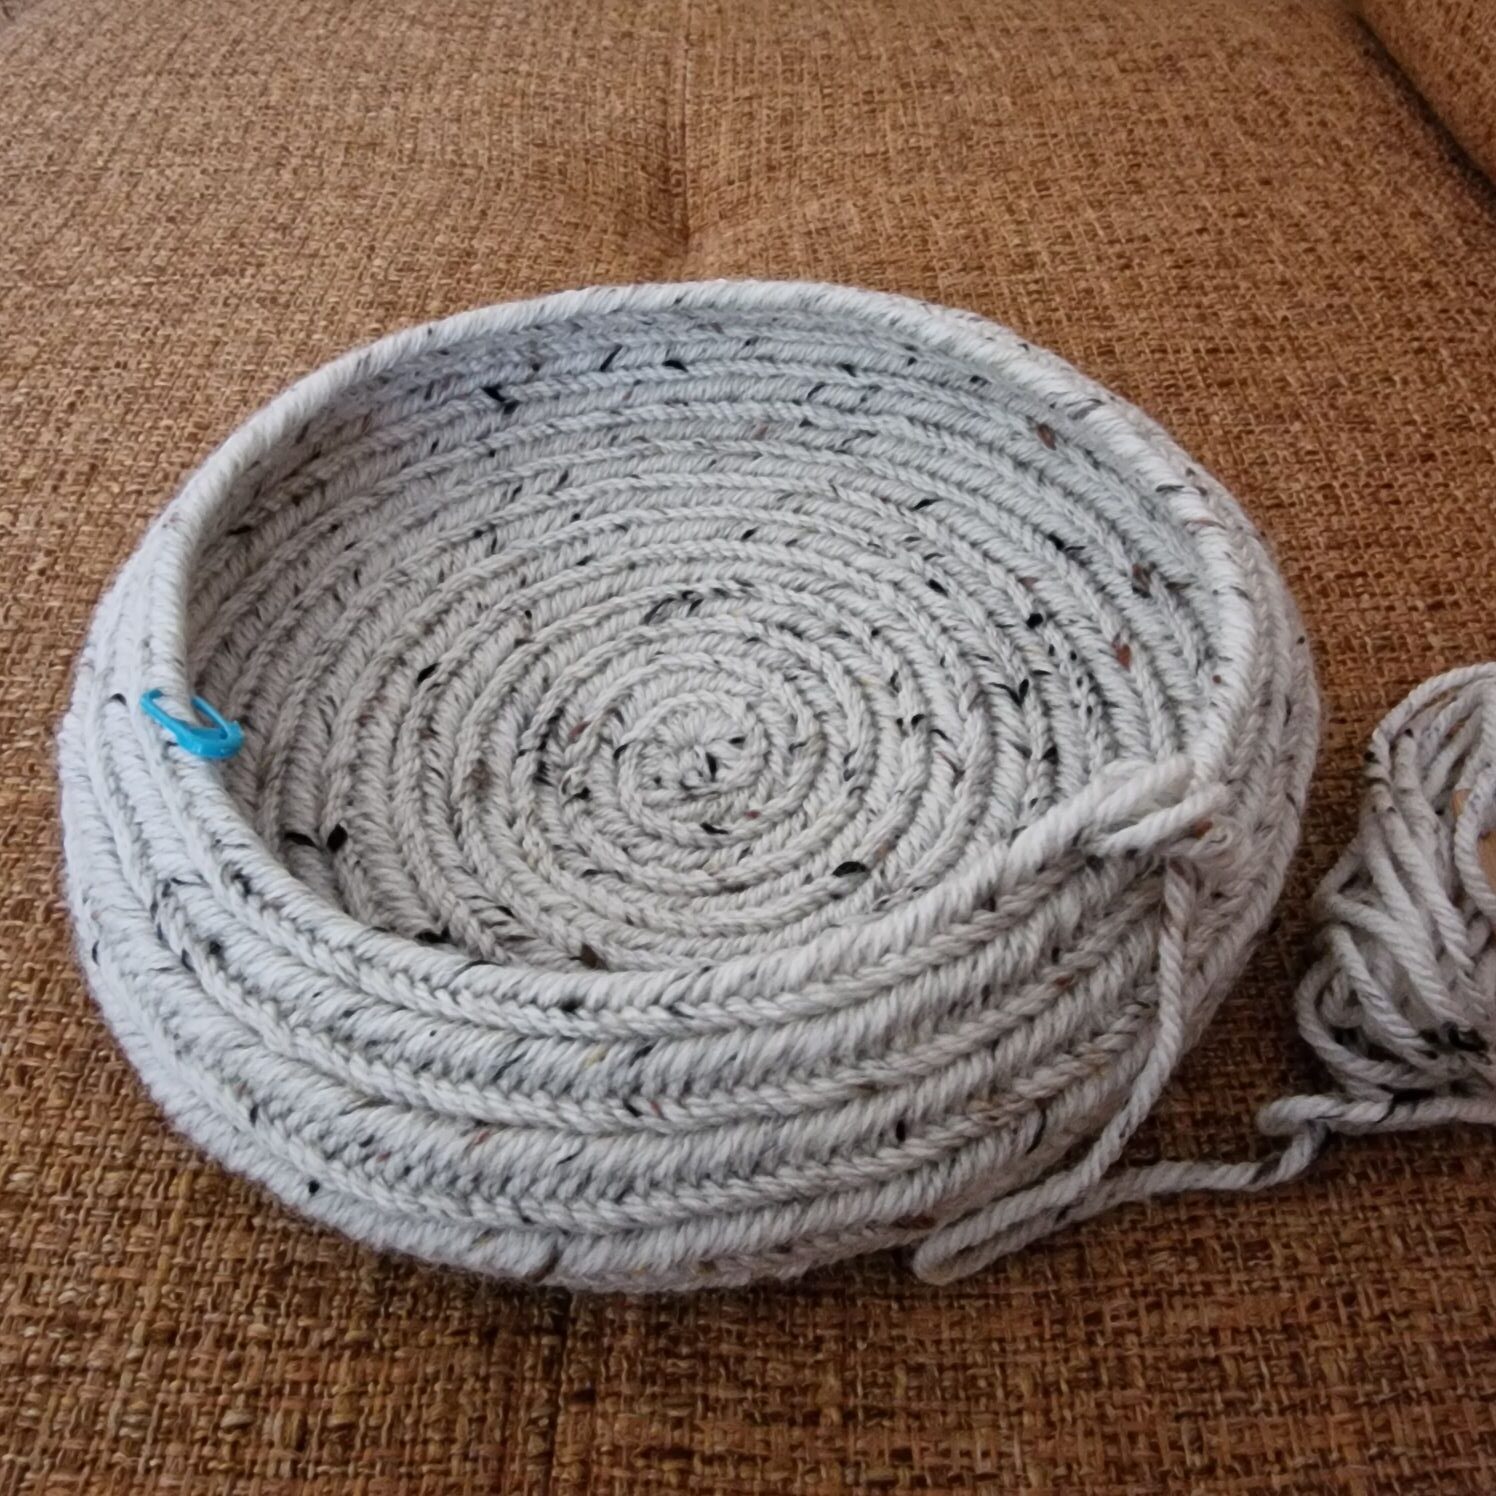
The 10 rnd now measure, if the baret fits then two rounds normal needlebinding for the edge. (if not than another round of 3 stitches normal and the fourth decrease and measure).
Then finish the beret.
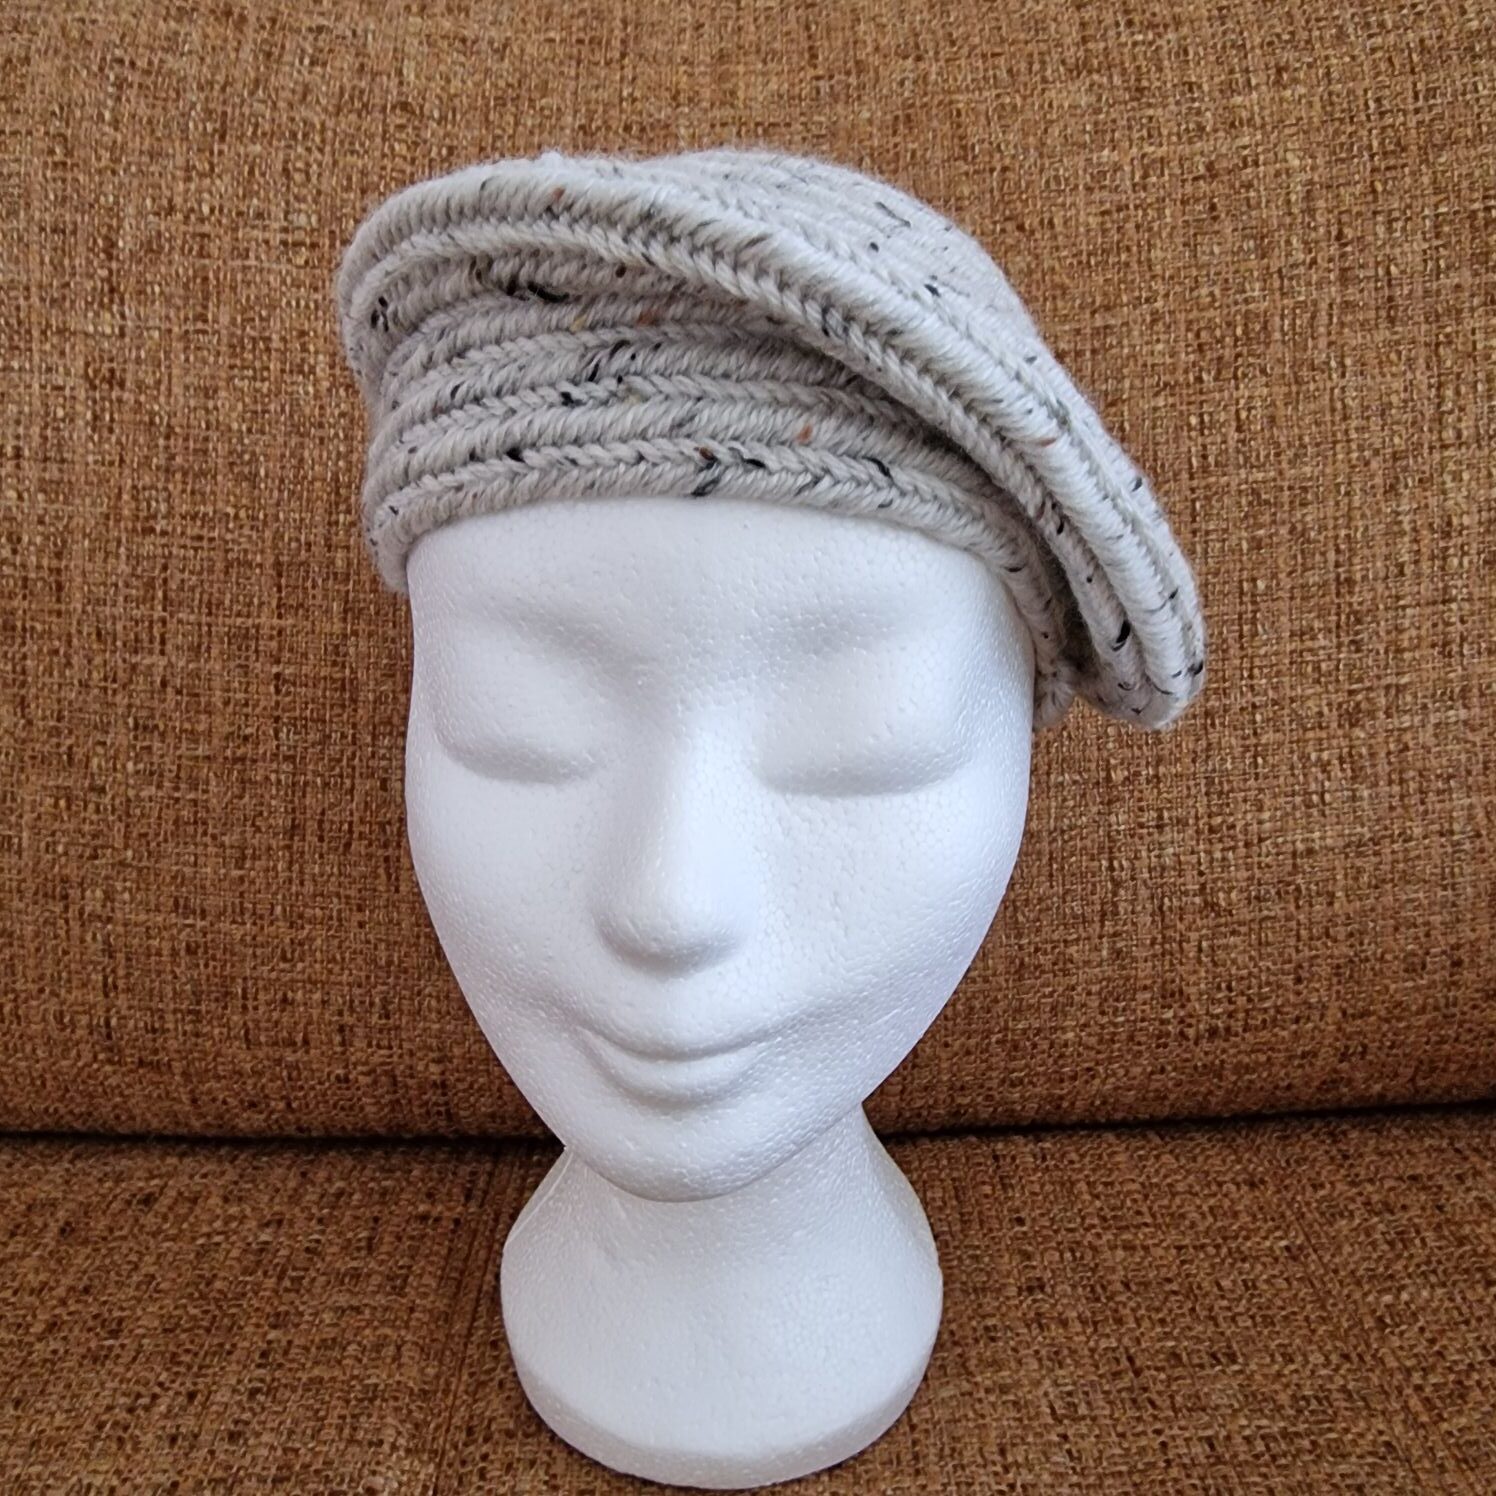
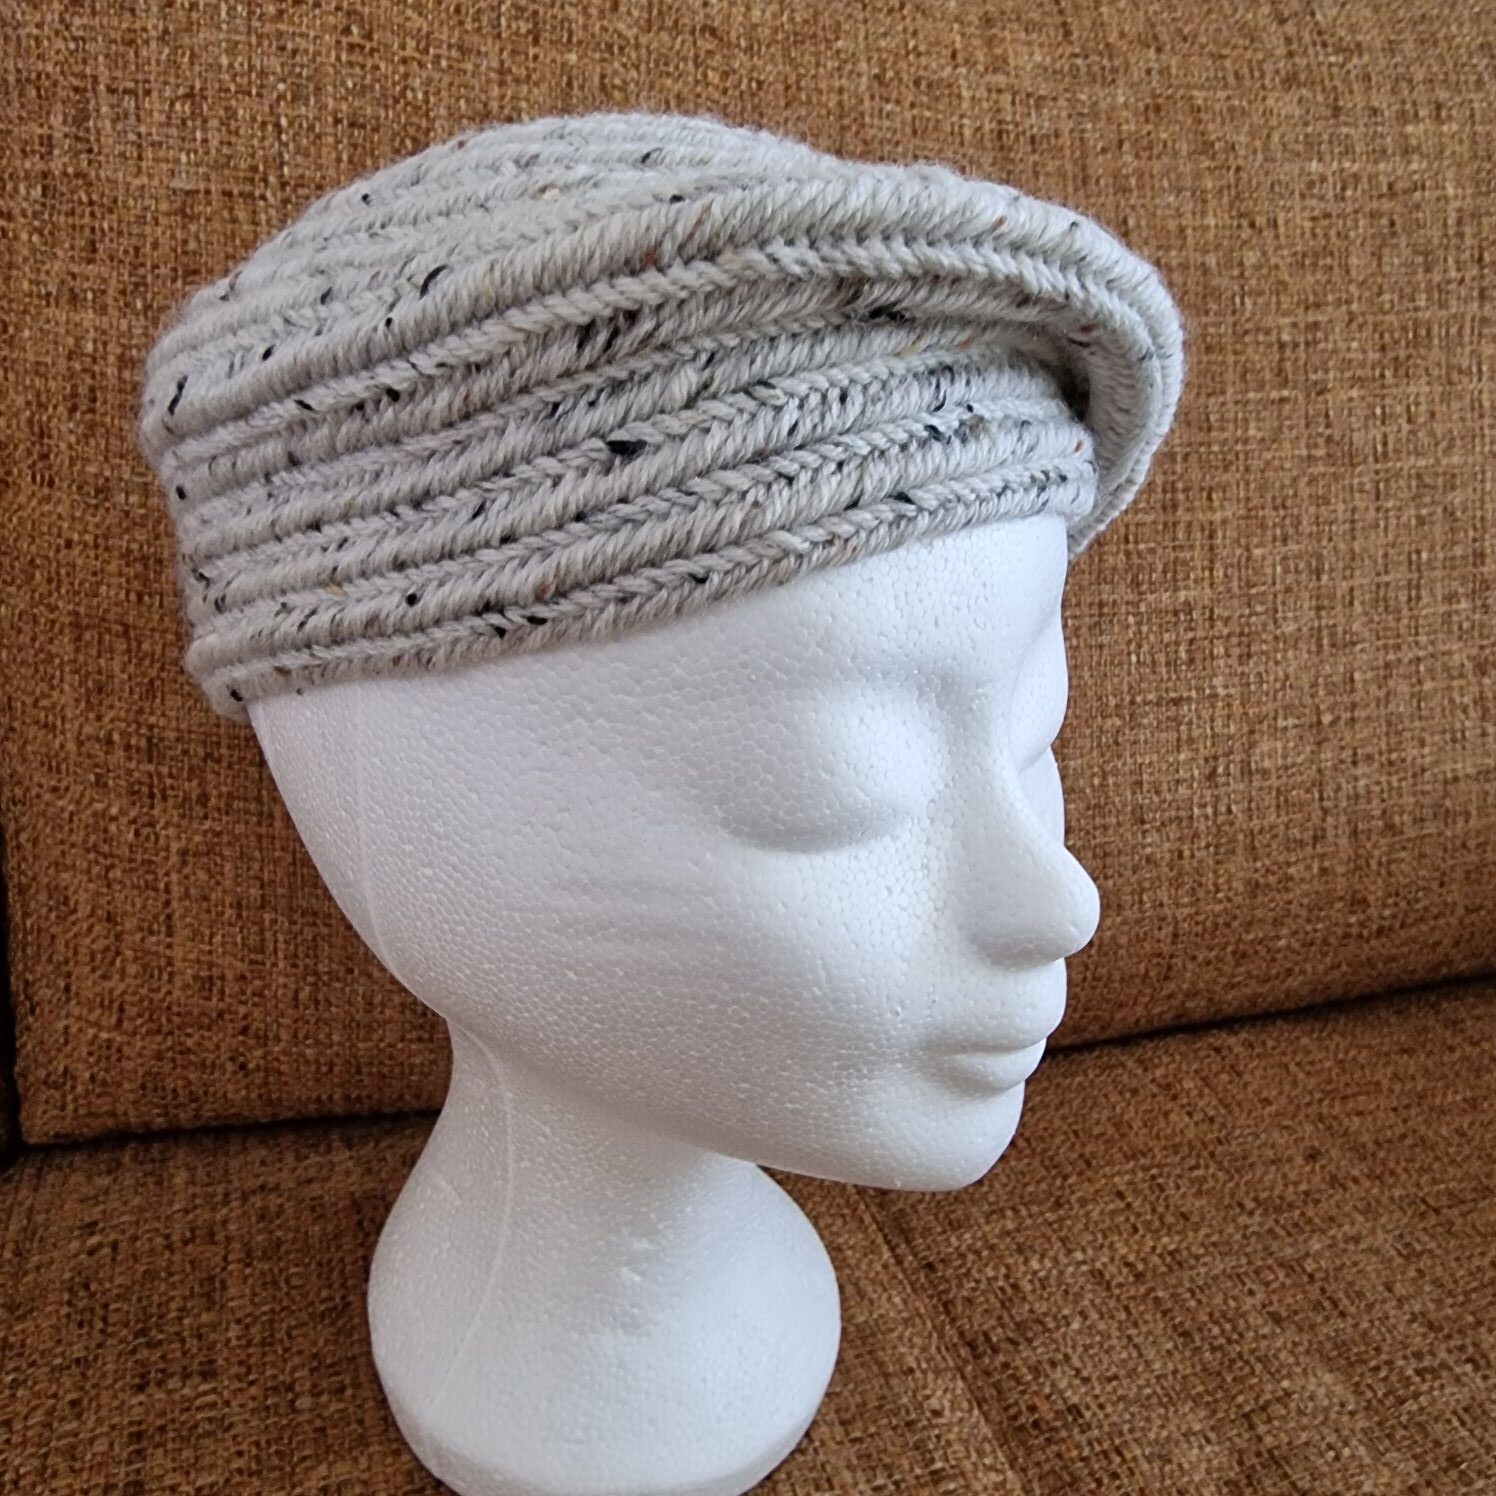
You can also simply pull this beautiful beret over your ears when it’s very cold they stay warm. 🙂
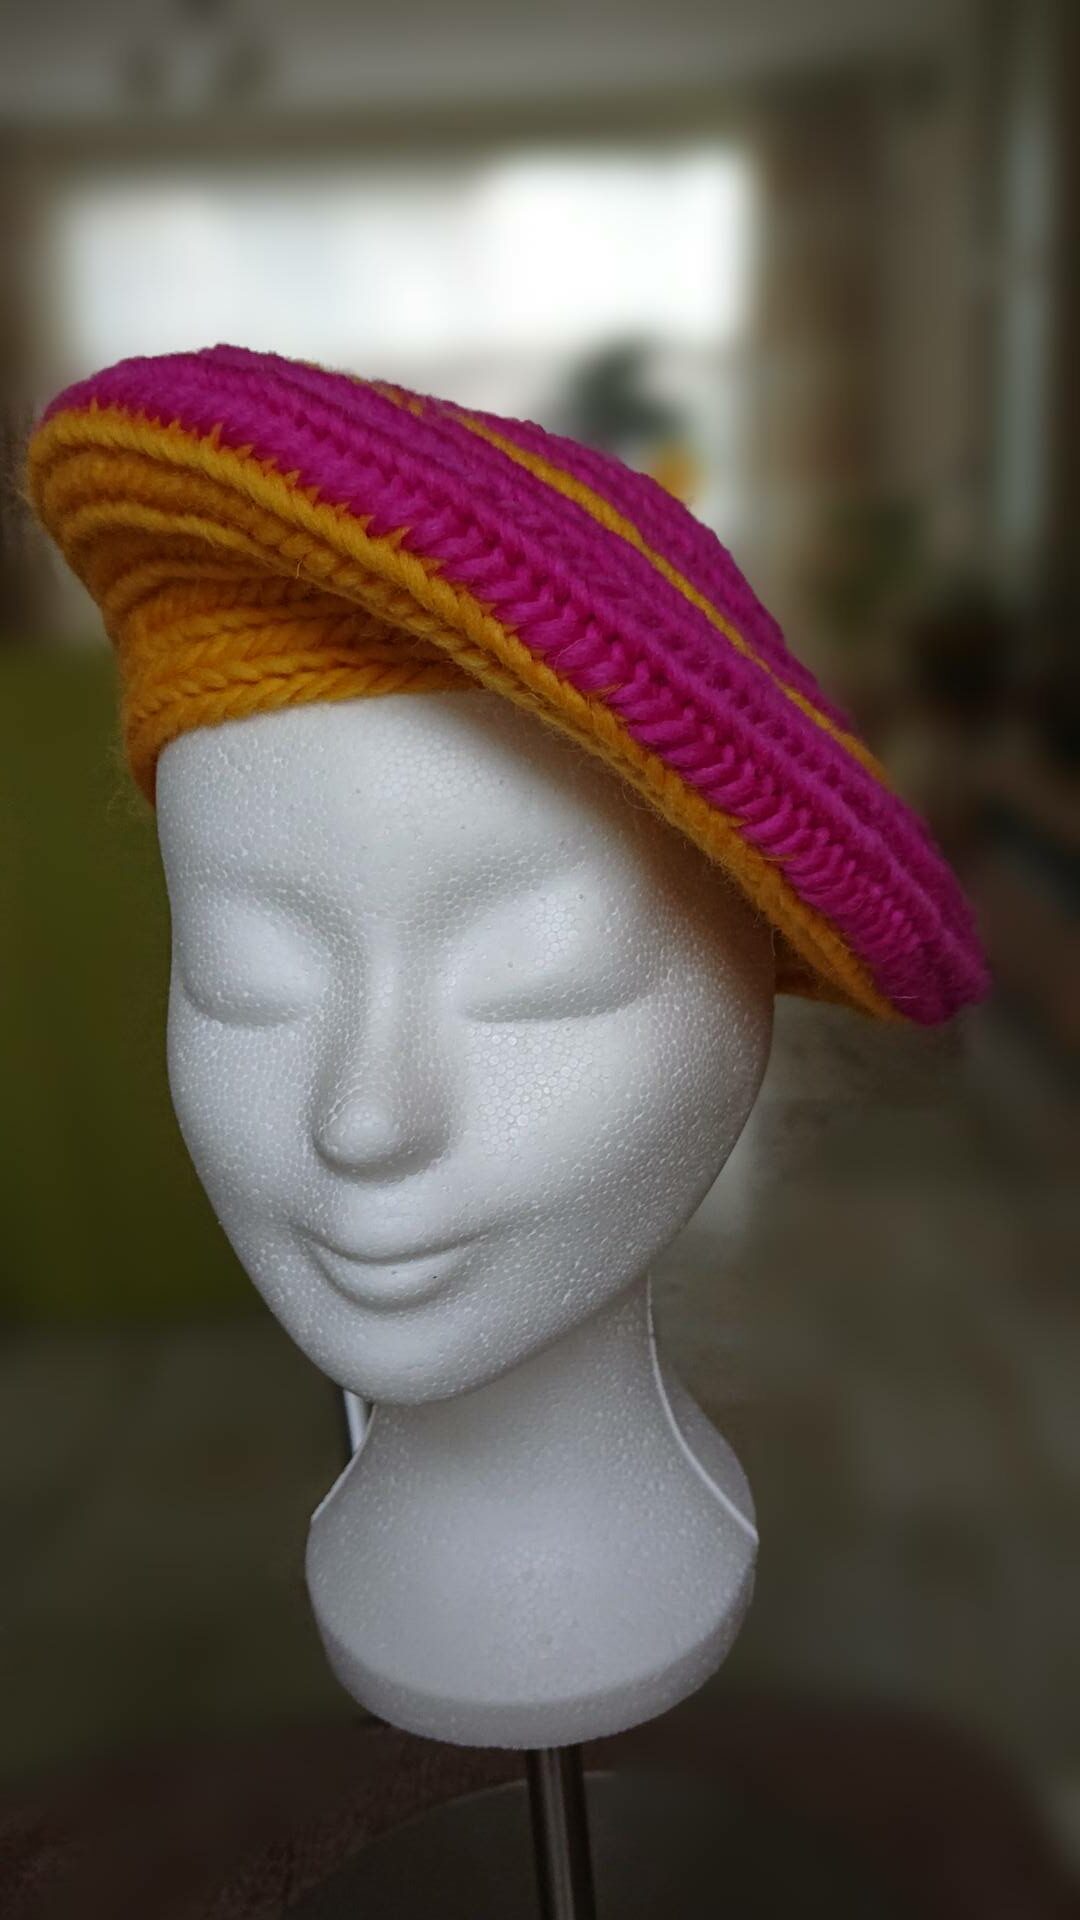
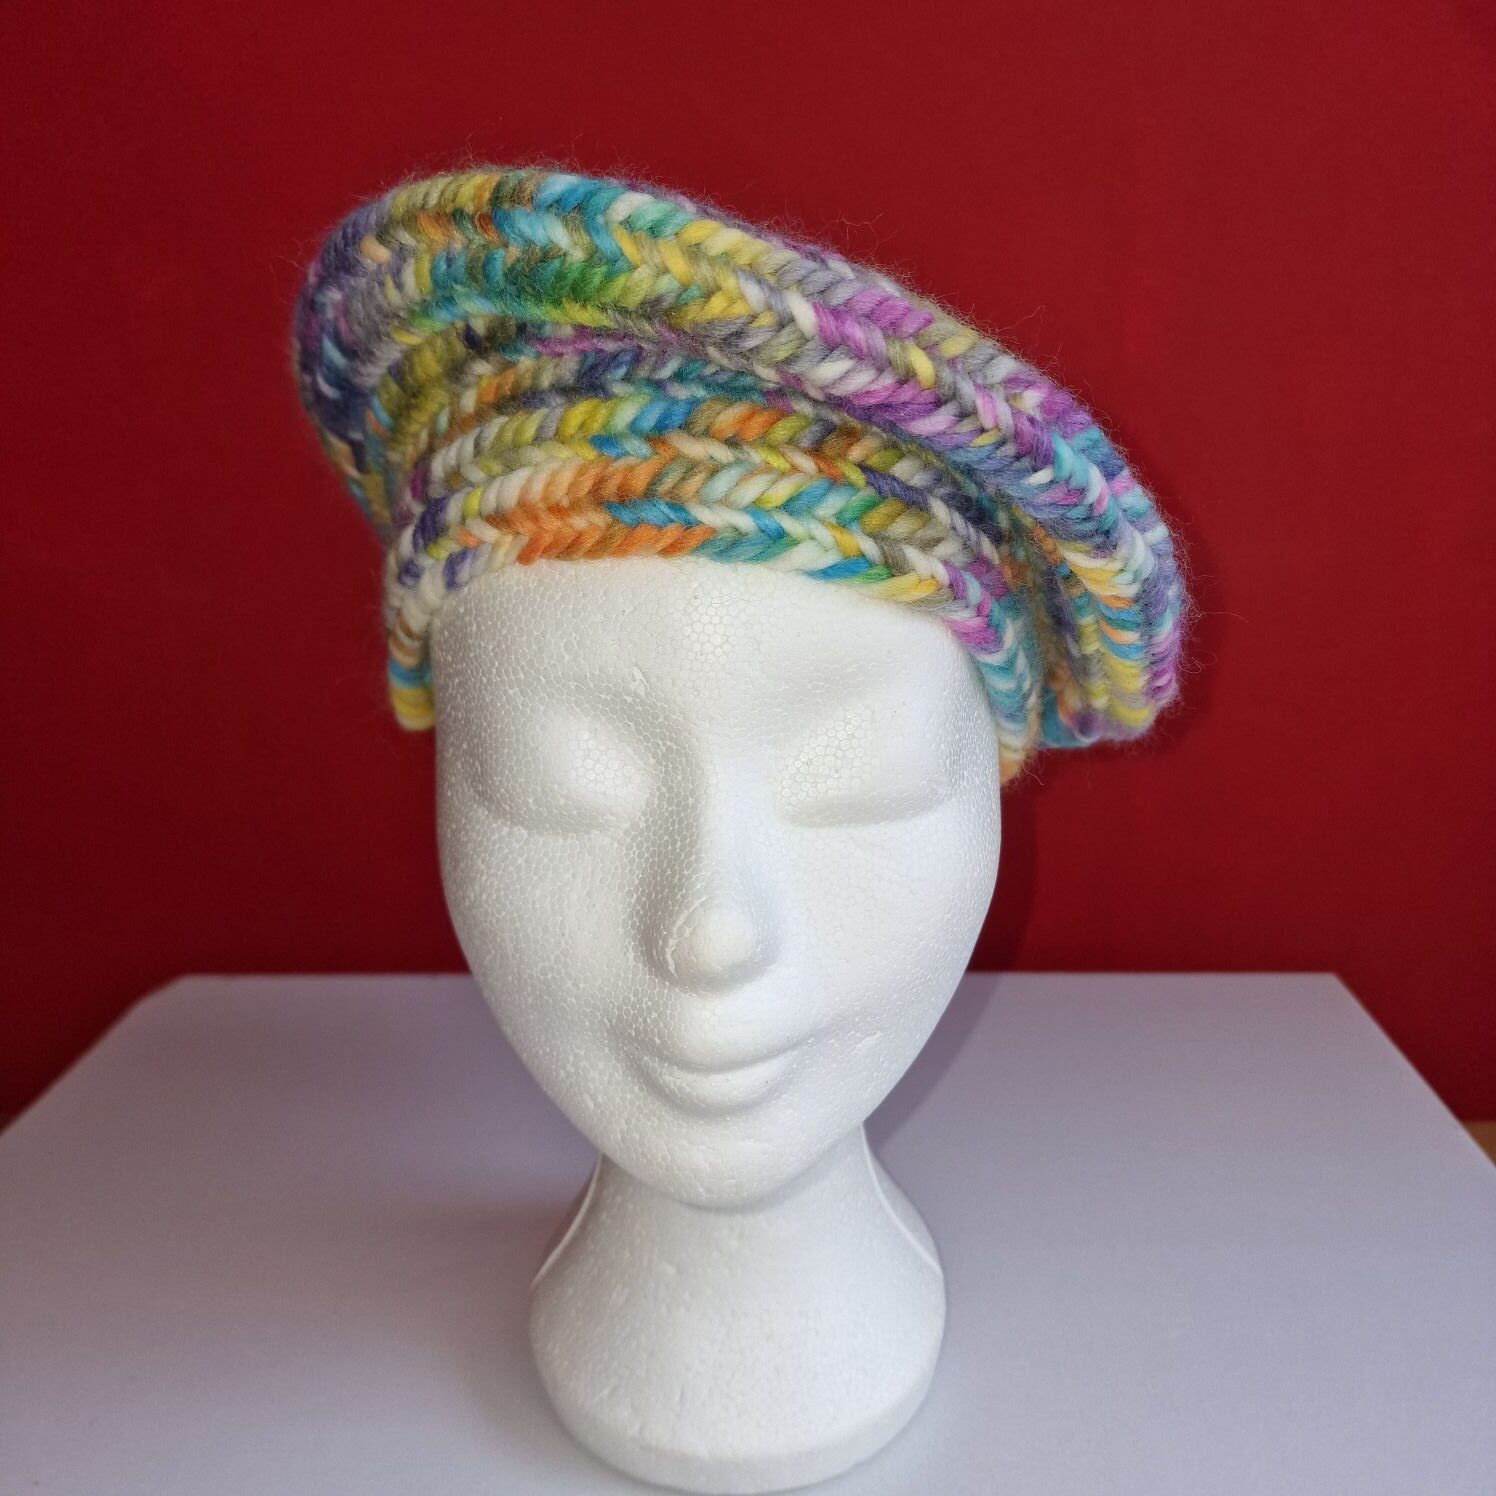
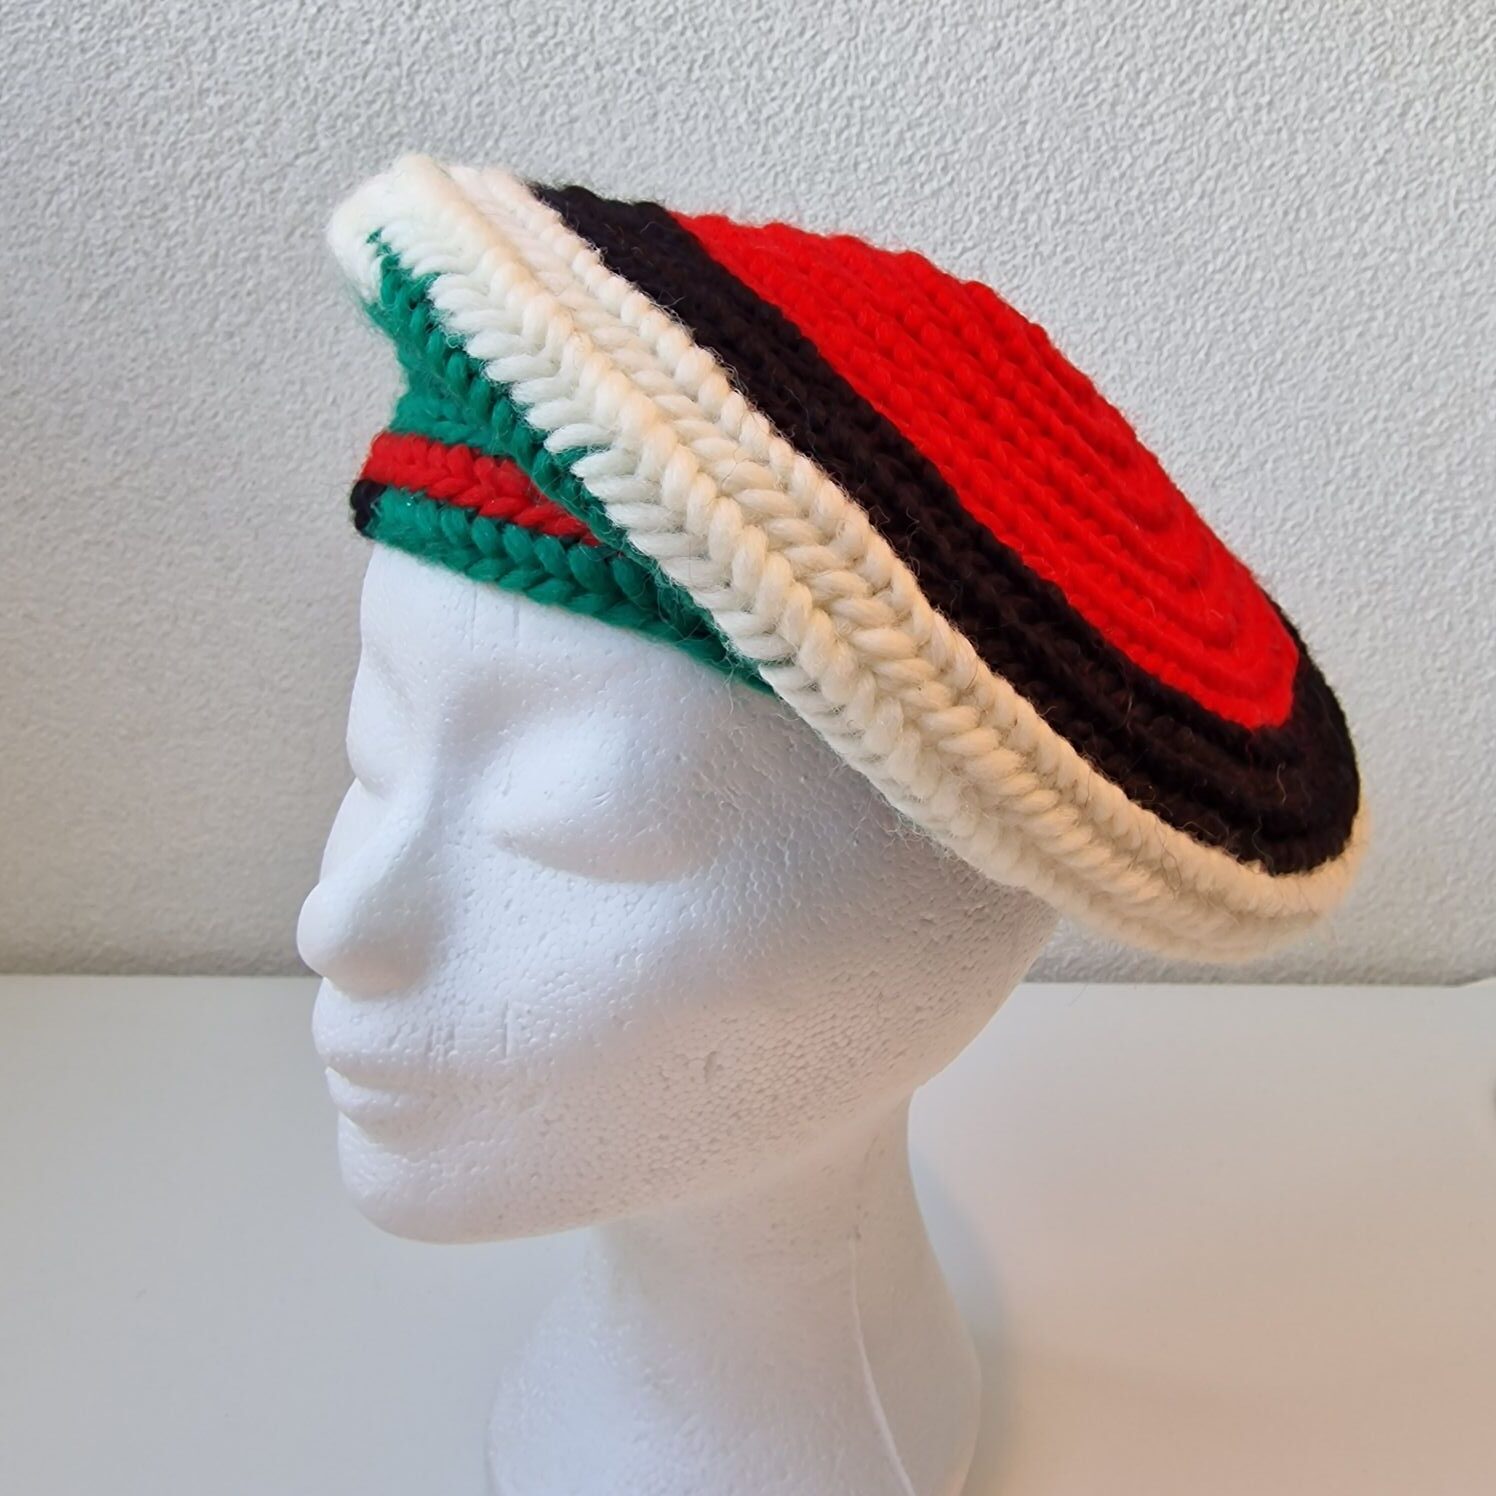
These berets are made with Fin. stitch 2+2, and starts with 20 stitches.
The barets are made the same as the top pattern, and the thick wool barets are start with 18 stitches.
The barets are made the same as the top pattern and 100% wool.
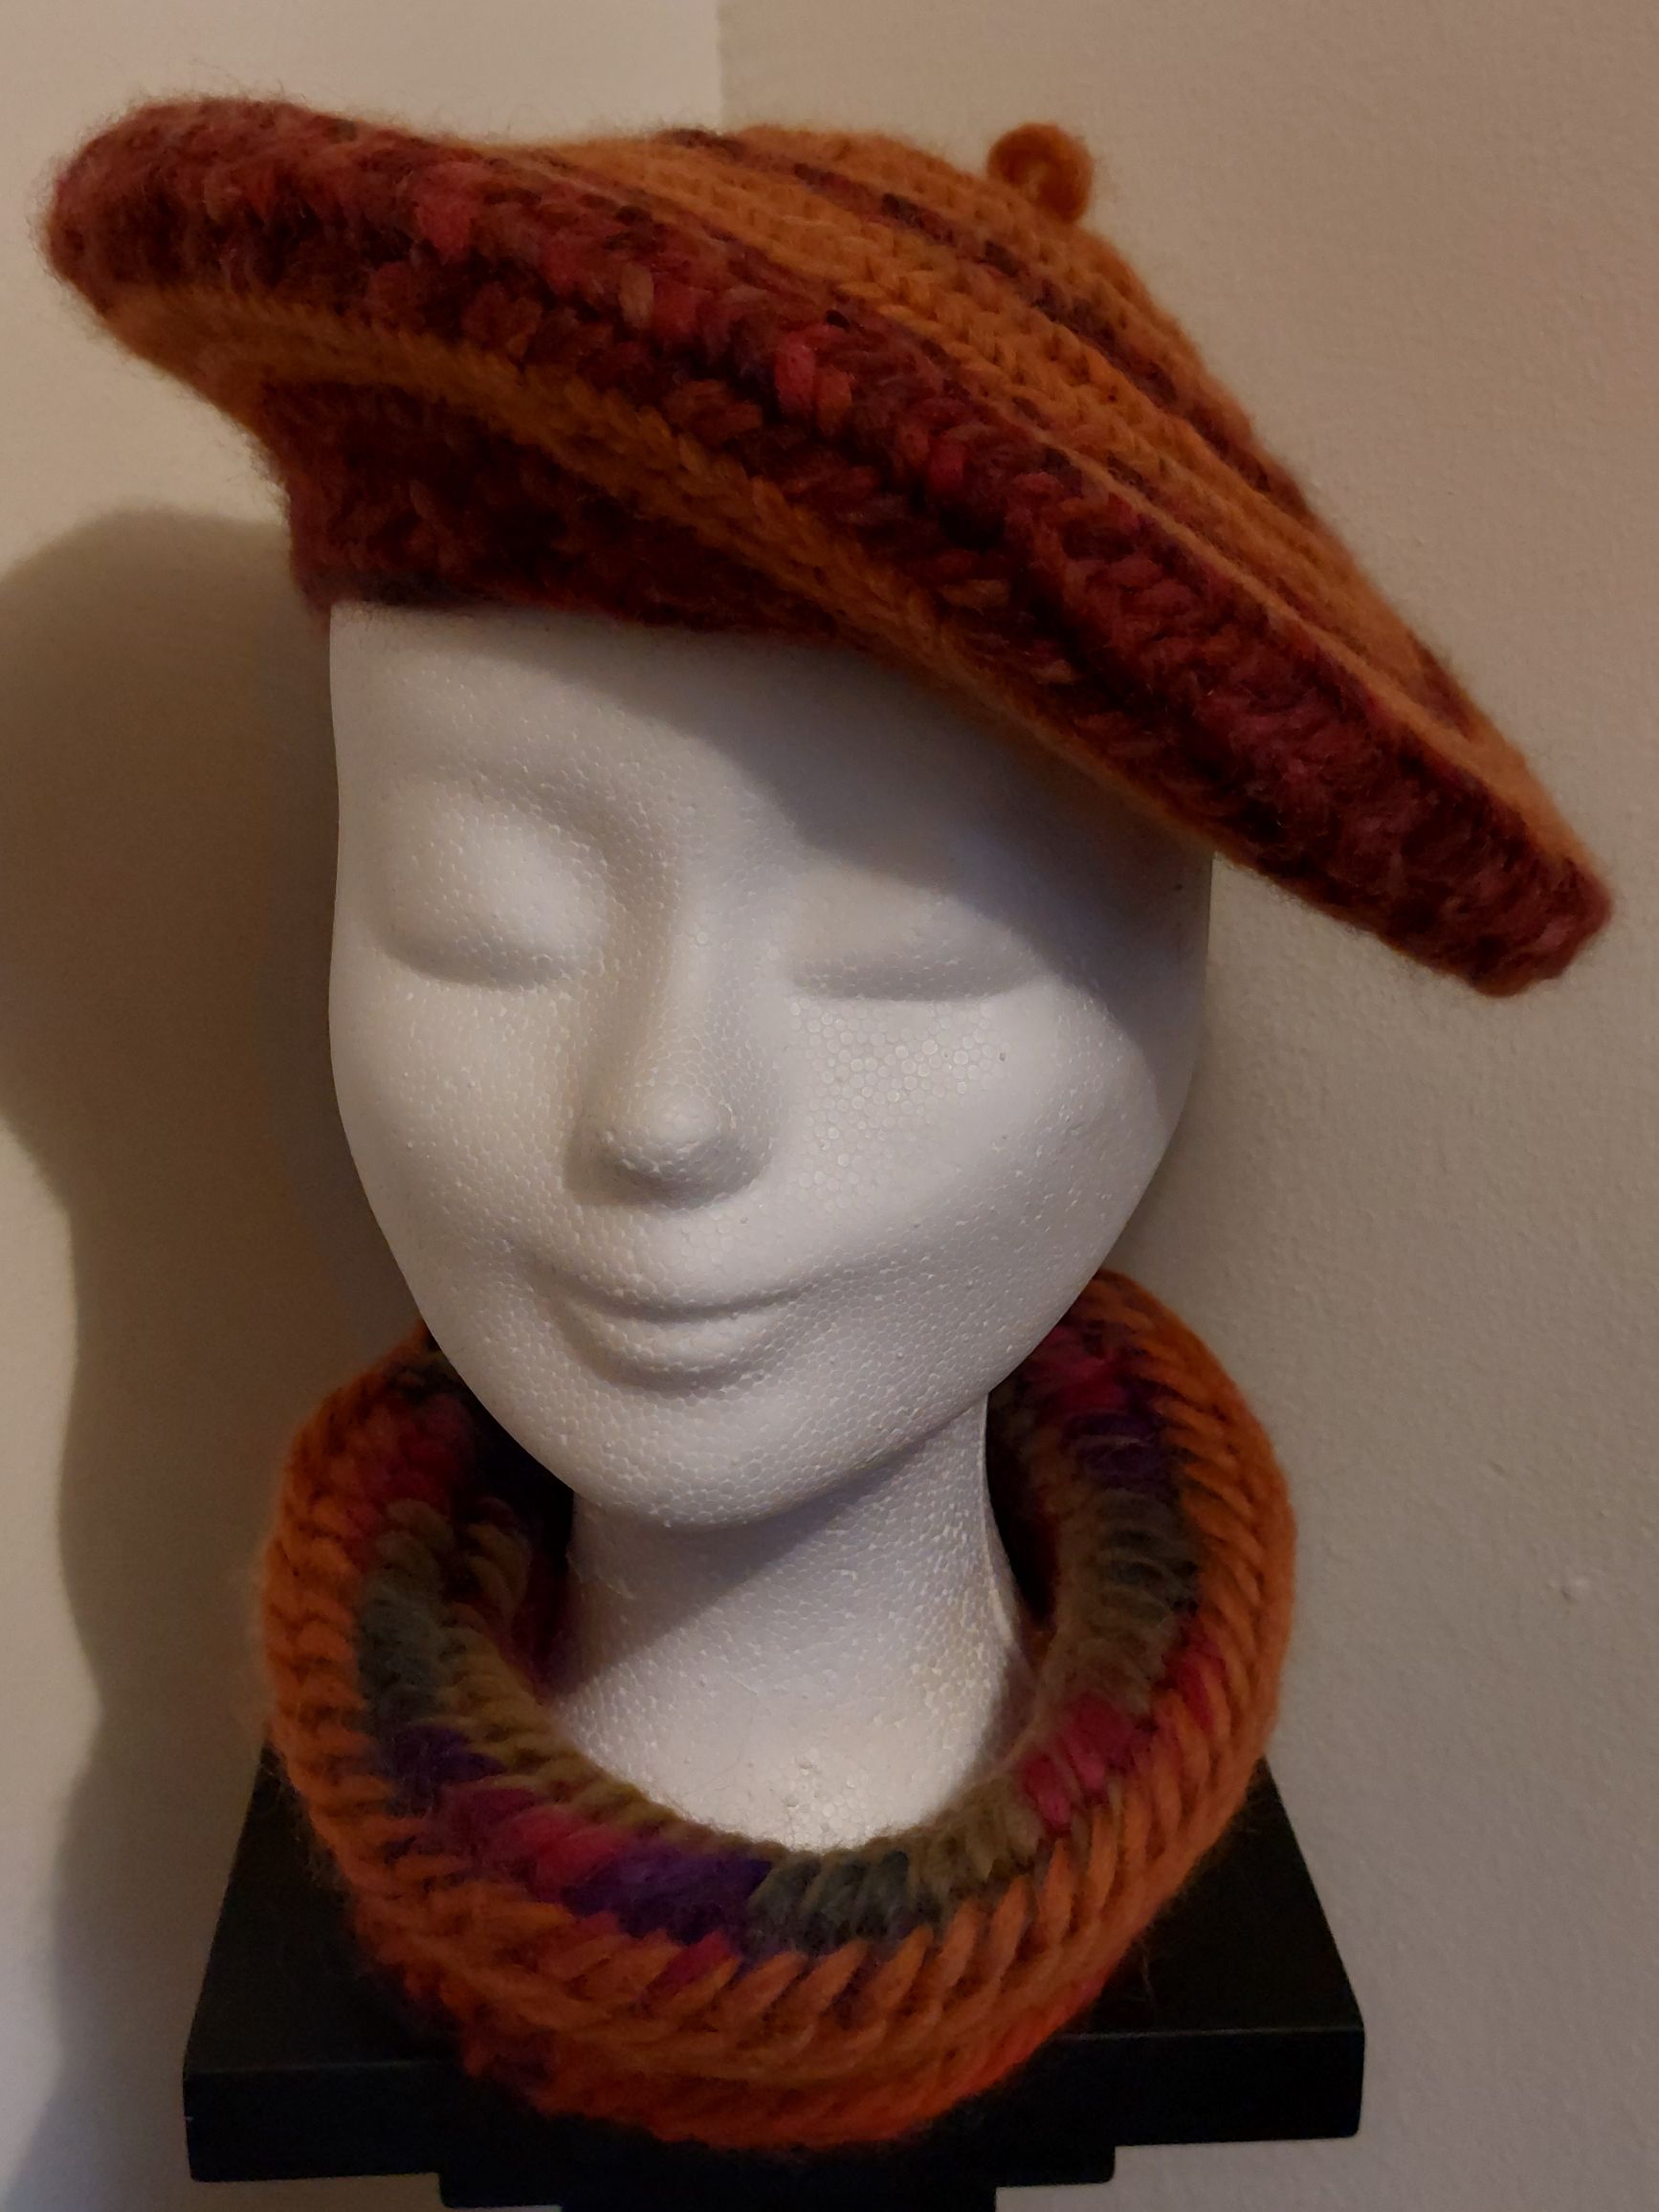
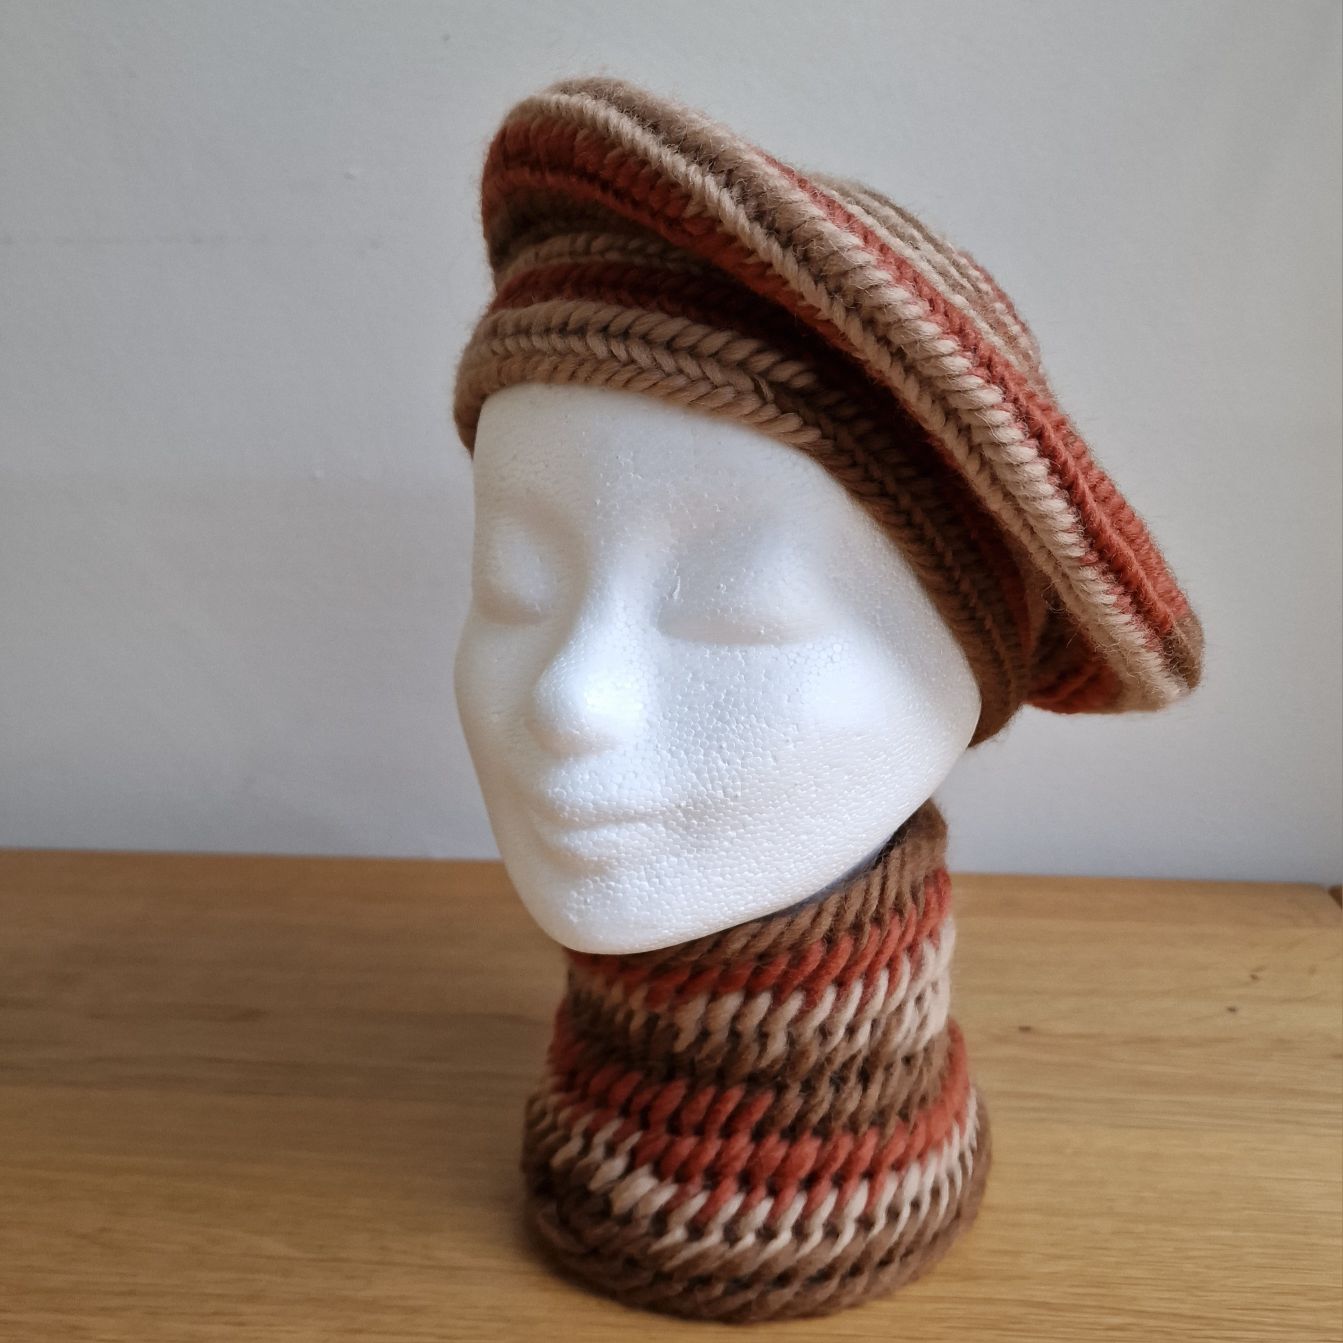
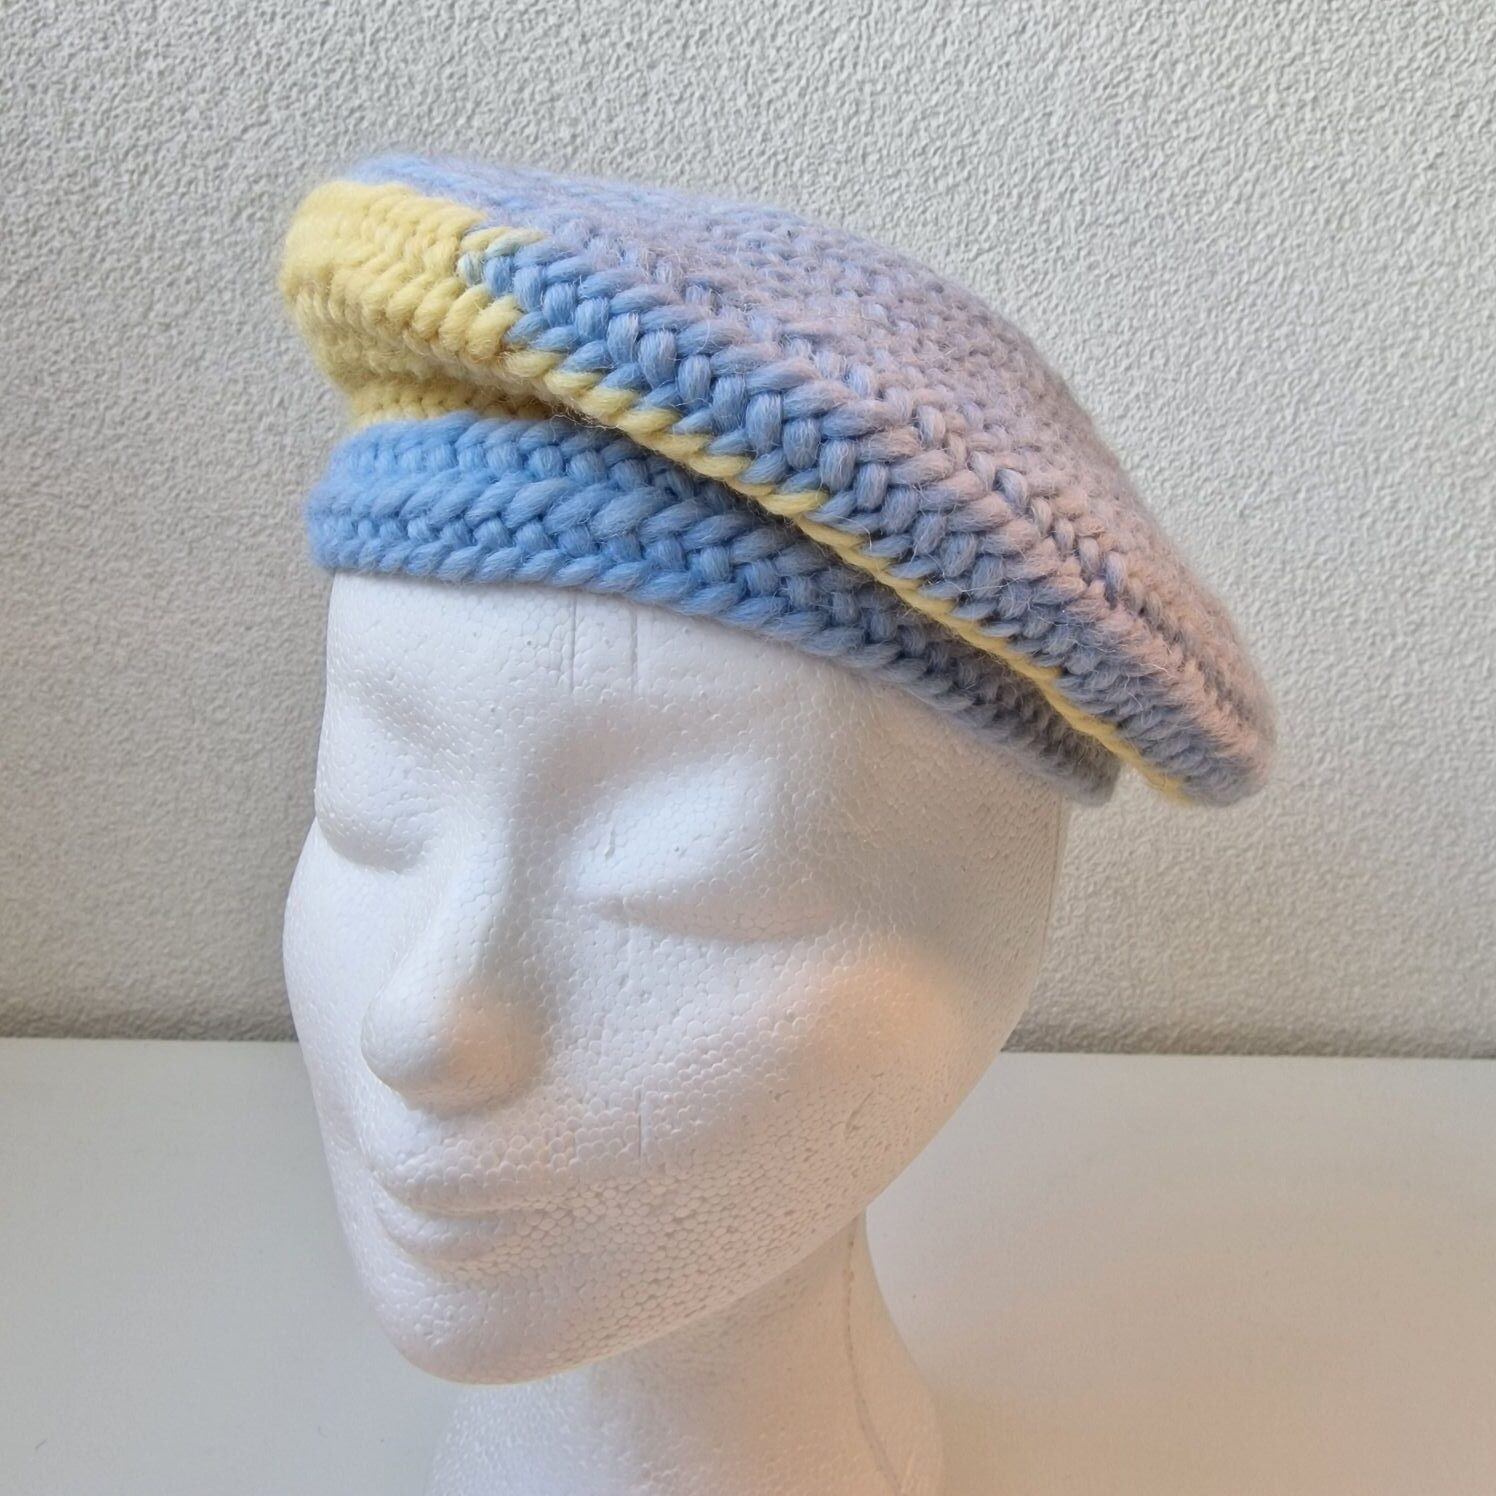
This baret is made with a Fin. stitch 2+2 and F2 connection stitch.
The cowl is made with the York stitch and F2 connection stitch.
You can also wear the baret in this way.
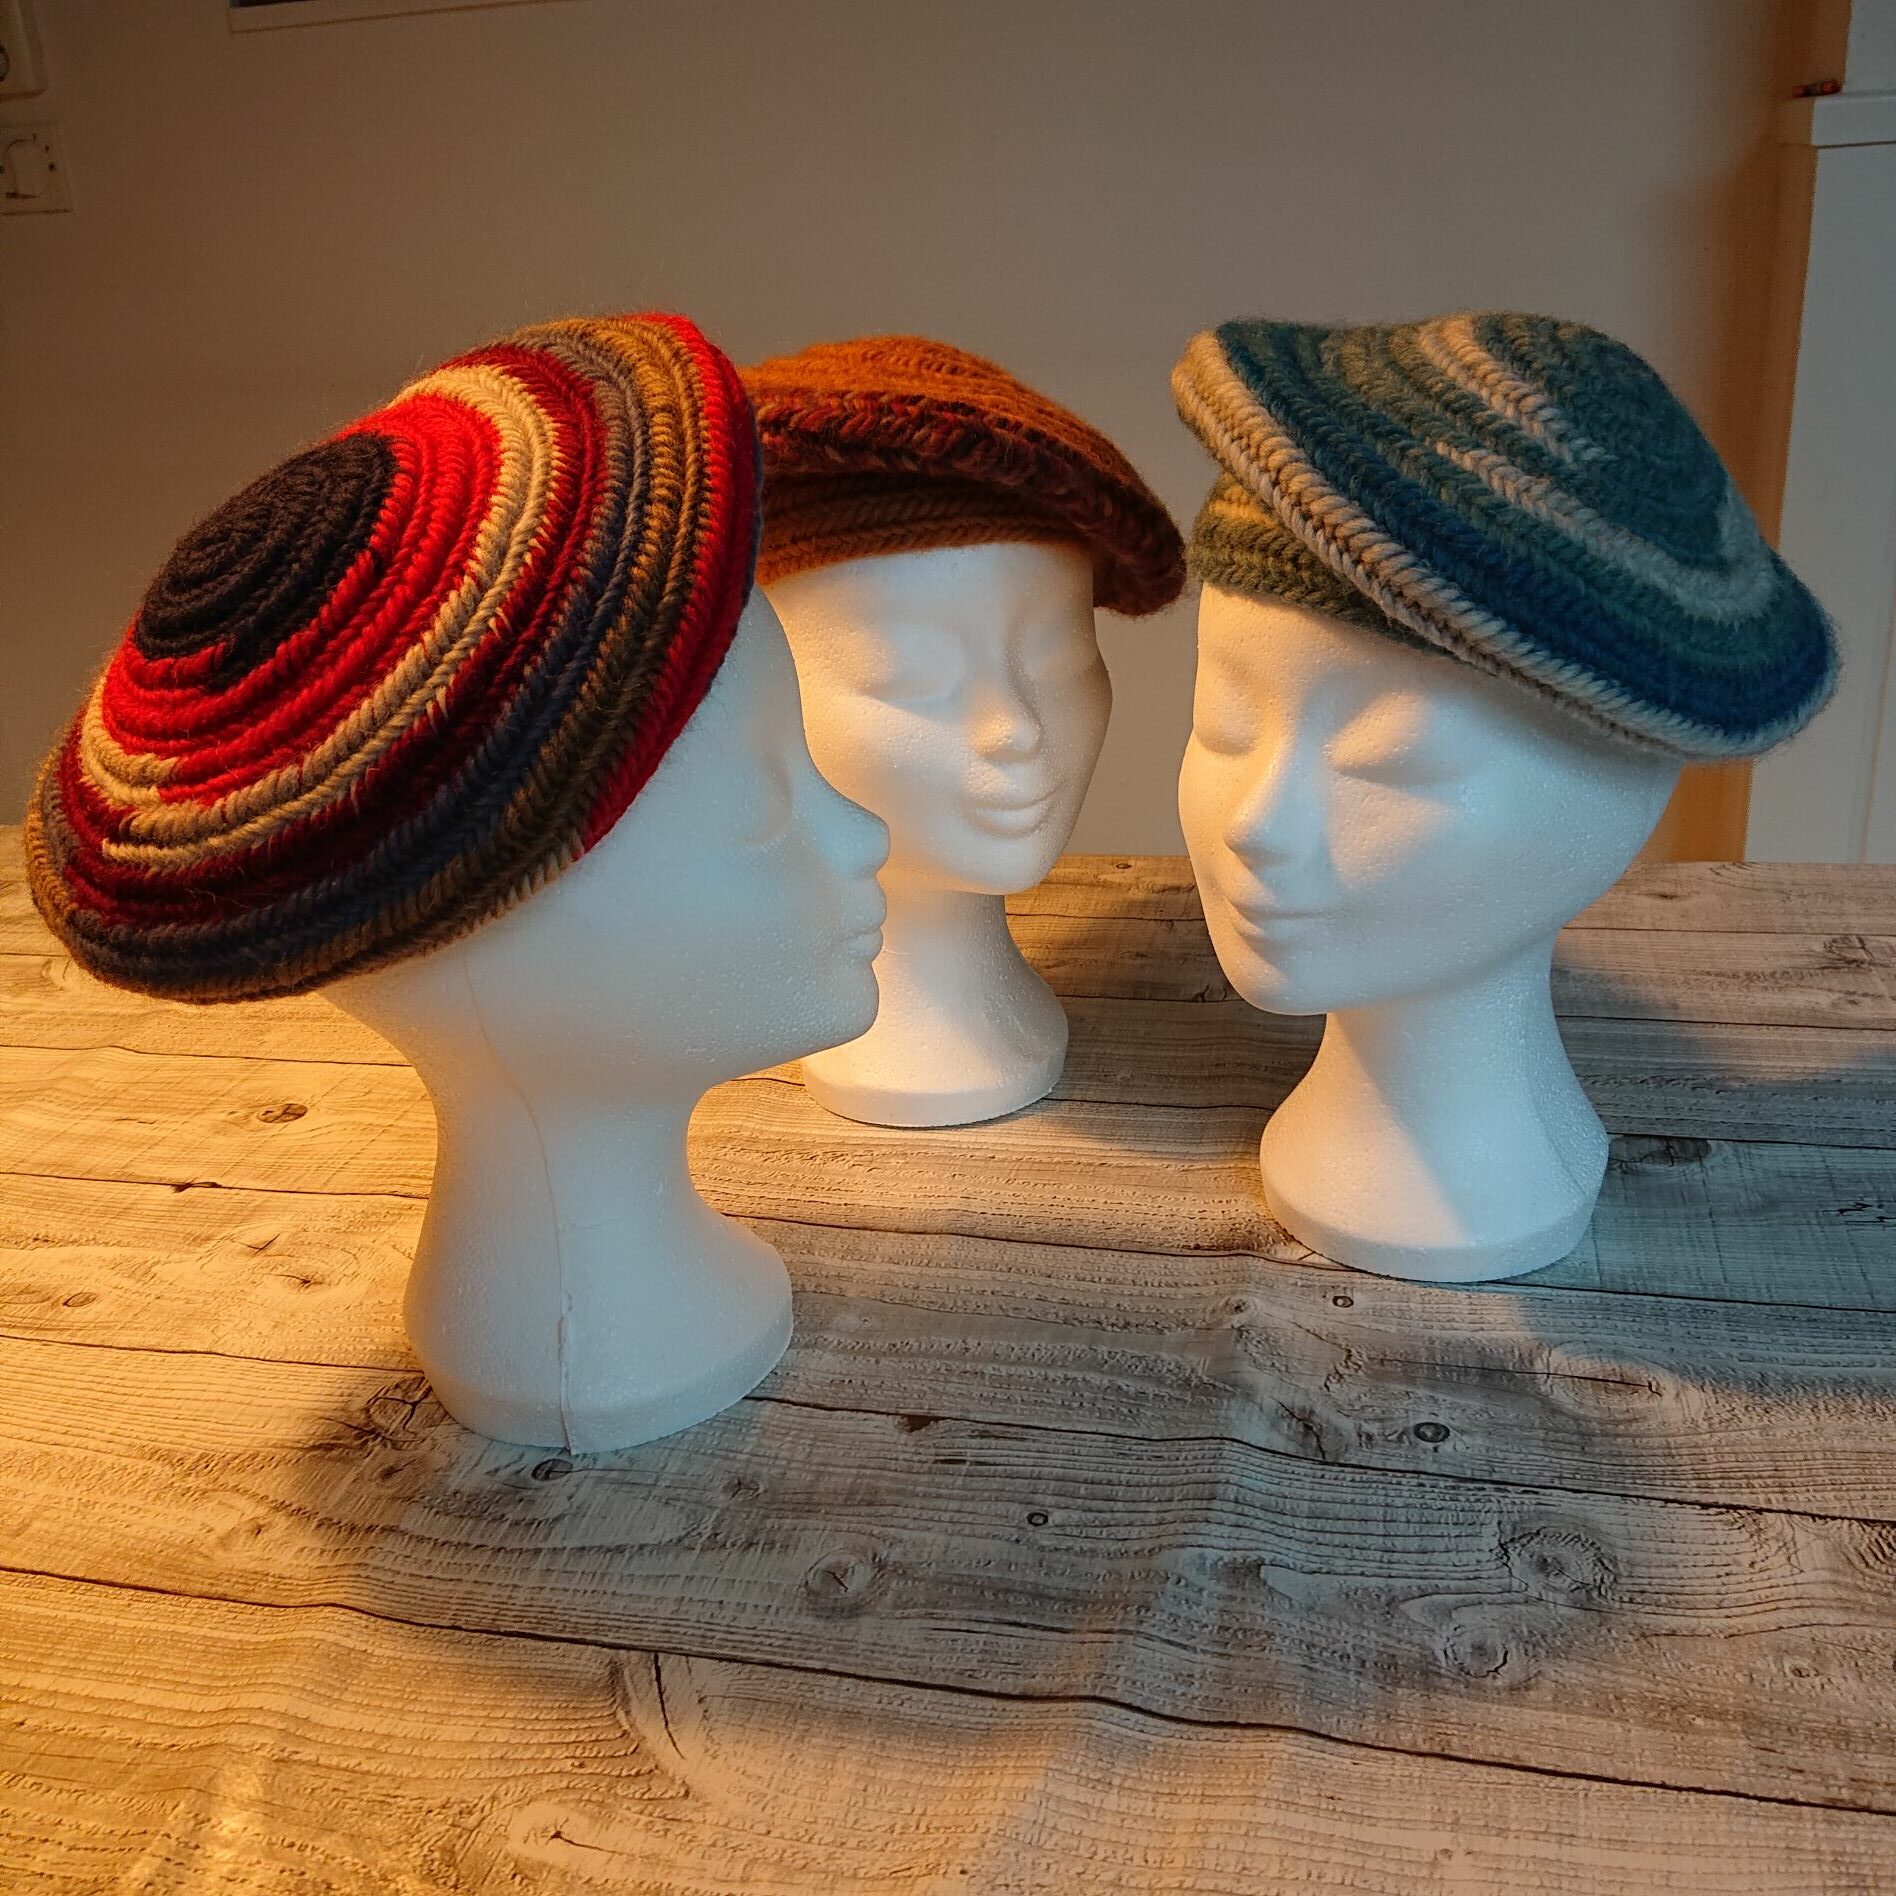
The next baret is 100% Alpaca, it is very smooth an soft yarn.
The yarn is very smooth, it slides easily and fast through the stitches while nalbinding.

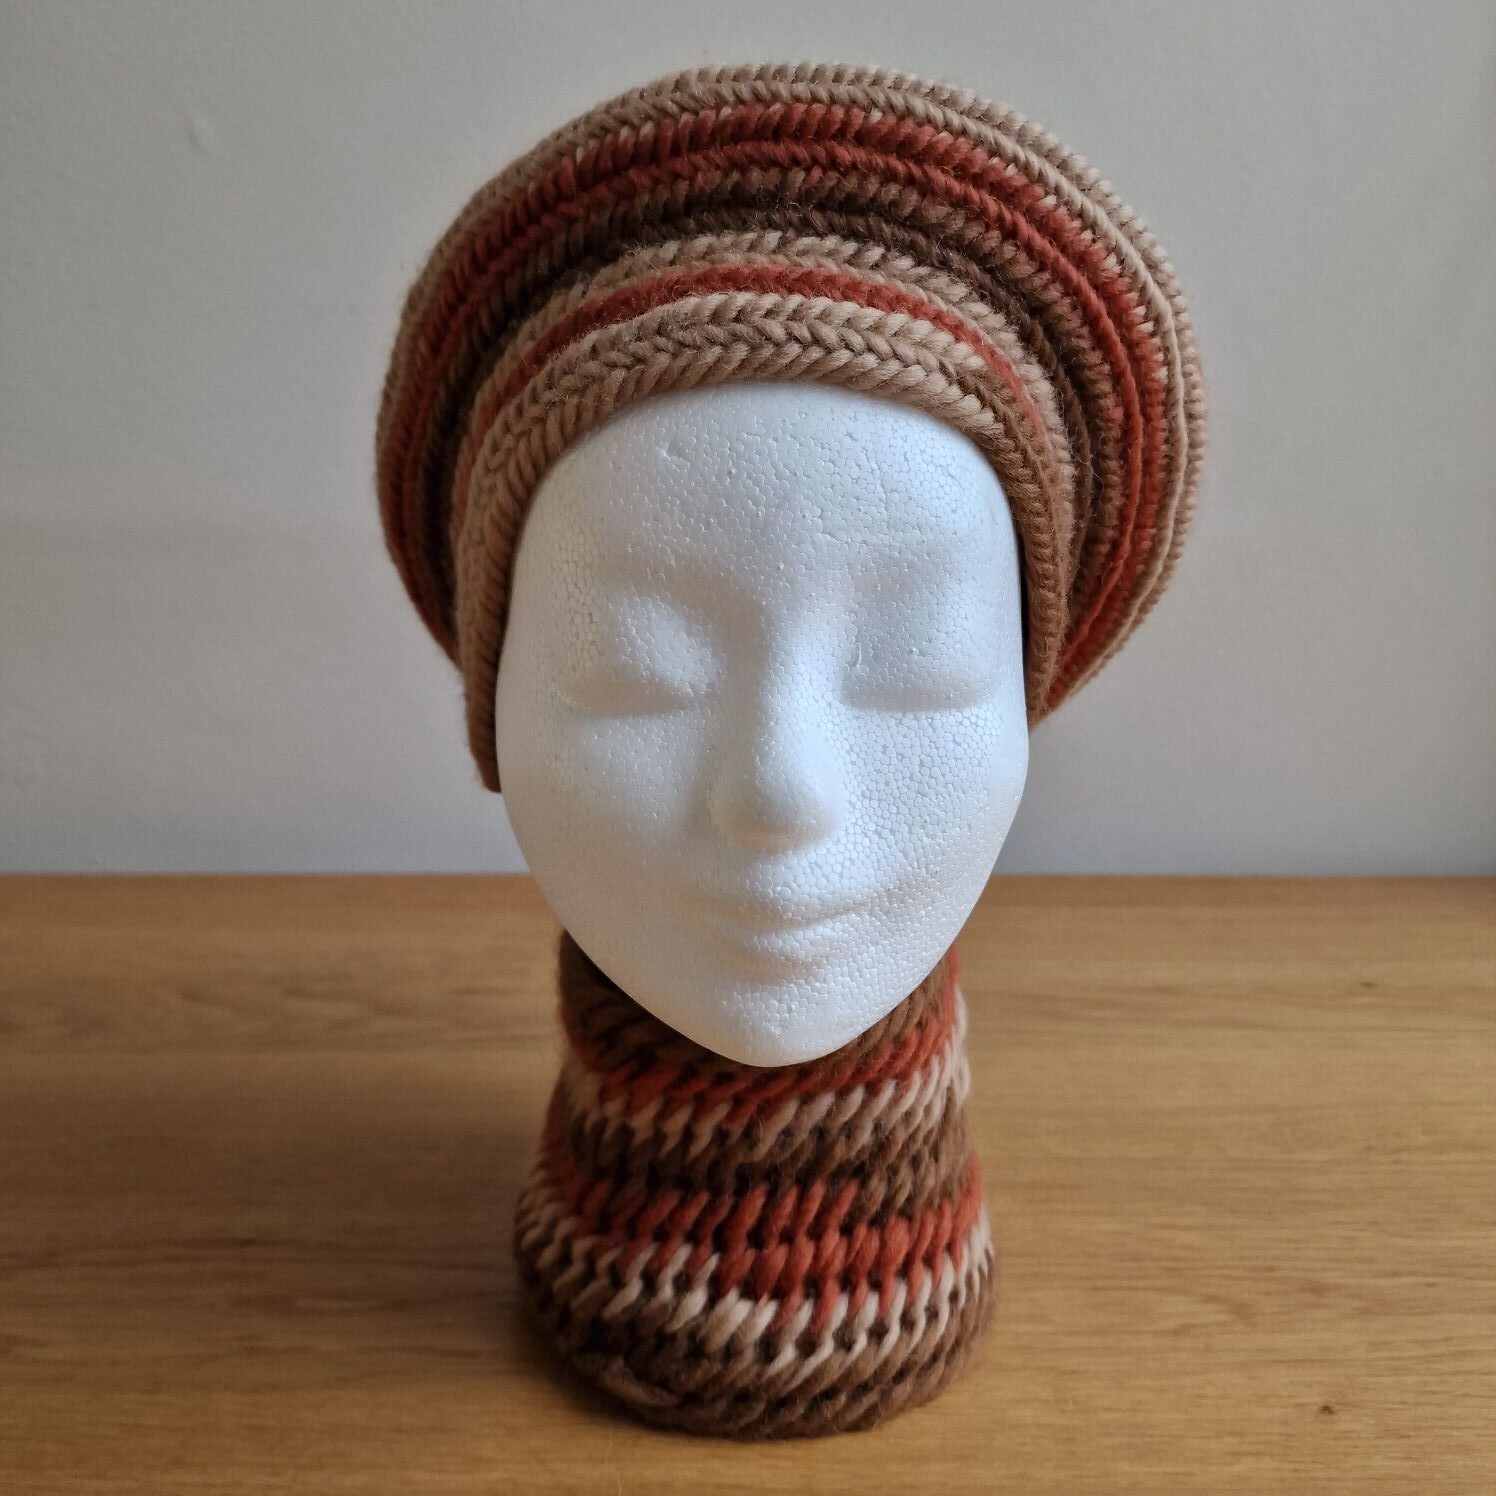
This baret is made with a Fin. stitch 2+2 and F2 connection stitch.
The cowl is made with the Arboga stitch and F2 as connection stitch.
The baret is made the same as the top pattern.
You can also wear the baret this way.
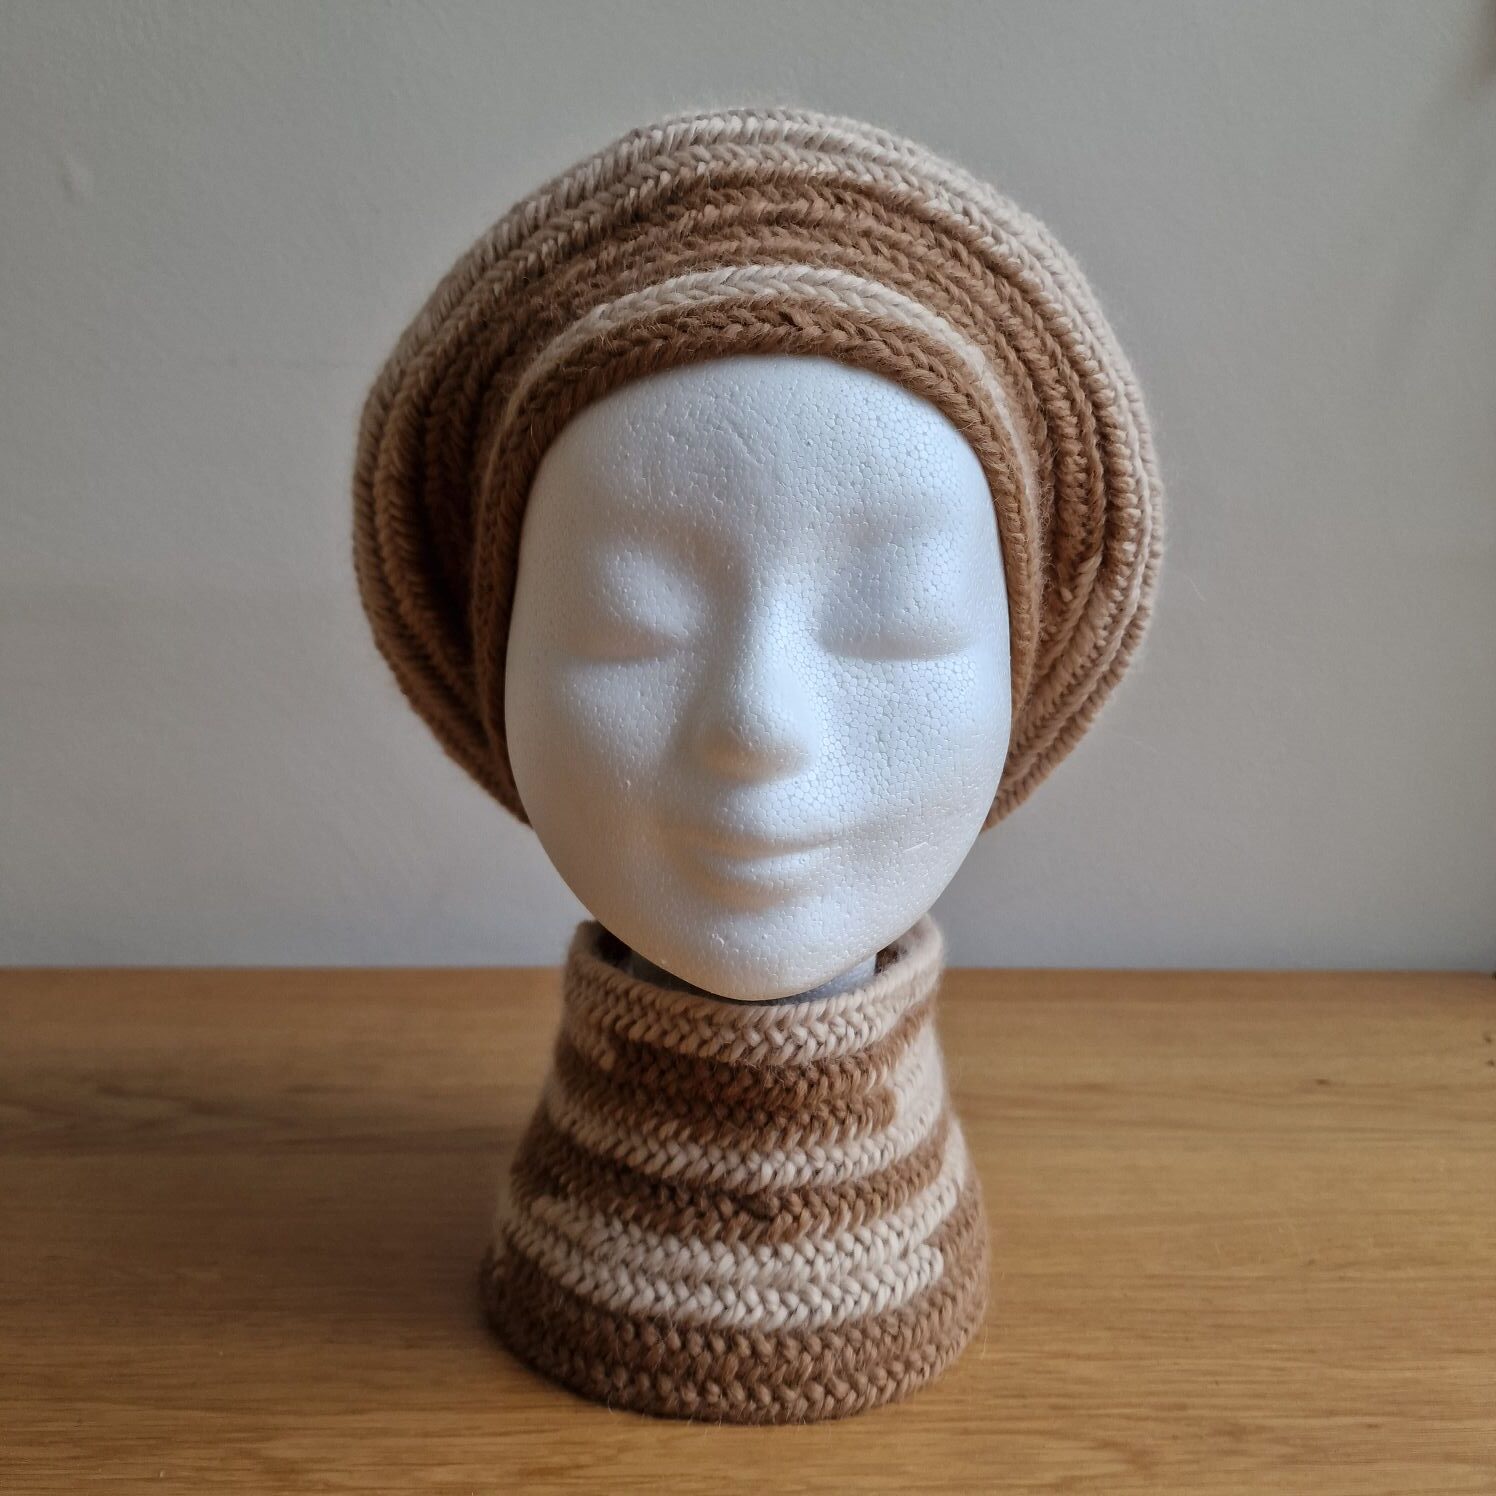
It is the first time that i have needlebind with 100% alpaca natural colors.
This super yarn is smooth, soft and fits well and it does not sting.
The Beret is made with the above pattern and with the Finnish stitch 2+2 and F2.
The Beret is made with the above pattern and with the Finnish stitch 2+2 and F2.
The Beret is made with the above pattern and with the Finnish stitch 2+2 and F2.
The above beret is made according to the pattern and this time I start with 16 stitches and with the Faberg stitch (2 +1) and F1 as connecting stitch.
The fabric you get with the Faberg stitch with F1 is looser and more flexible than with the Finnish stitch F2 and also lighter.
The Finnish (2+2) with F2 is much denser and warmer and is widely used in the Scandinavian countries.
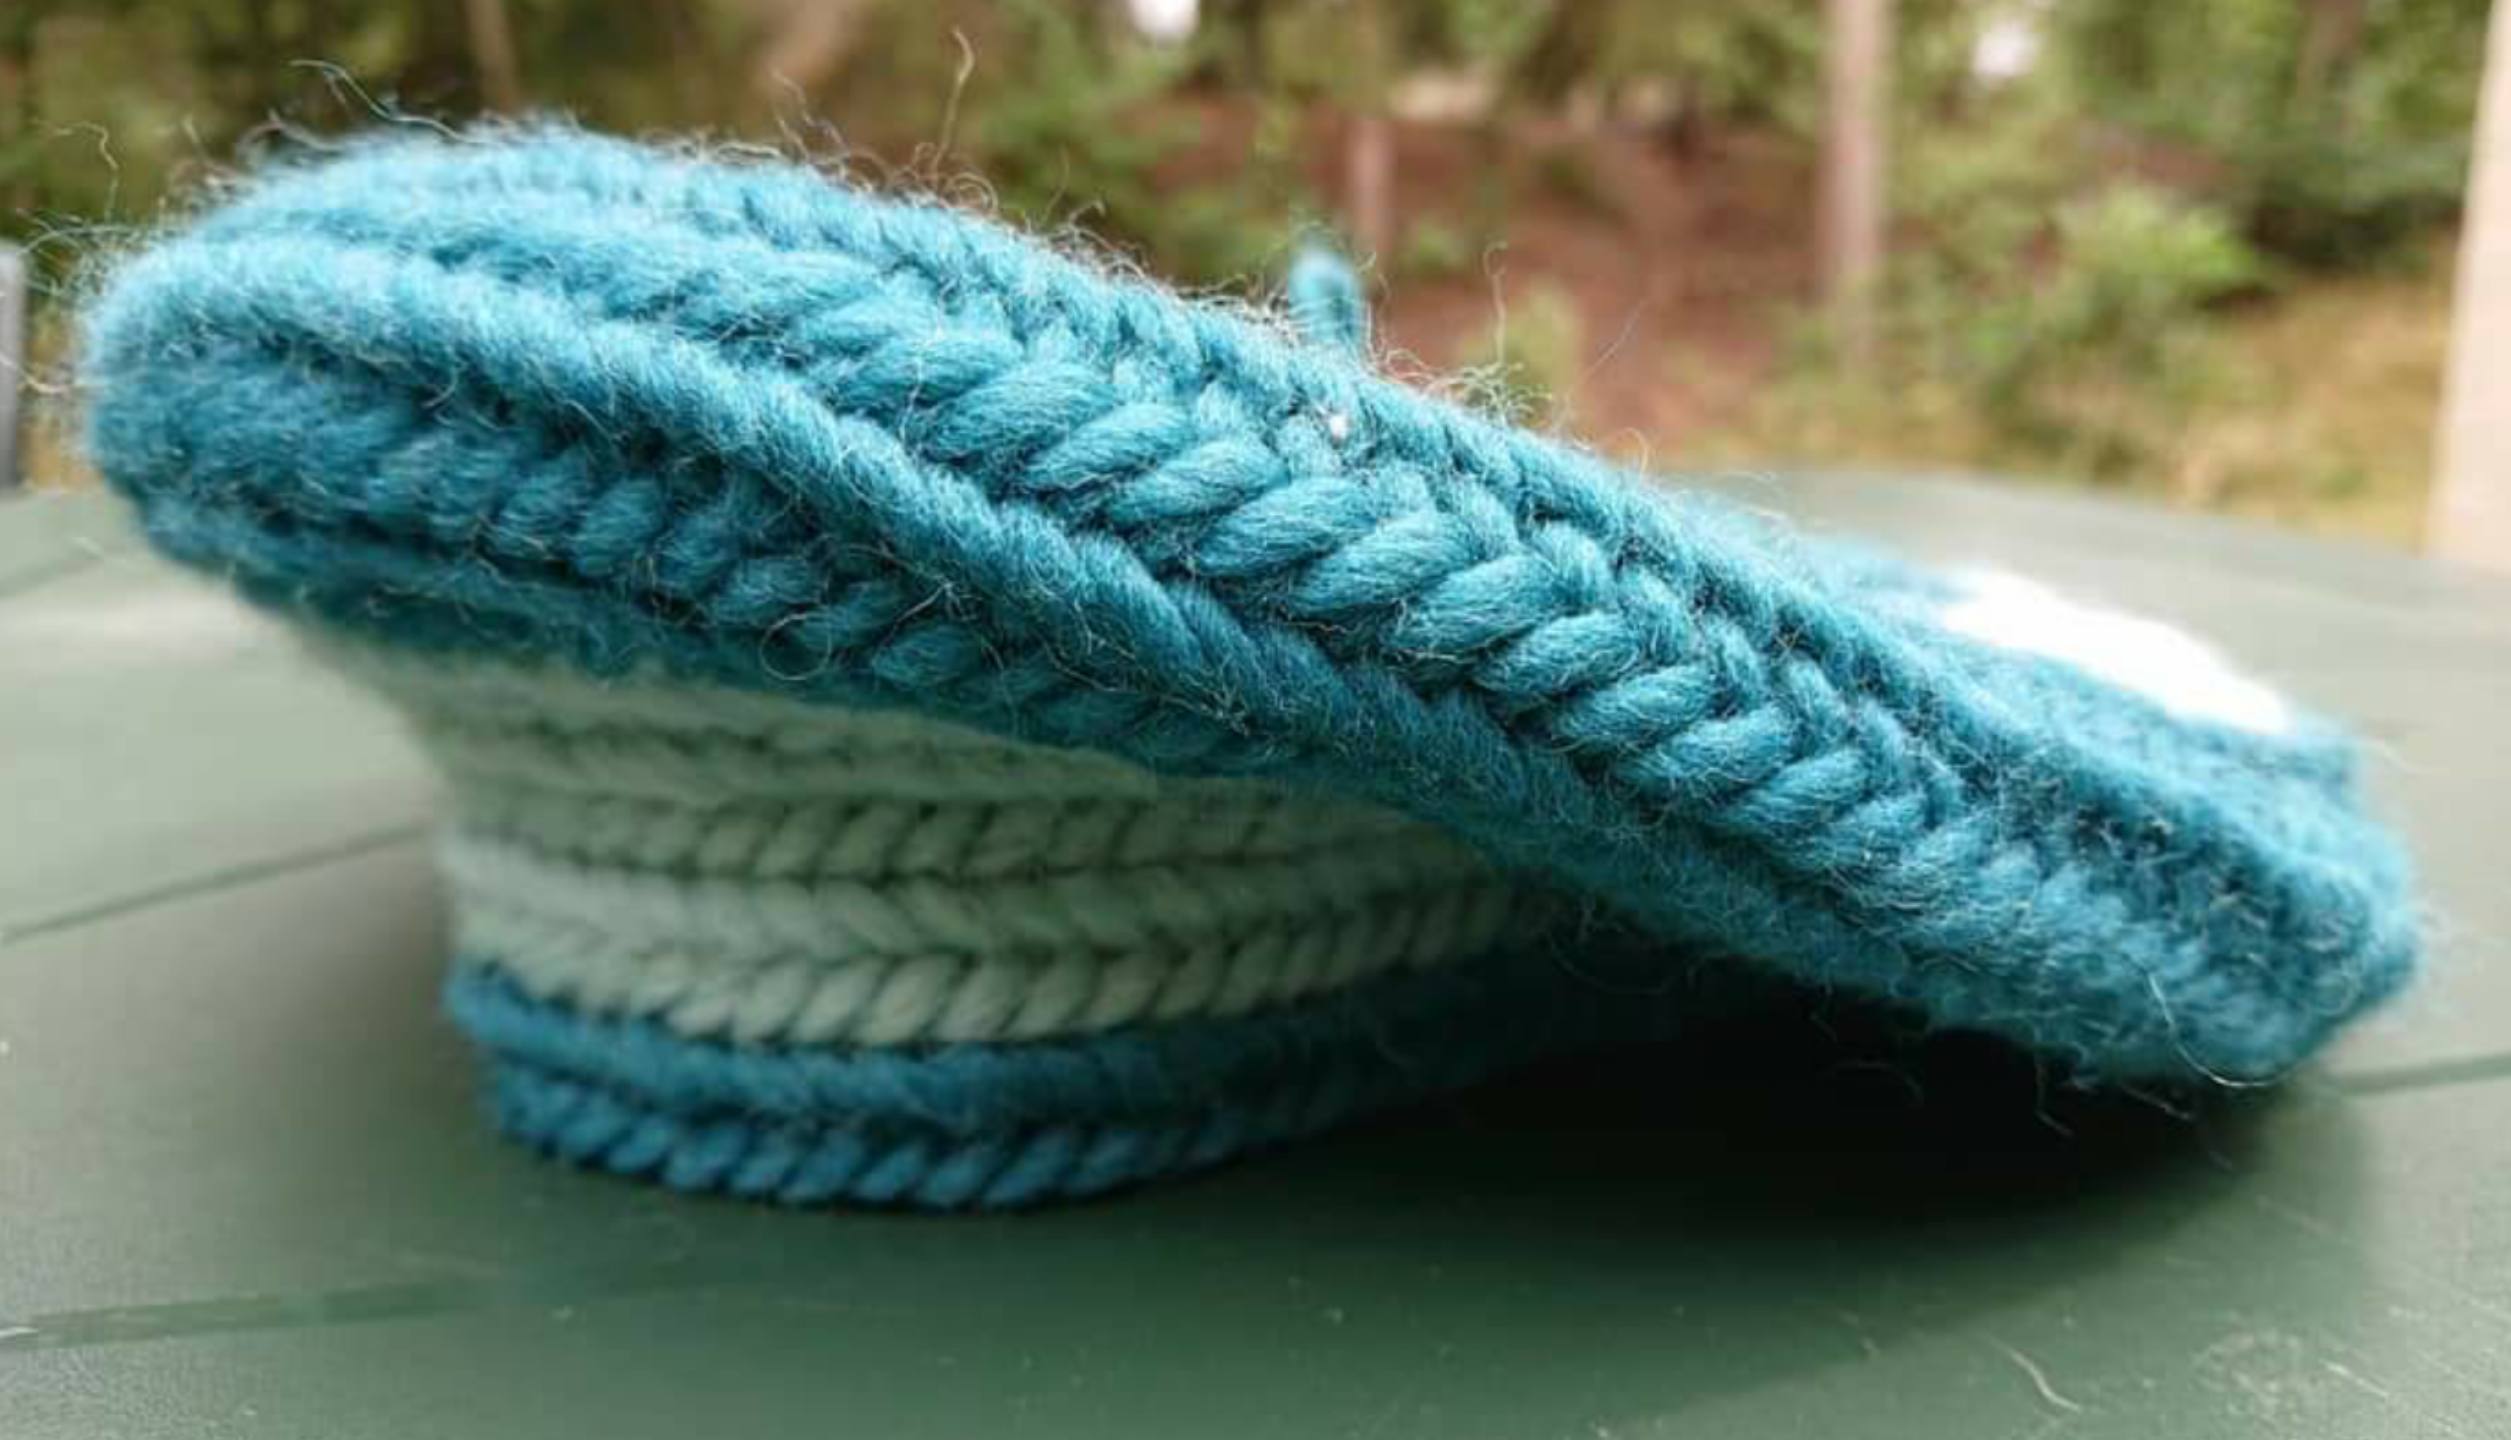
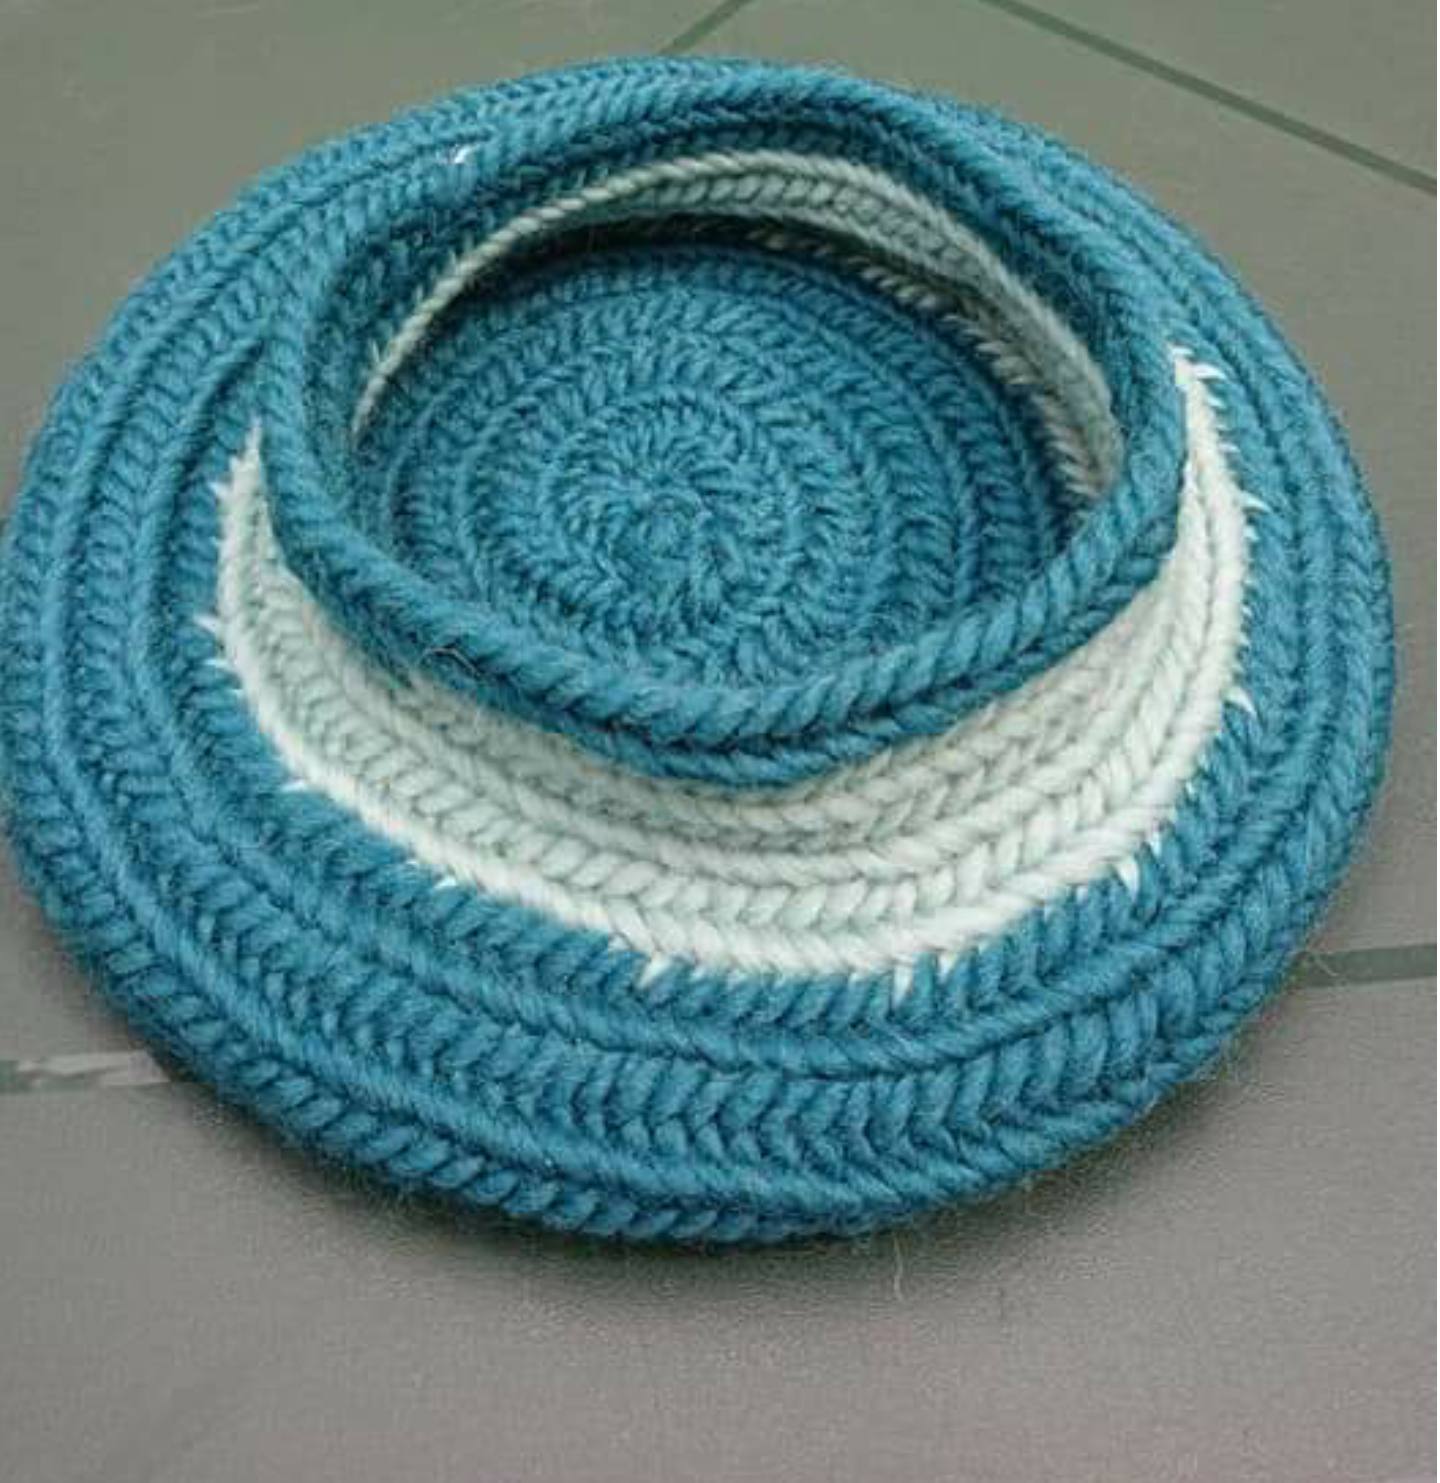
Currently I am making Beret with the Double Oslo stitch (this is my first beret with the double Oslo stitch) with connecting stitch F1 and with 18 stitches for the round beginning.
The edge of the beret is 1 row of stitches high, but you can also make them higher.
This beret has a round start of 18 stitches with connecting stitch F2.
After you have made the circle and closed it, place a stitch marker.
The double Oslo stitches are slightly wider than the regular Oslo stitch, so you can finish it faster.
The 1st rounded increase all stitches.
The 2nd round, just one stitch and increase the 2nd stitch.
For the 3rd round, simply make 2 stitches and increase the 3rd stitch.
The 4th round just 3 stitches and the 4th stitch increases.
The 5th round just 4 stitches and the 5th stitch increases.
The 6th round just 5 stitches and the 6th stitch increases, the diameter is approximately 26 cm. On the 7th round you will simply needlebind all stitches.
The 8th round 5 stitches normal and the 6th stitch decrease, and adjust for a moment.
The 9th round 4 stitches plain and the 5th stitch decrease and if the beret fits. Then you make the edge 2 0r 3 rounds nalbind just plain stitches and finish it.
Next video shows how you finish your nalbinding project.
You can choose whether you want to make the border larger or keep it that way.
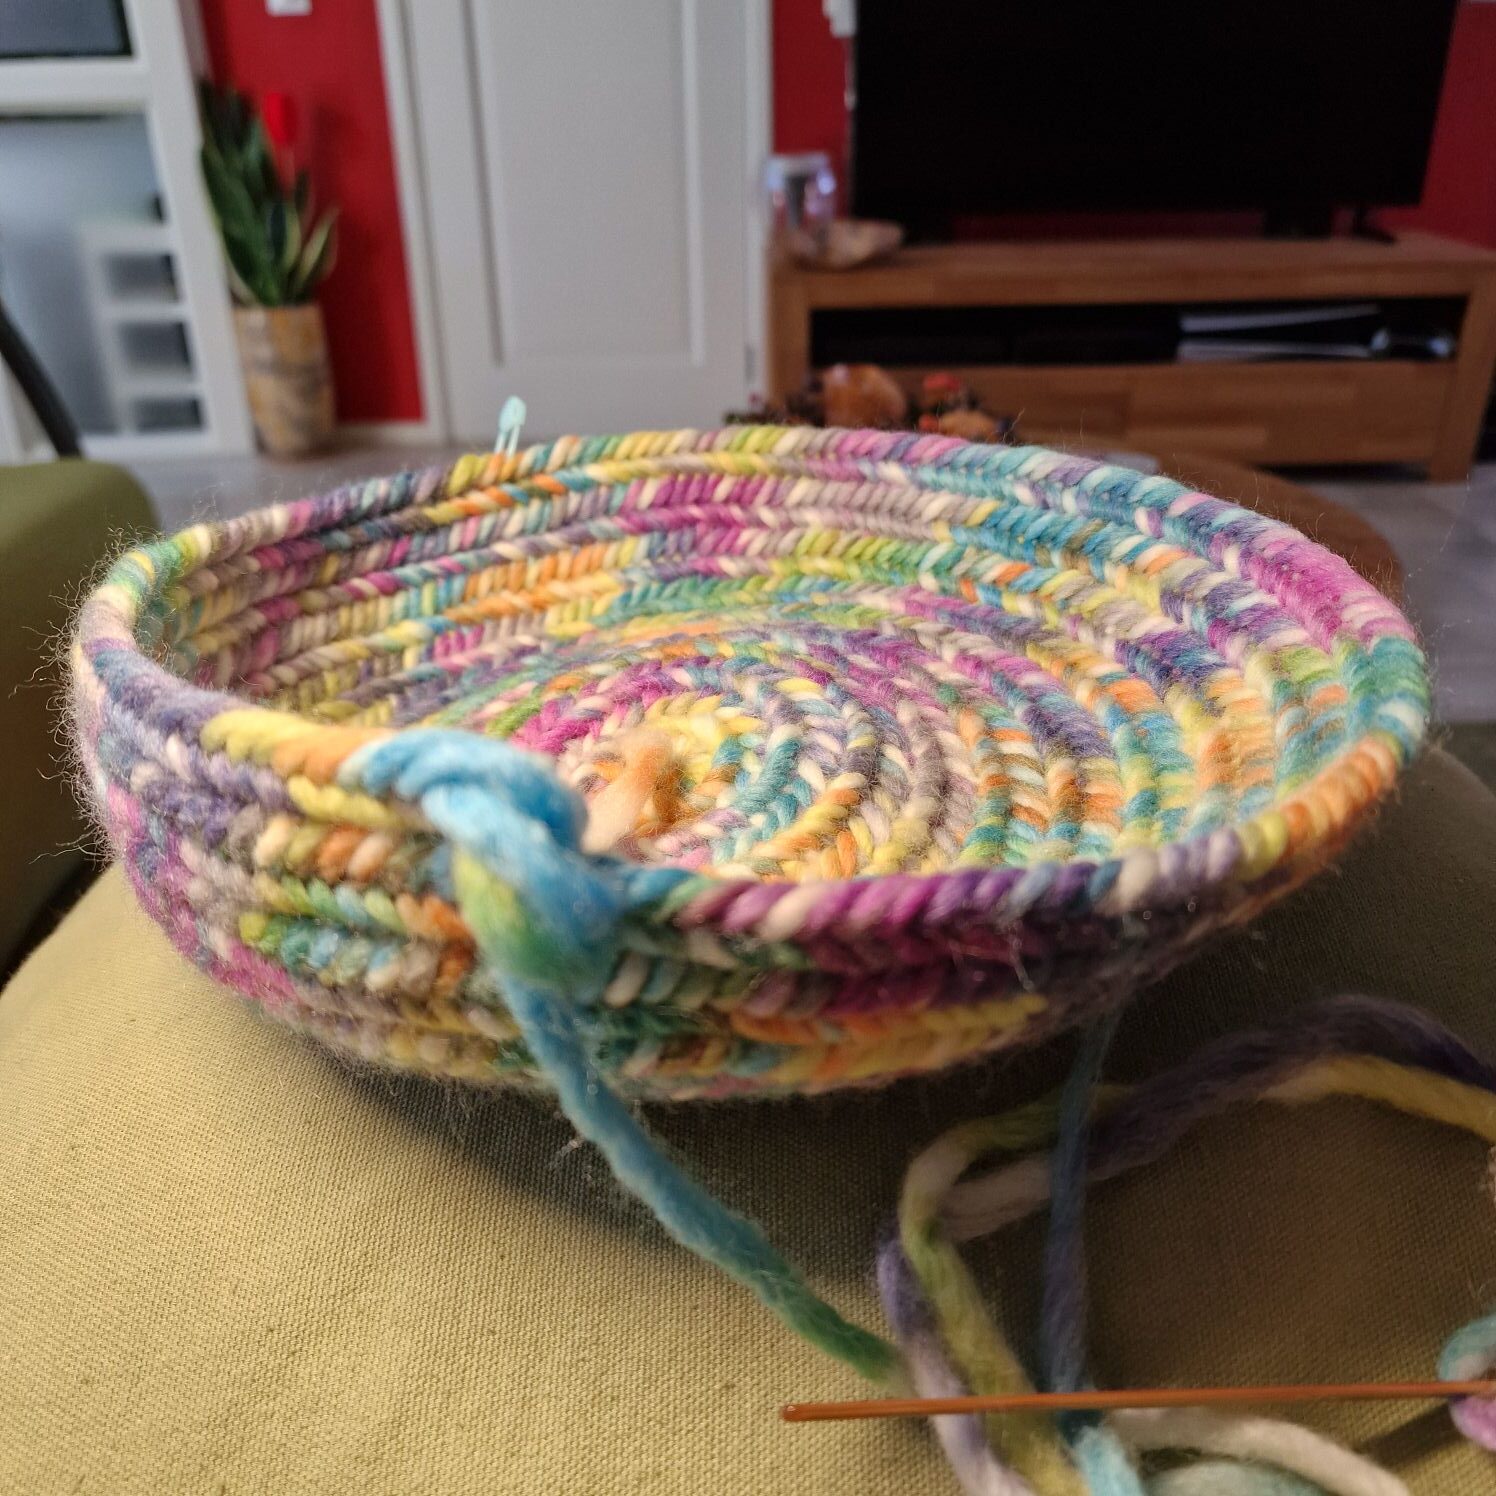
This Beret took a lot more time than the Berets I have already made and that is because I had to felt many short pieces of wool together, but I think the result is very beautiful.
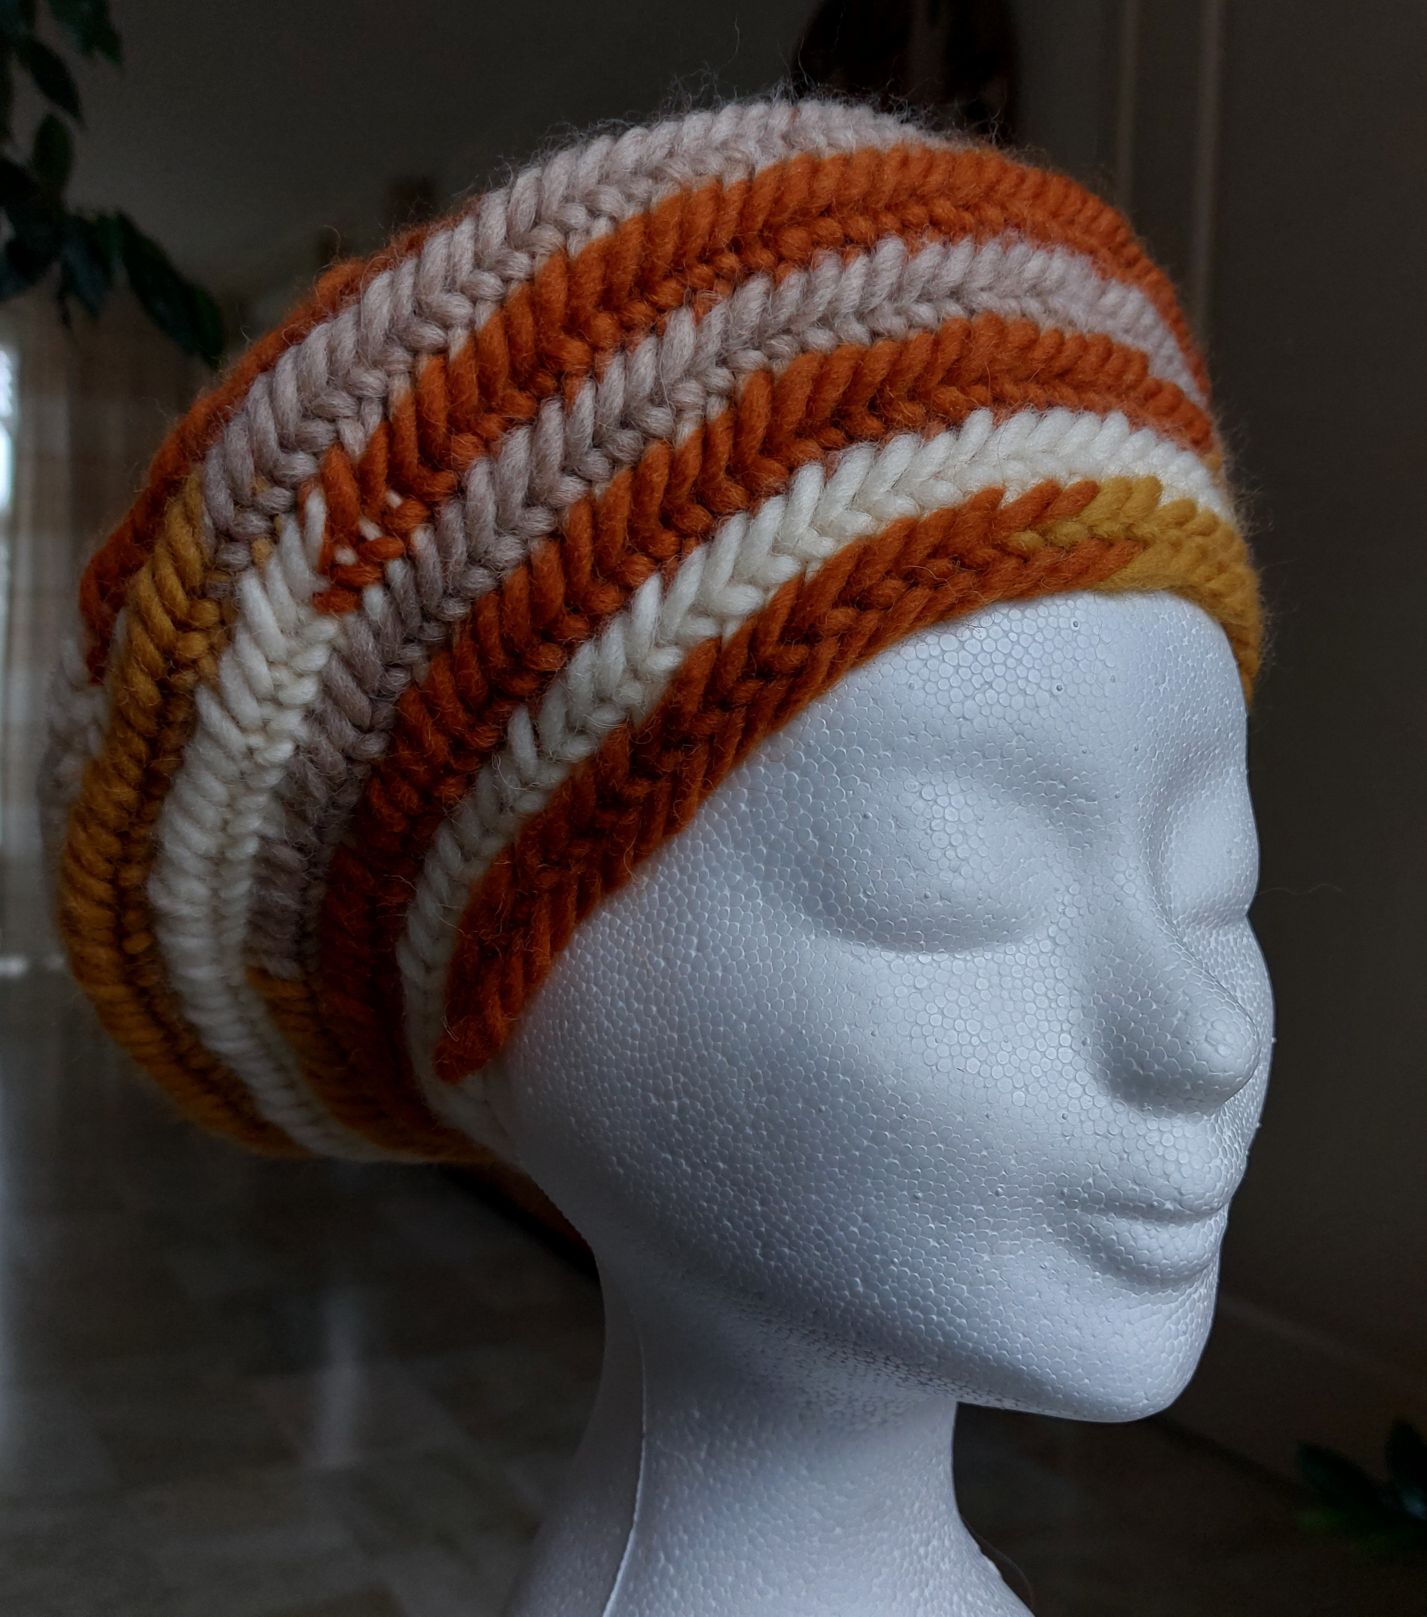
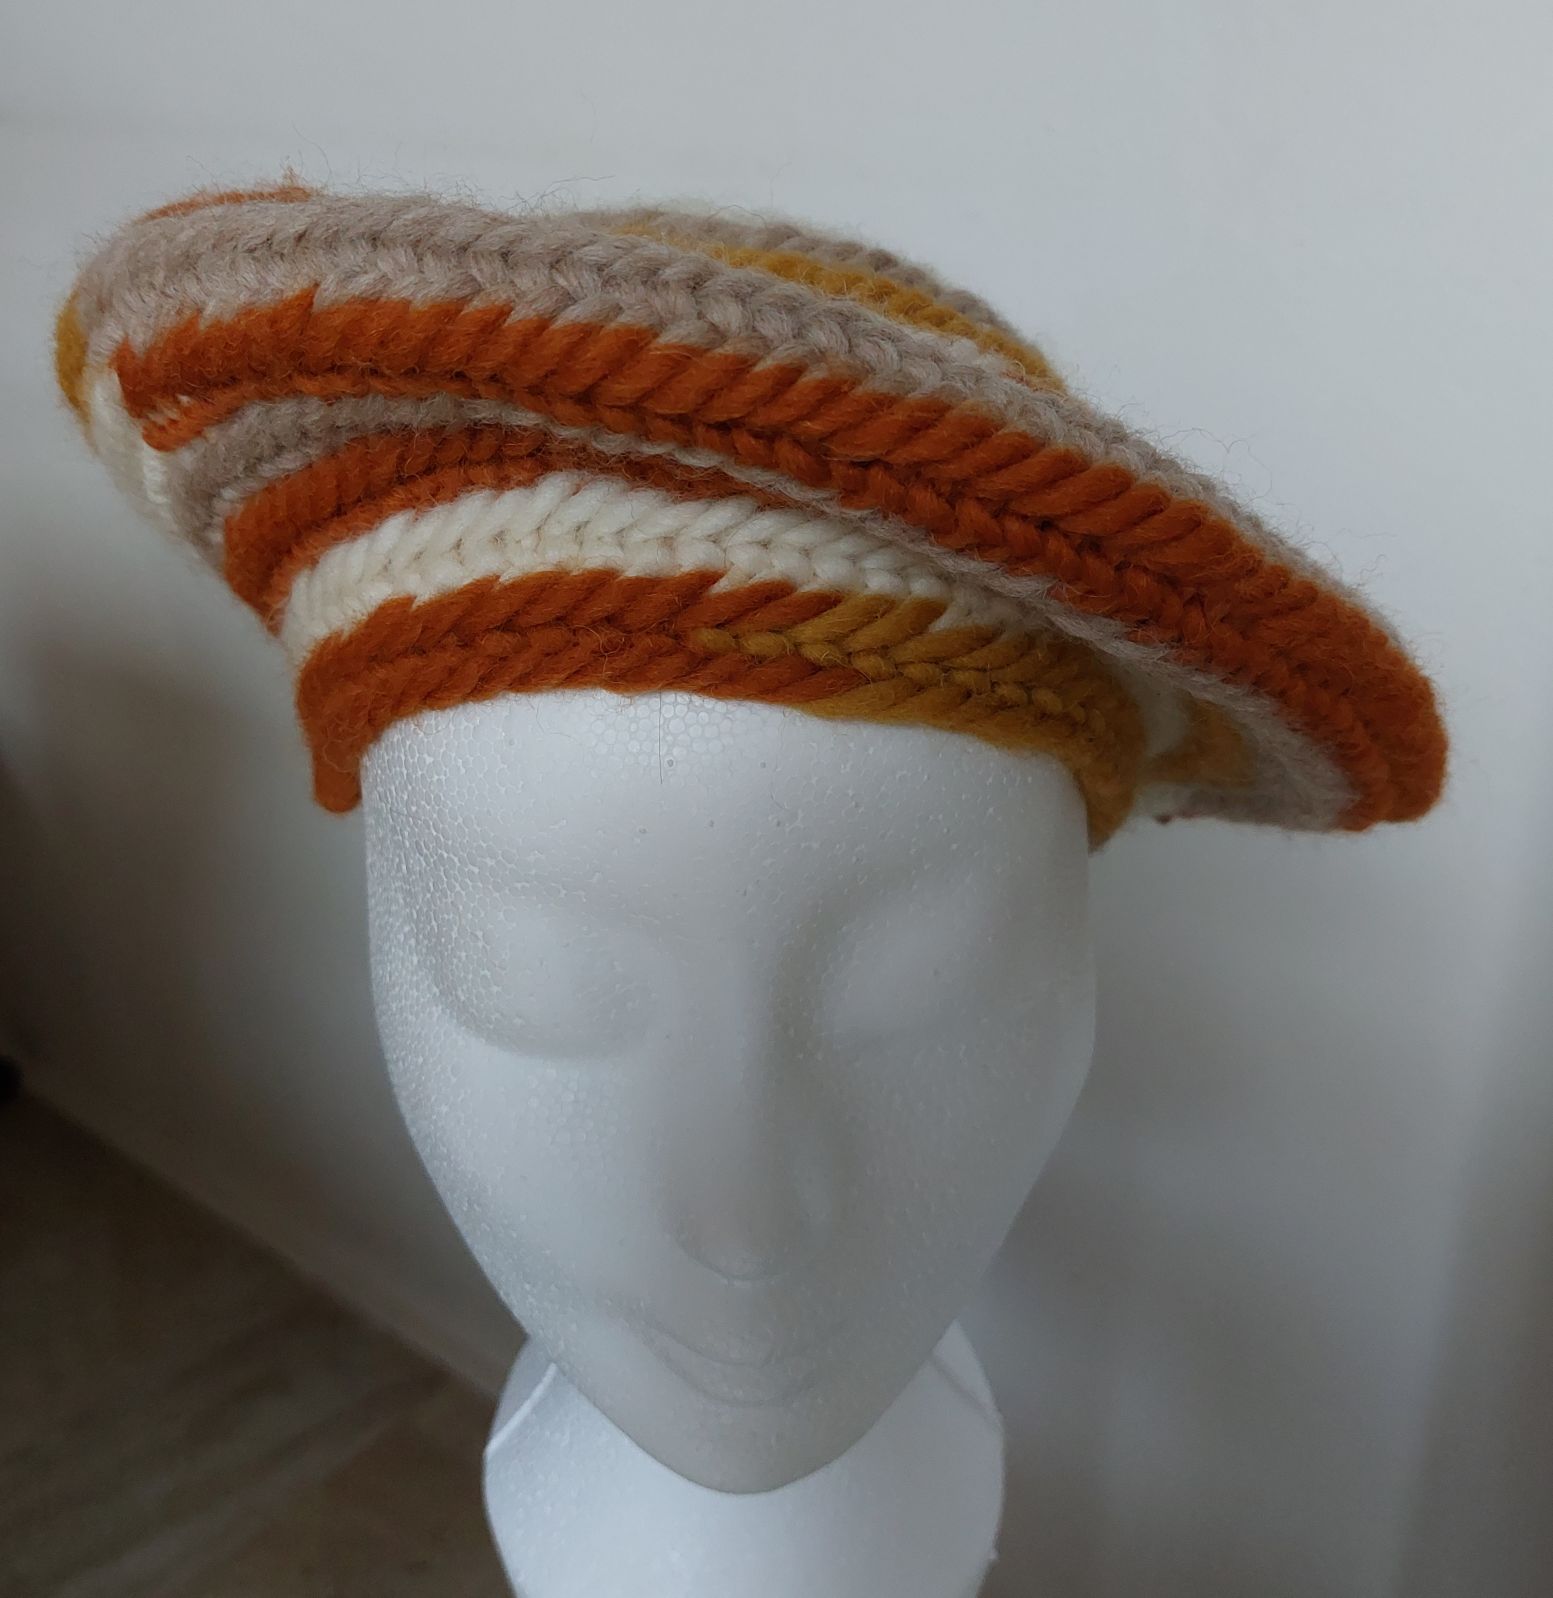
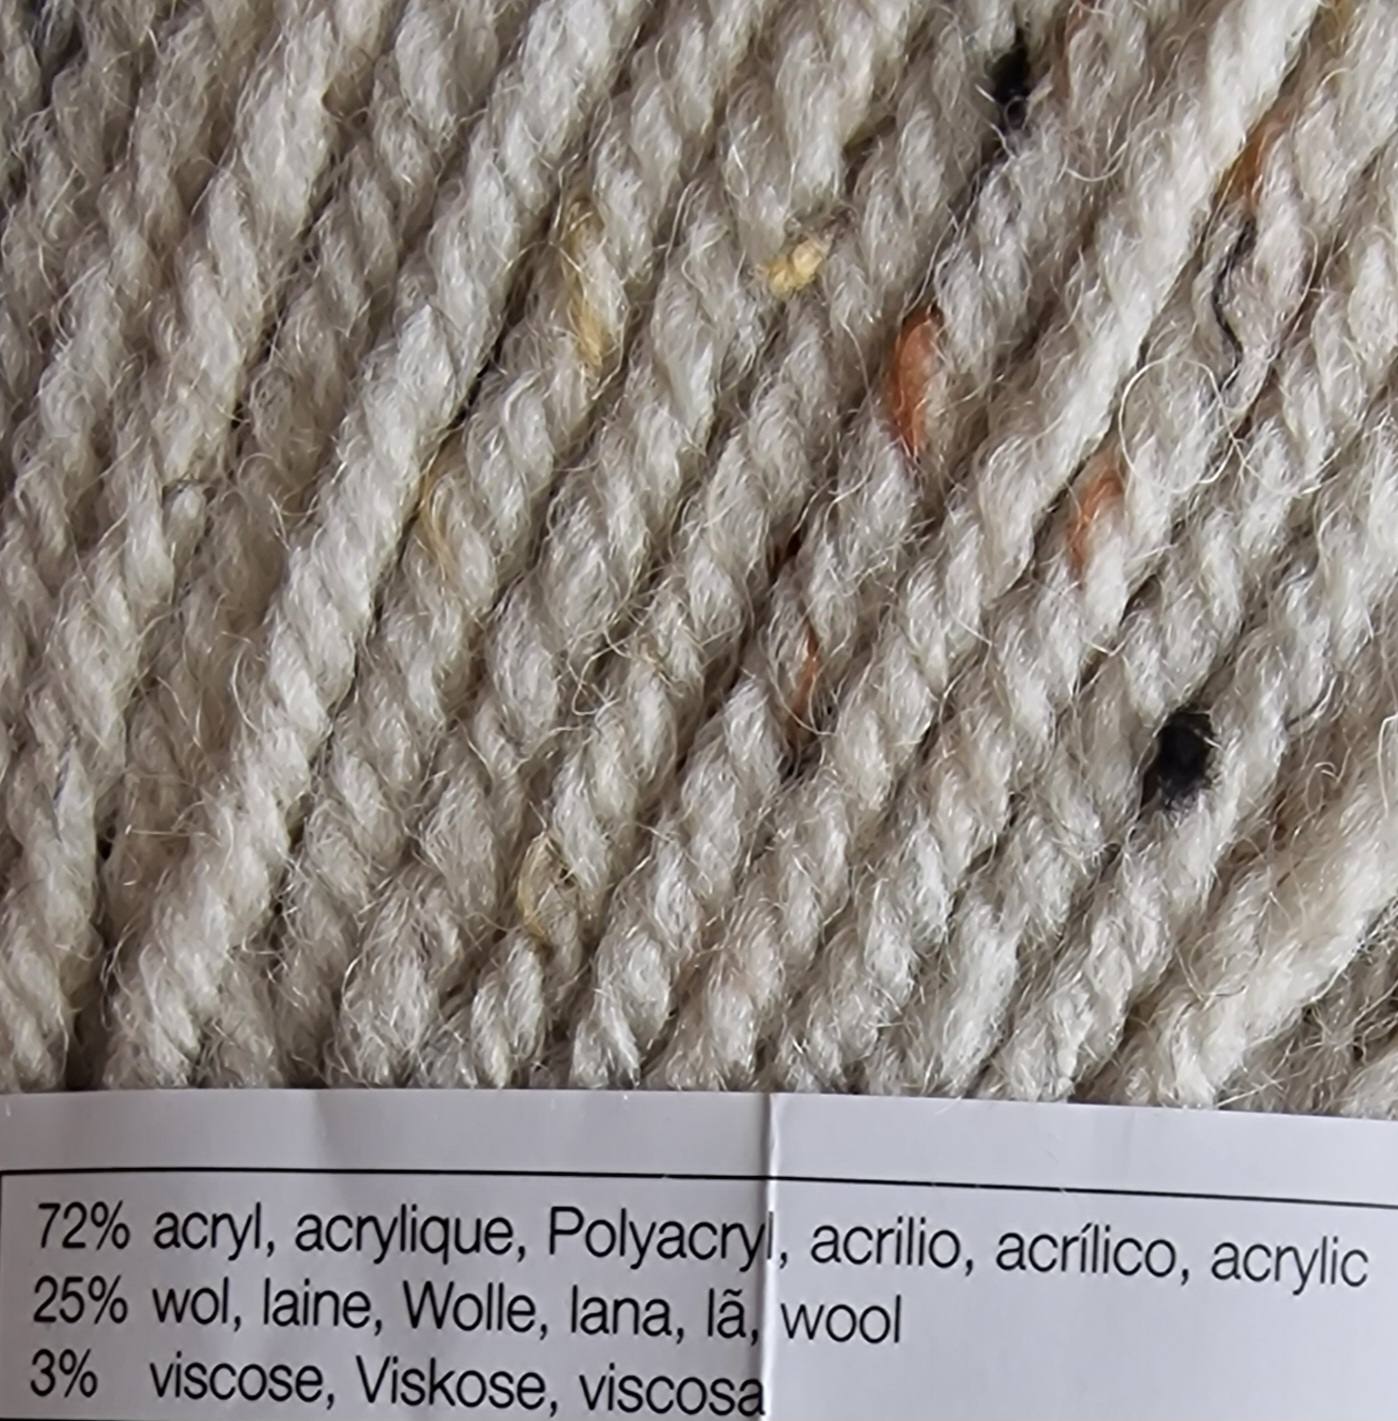
The next Baret is not 100% wool, just 25 % wool and it is not superwash.
With so little wool in the yarn, I will fluff out 4 cm of yarn and then place it on top of each other, wet it thoroughly and rub it thoroughly.
You have to be careful that you hold the felt spot in the middle, otherwise it will come loose
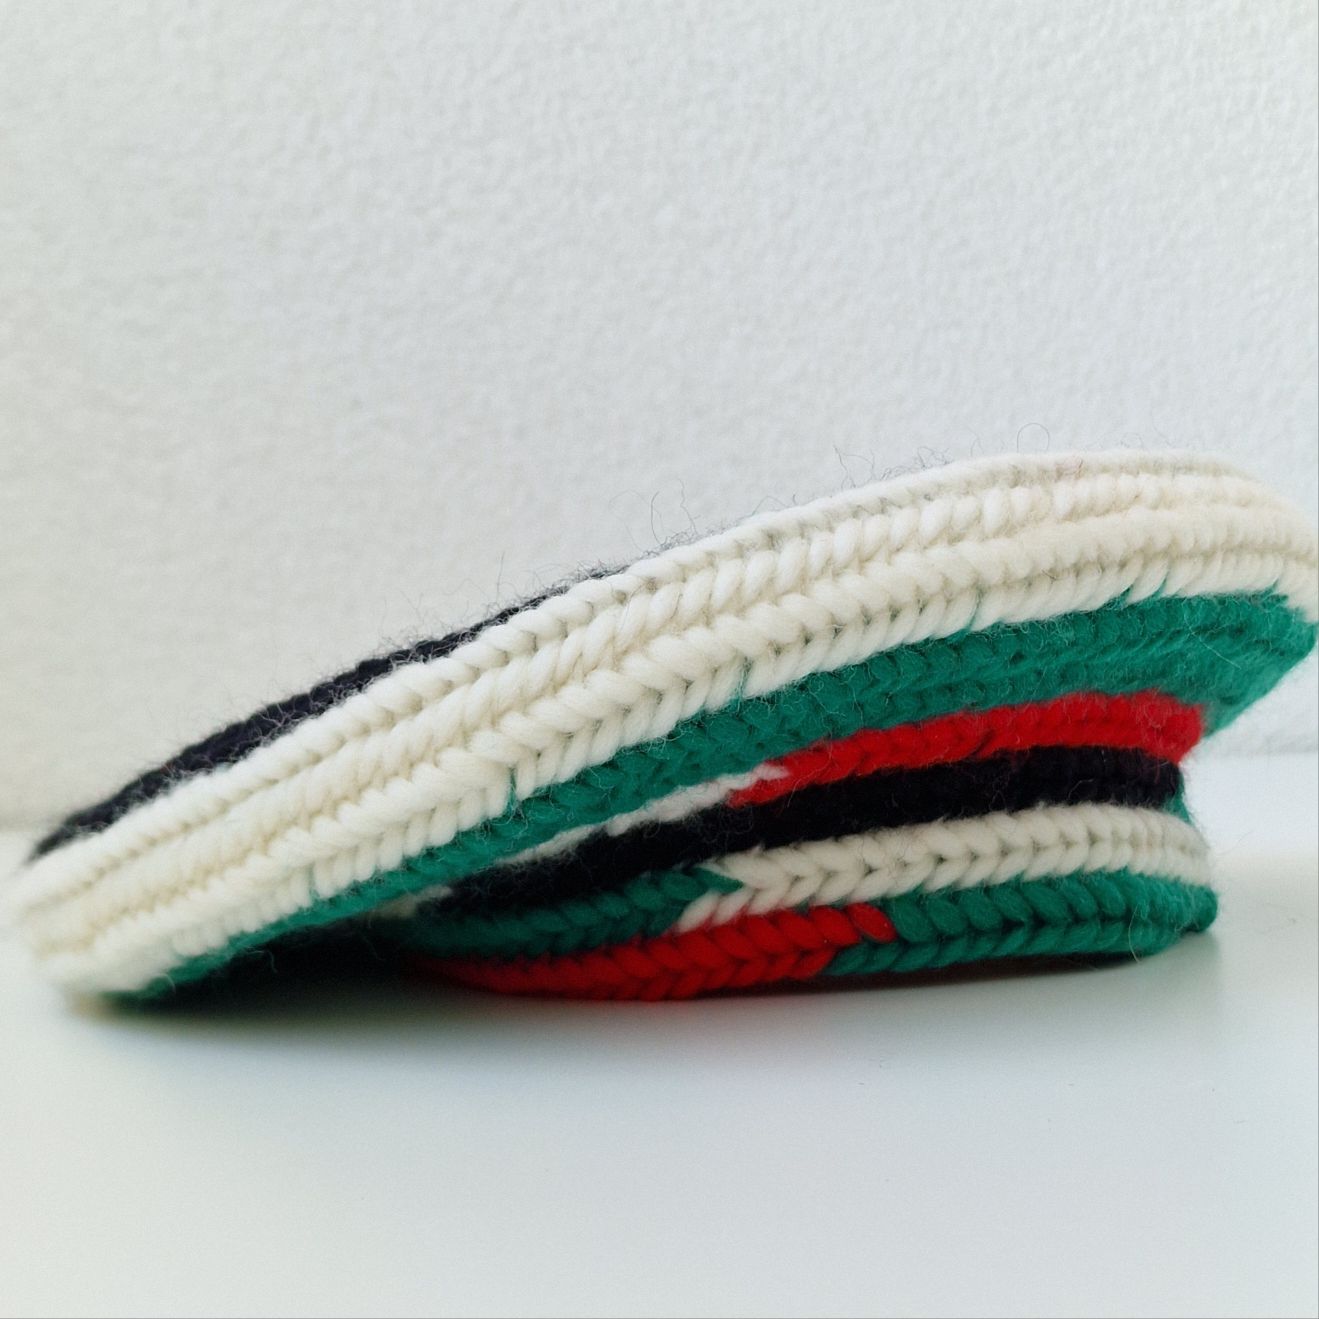
The Baret is made with a finish stitch 3+2 and F2, and start with 18 stitches.
The Fabric is very dense and stong.
After this diameter you will simply needlebind plain all stitches in the next round
Now you will decrease 8 stitches plain and decrease the 9th
The shape is created by the decreases.
With 6 stitches plain and the 7th decrease, you will measure whether it fits. If it fits, you can now simply needlebind all the stitches plain, You can choose whether to make the edge one row or higher
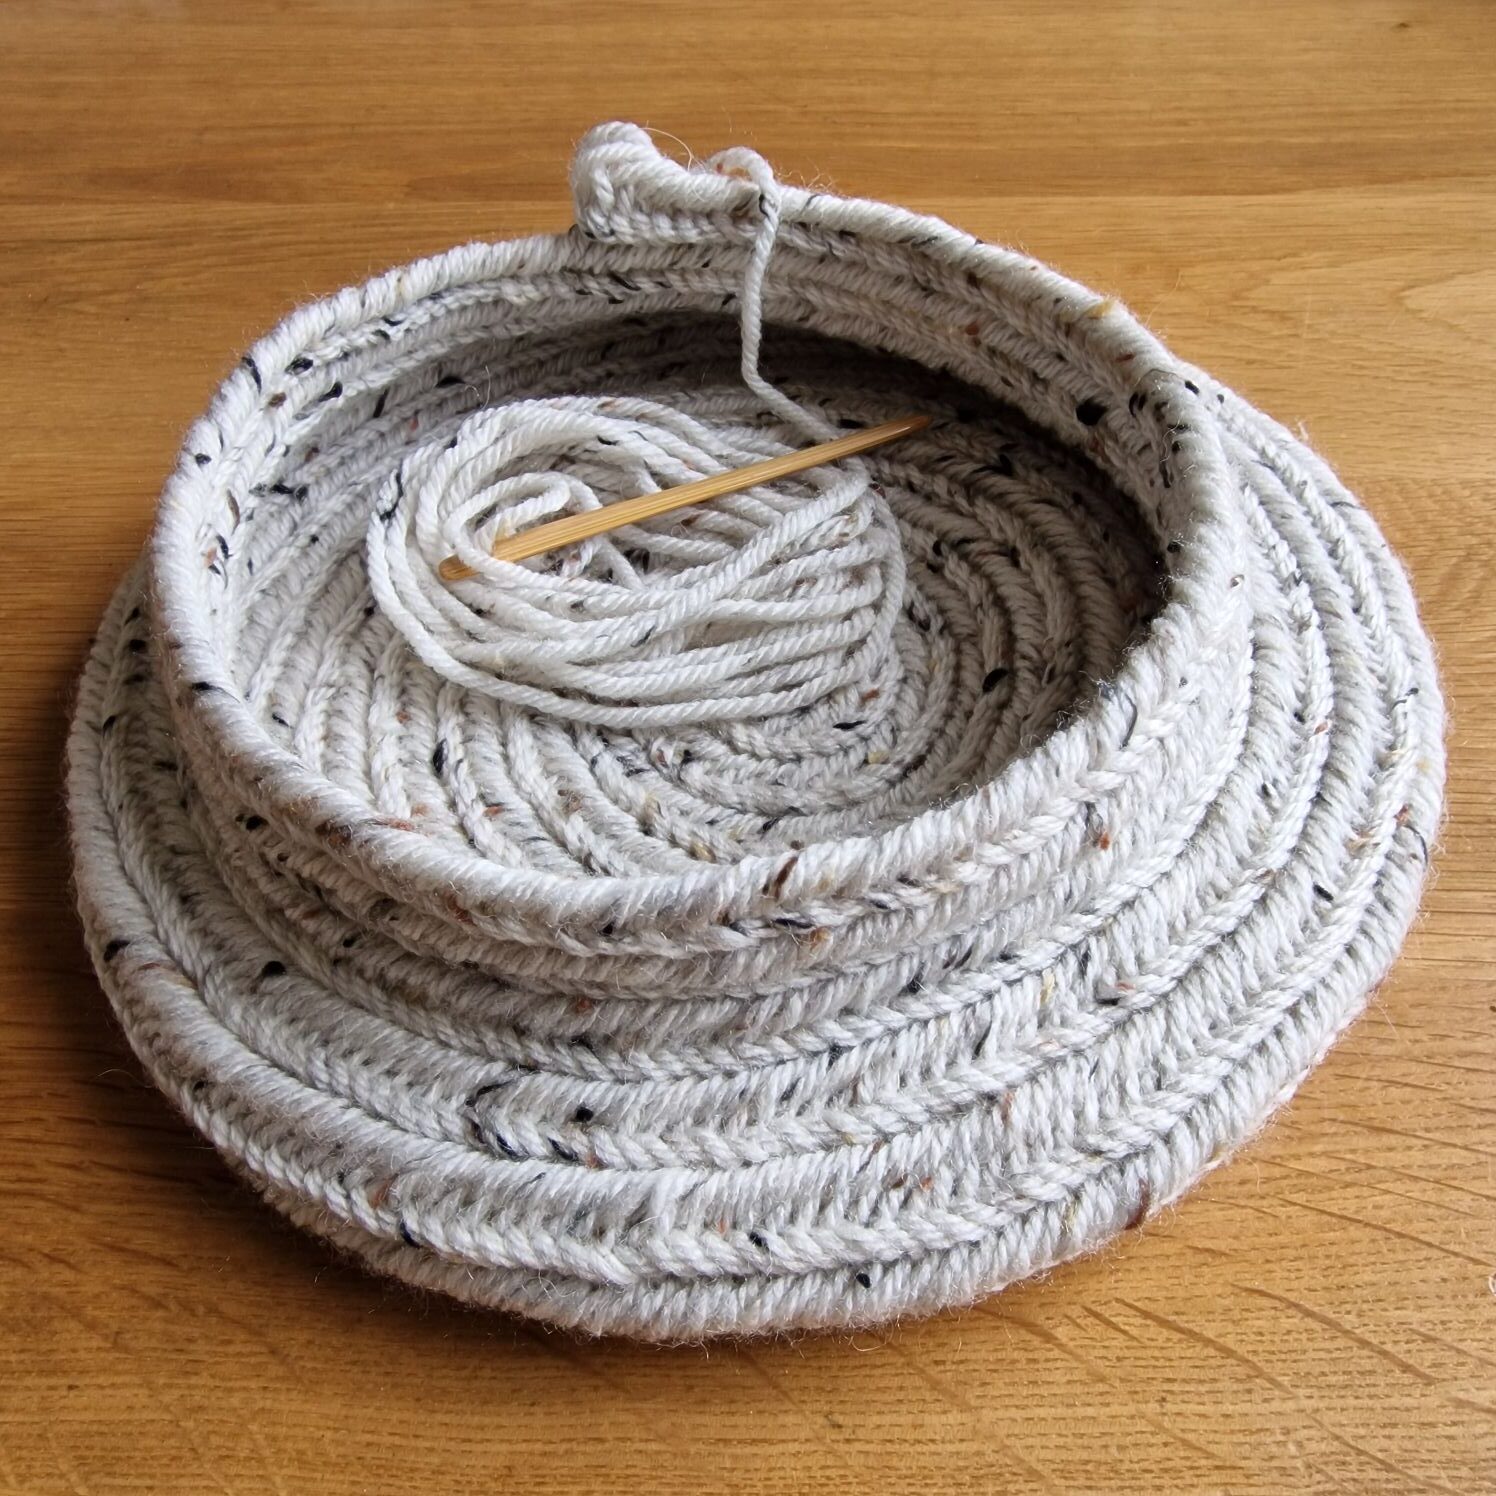
My first tweed baret turned out very beautiful.

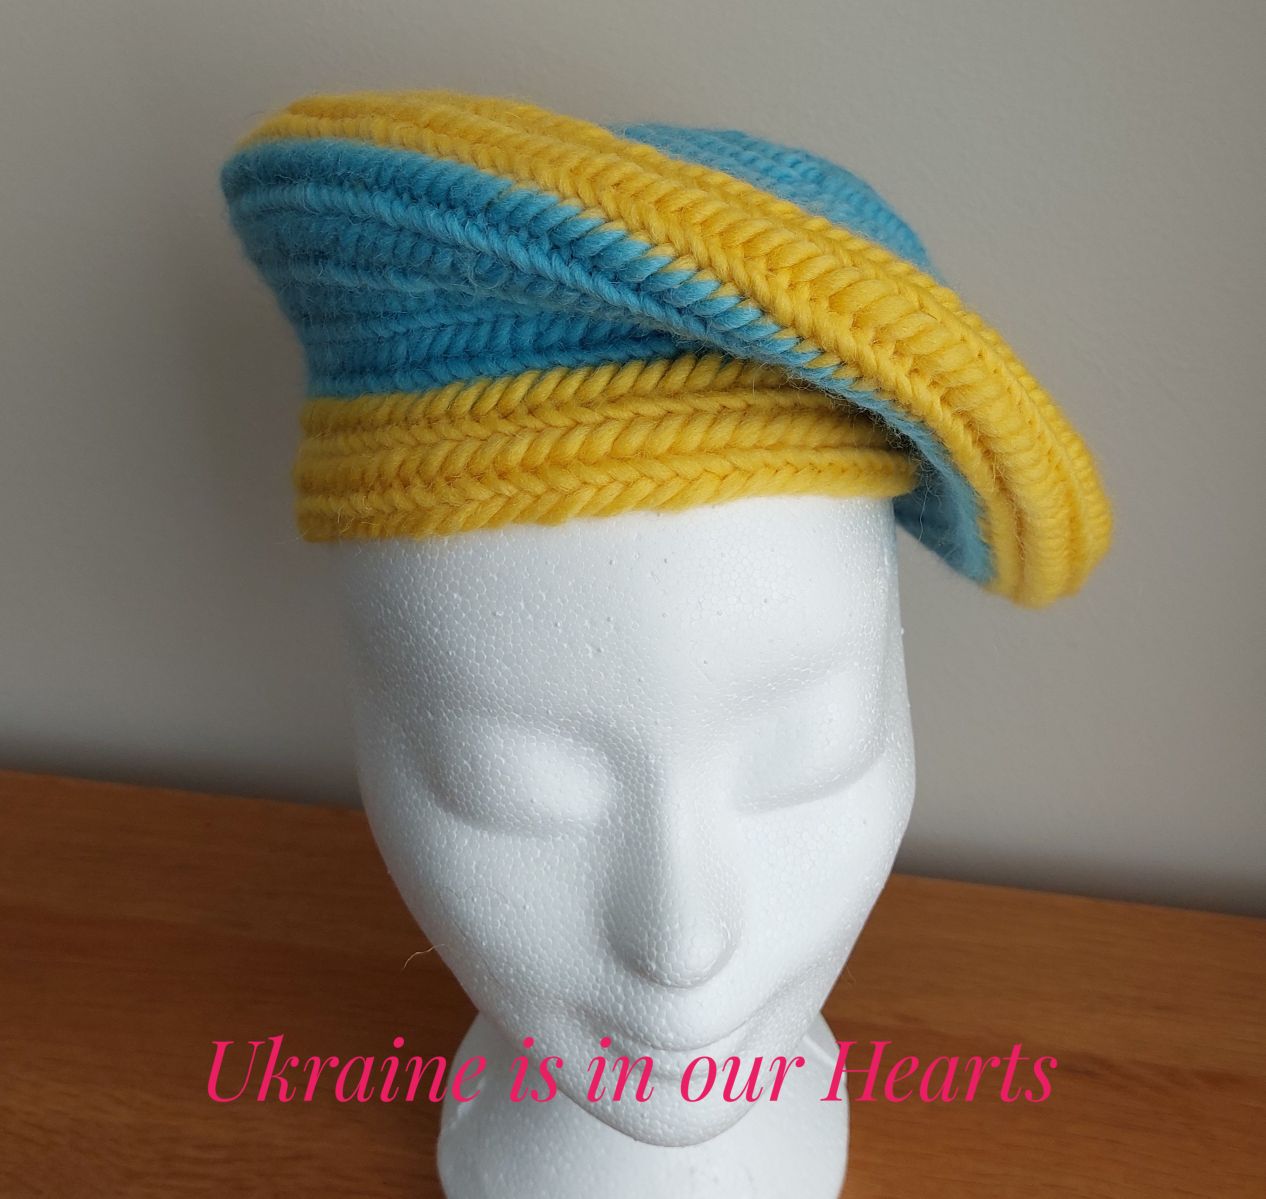
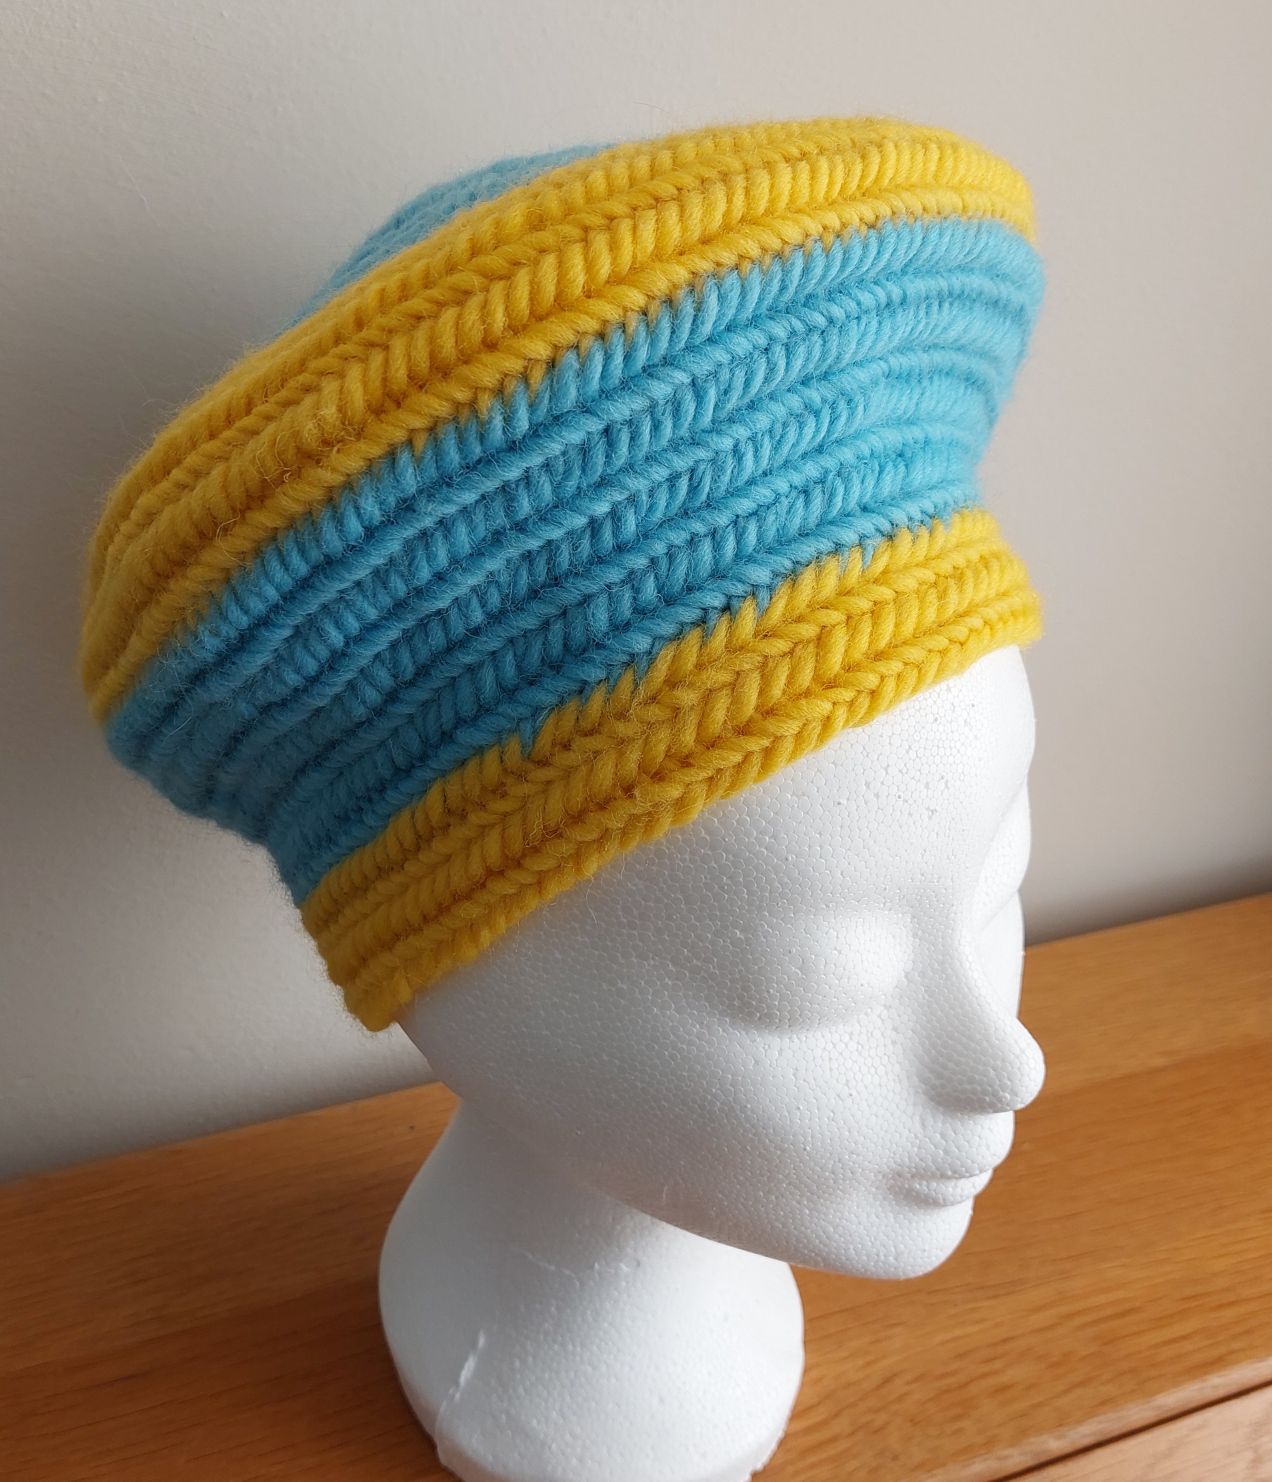
The next Baret is made with the Arboga stitch and with the connection stitch F1. I start with 16 stitches and a round start. After 7 stitches normal and the 8th stitch increase. Next round all stitches normal. Then 7 stitches normal and the 8th stitch decrease. Then continue like the patern as usual.
I hope and pray that peace will come.
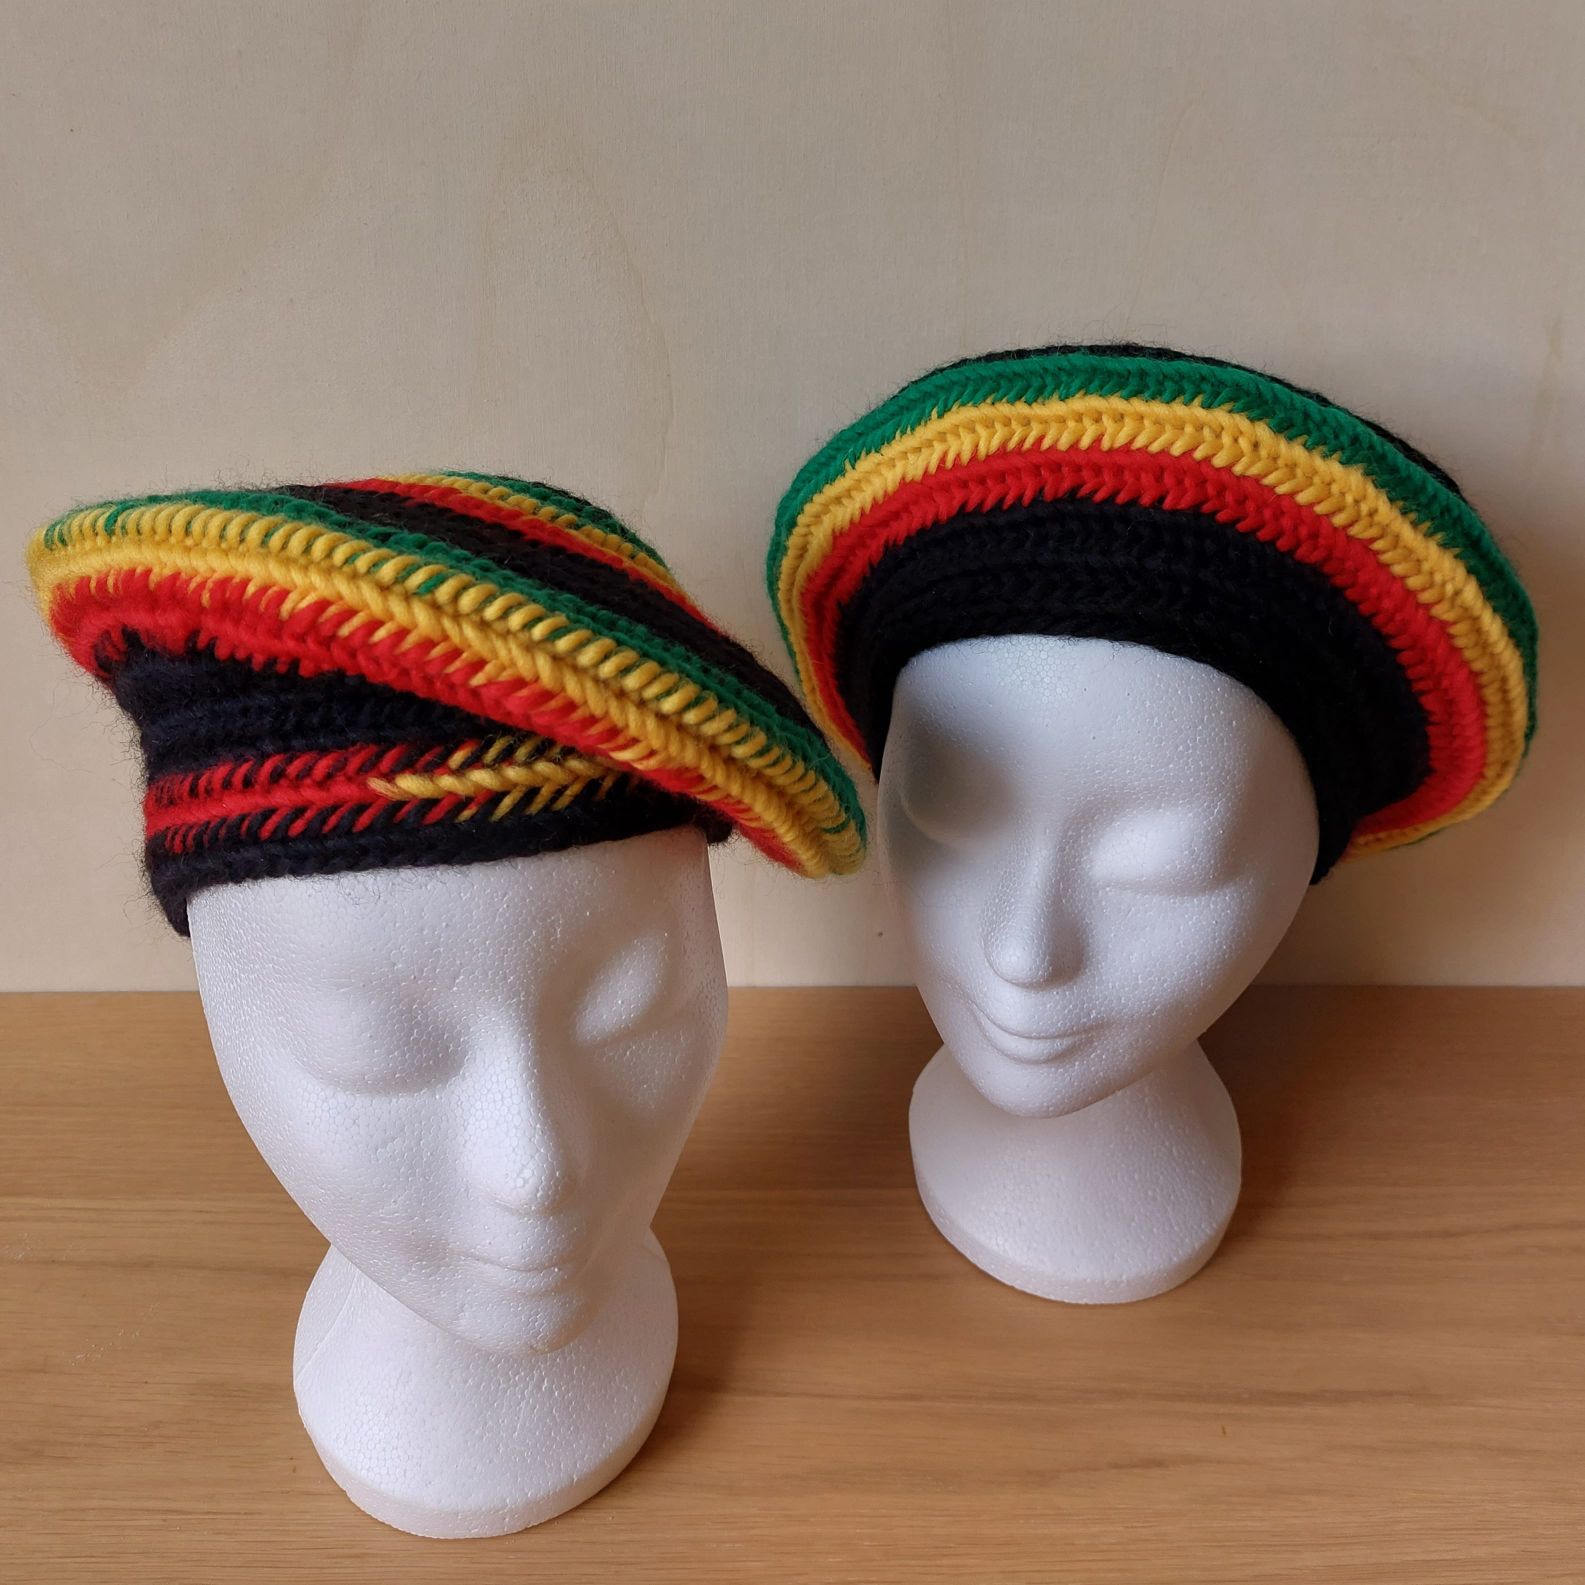
This baret is made with the Arboga stitch and with the connection stitch F1 with the same patern as above and start with 16 stitches.
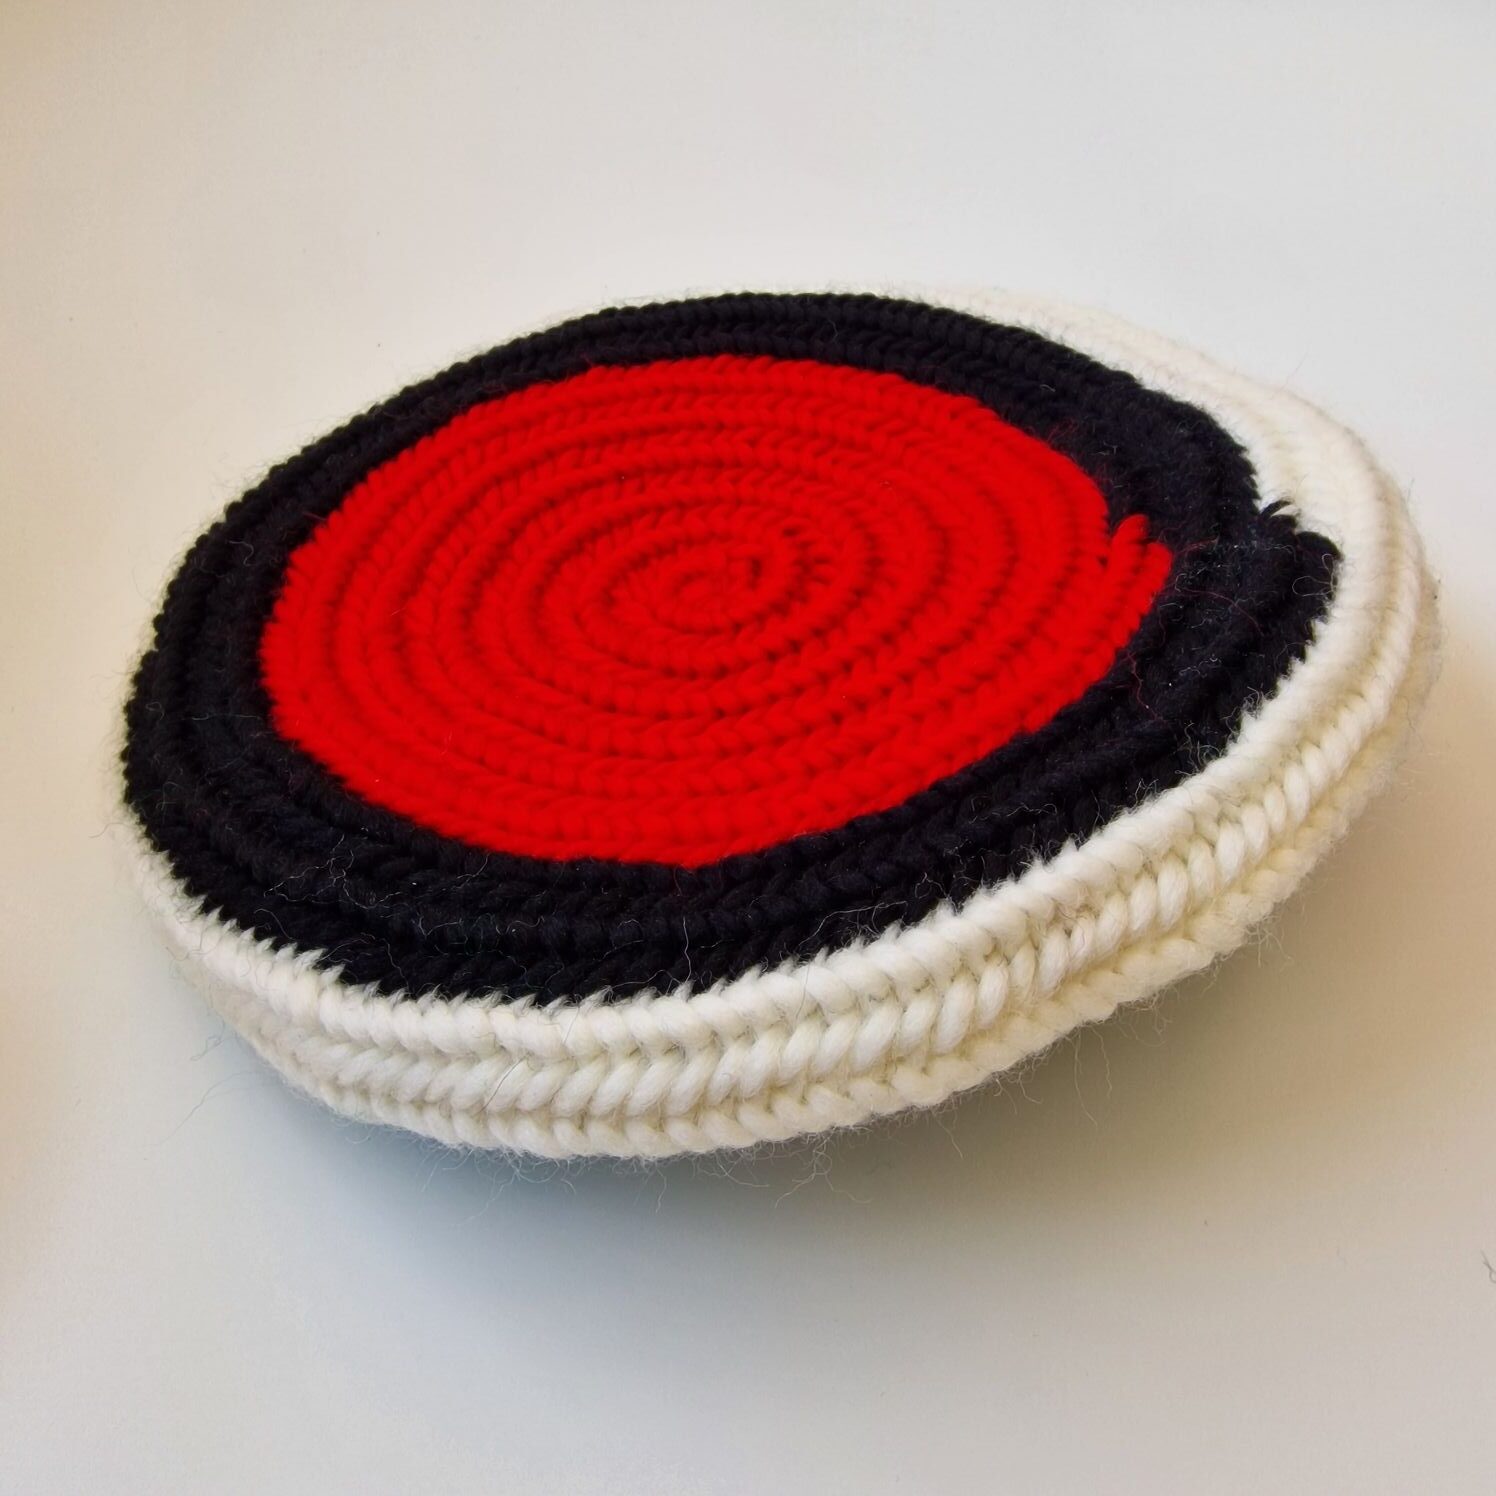
More Barets Pattern as above Fin. stitch 2+2 F2
More Barets Pattern as above Fin. stitch 2+2 F2
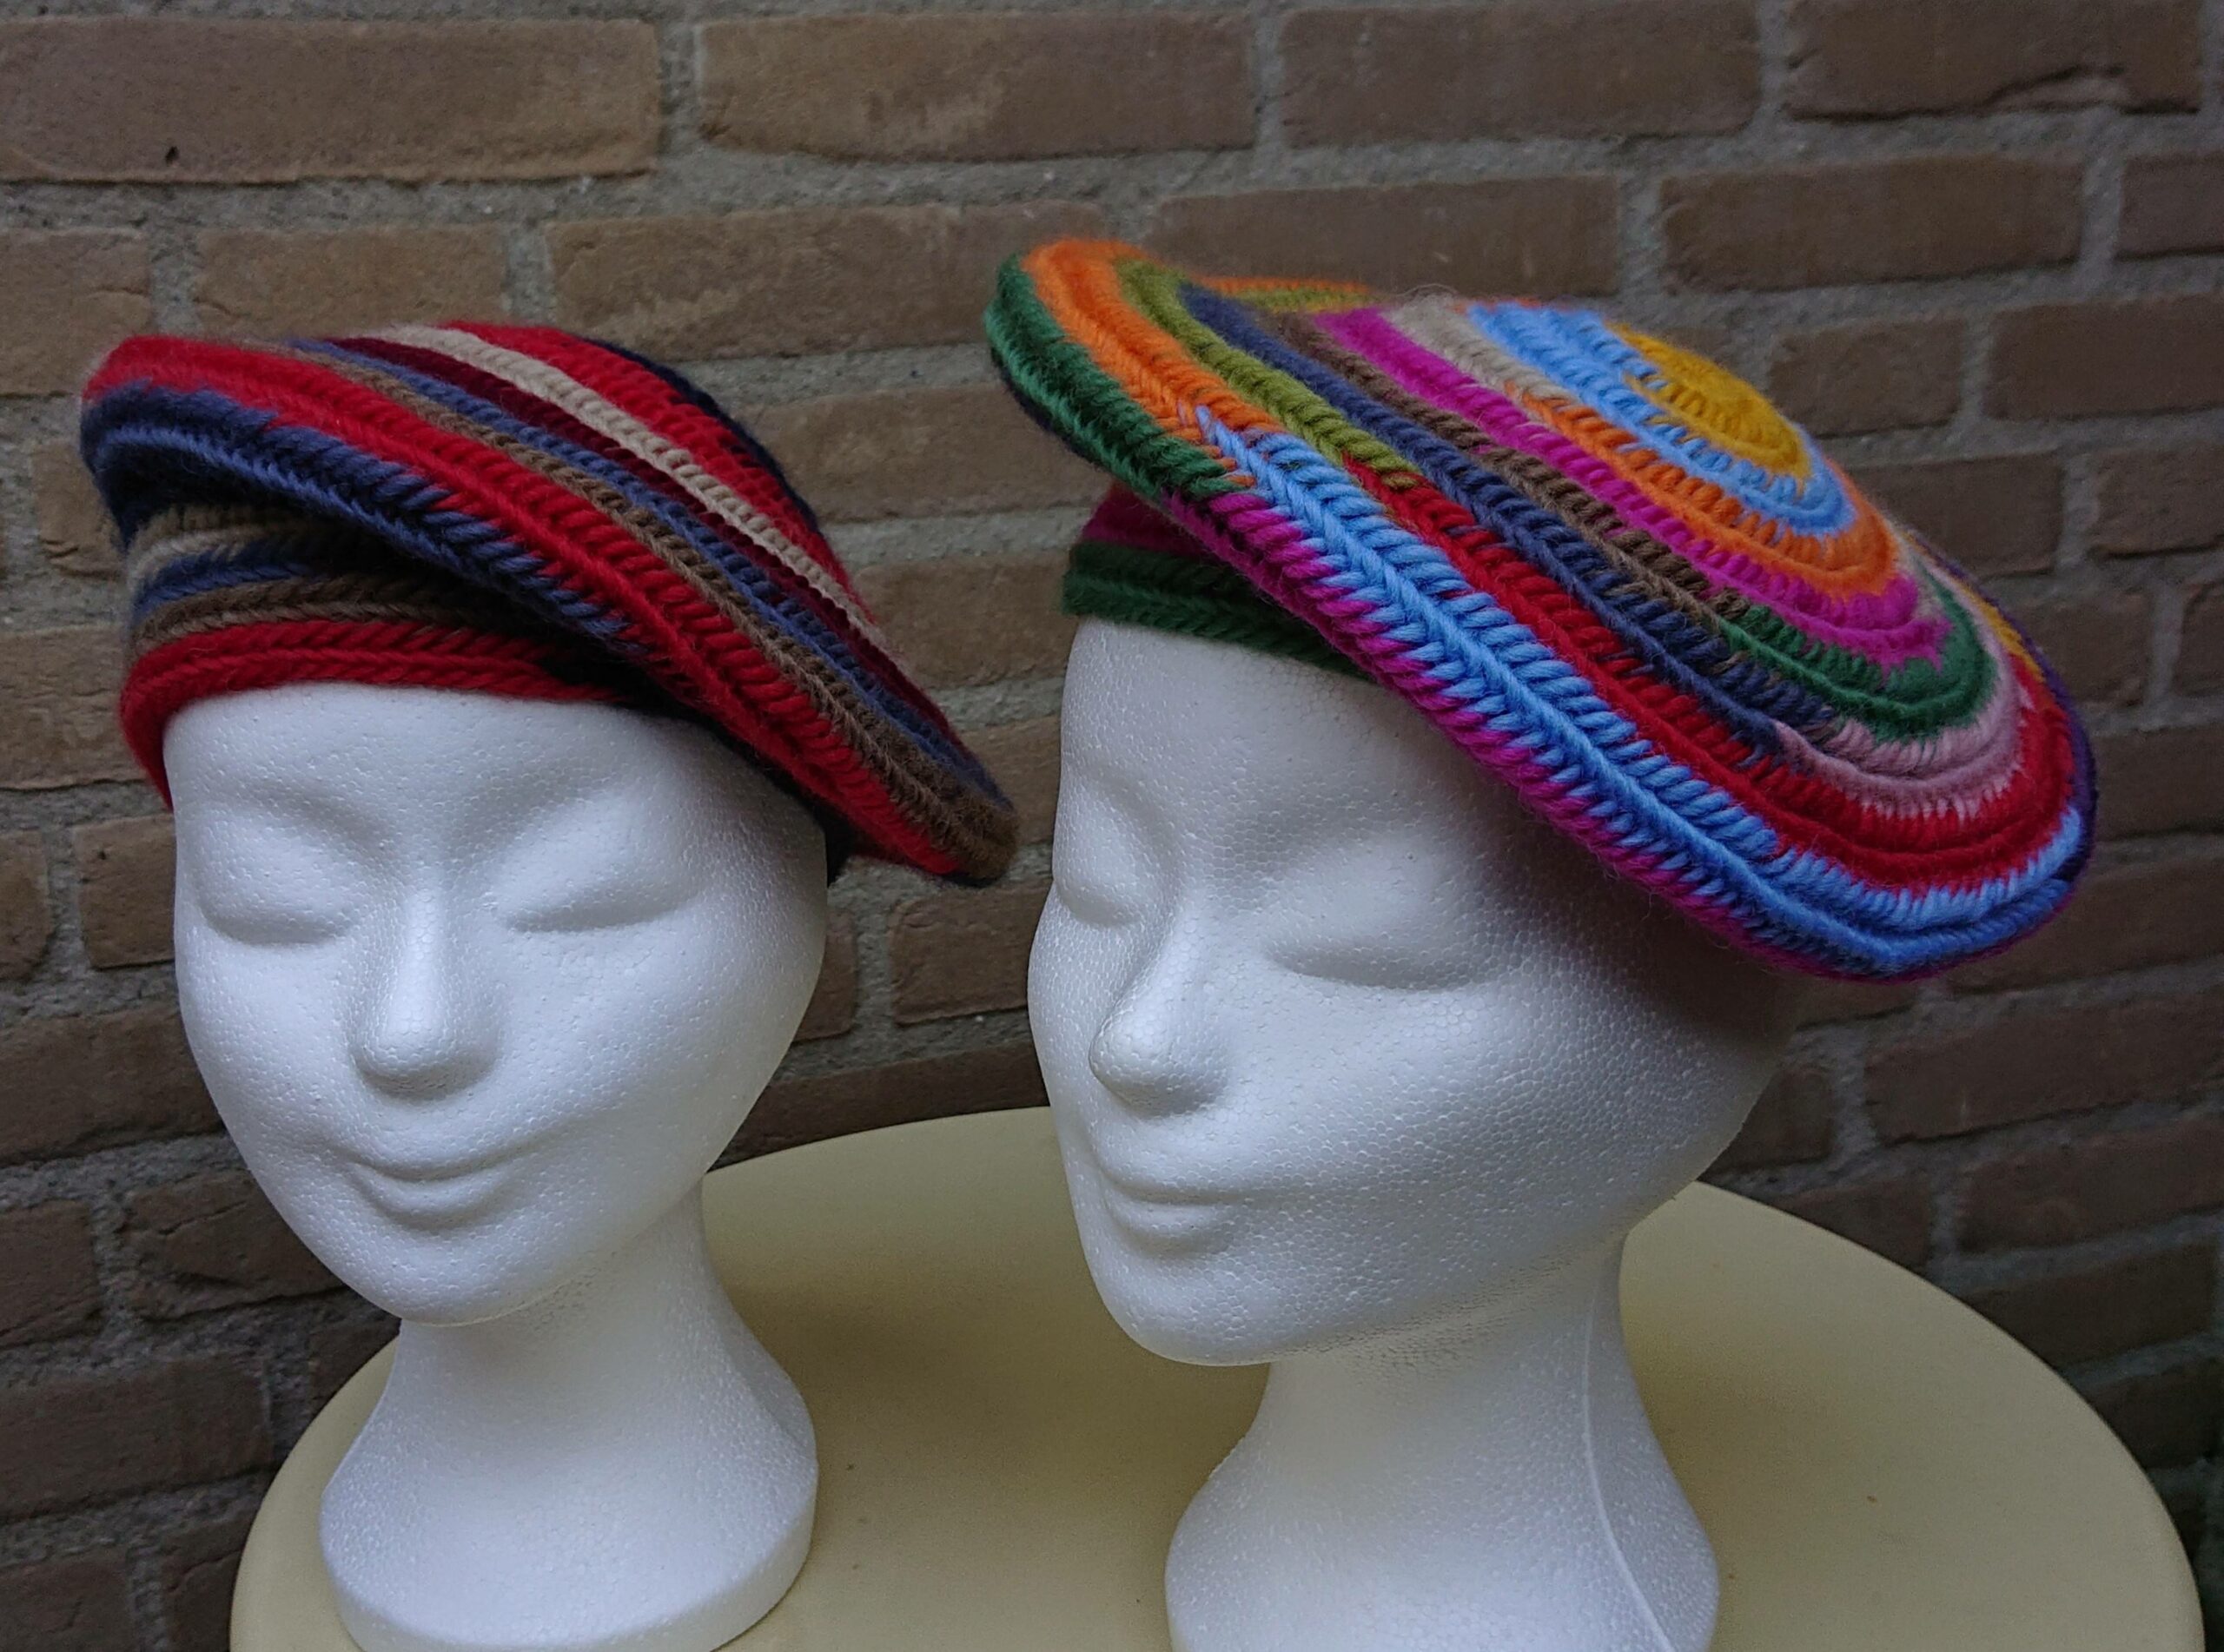
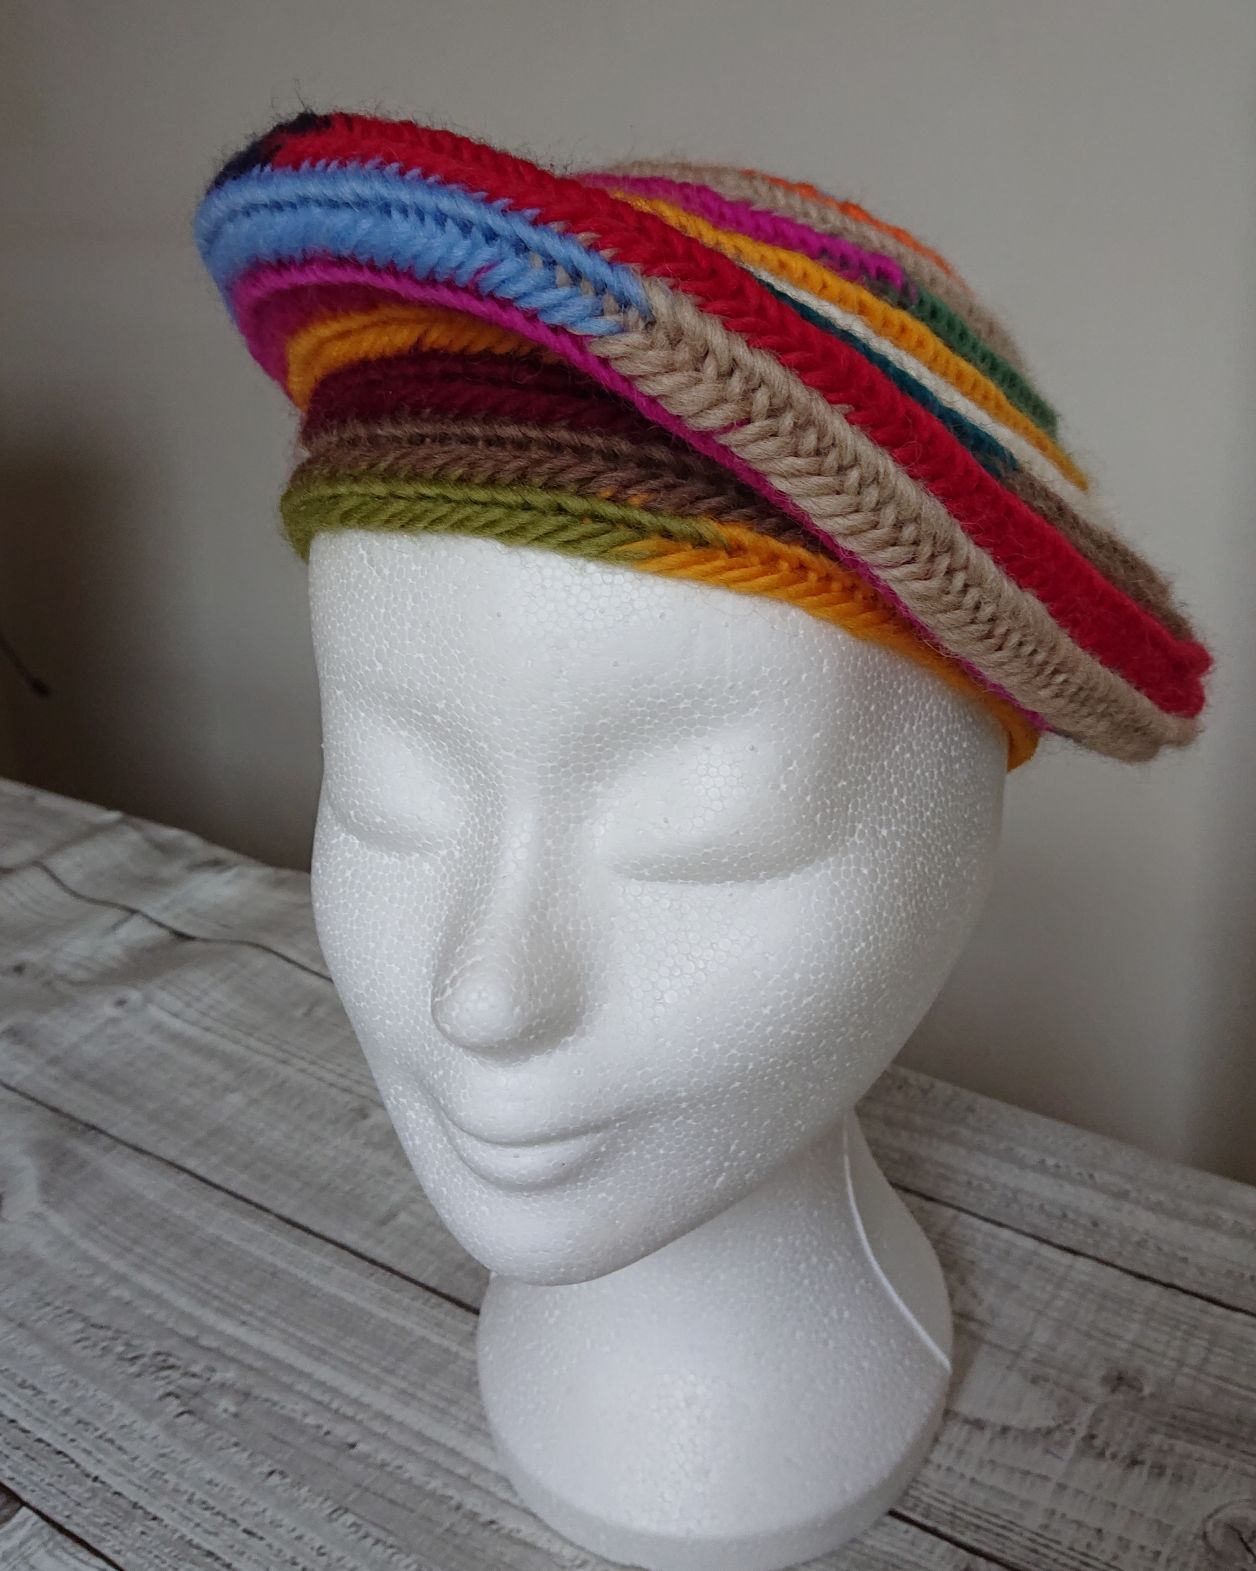
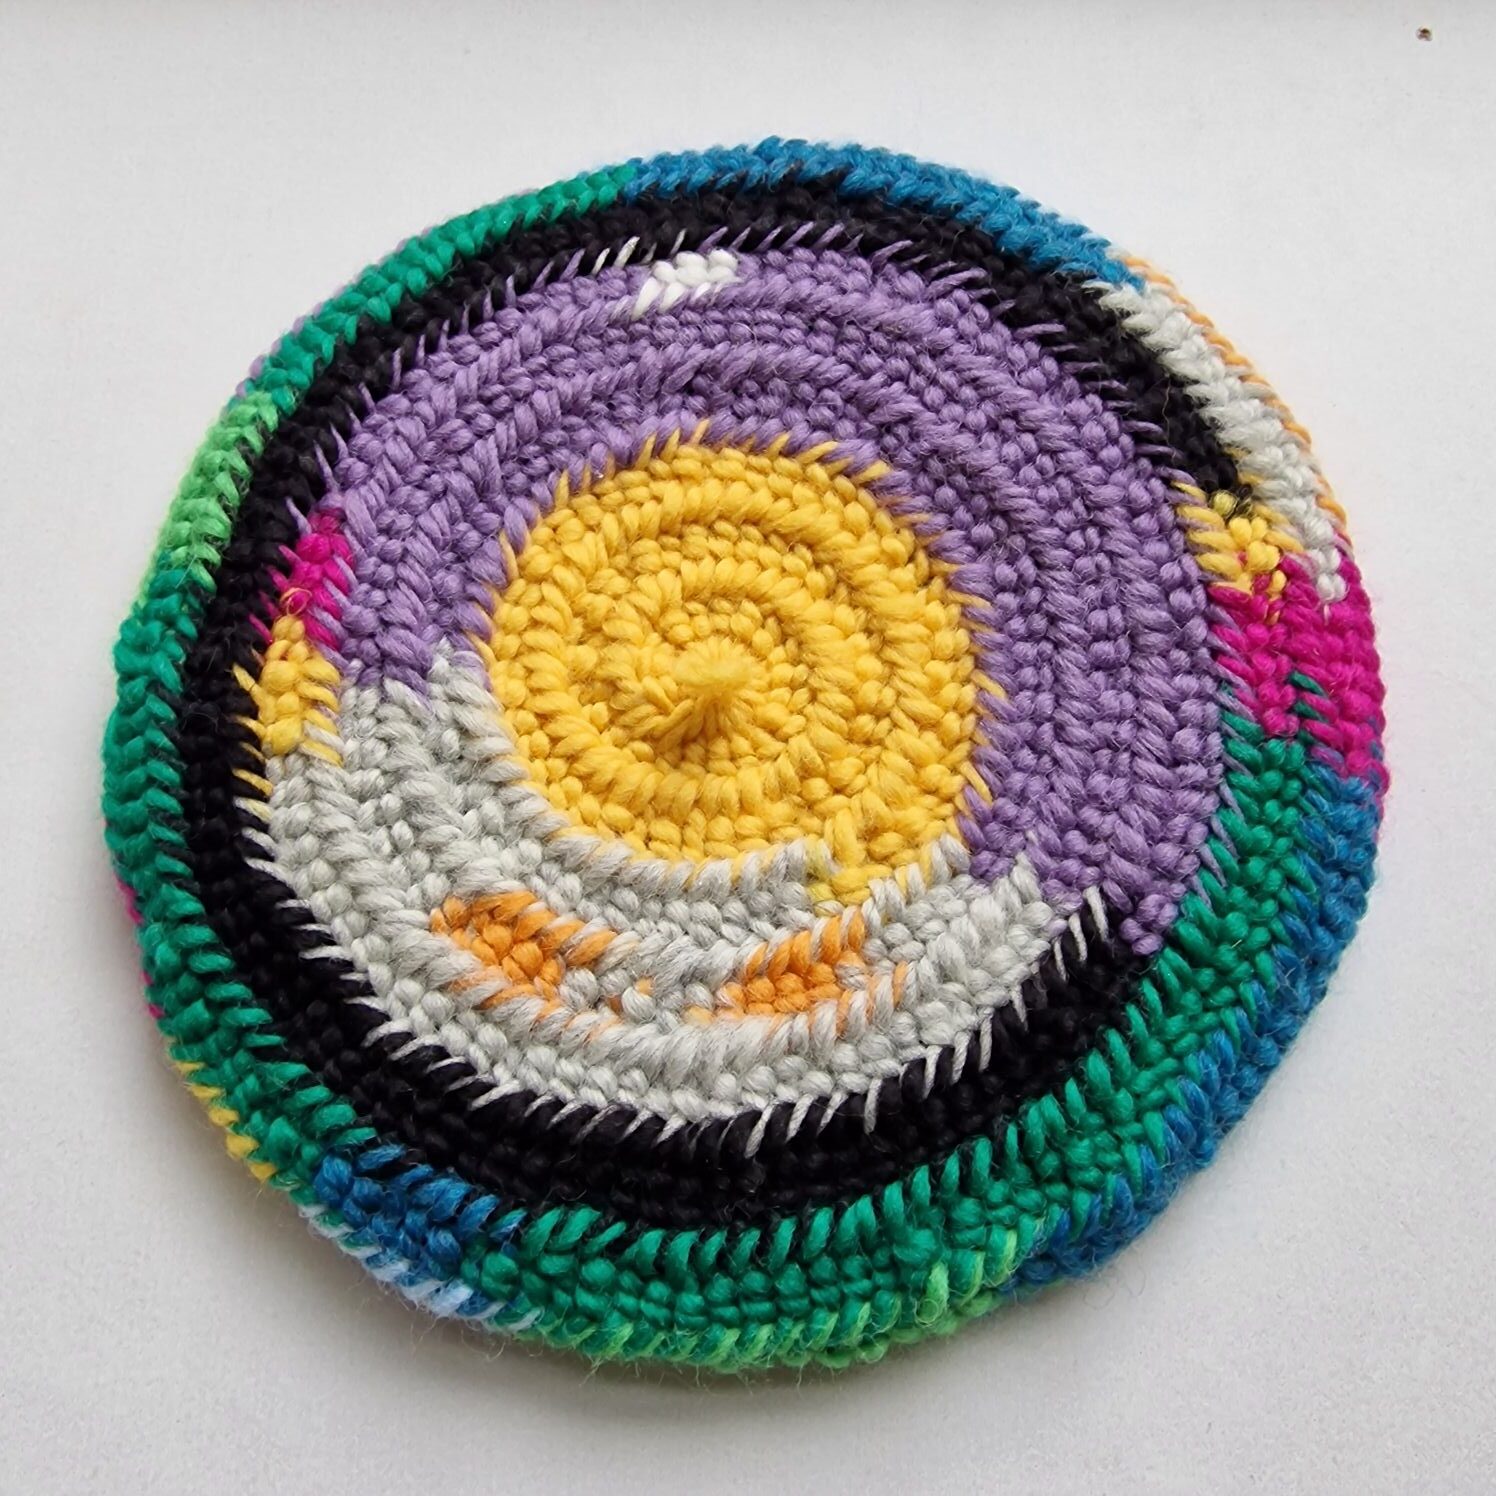
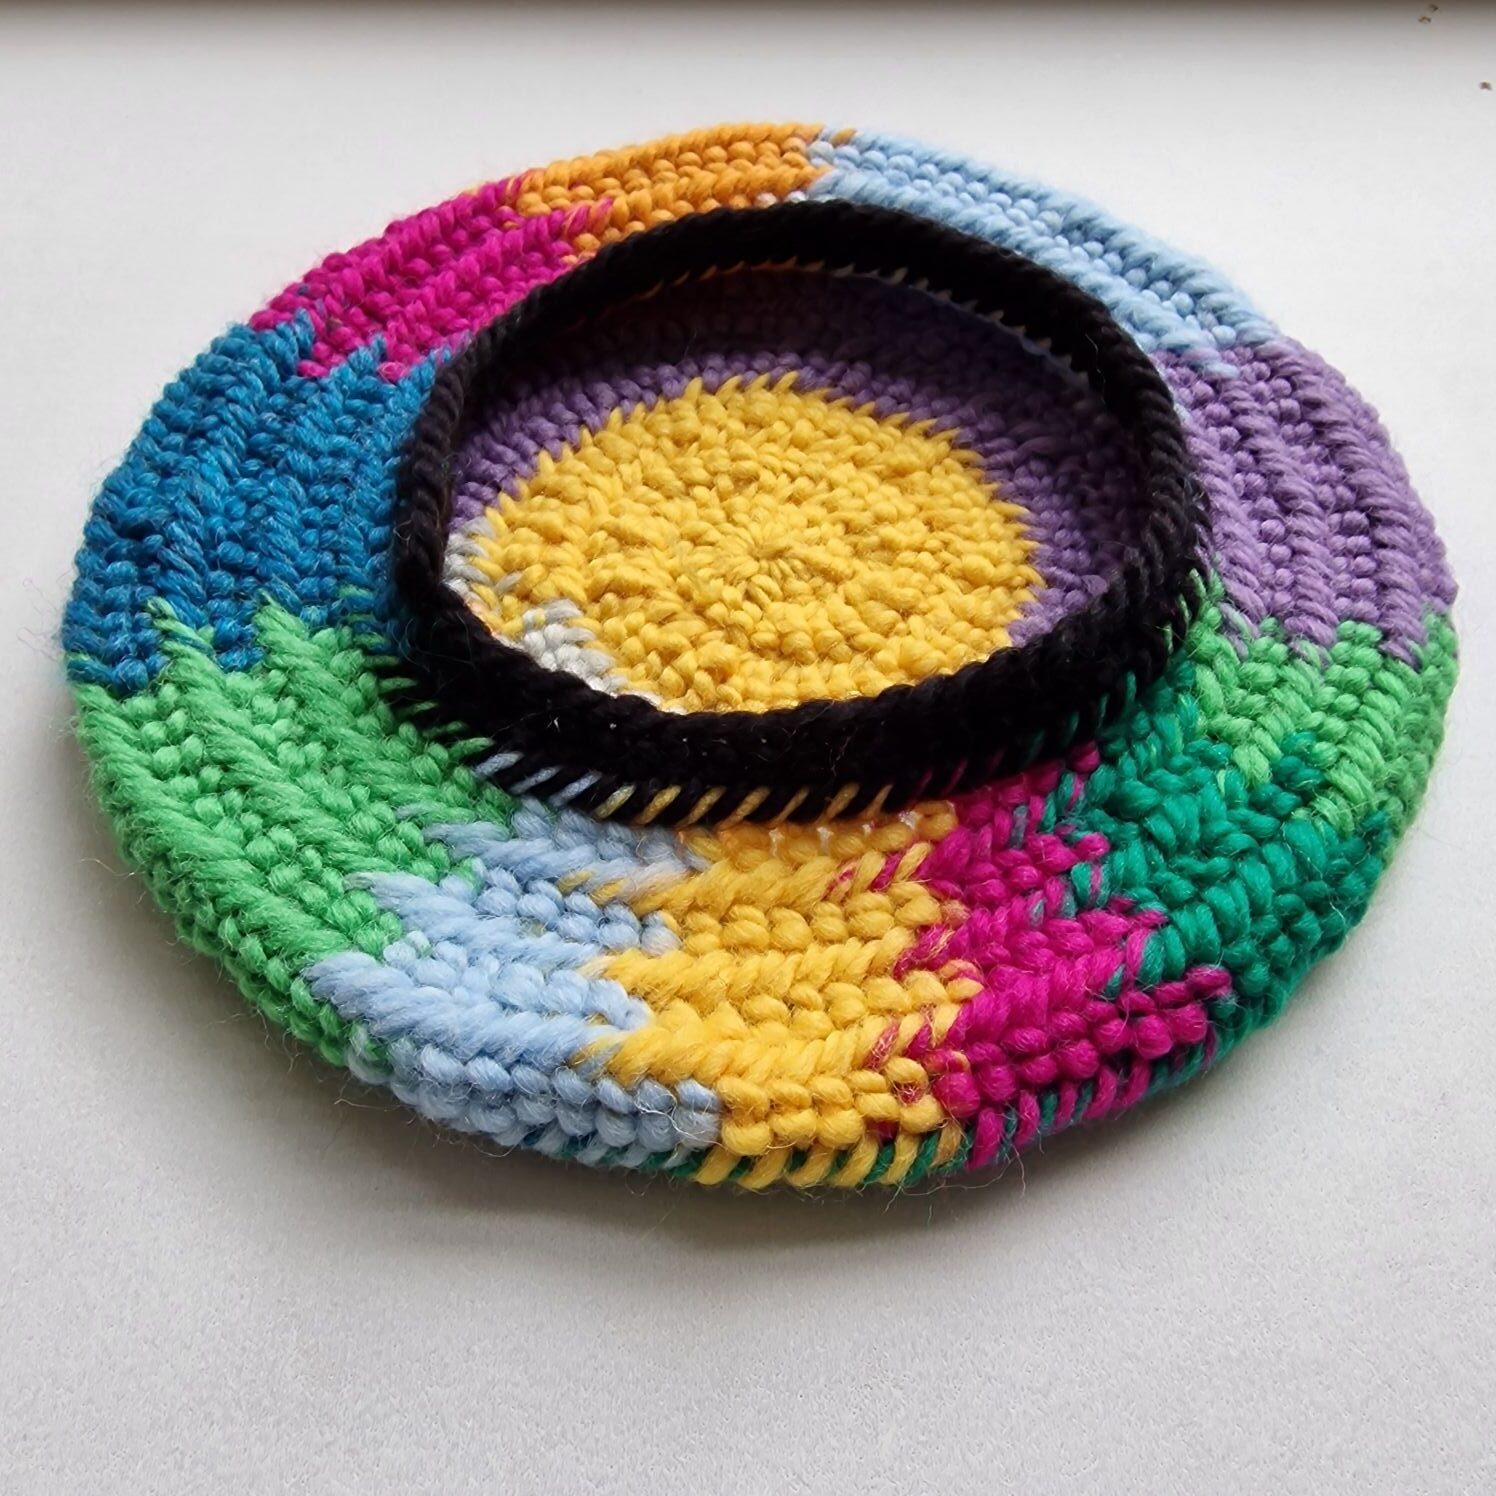
An 11 color Baret with the Faberg stitch and connection stitch F2 and i started with 14 stitches because this stitch is wider then Fin, or Arboga stitch. I start with 14 stitche with a round start. After 7 stitches normal and the 8th stitch increase. Next round all stitches normal. Then 7 stitches normal and the 8th stitch decrease. Then continue like the patern as usual.

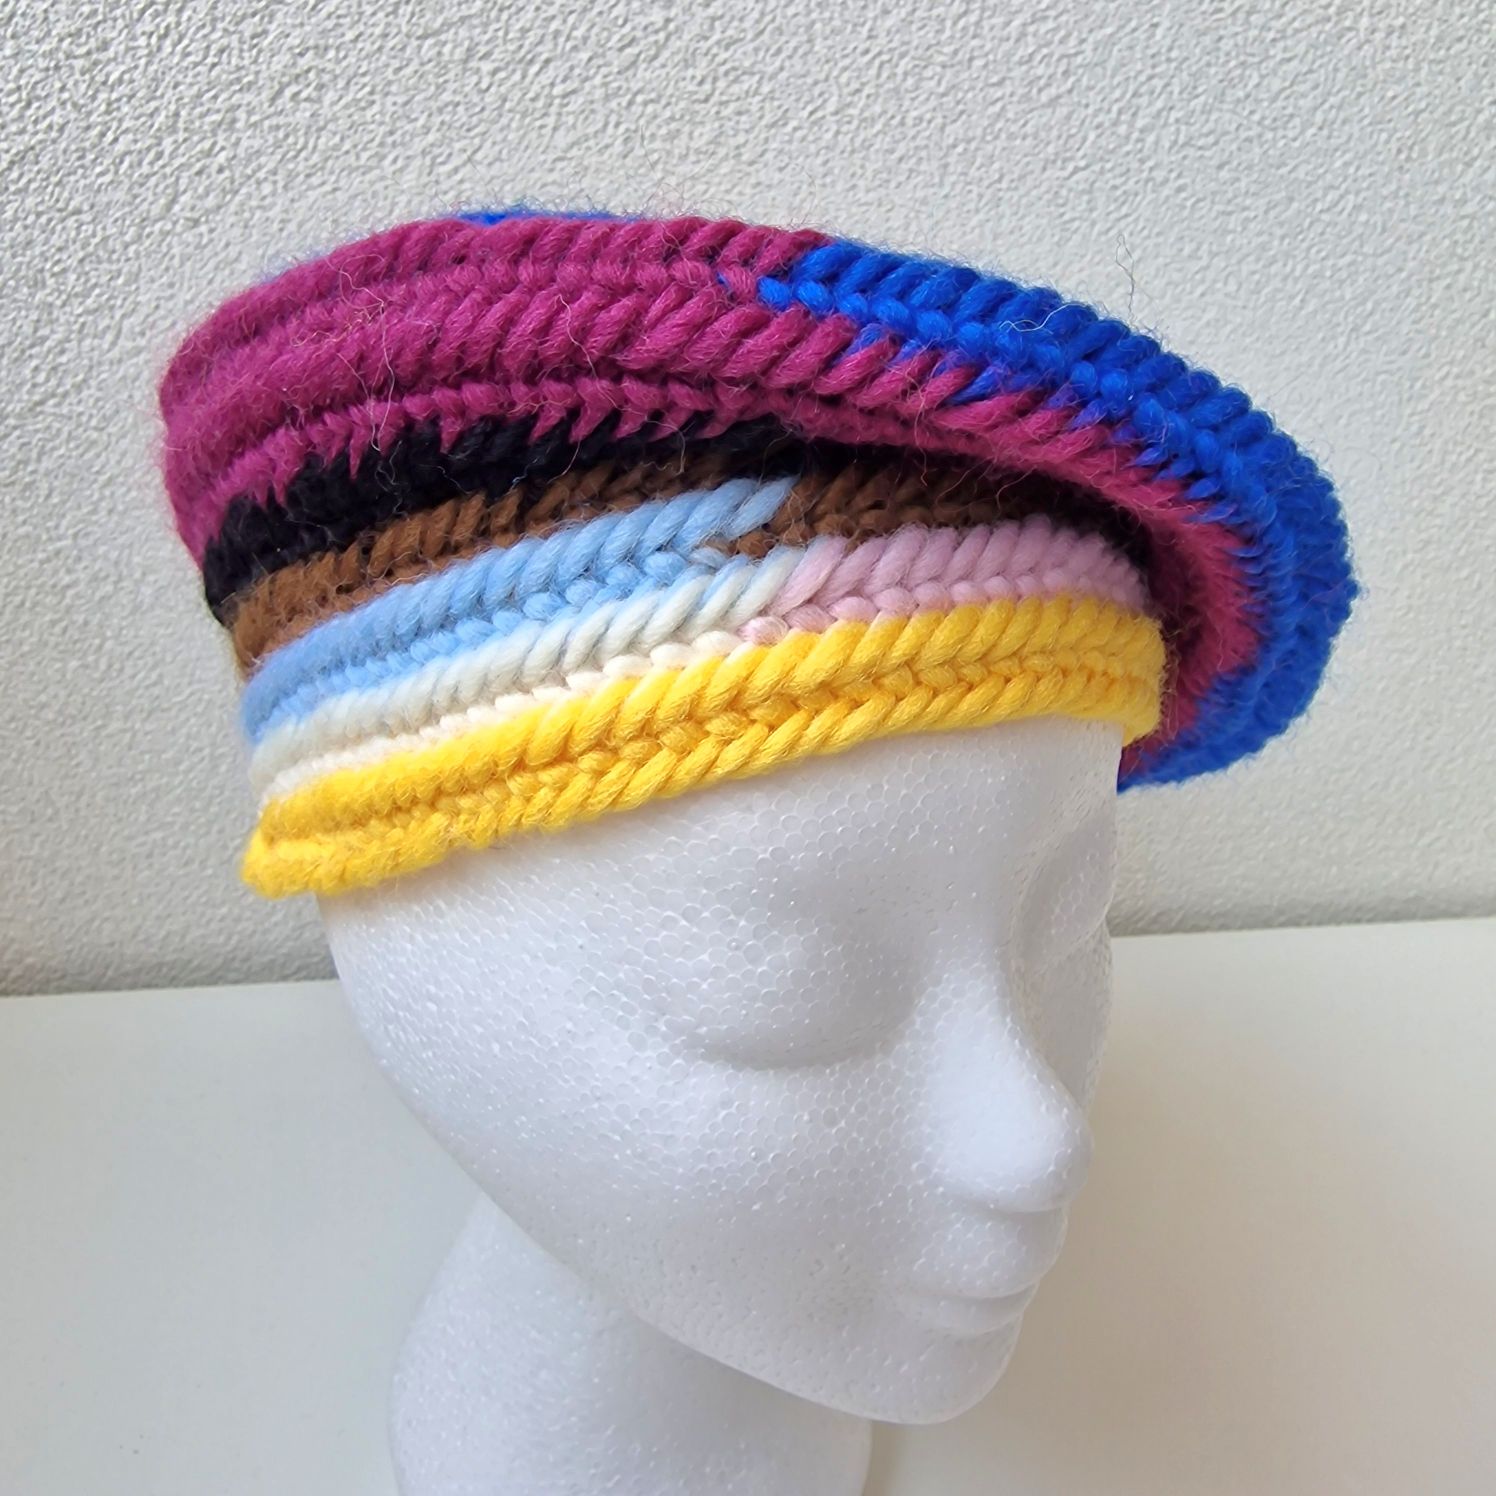
De baret vind ik erg mooi vanwege de 11 kleuren 🙂