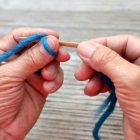
It has already been a year since I put an old blue hat in the washing machine to felt it. There is a photo of the wash cycle in the FreeForm needle binding chapter. This way, an old product gets a new life again, reusing raw materials 🙂
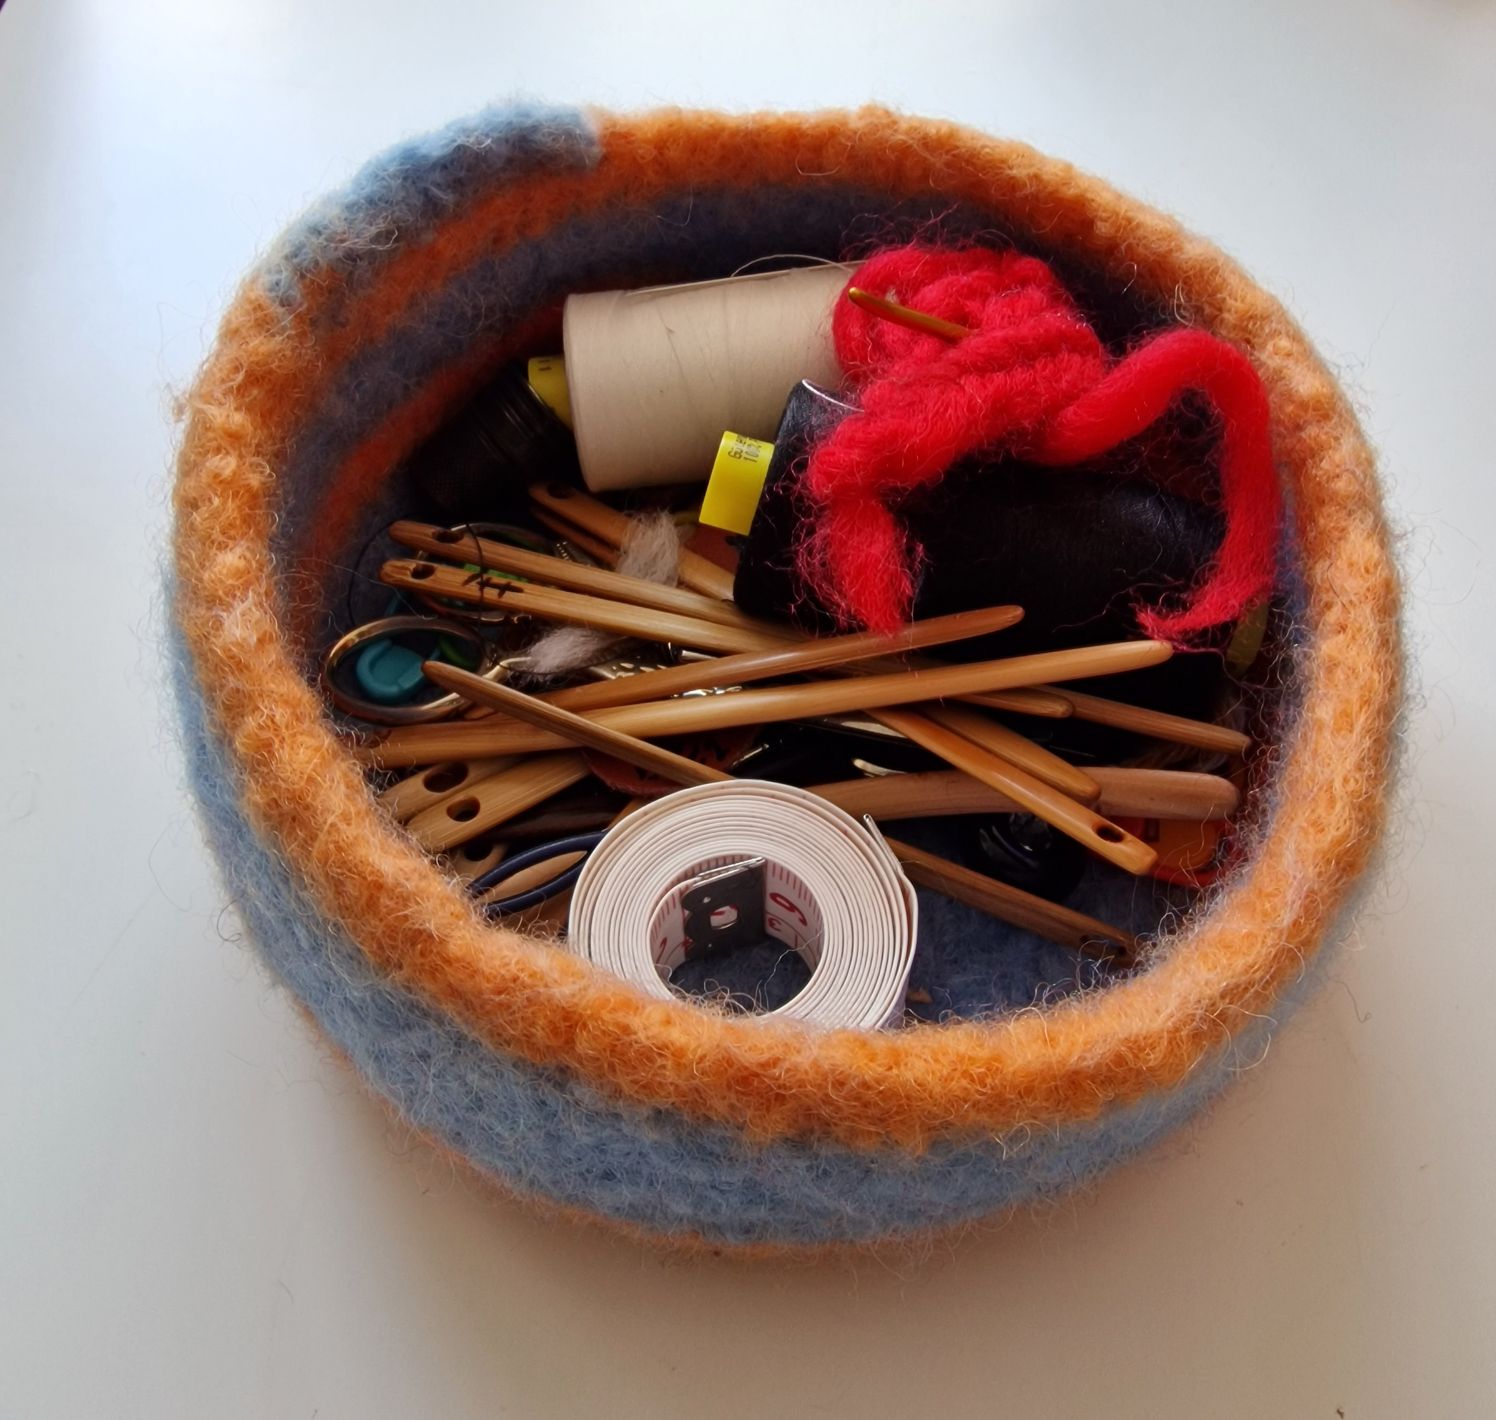
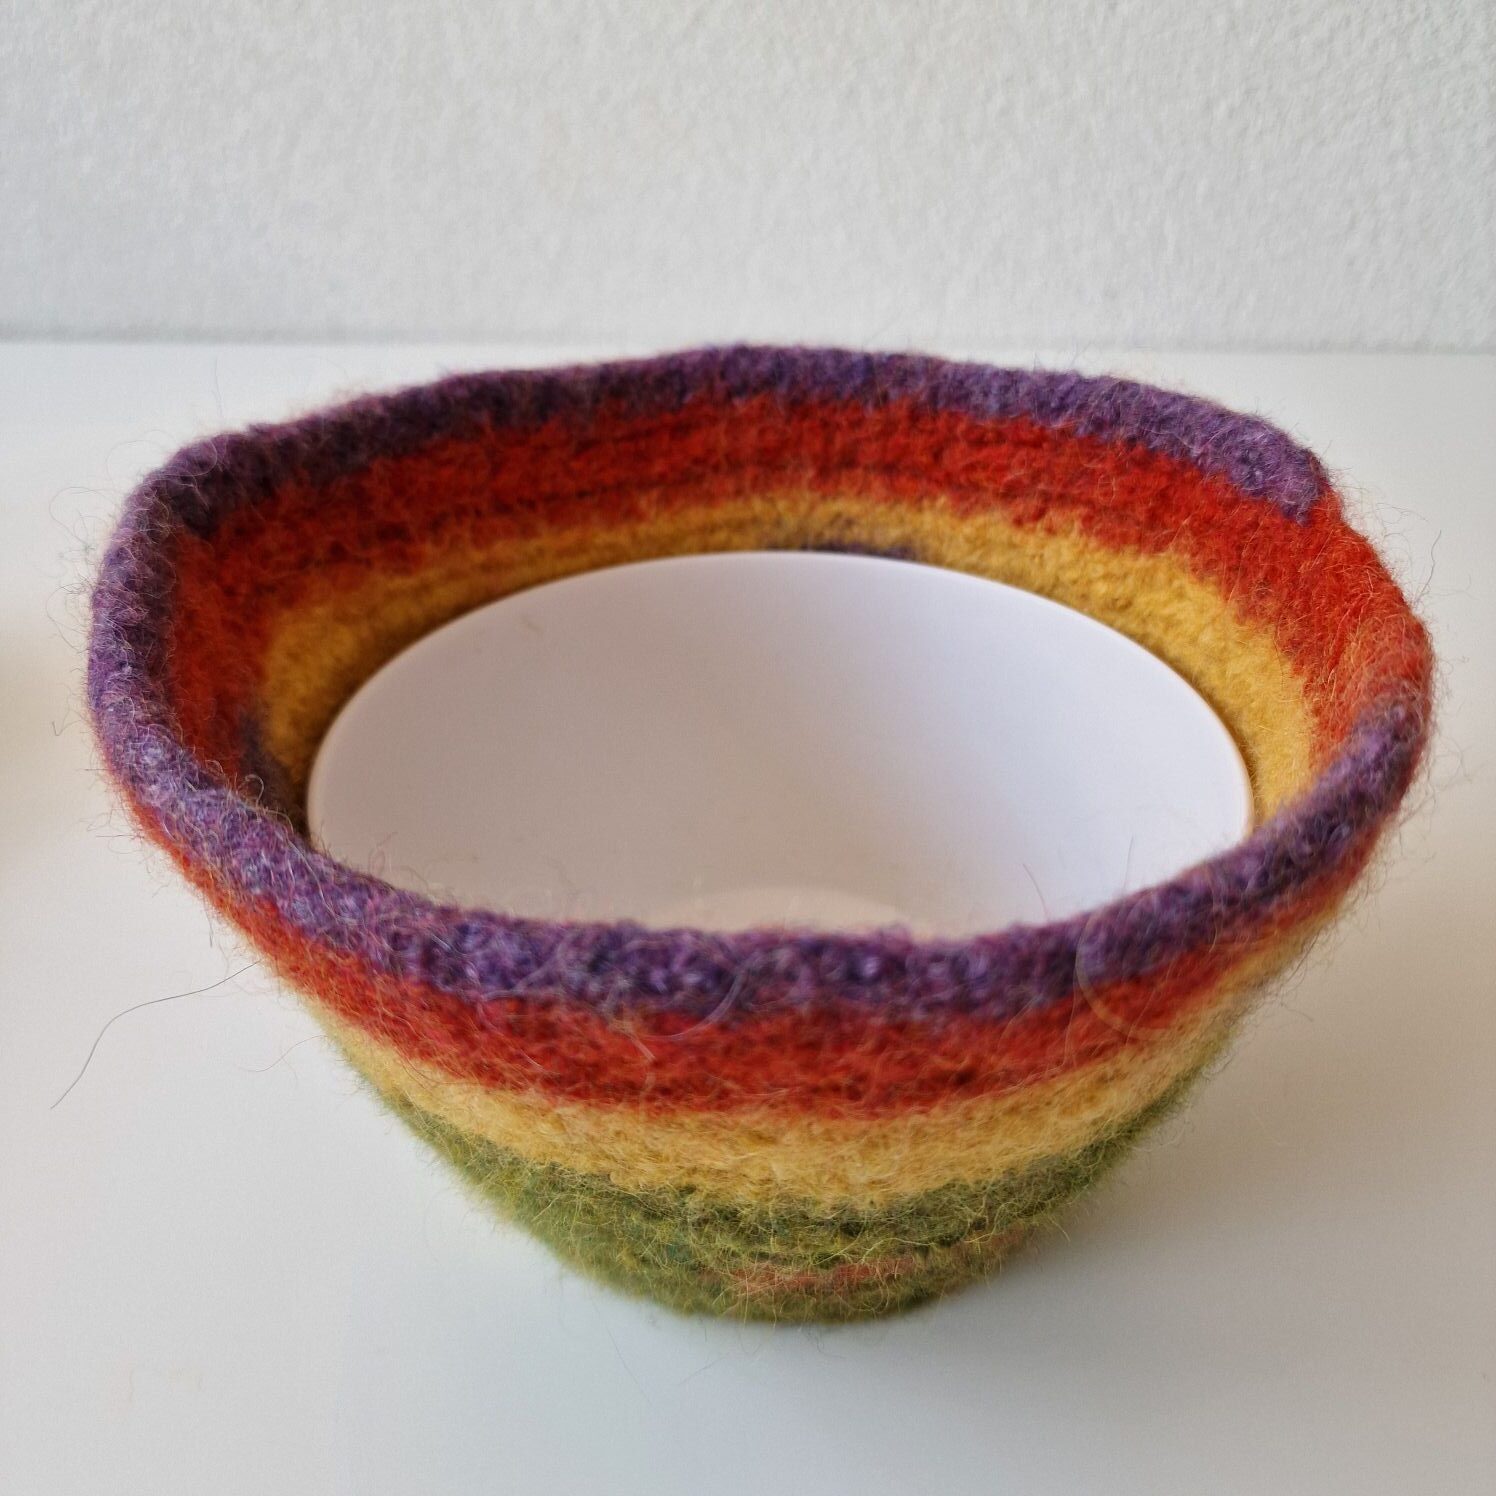
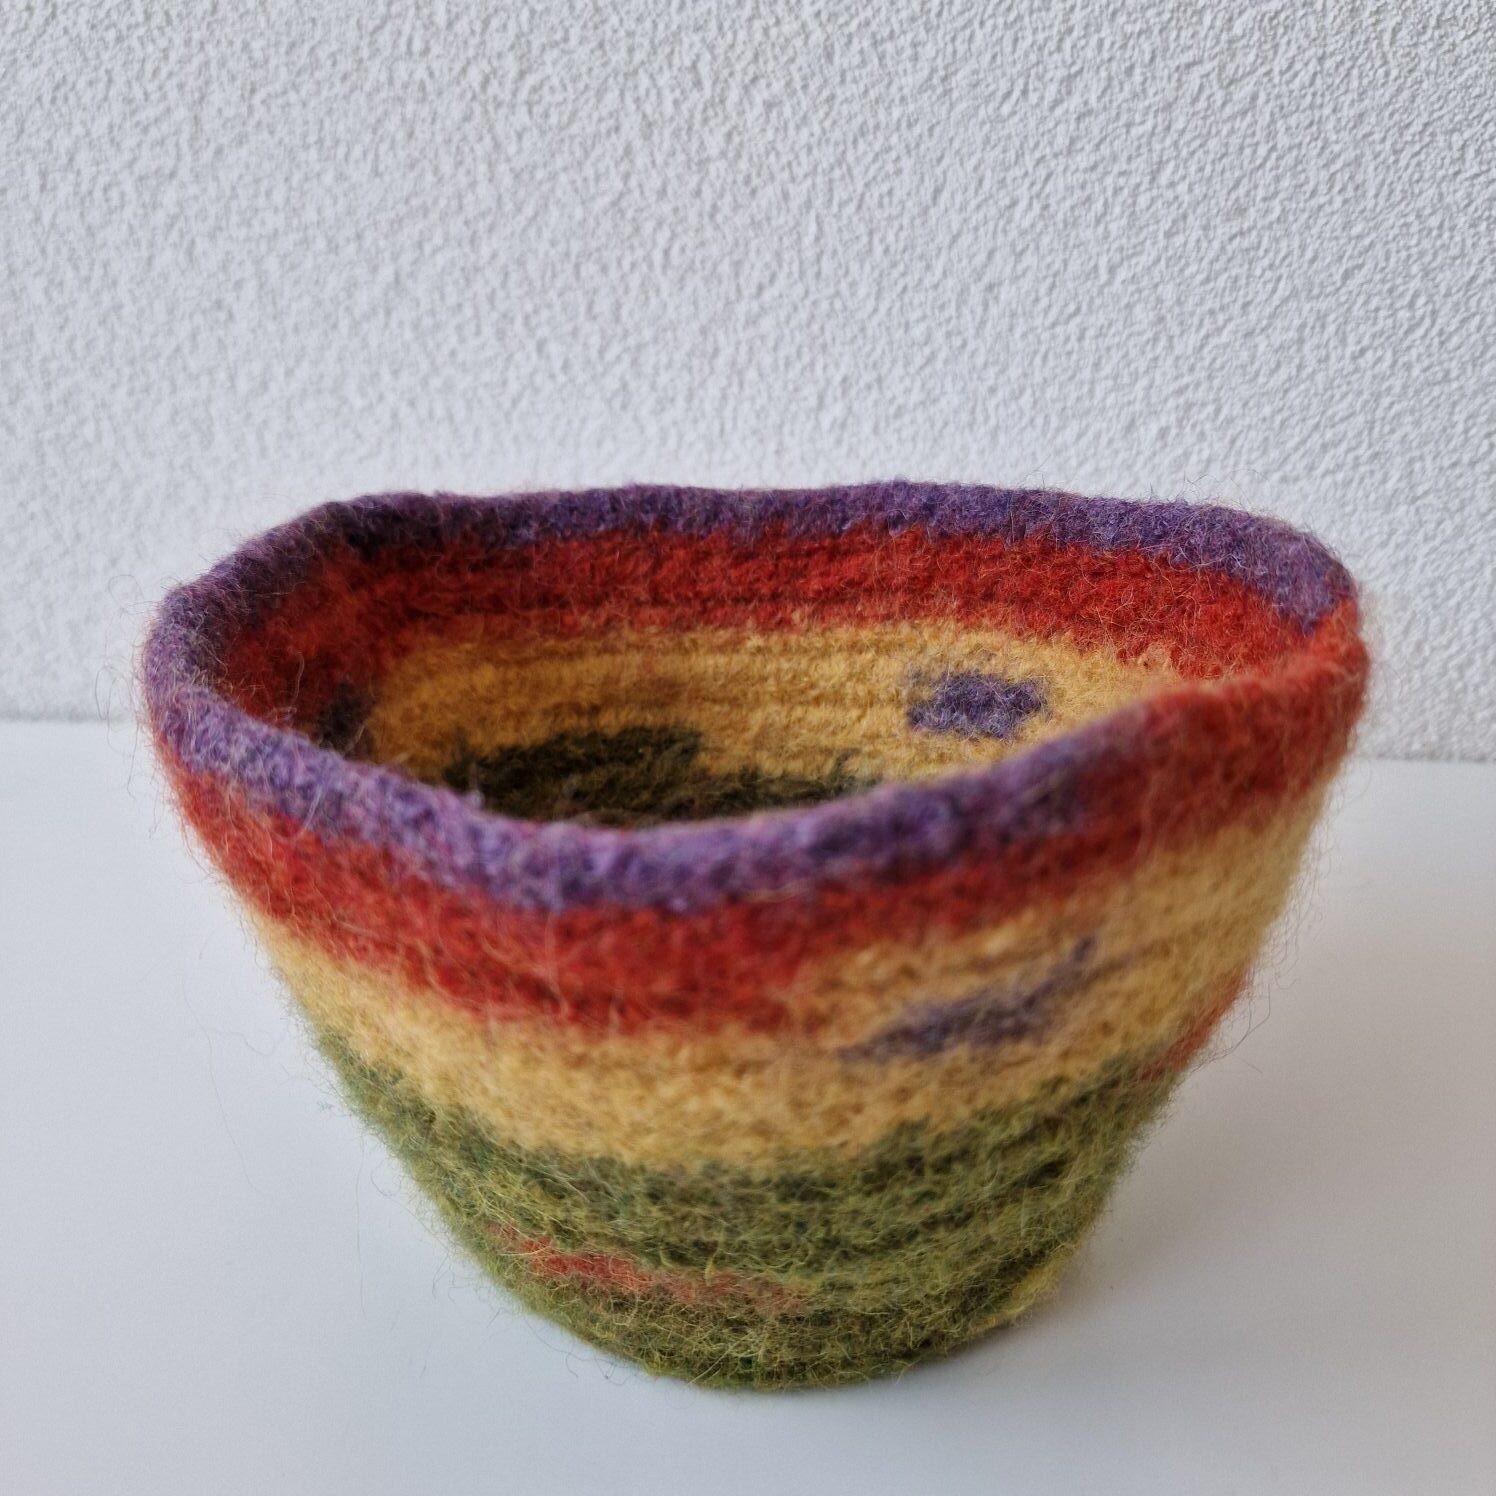
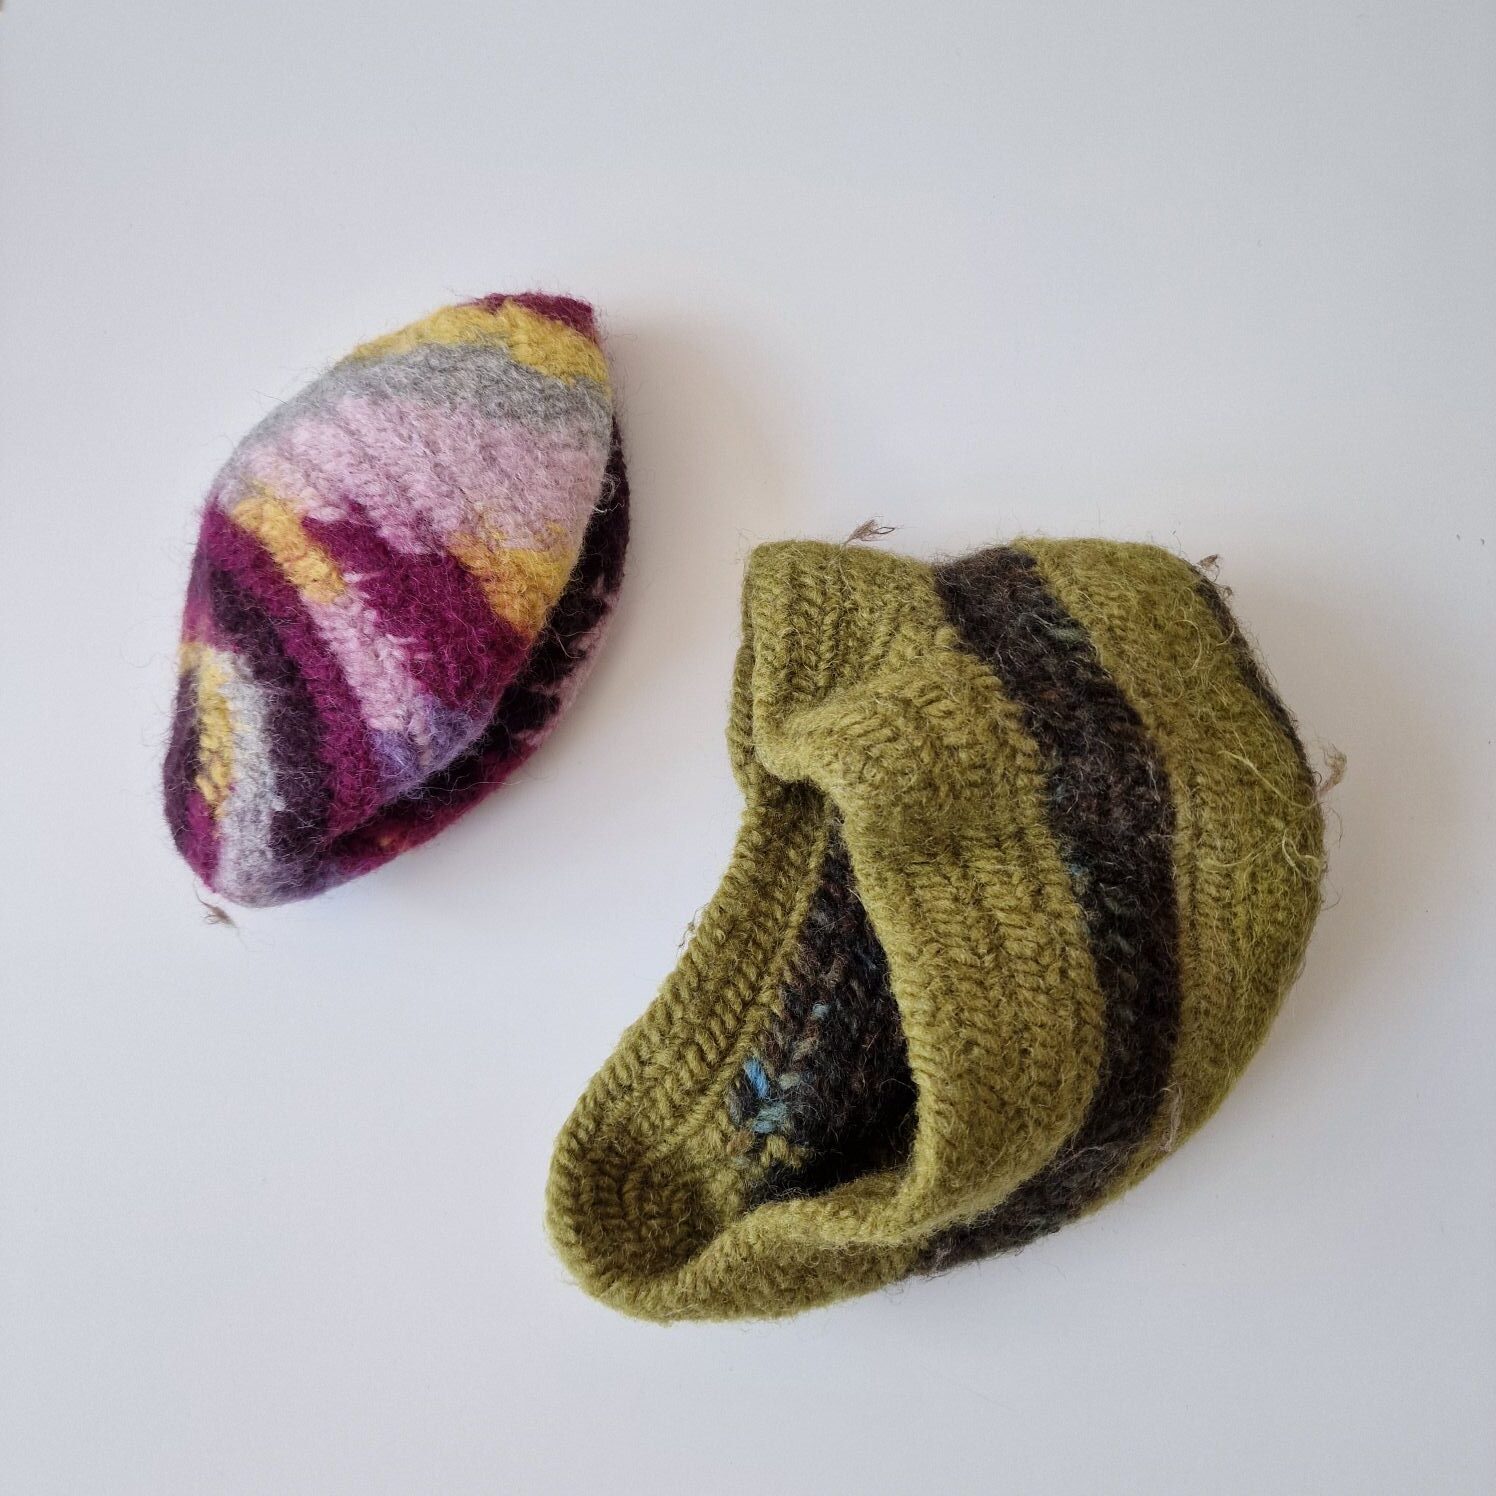
Felting with the washing machine to make the stained glass project was a lot of work, but it was great fun to discover that you can create a new fabric this way. And then two more old hats went into the washing machine with the following result. The green hat is 100% wool.
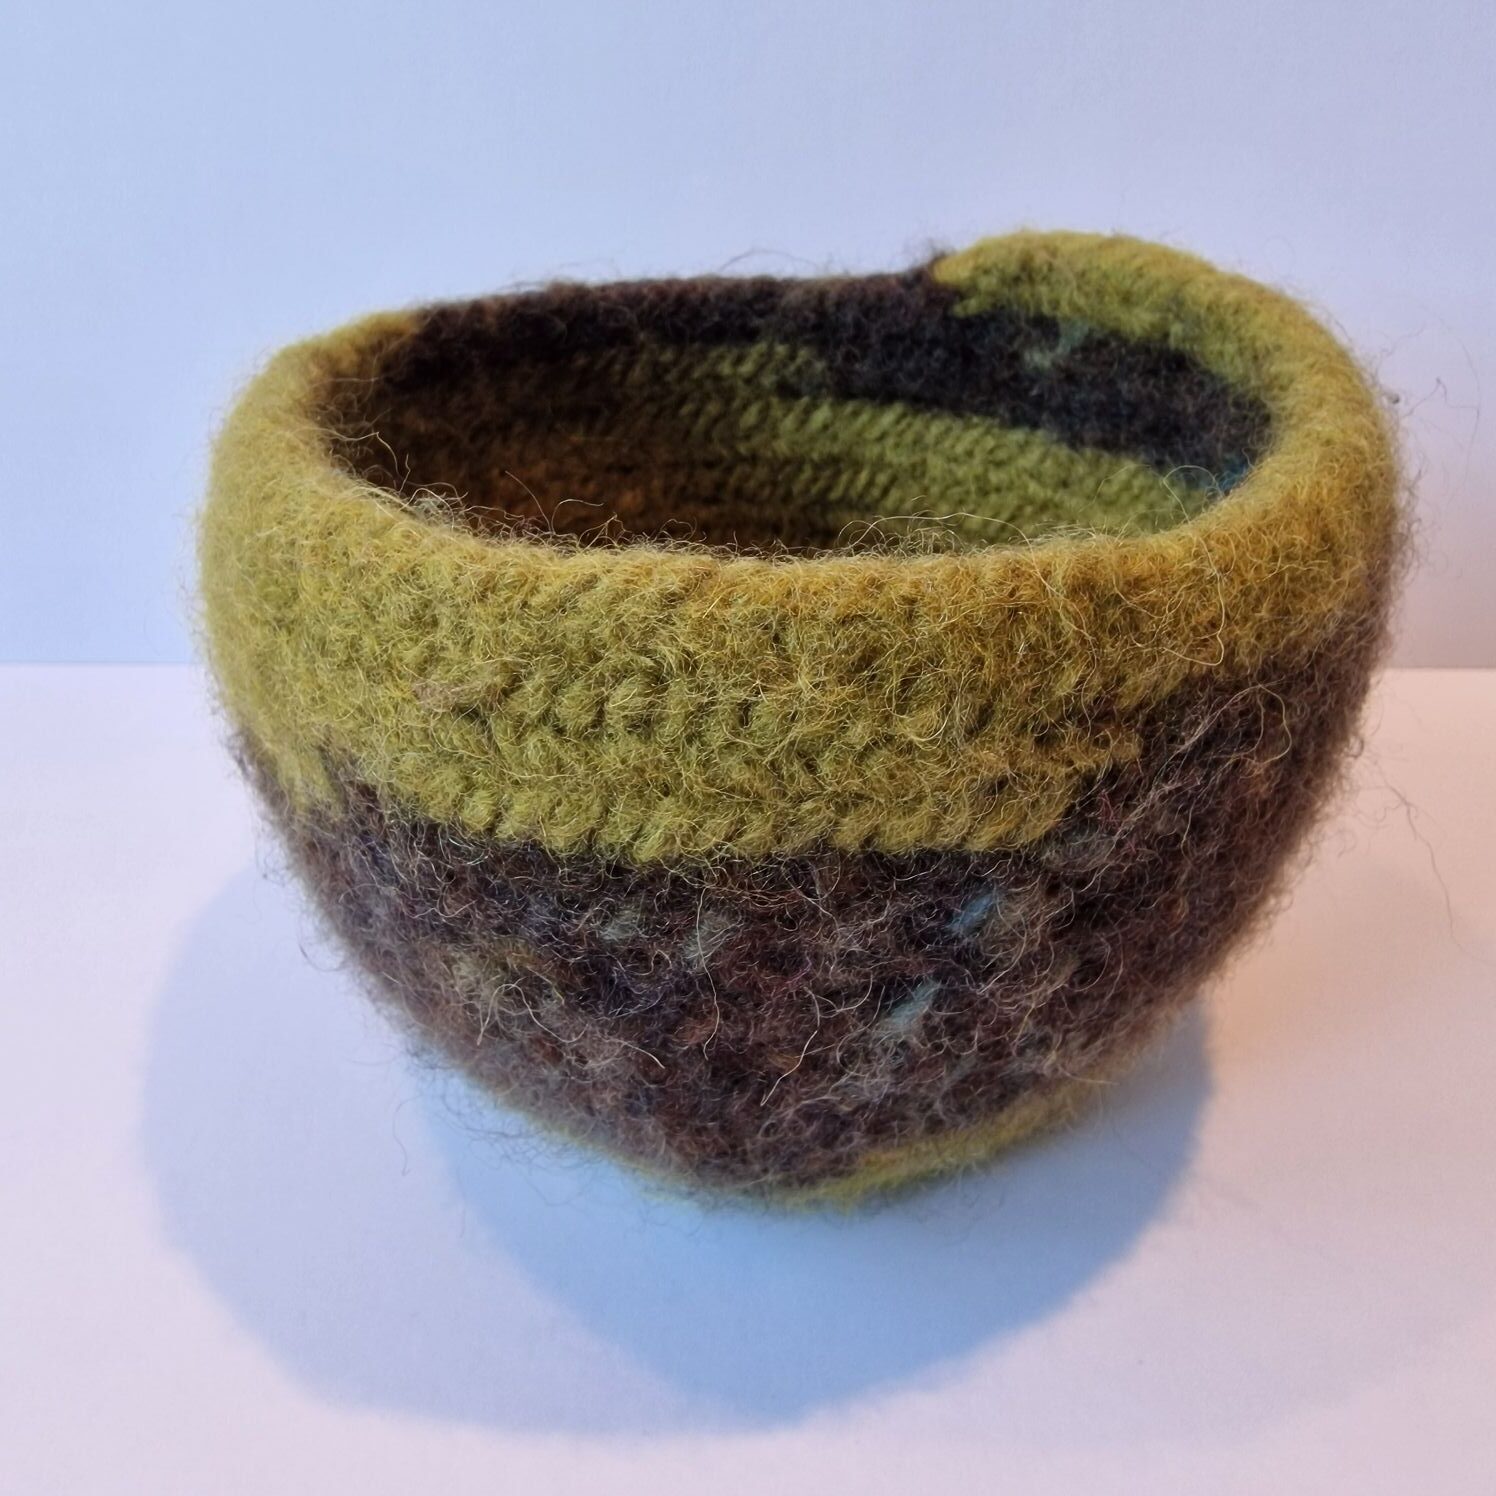
The mottled hat is made of 65% wool and 35% alpaca.
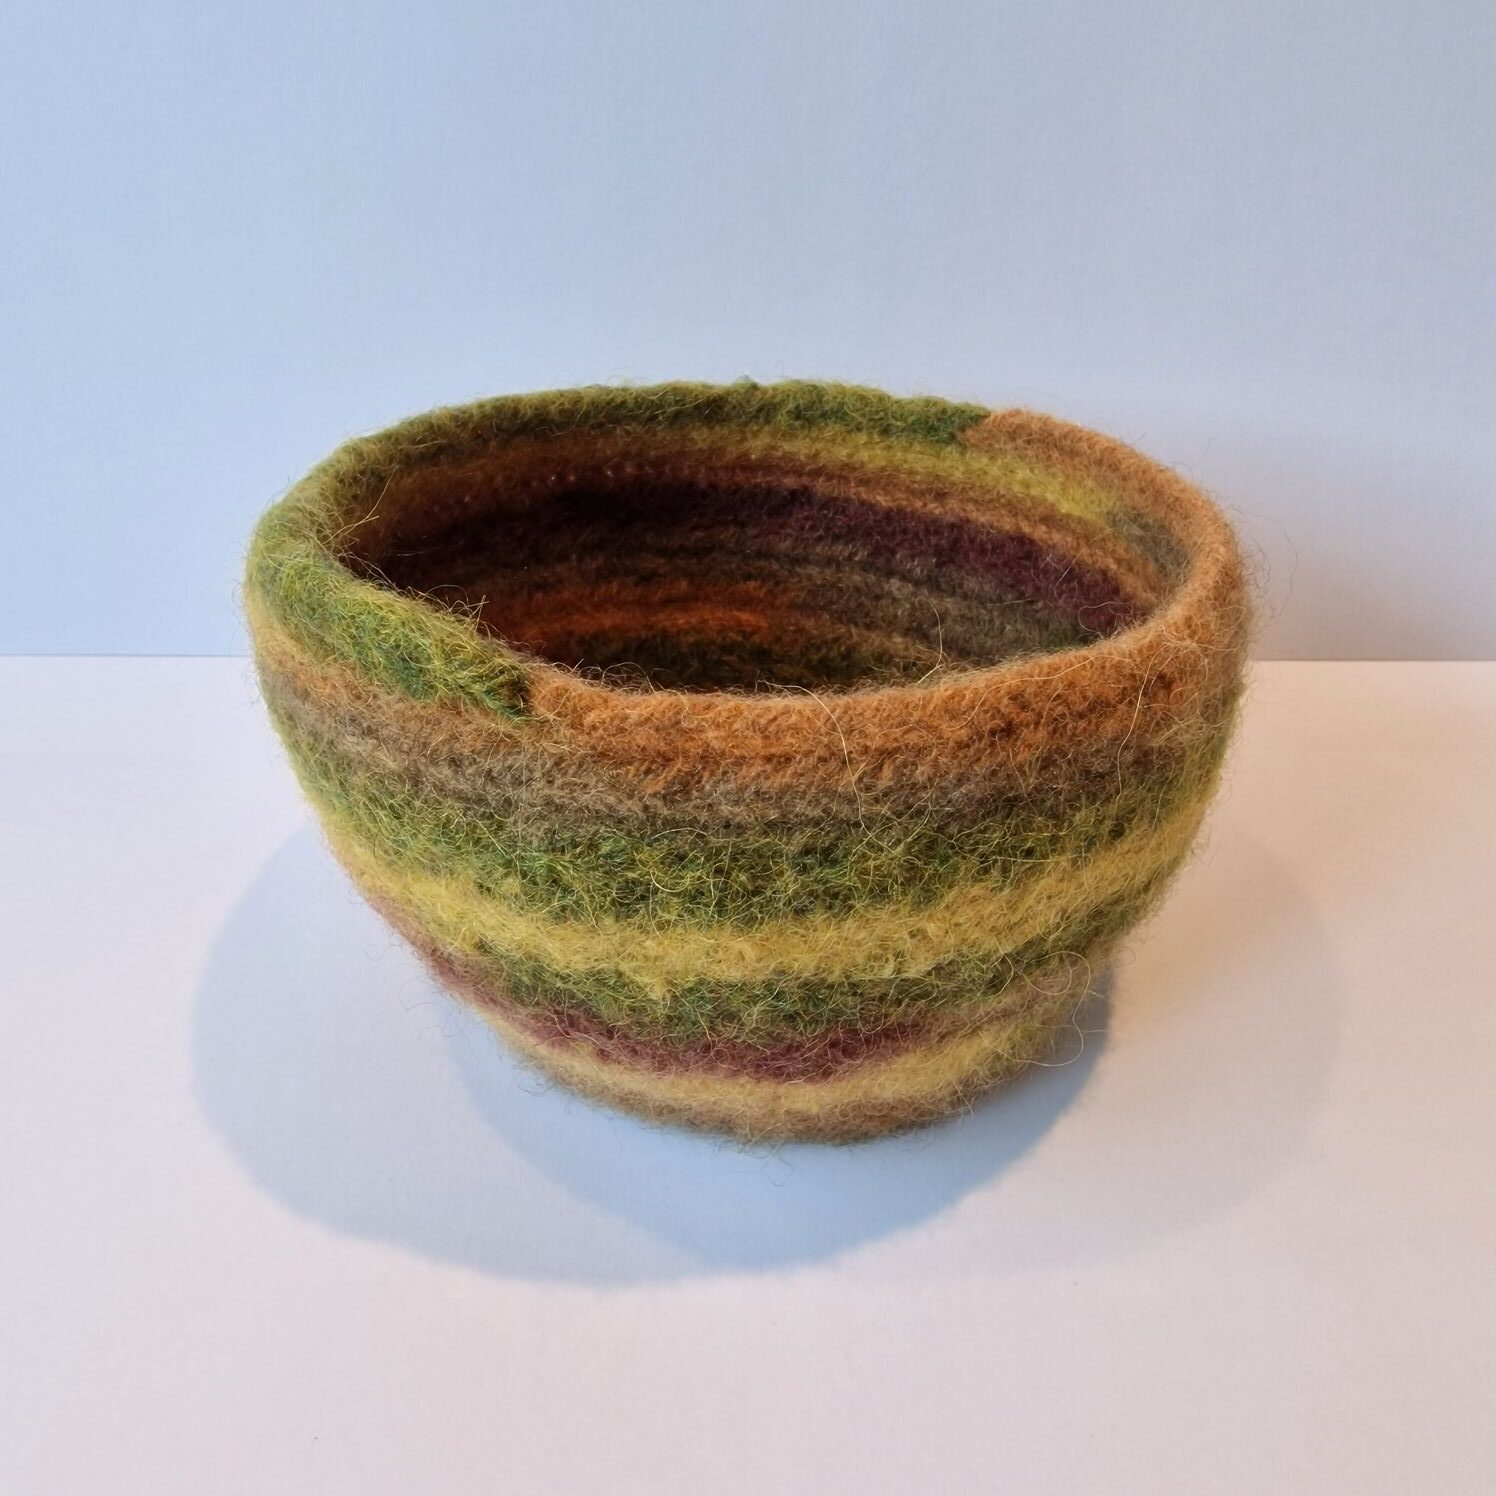
I find the mottled hat very beautiful; the soft colors blend nicely into the shape. This lovely surprise came about by accident, and now I want to needle-bind more objects specifically to subsequently felt them.
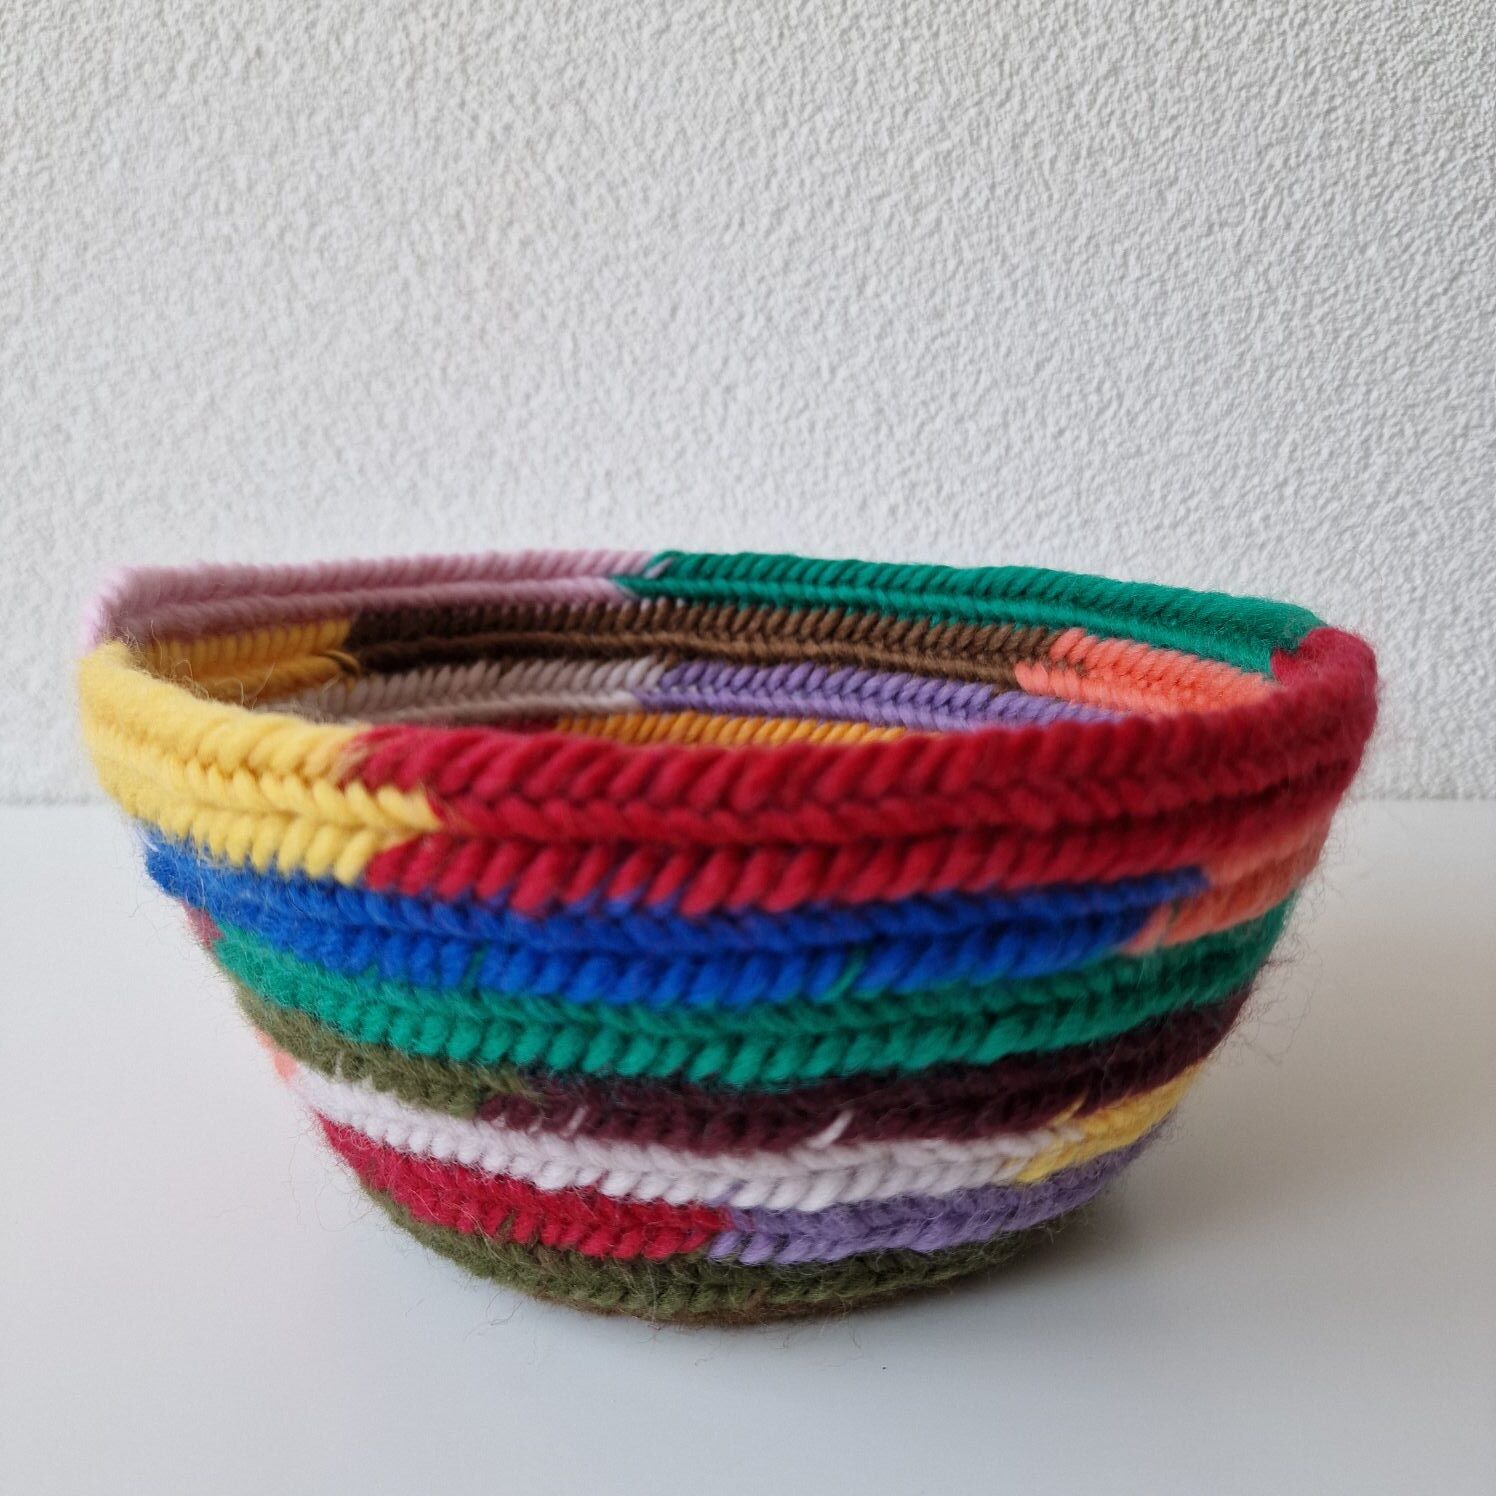
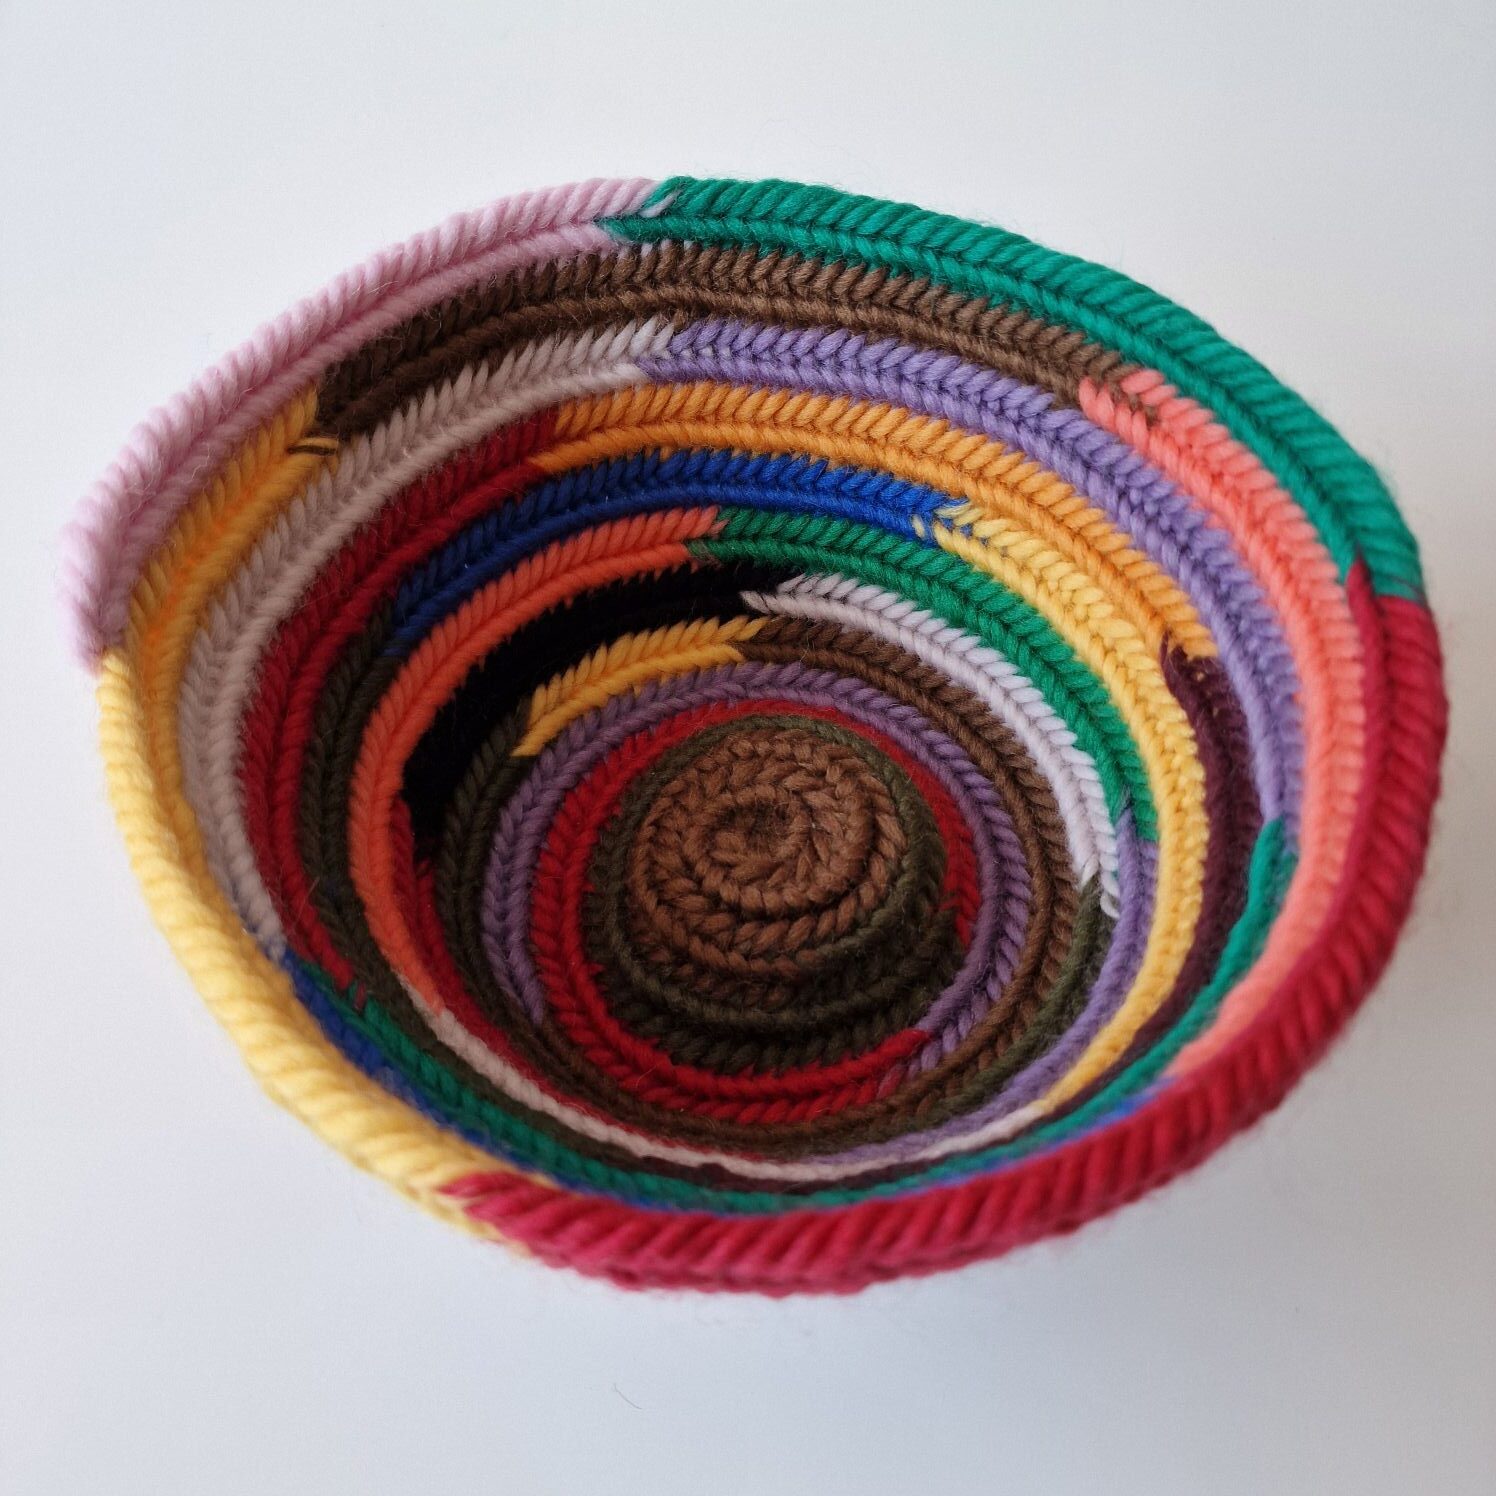
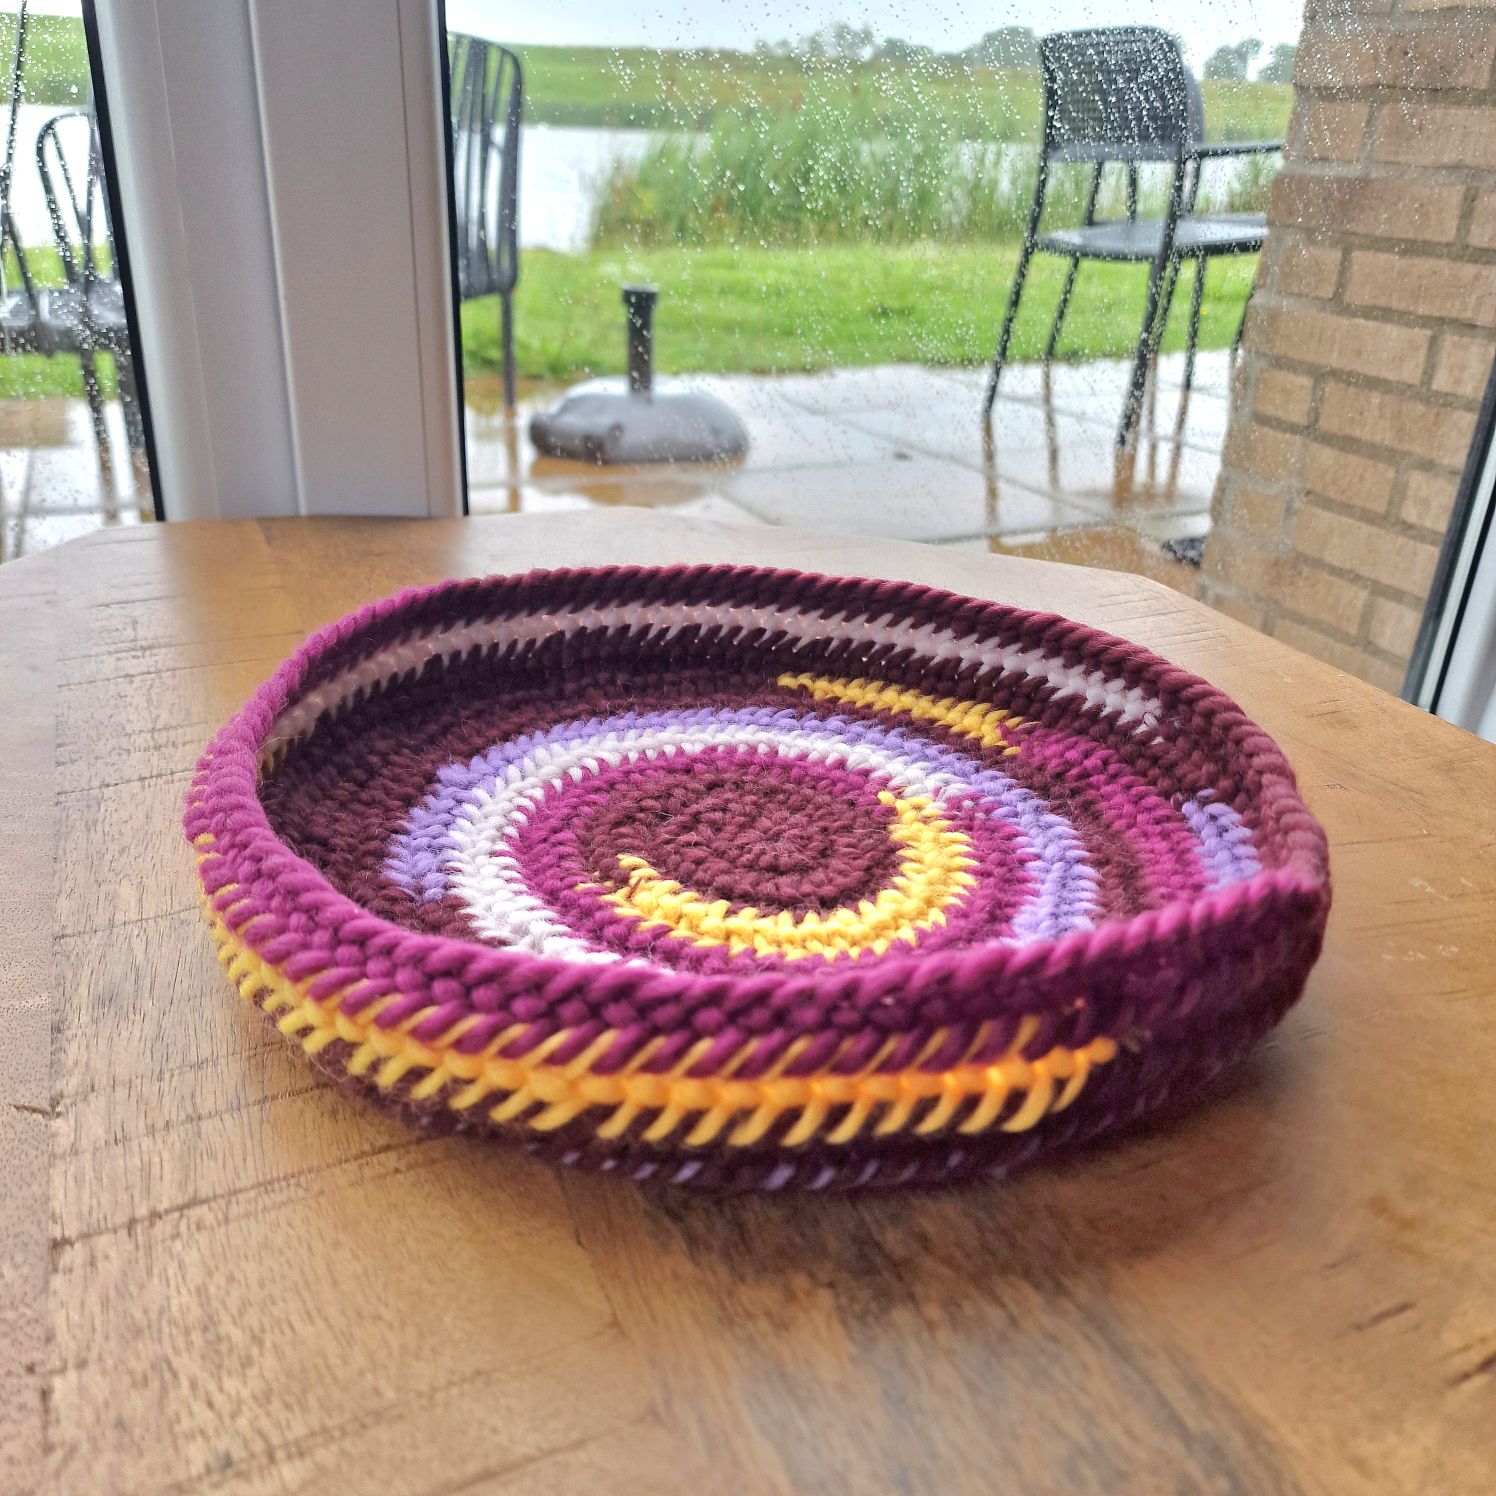
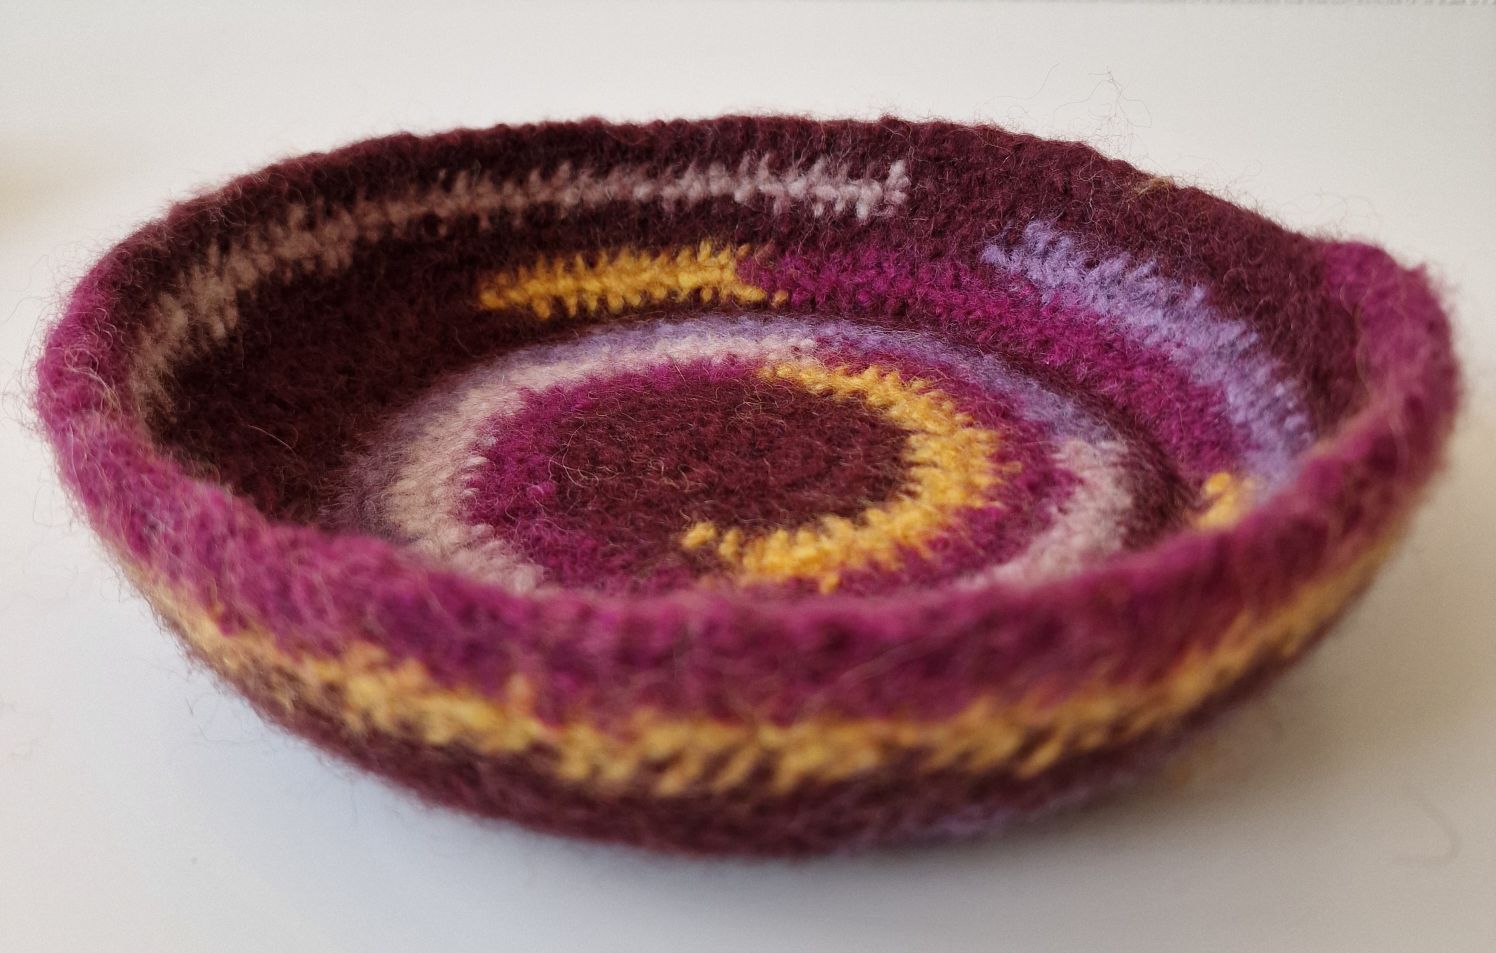
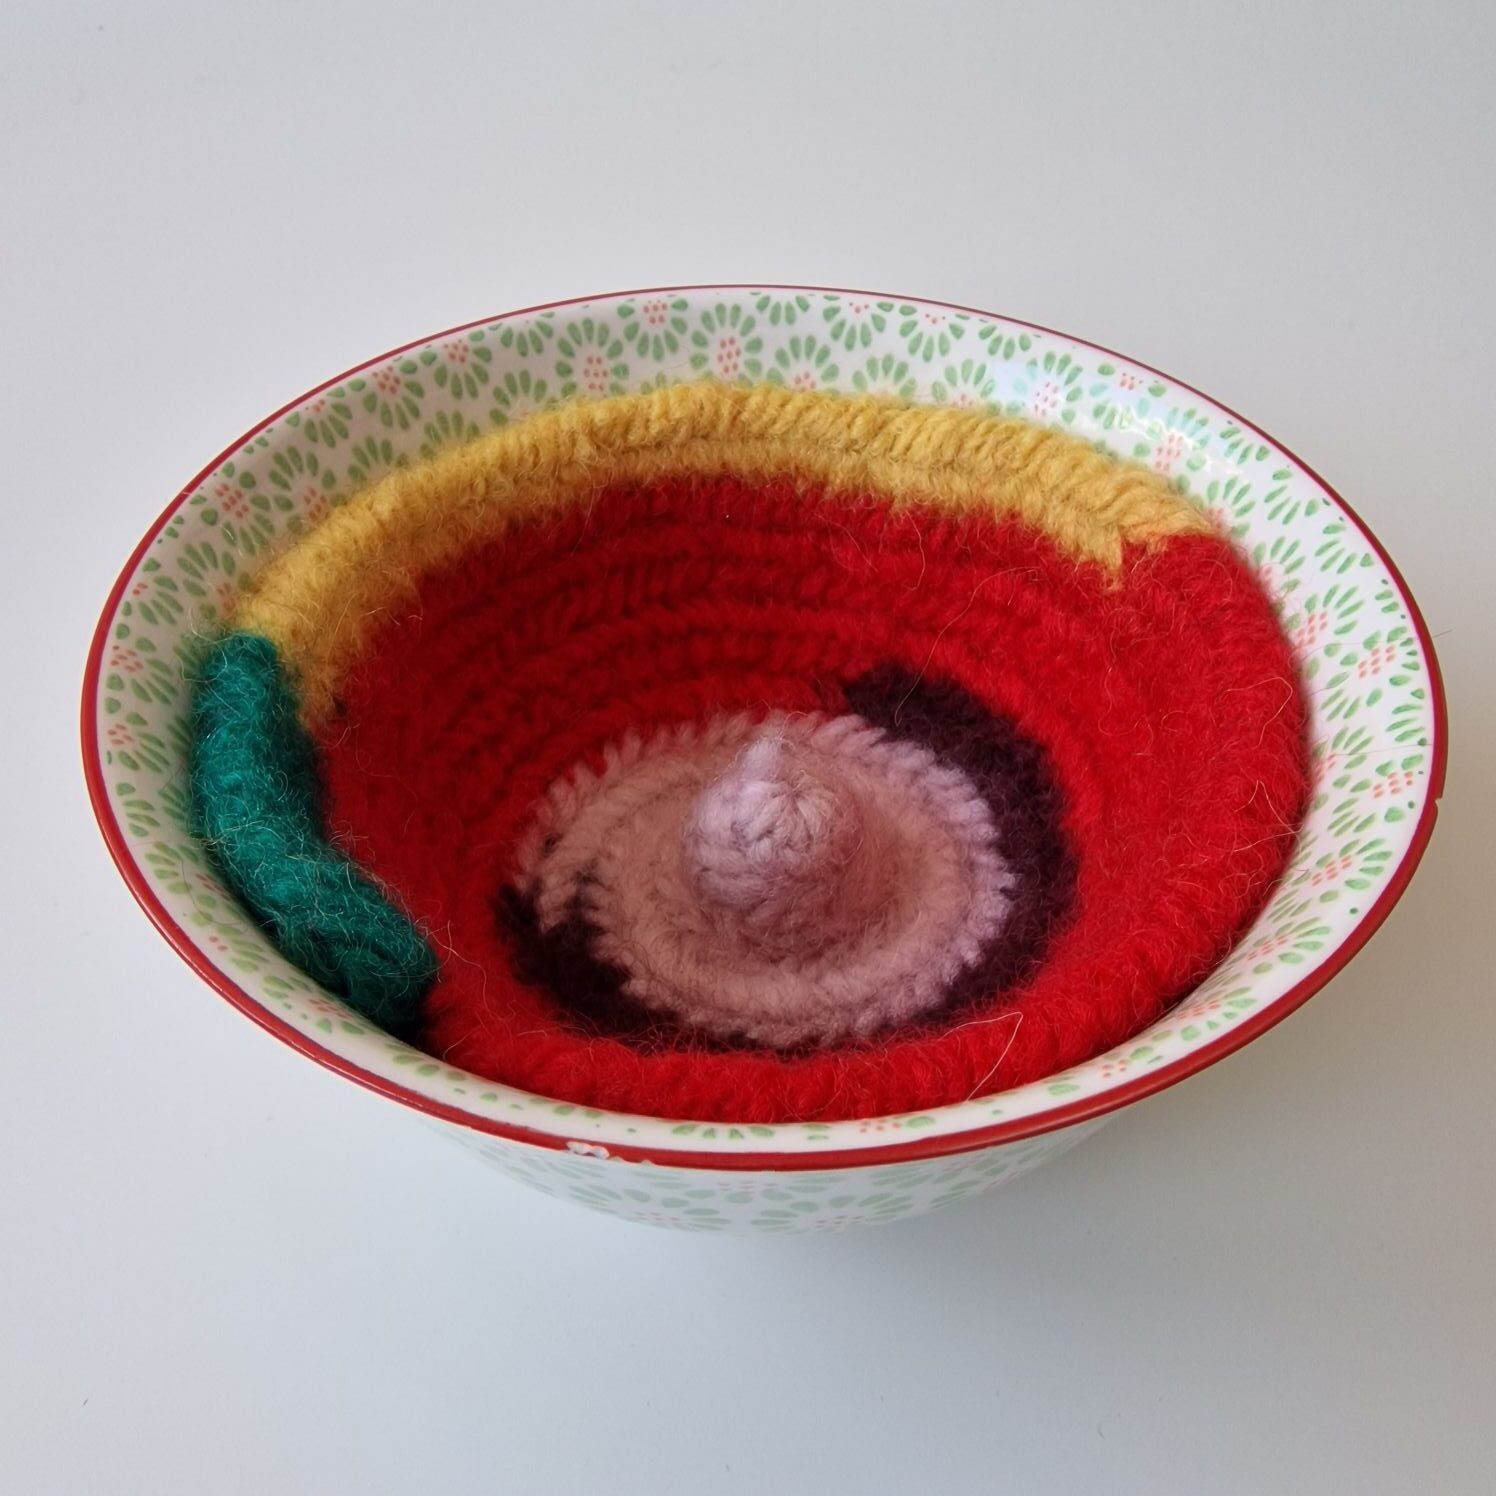
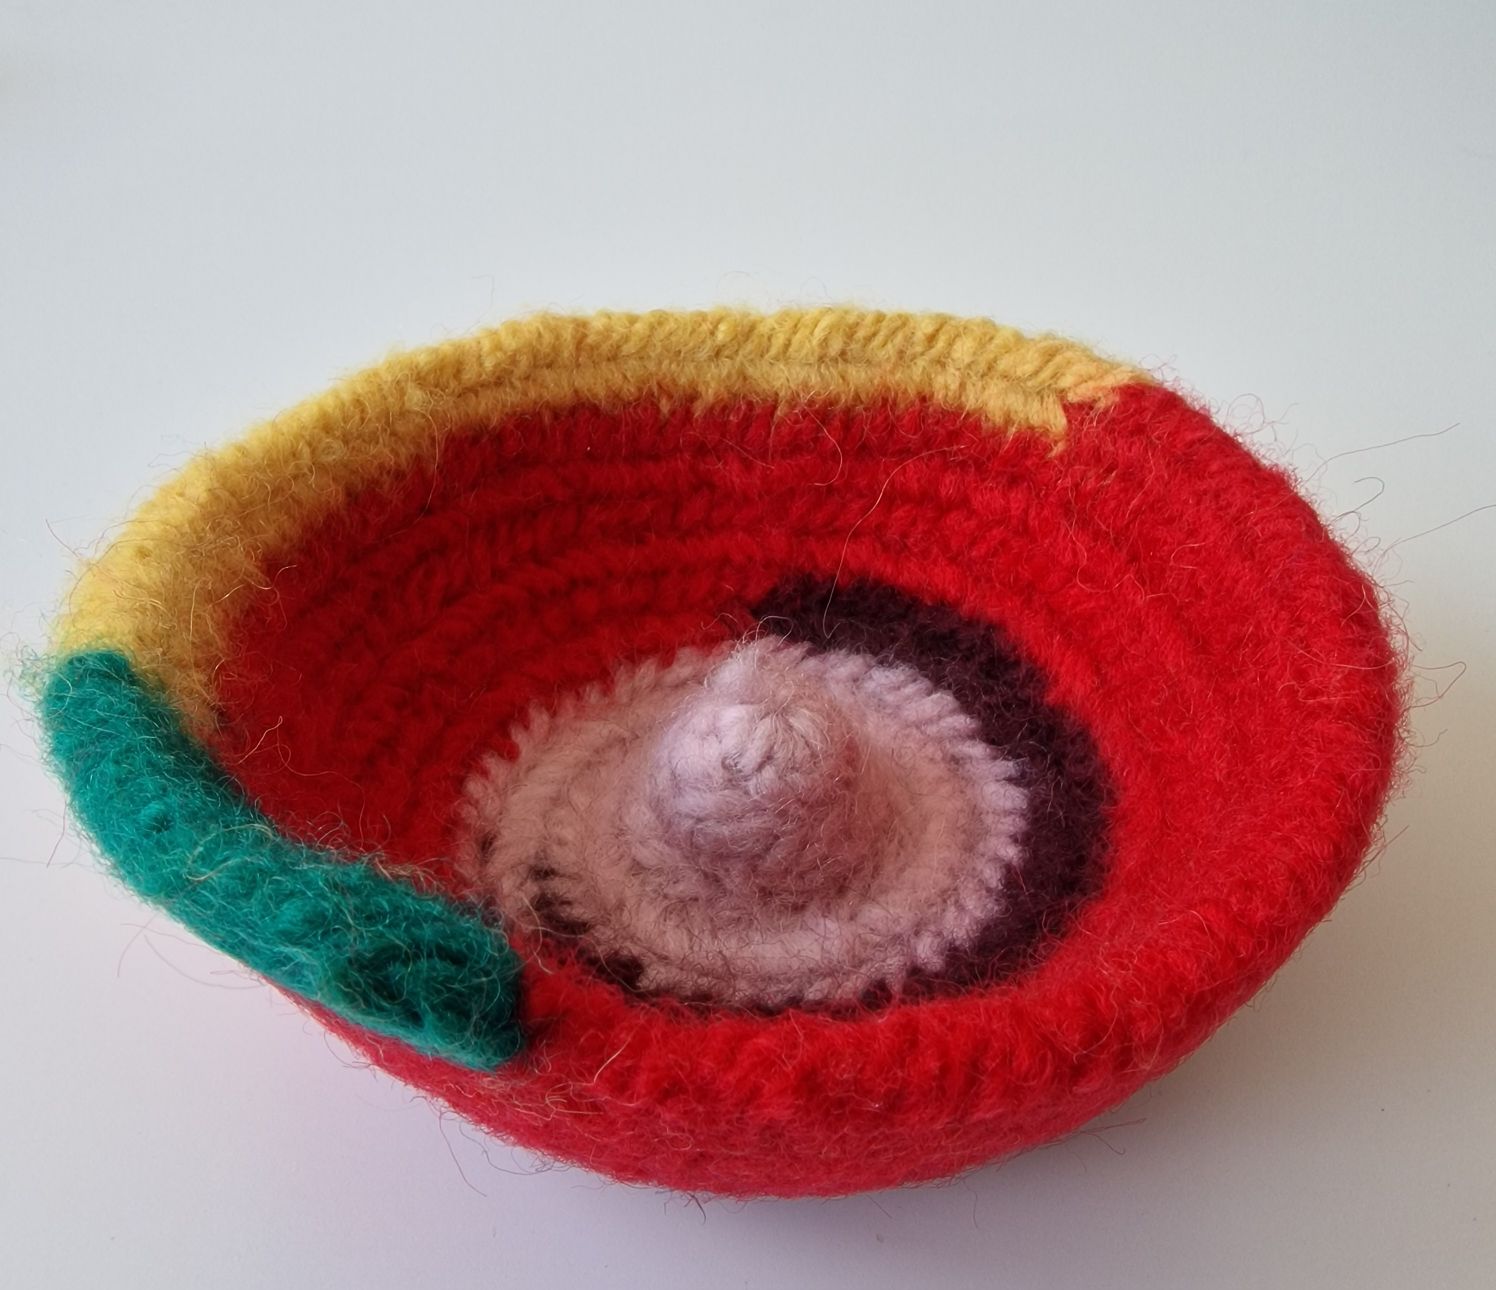
This bowl is needlebind with natural 100% wool, and I started with 12 stitches. The stitch is the Finnish stitch 2+2, and the connection stitch is F2. In the chapter: A Beanie and also (with ear flaps) and a Hat, you can see how to start in the round, and there is also a video available. The pattern: Cast on 12 Finnish stitches and start in the round. 1st round: increase all stitches. 2nd round: stitch normal, increase 2nd. 3rd round: 2 stitches normal and increase 3rd stitch. 4th round: 3 stitches normal and increase 4th stitch; repeat this pattern up to 6 stitches normal and increase 7th stitch. Then the next round: all stitches normal. After this, 7 stitches normal and increase 8th stitch. Then the next round: all stitches normal. Next round: 8 stitches normal and increase 9th stitch. And then the next round: all stitches normal. This is how I made the bowl, but you can always make it larger.
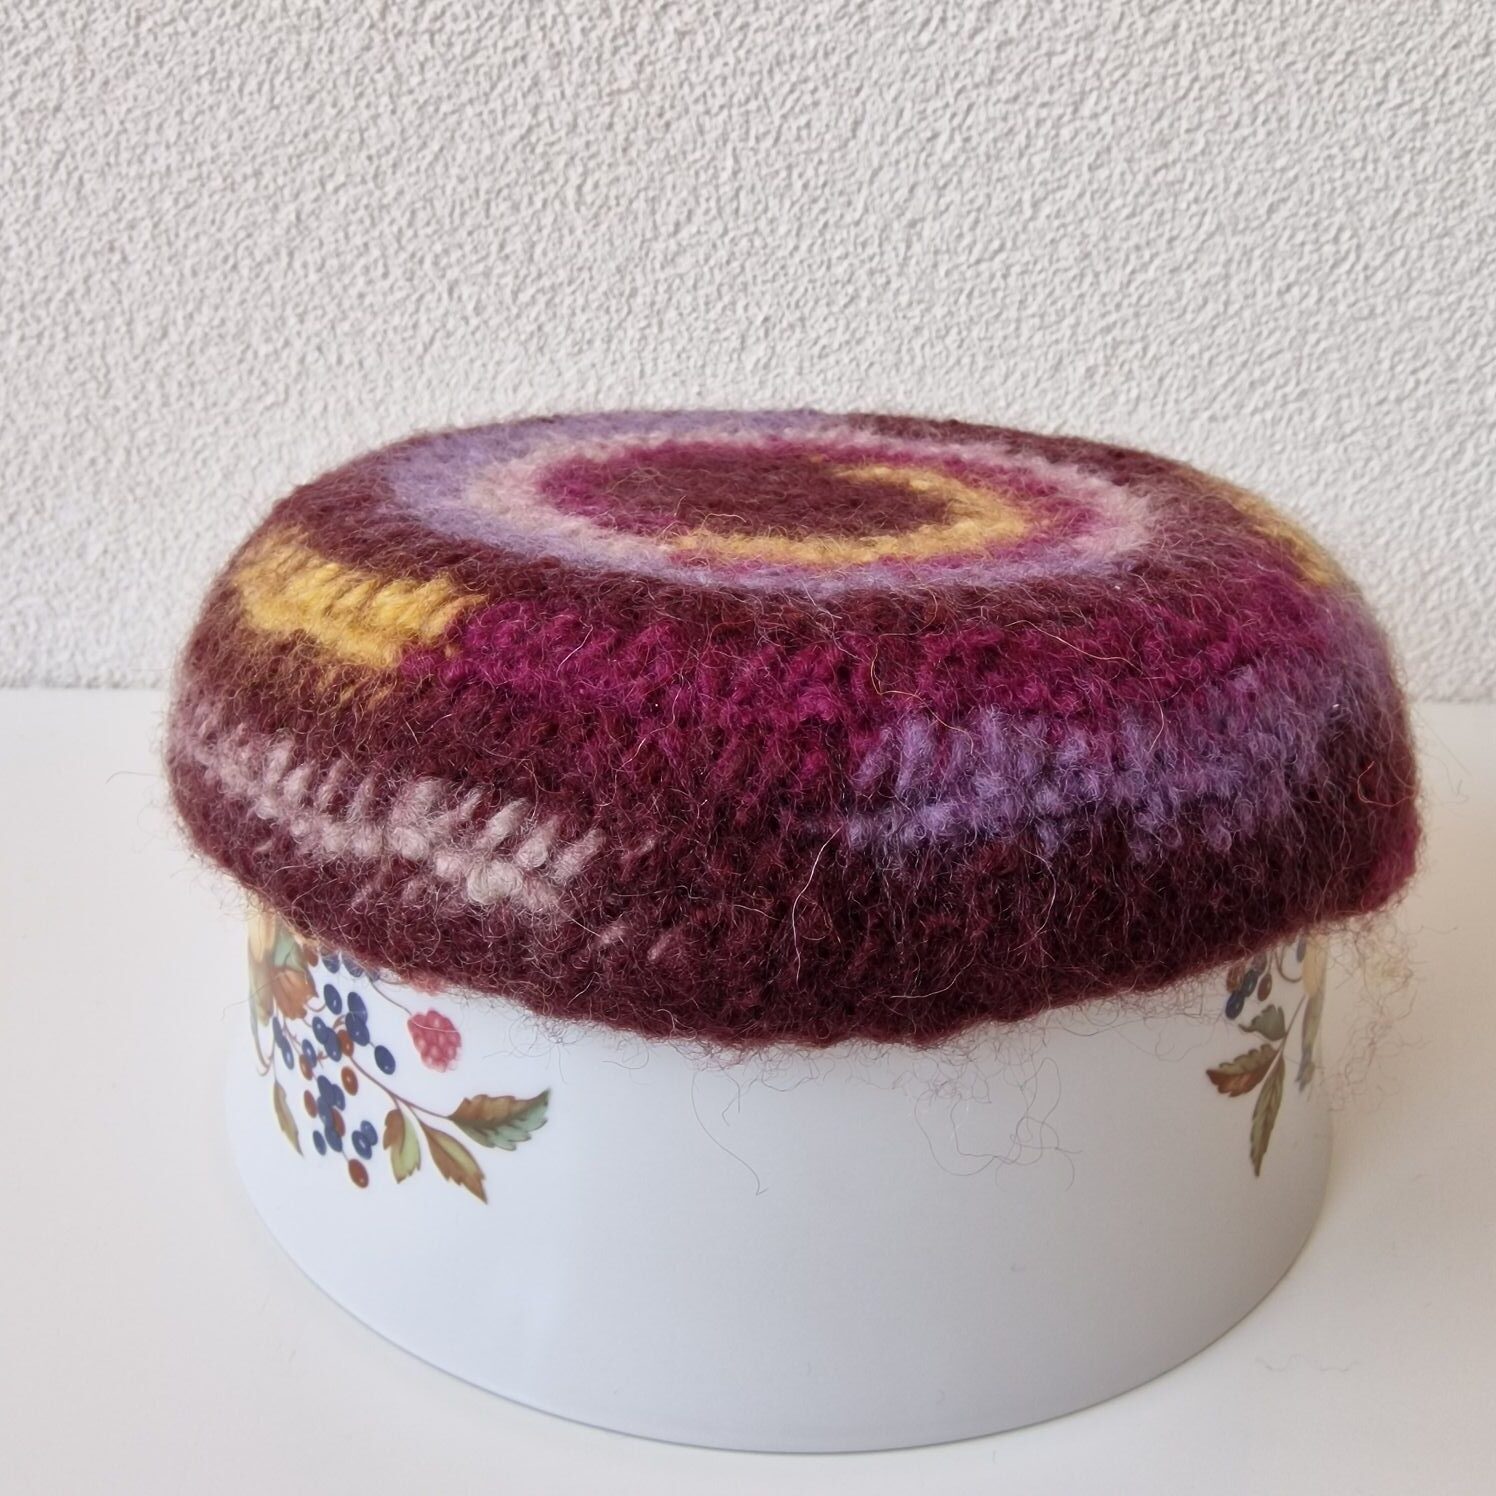
To make the shape of the bowl, I use what I have at home, a plant pot or a bowl. When the wash cycle is finished, I immediately remove the still-damp objects and fold them around the household molds.
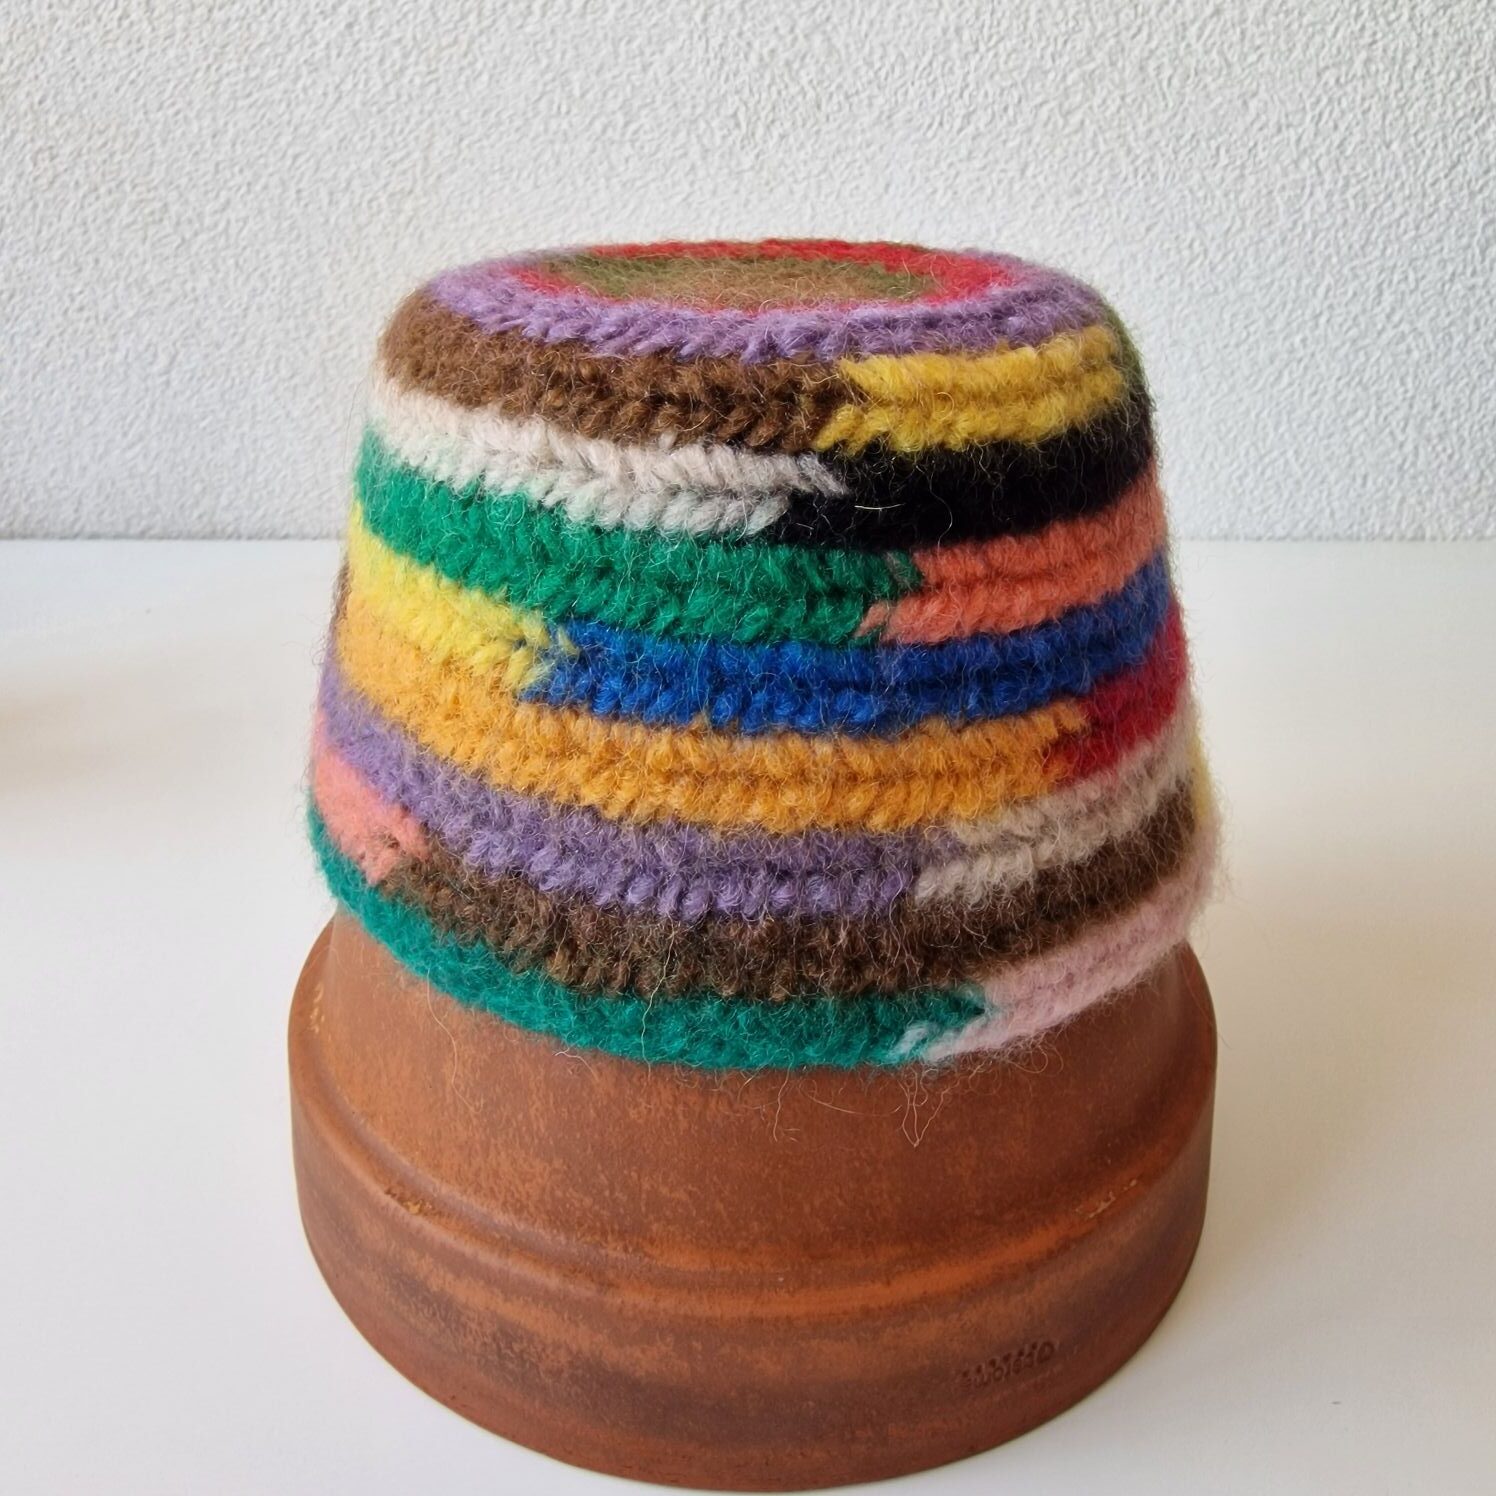
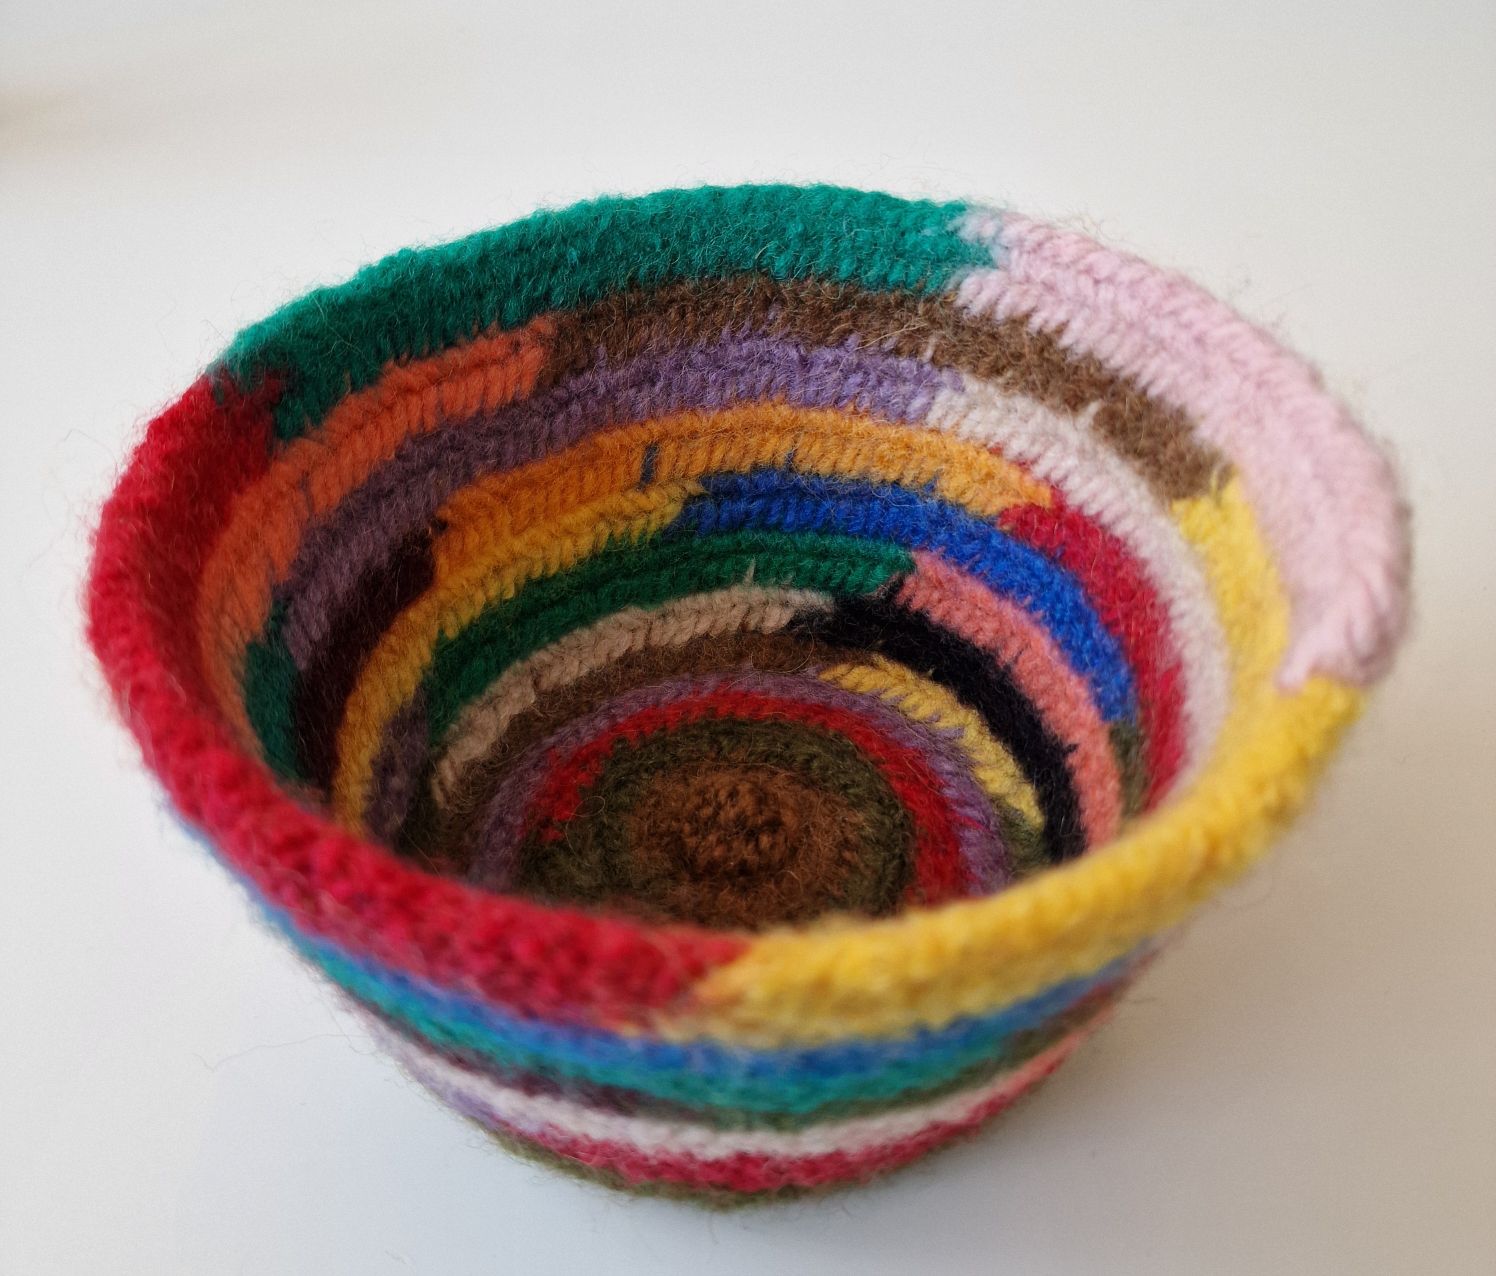
And then I also had a pair of failed socks that I just put in the washing machine as well.
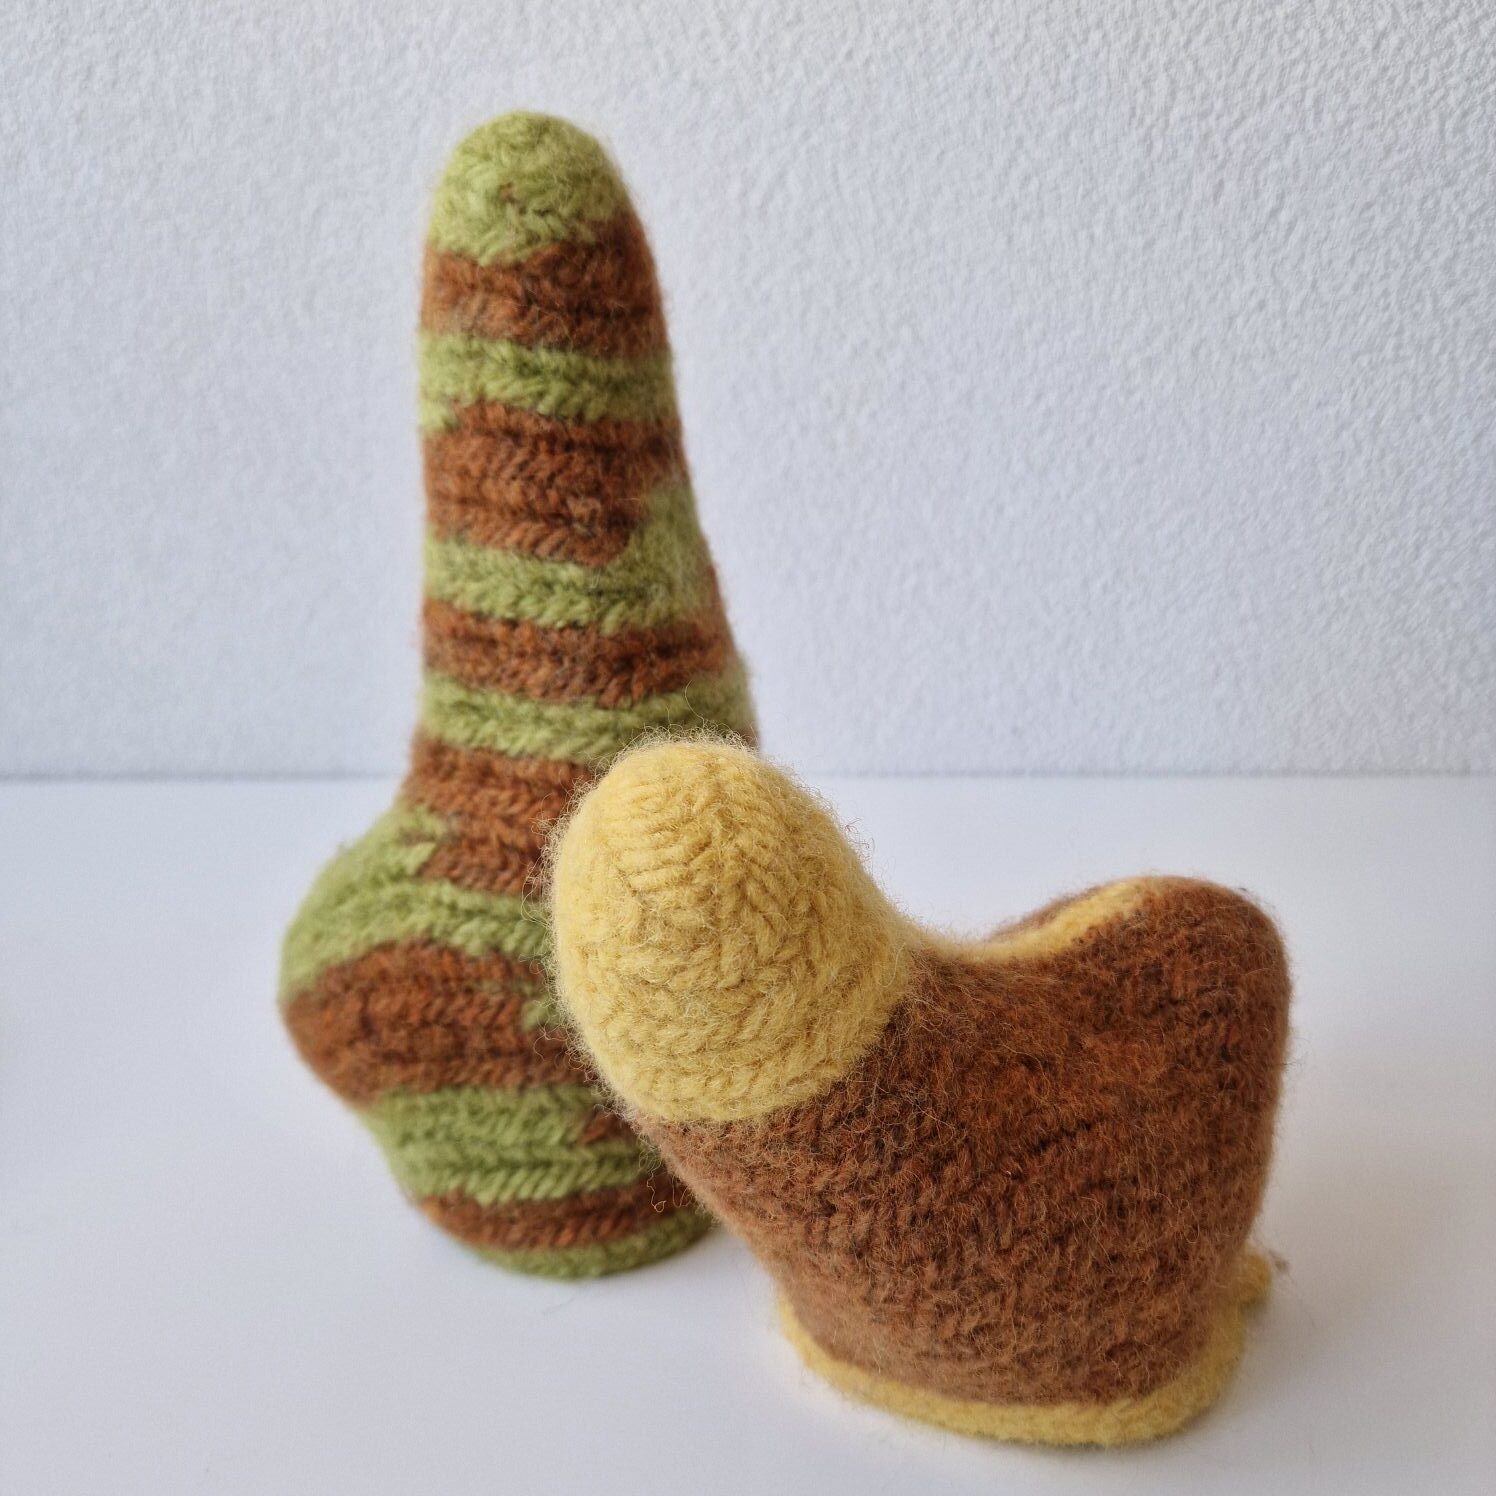
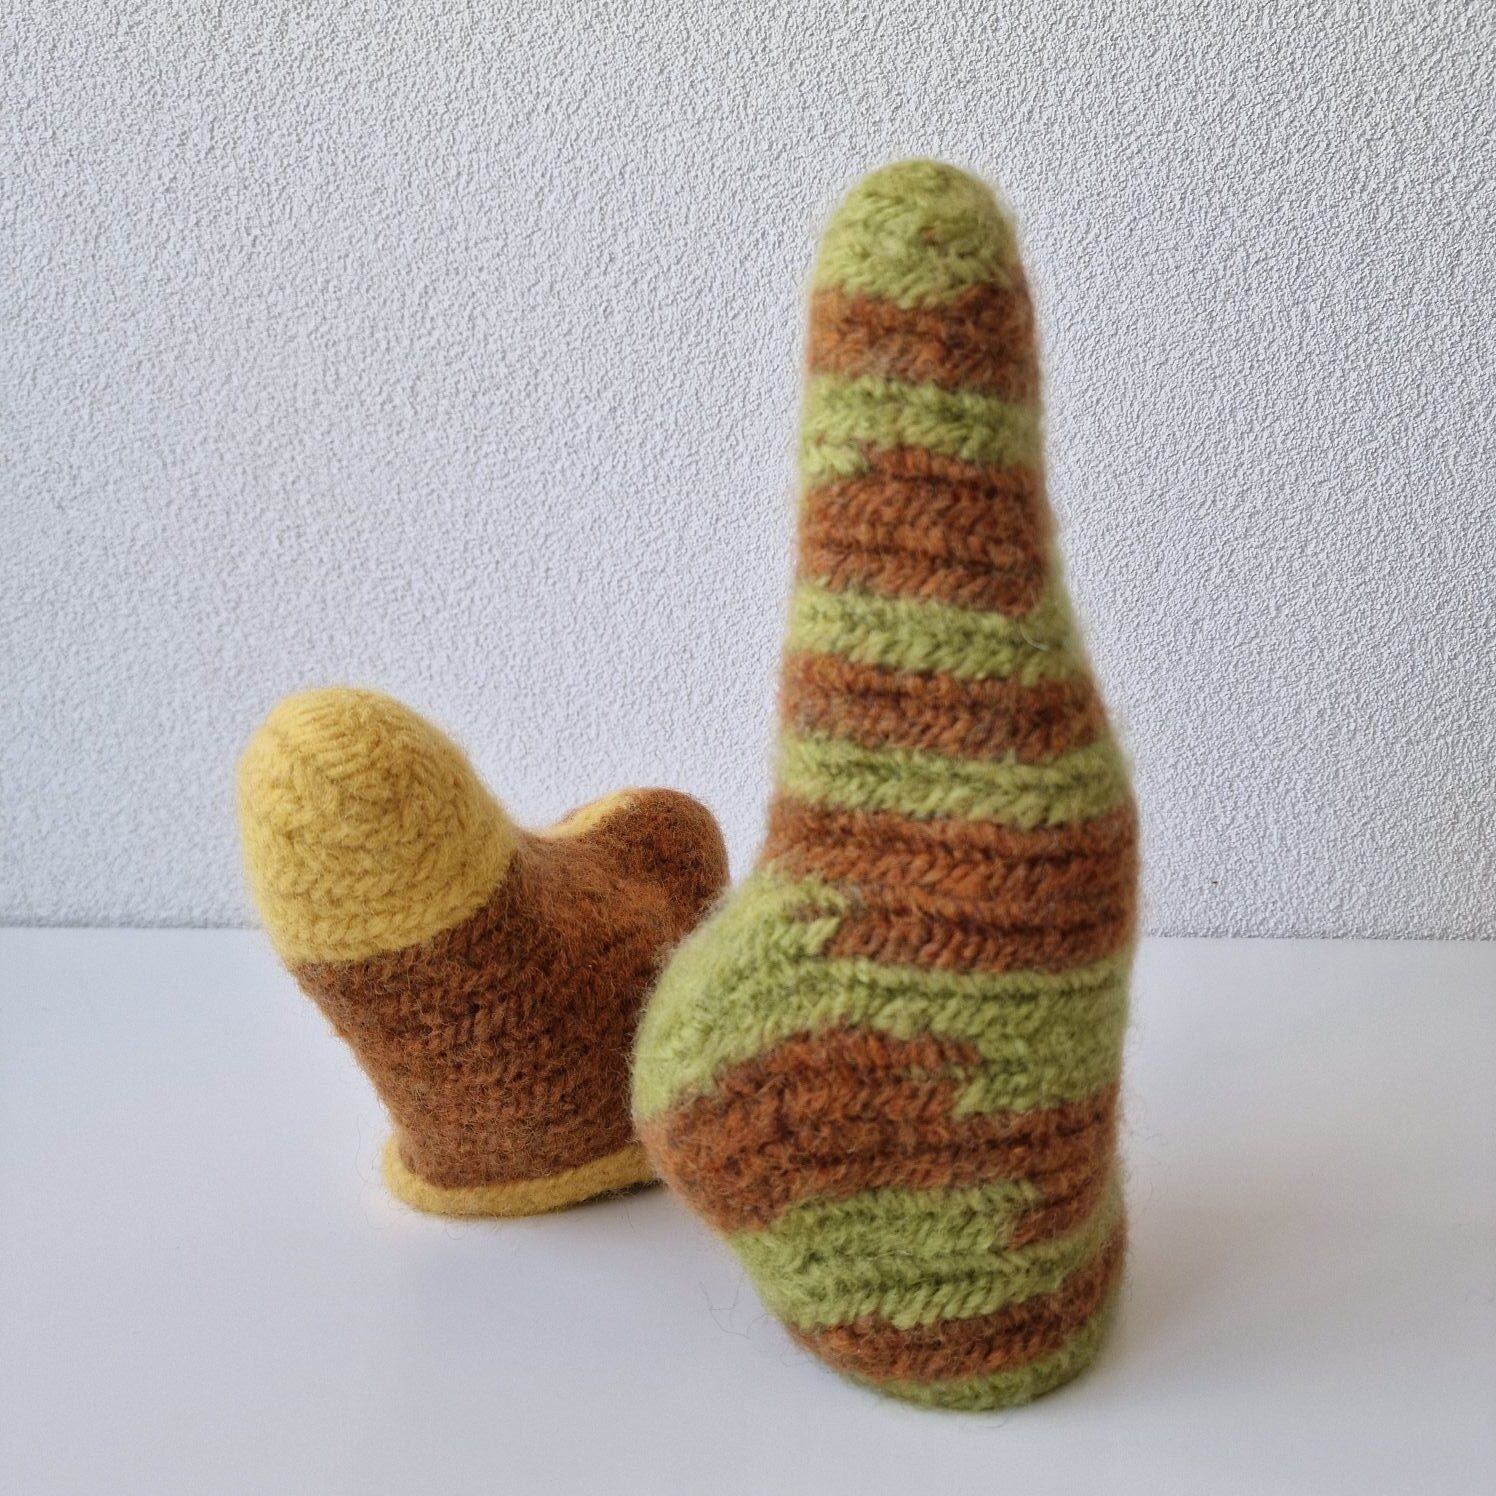
I find these soft, round shapes beautiful and they serve as inspiration for more shape ideas that connect with my other hobby as aI find these soft, round shapes beautiful and they serve as inspiration for more shape ideas that connect with my other hobby as a sculptor

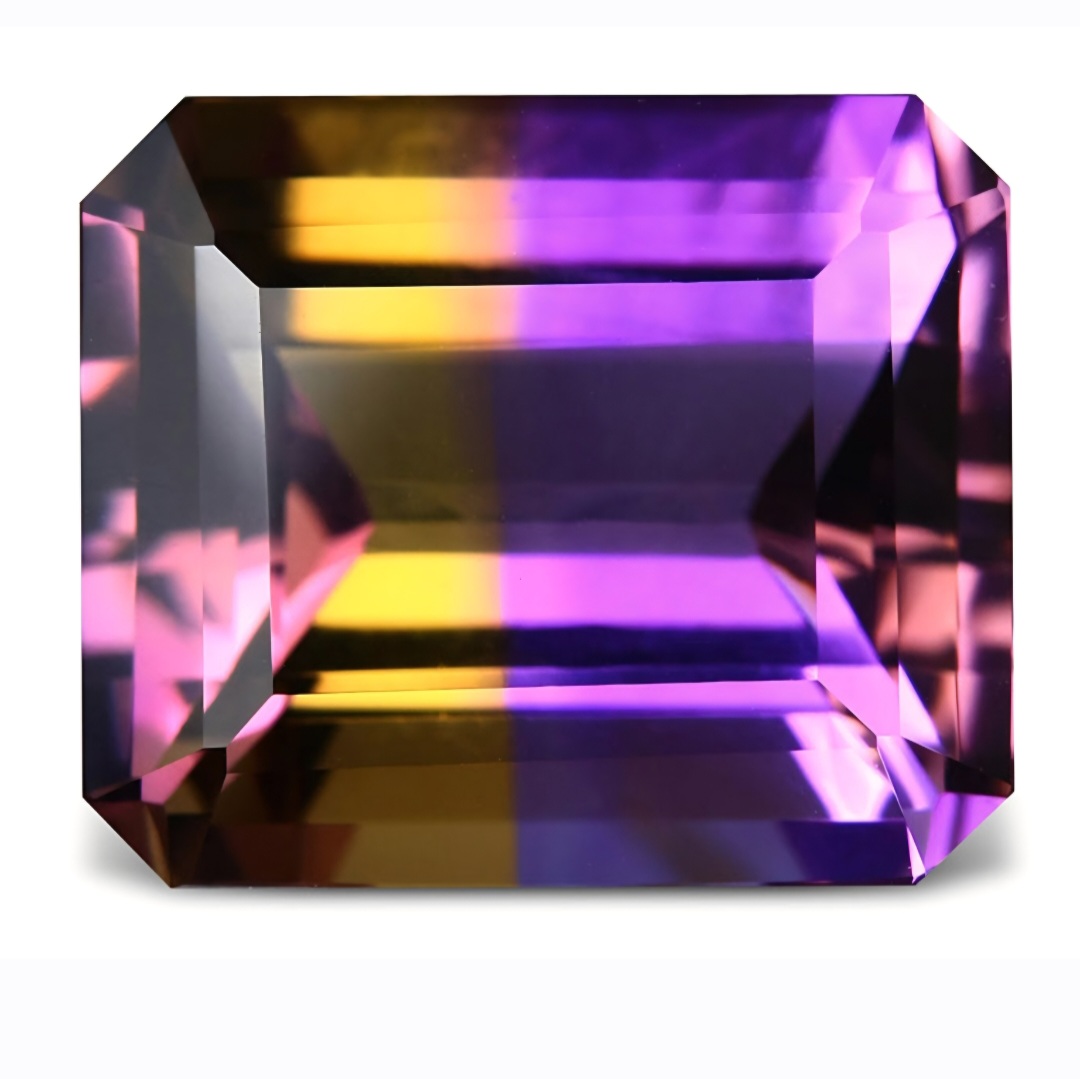
This stone is called ametrine a combination of amethyst and citrine and its beautiful color combination serves as the inspiration for the next object.
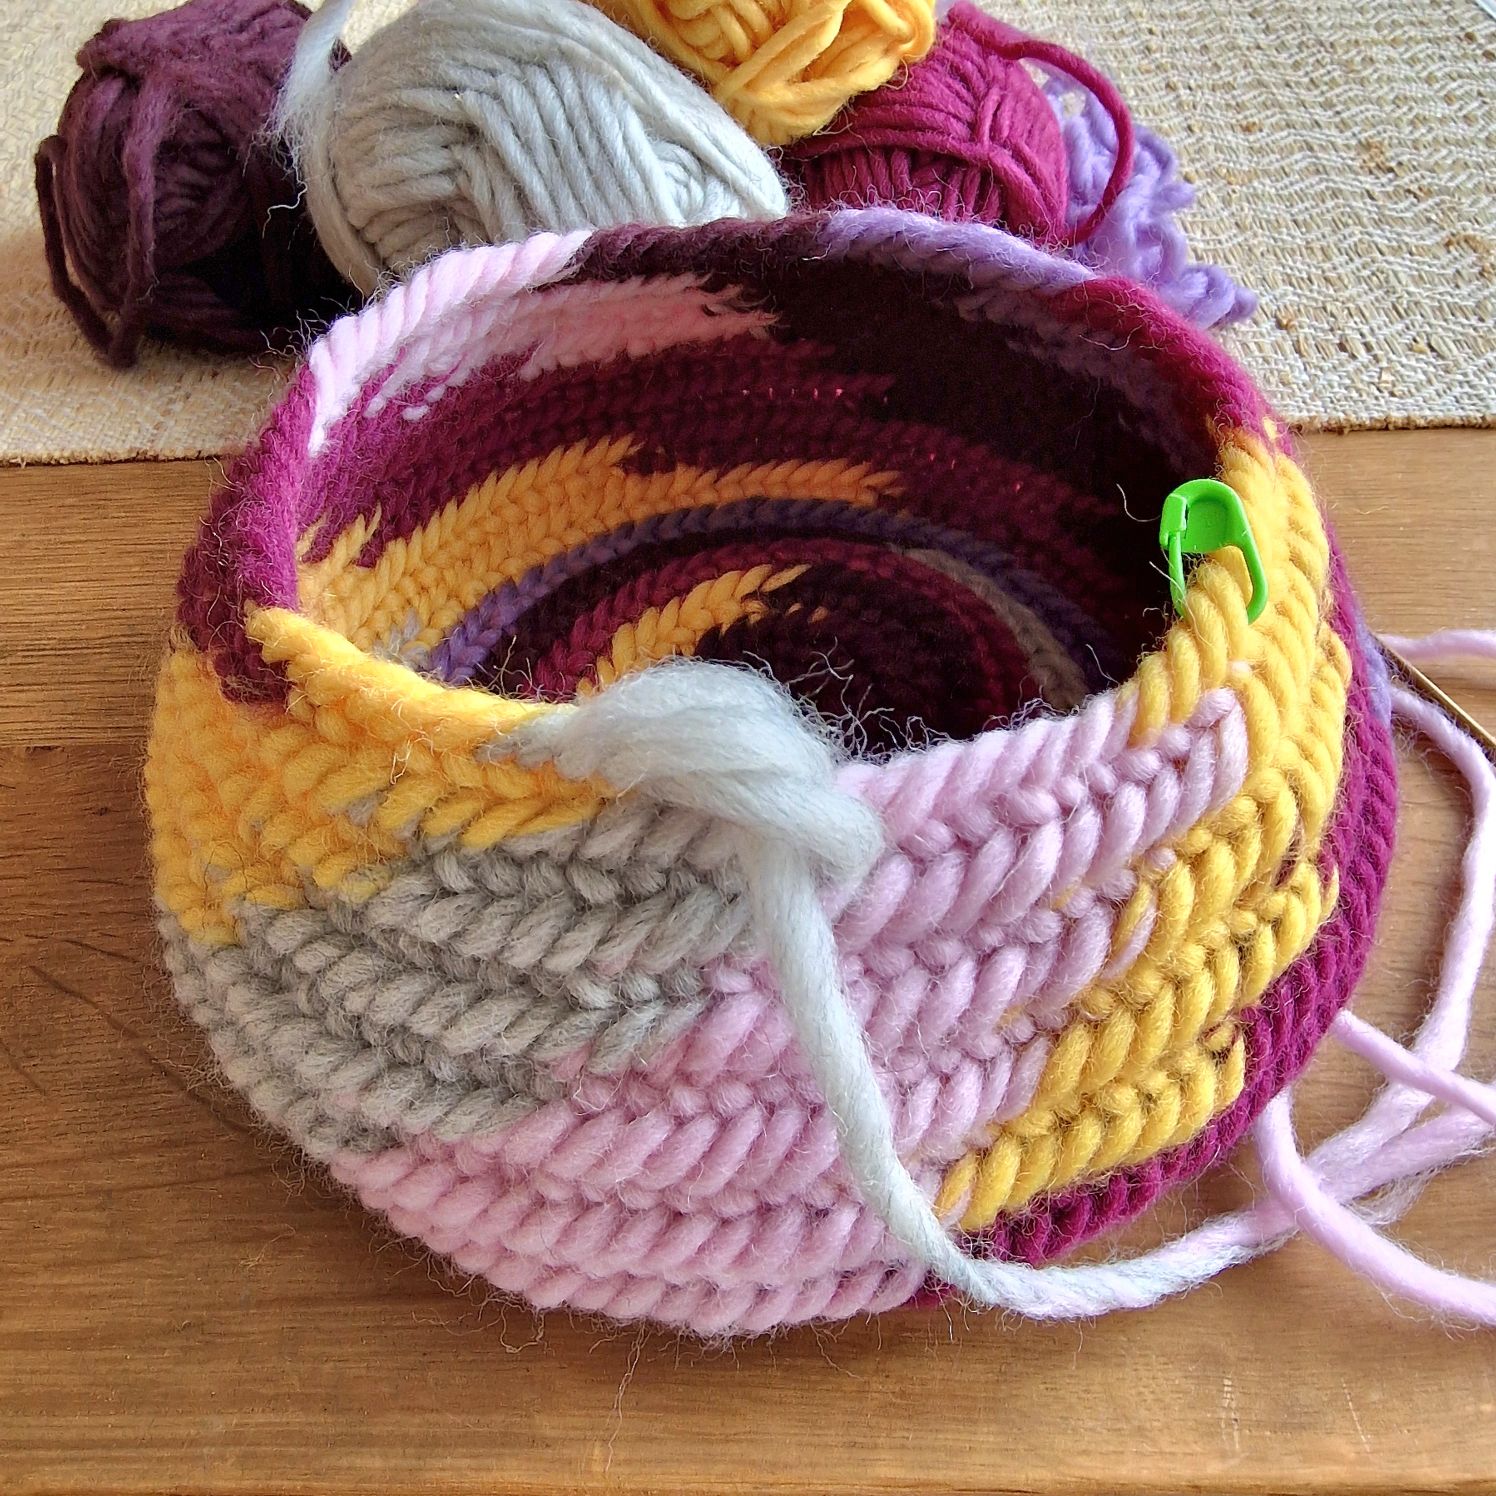
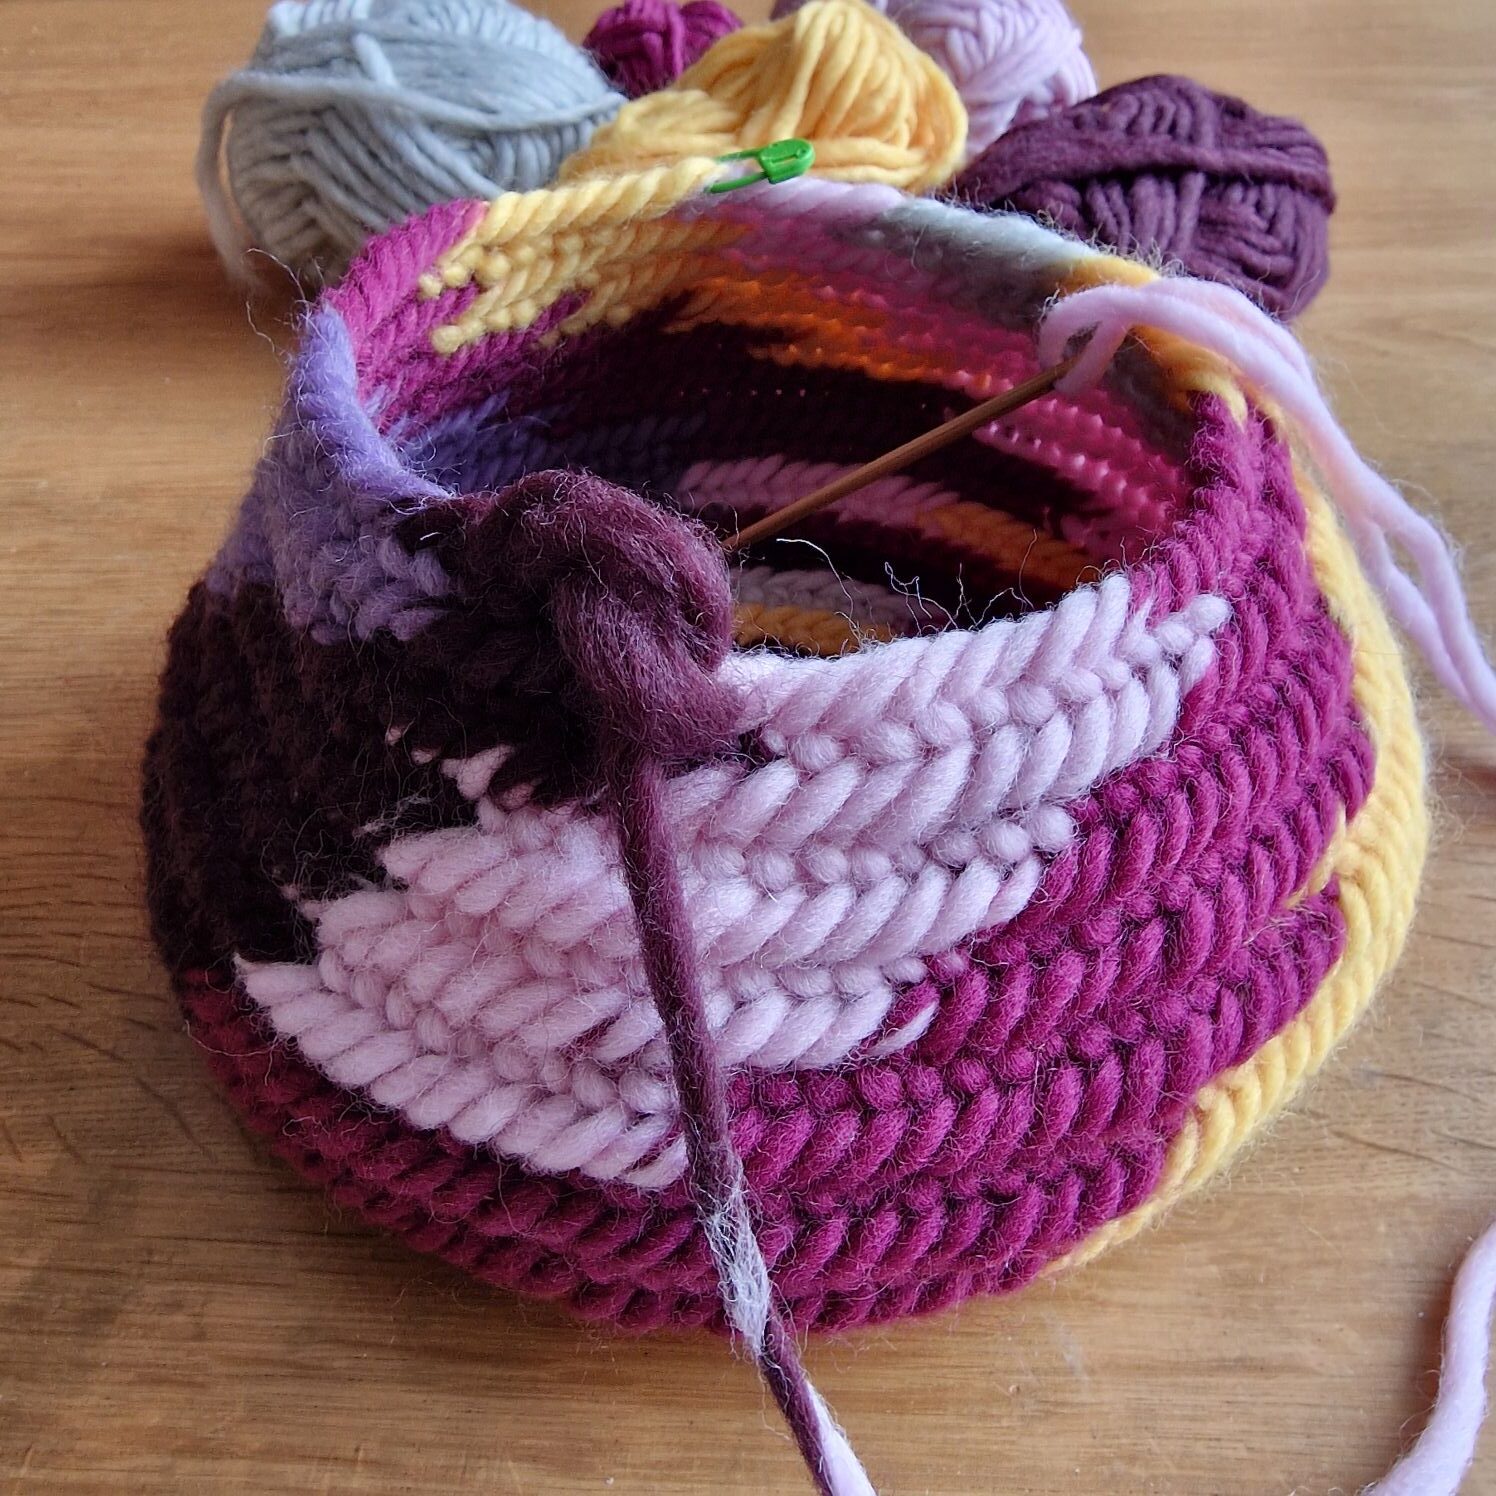
This will form a small ball or bowl, worked in a spiral using the Faberg stitch (F1). Start with 14 stitches and follow the pattern above, but with a few variations. After working 5 stitches normally and increasing on the 6th, work the next 3 rounds normally. Next, work 5 stitches normally and decrease on the 6th stitch. Then work a round normally. Then work 4 stitches normally and decrease on the 5th stitch. Then work a round normally. Finally, work 3 stitches normally and decrease on the 4th stitch; at this point, it is finished, or you can continue within the same round.
I used a balloon to clearly show the shape.
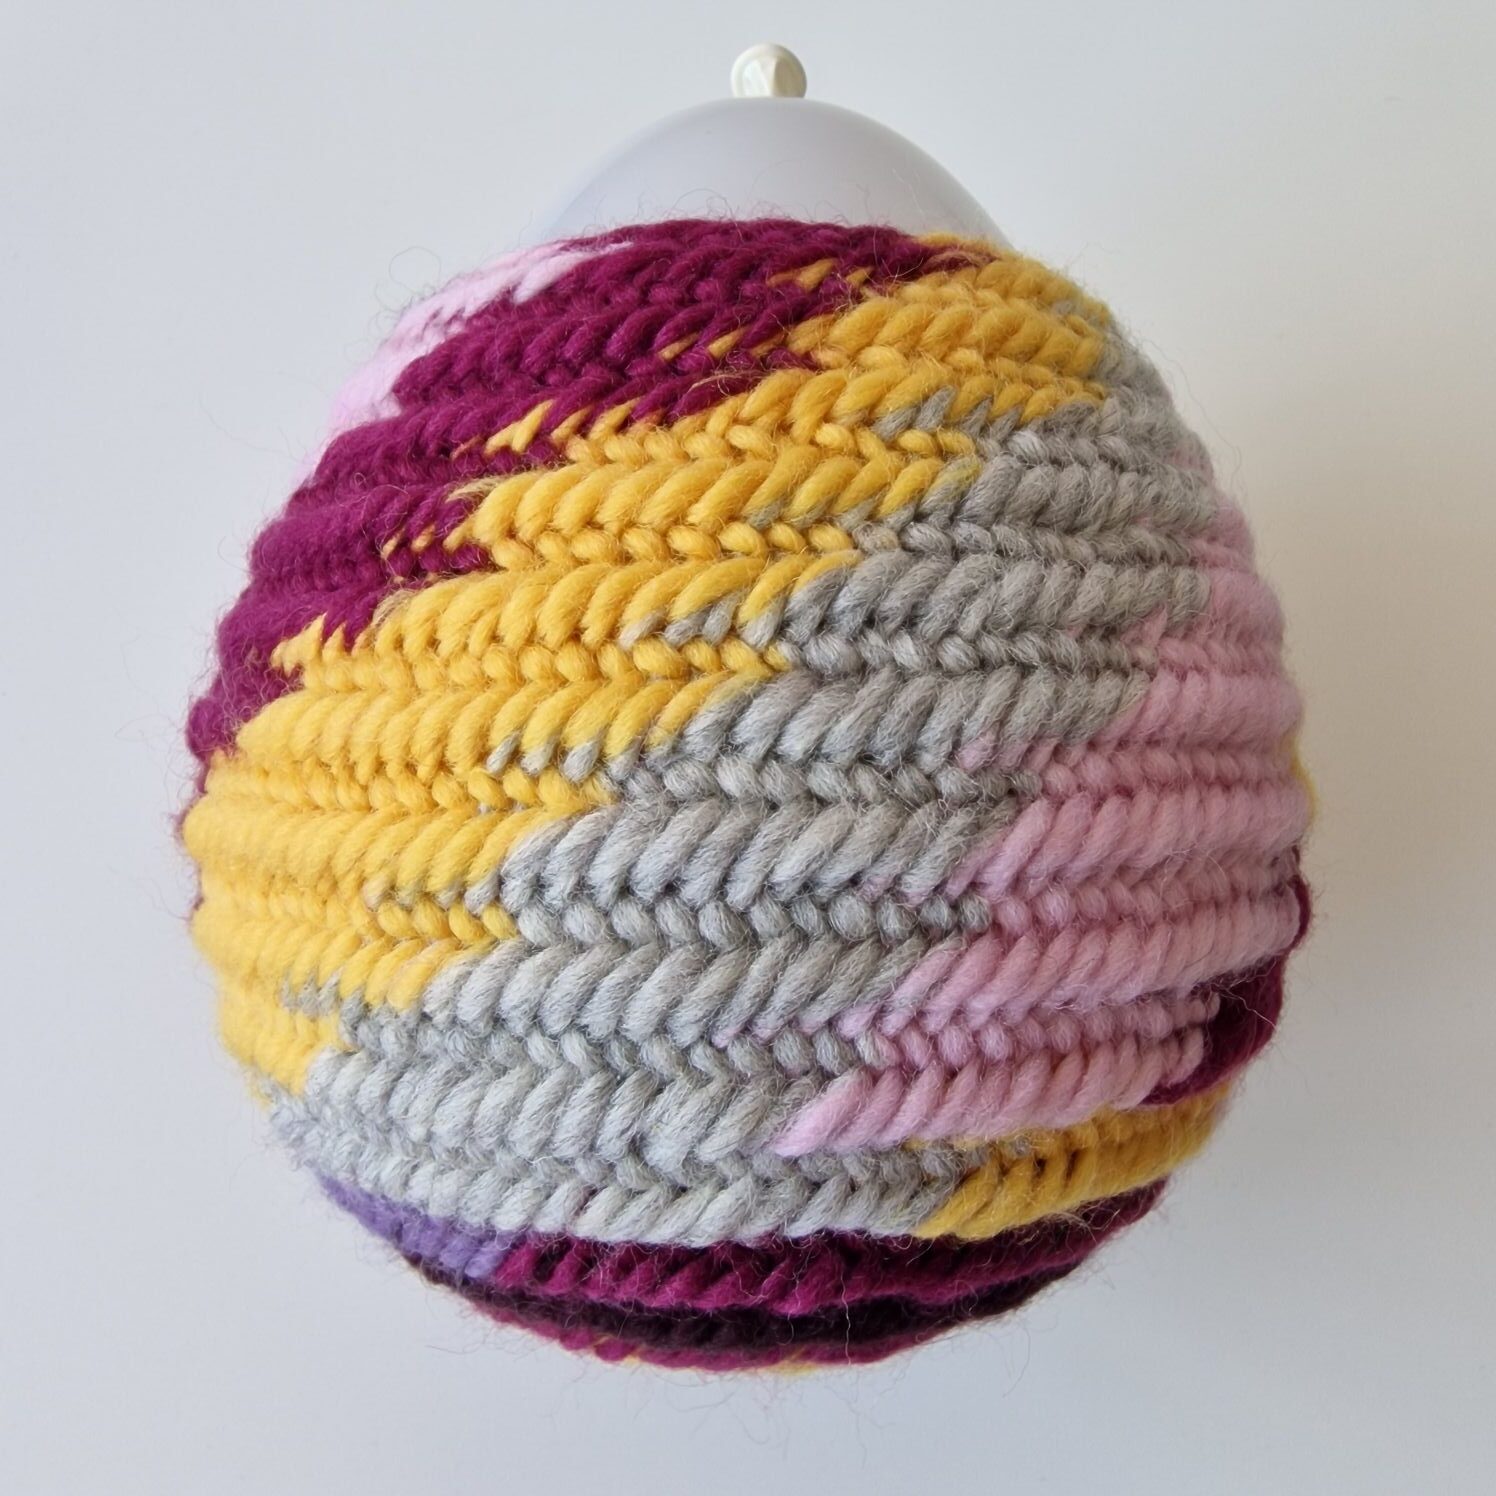
I removed the balloon and put the small ball and the hat in the washing machine.
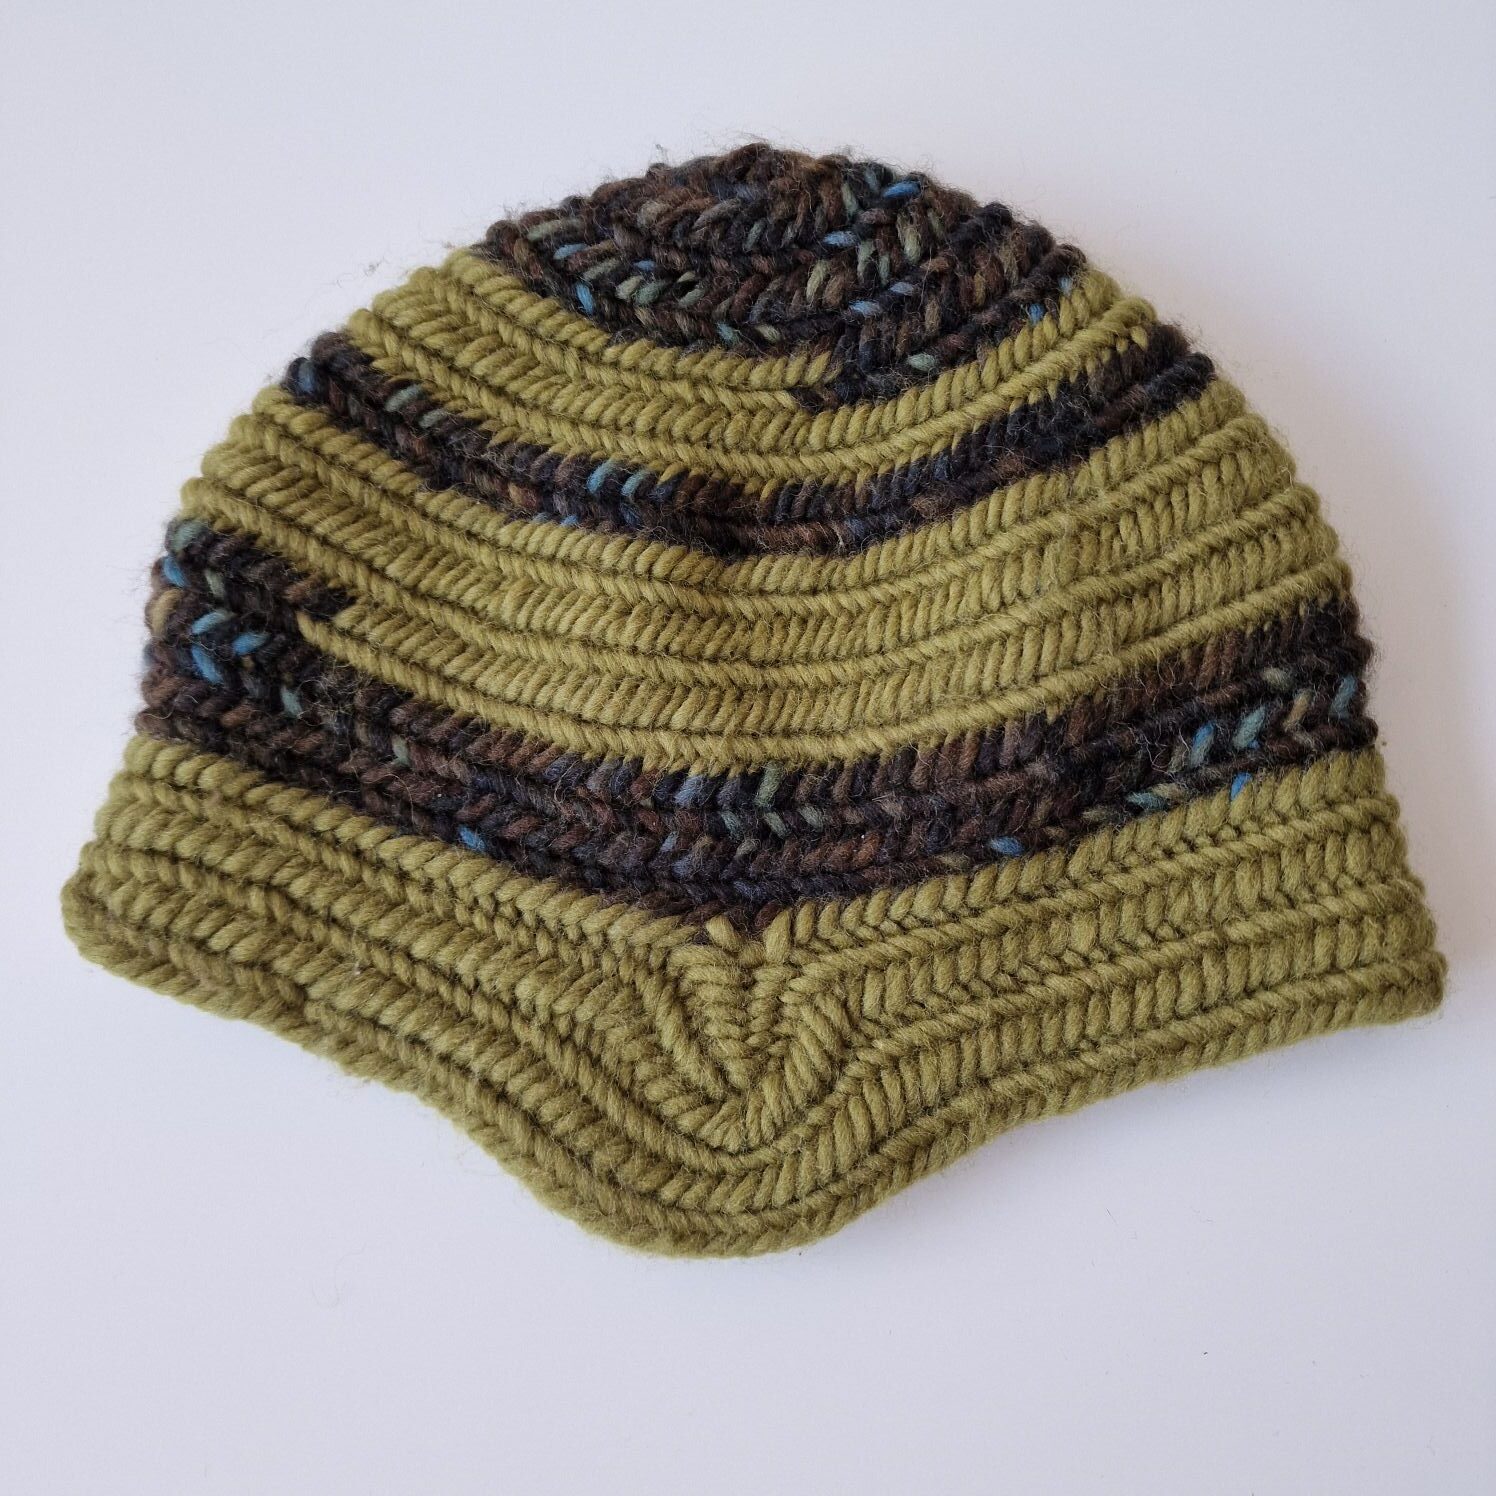
That’s how it came out of the washing machine.
Used another balloon so the little sphere dries in the right shape.
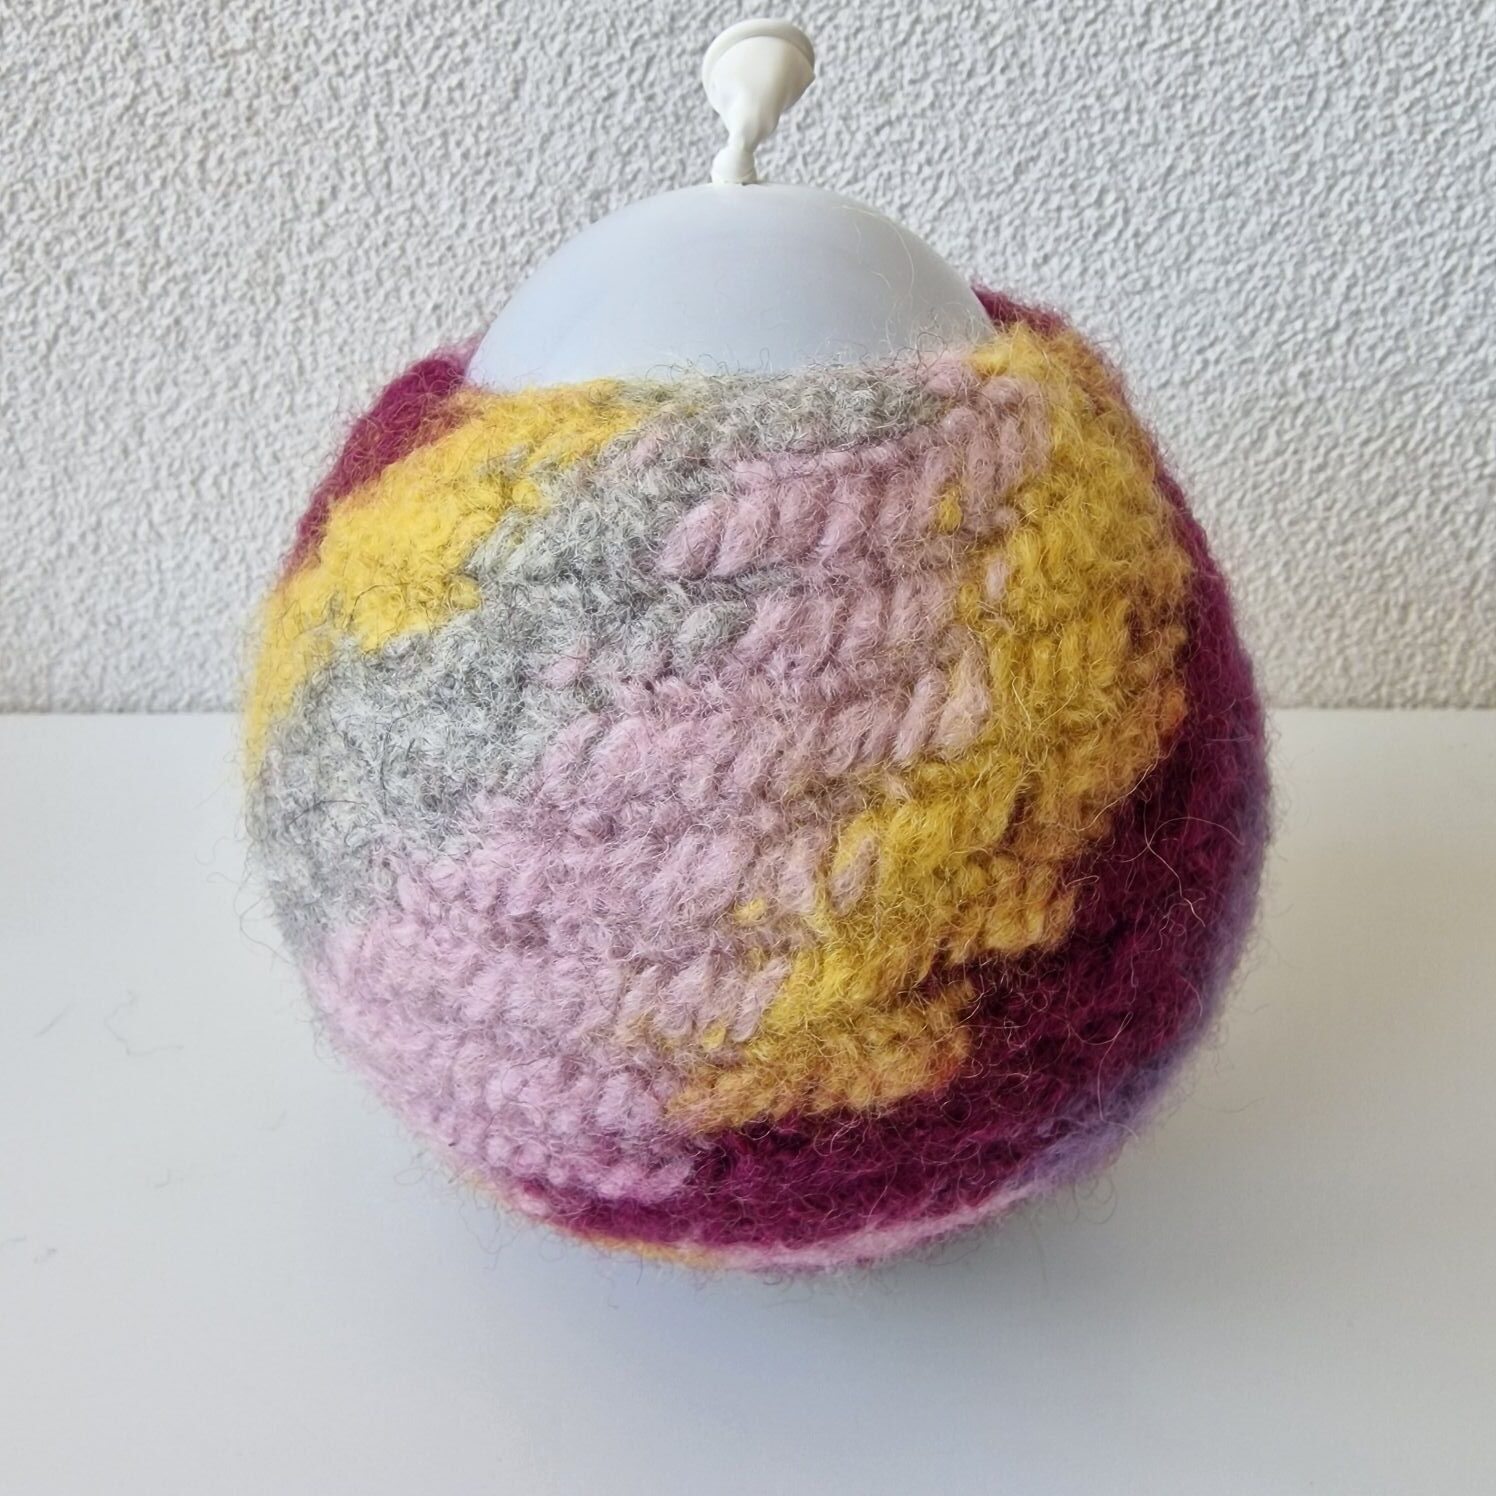
It will be dry tomorrow, and I’ll take photos of the little bulb.
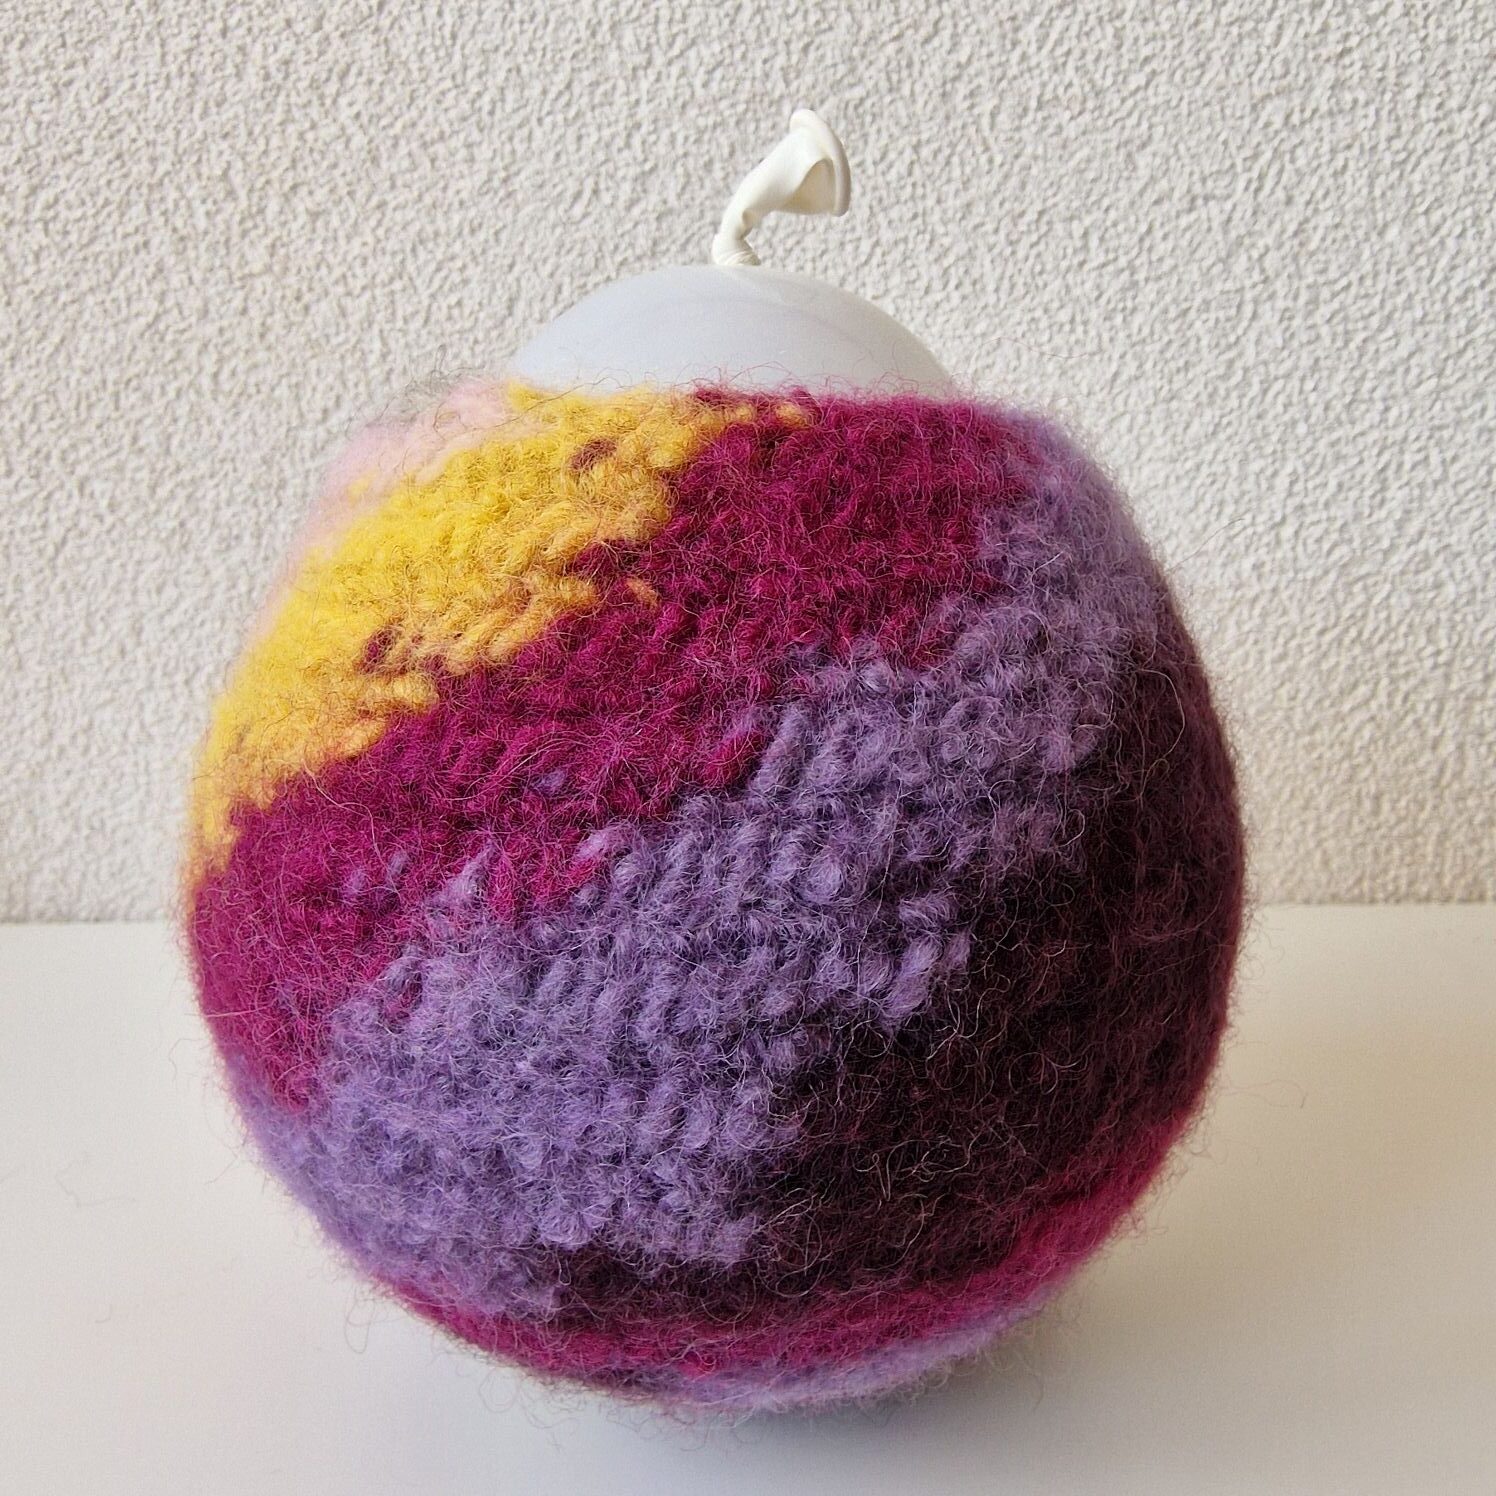
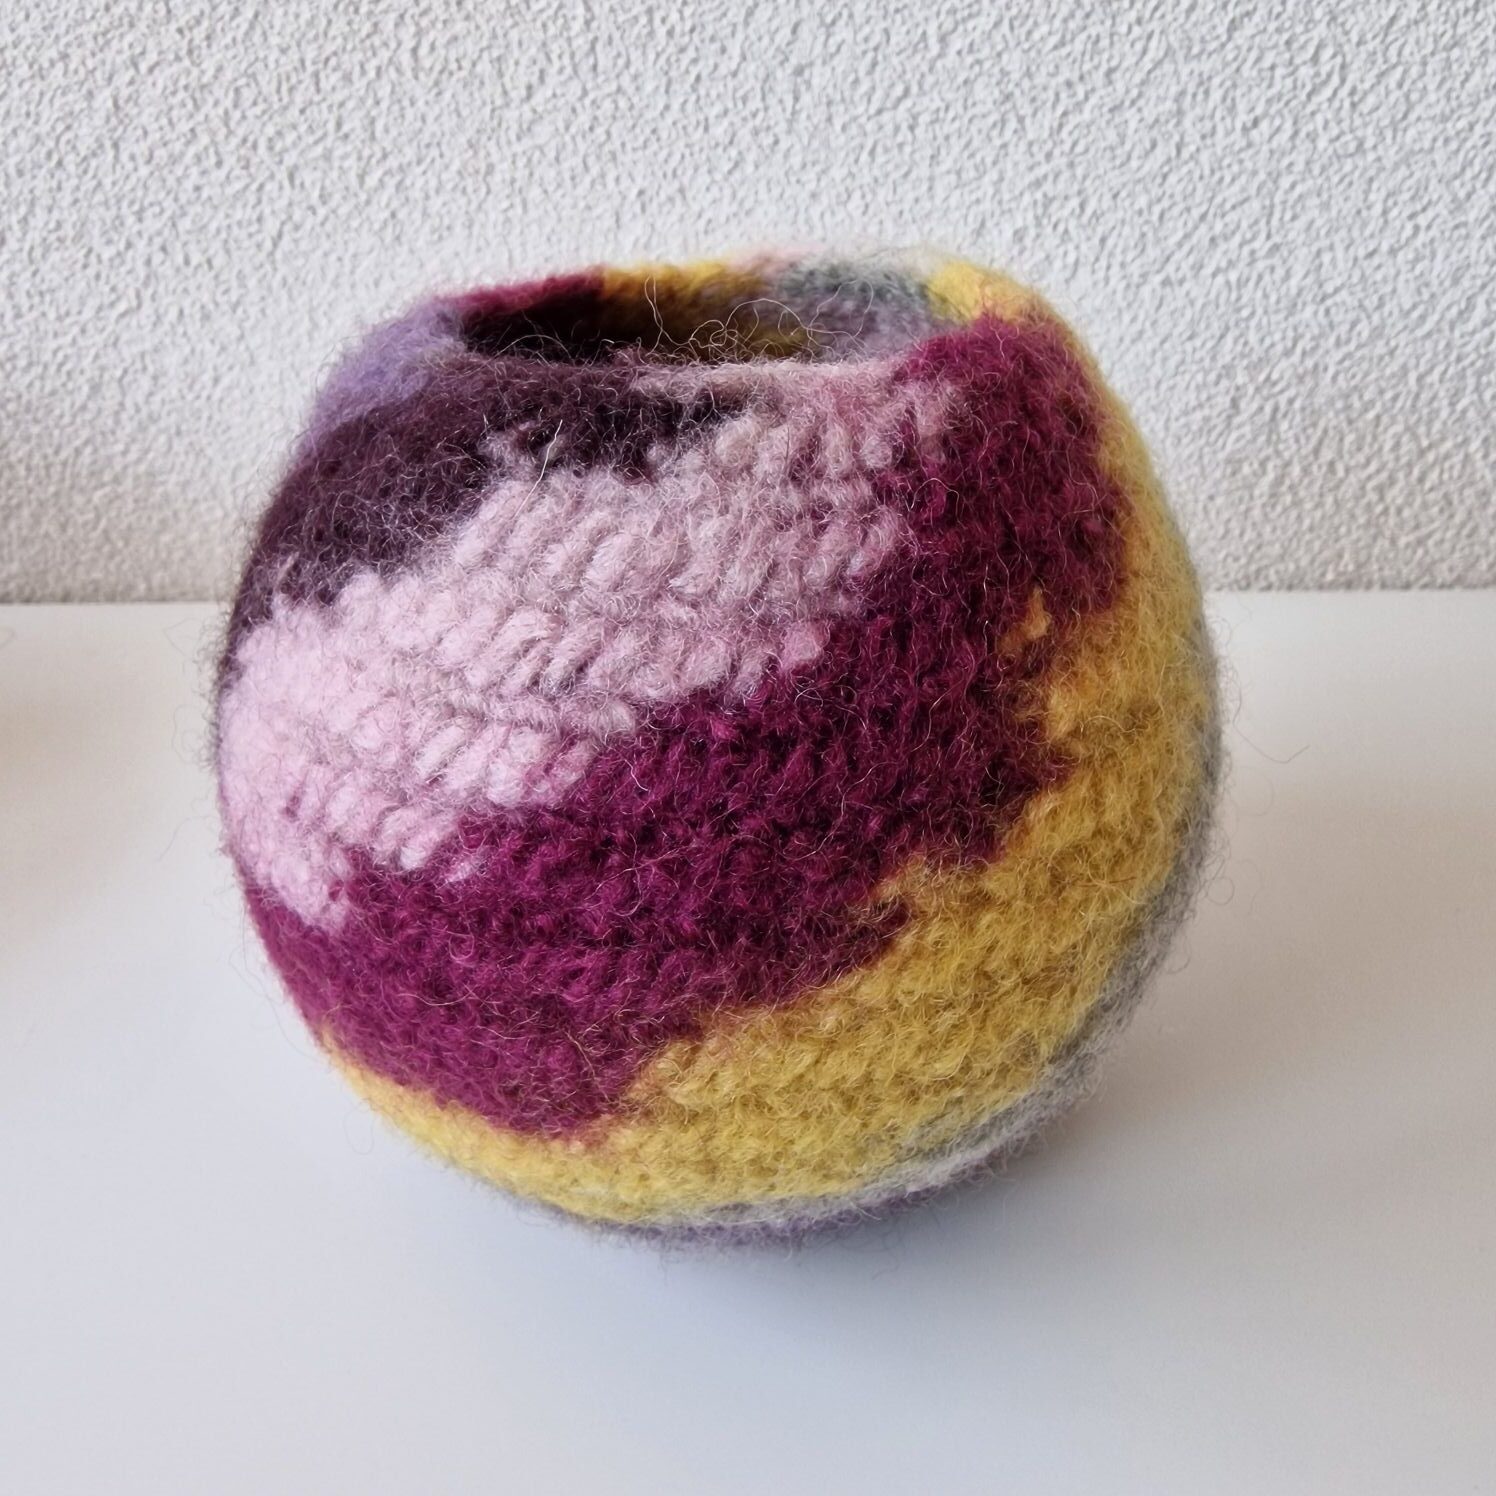
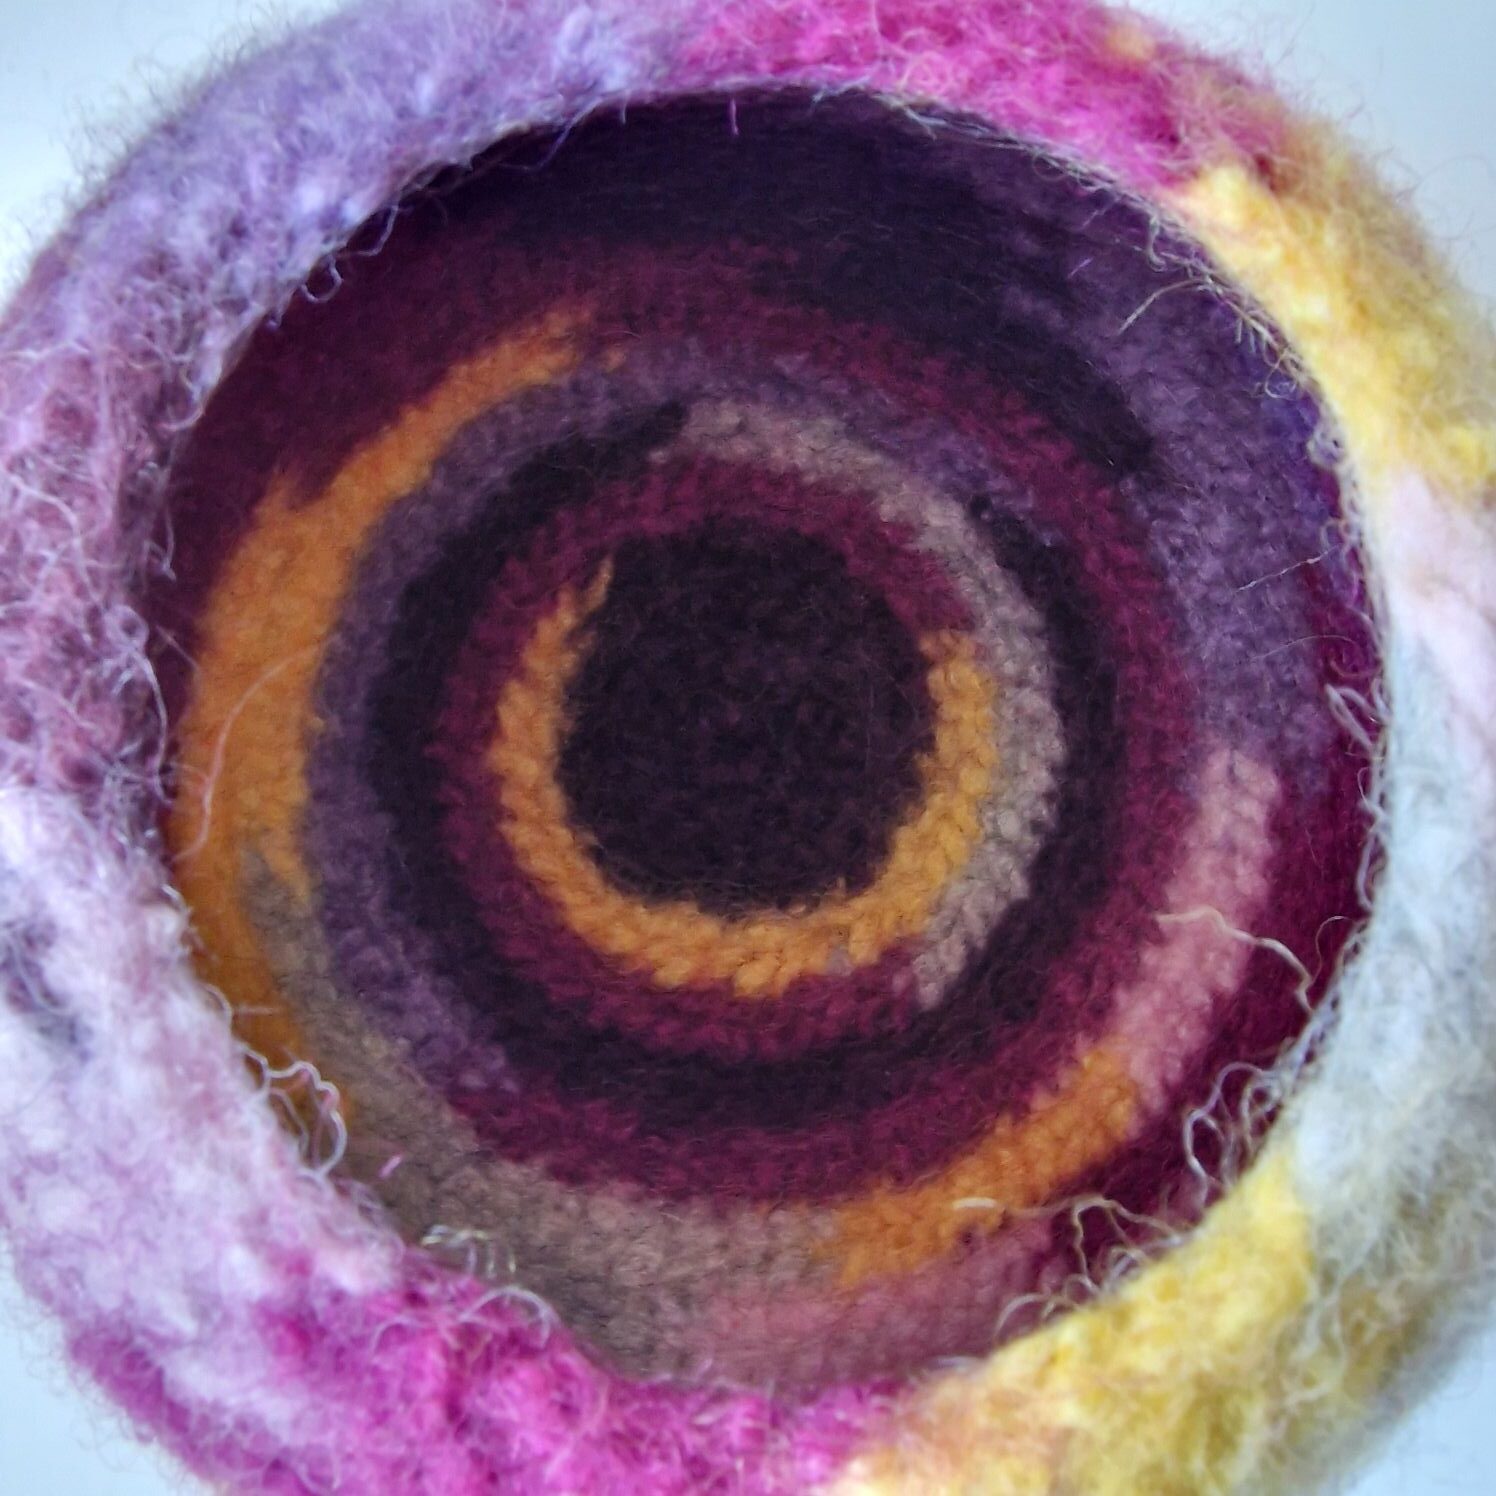
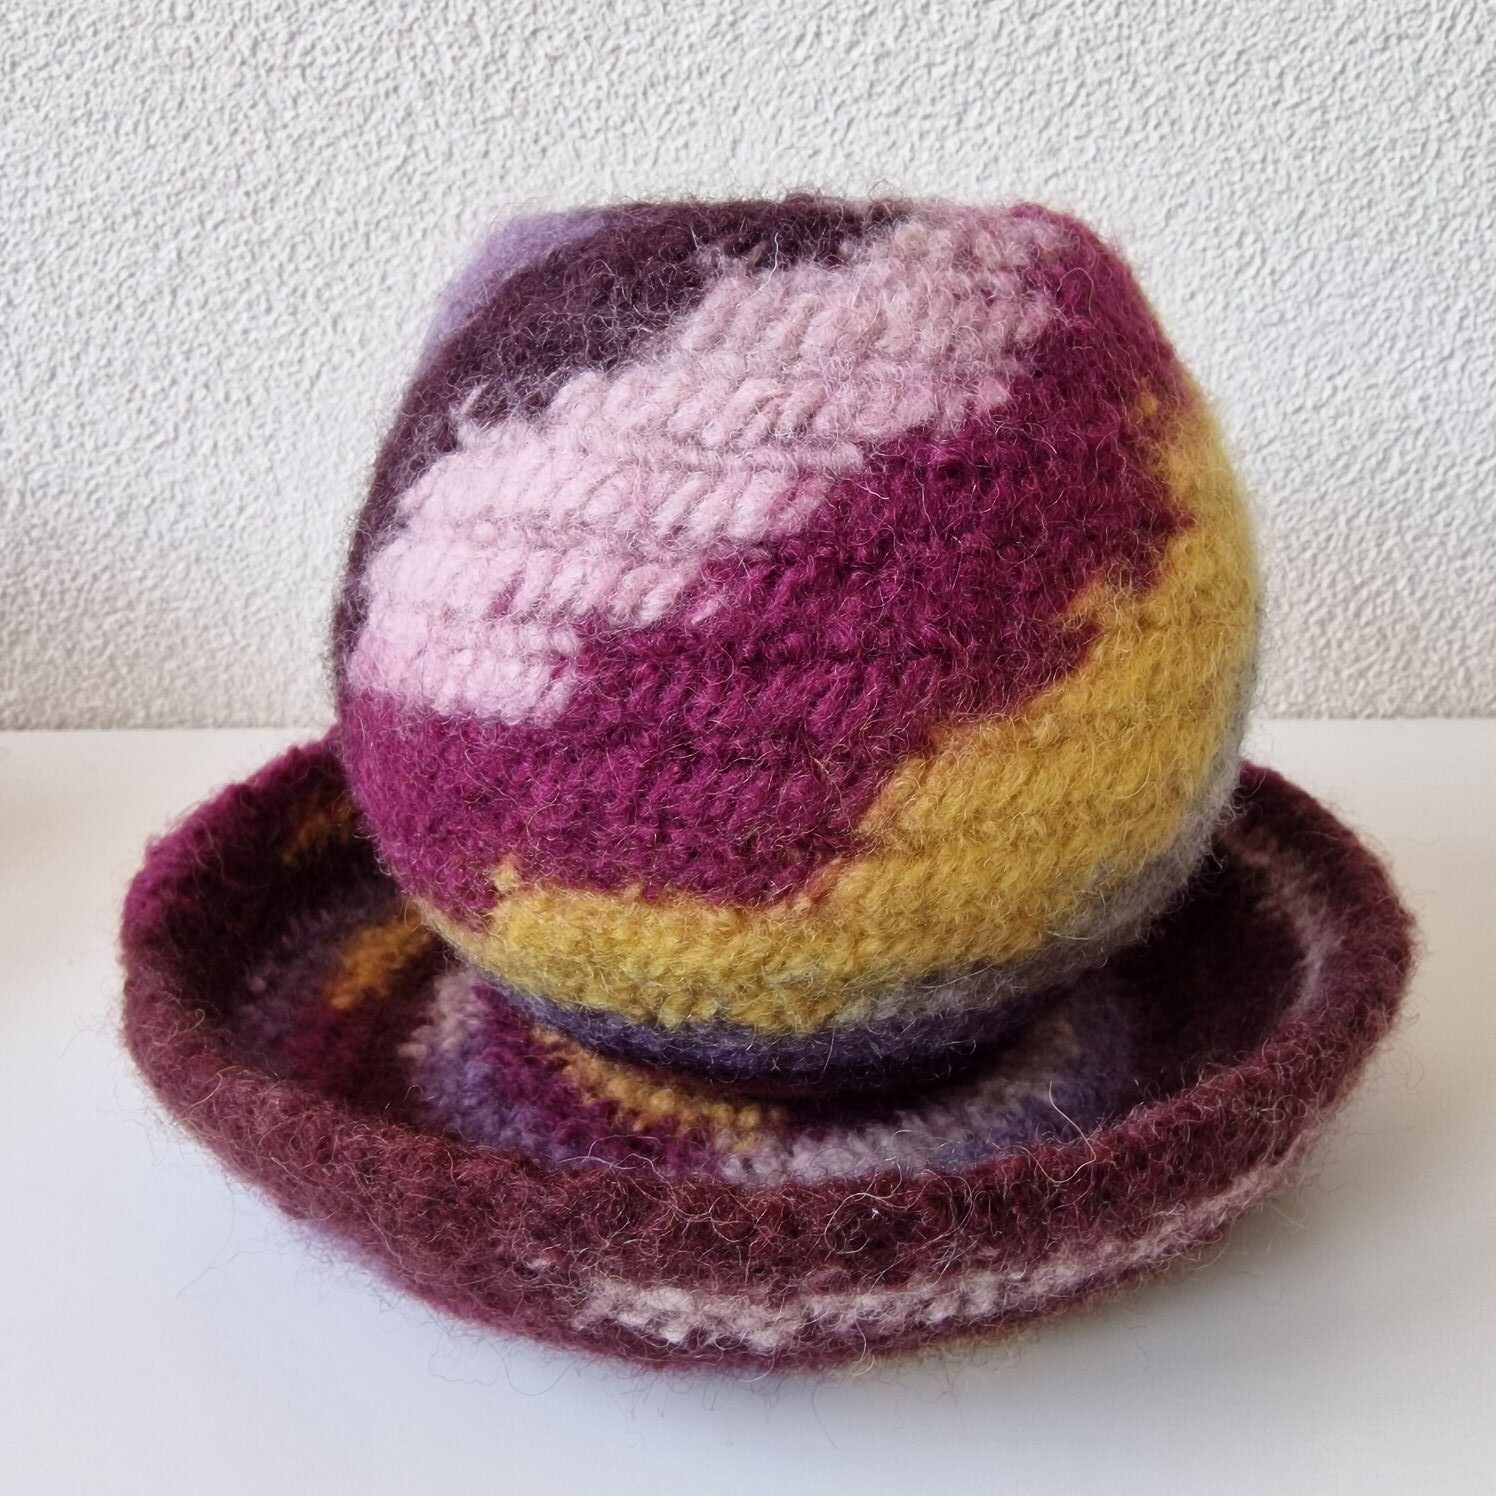
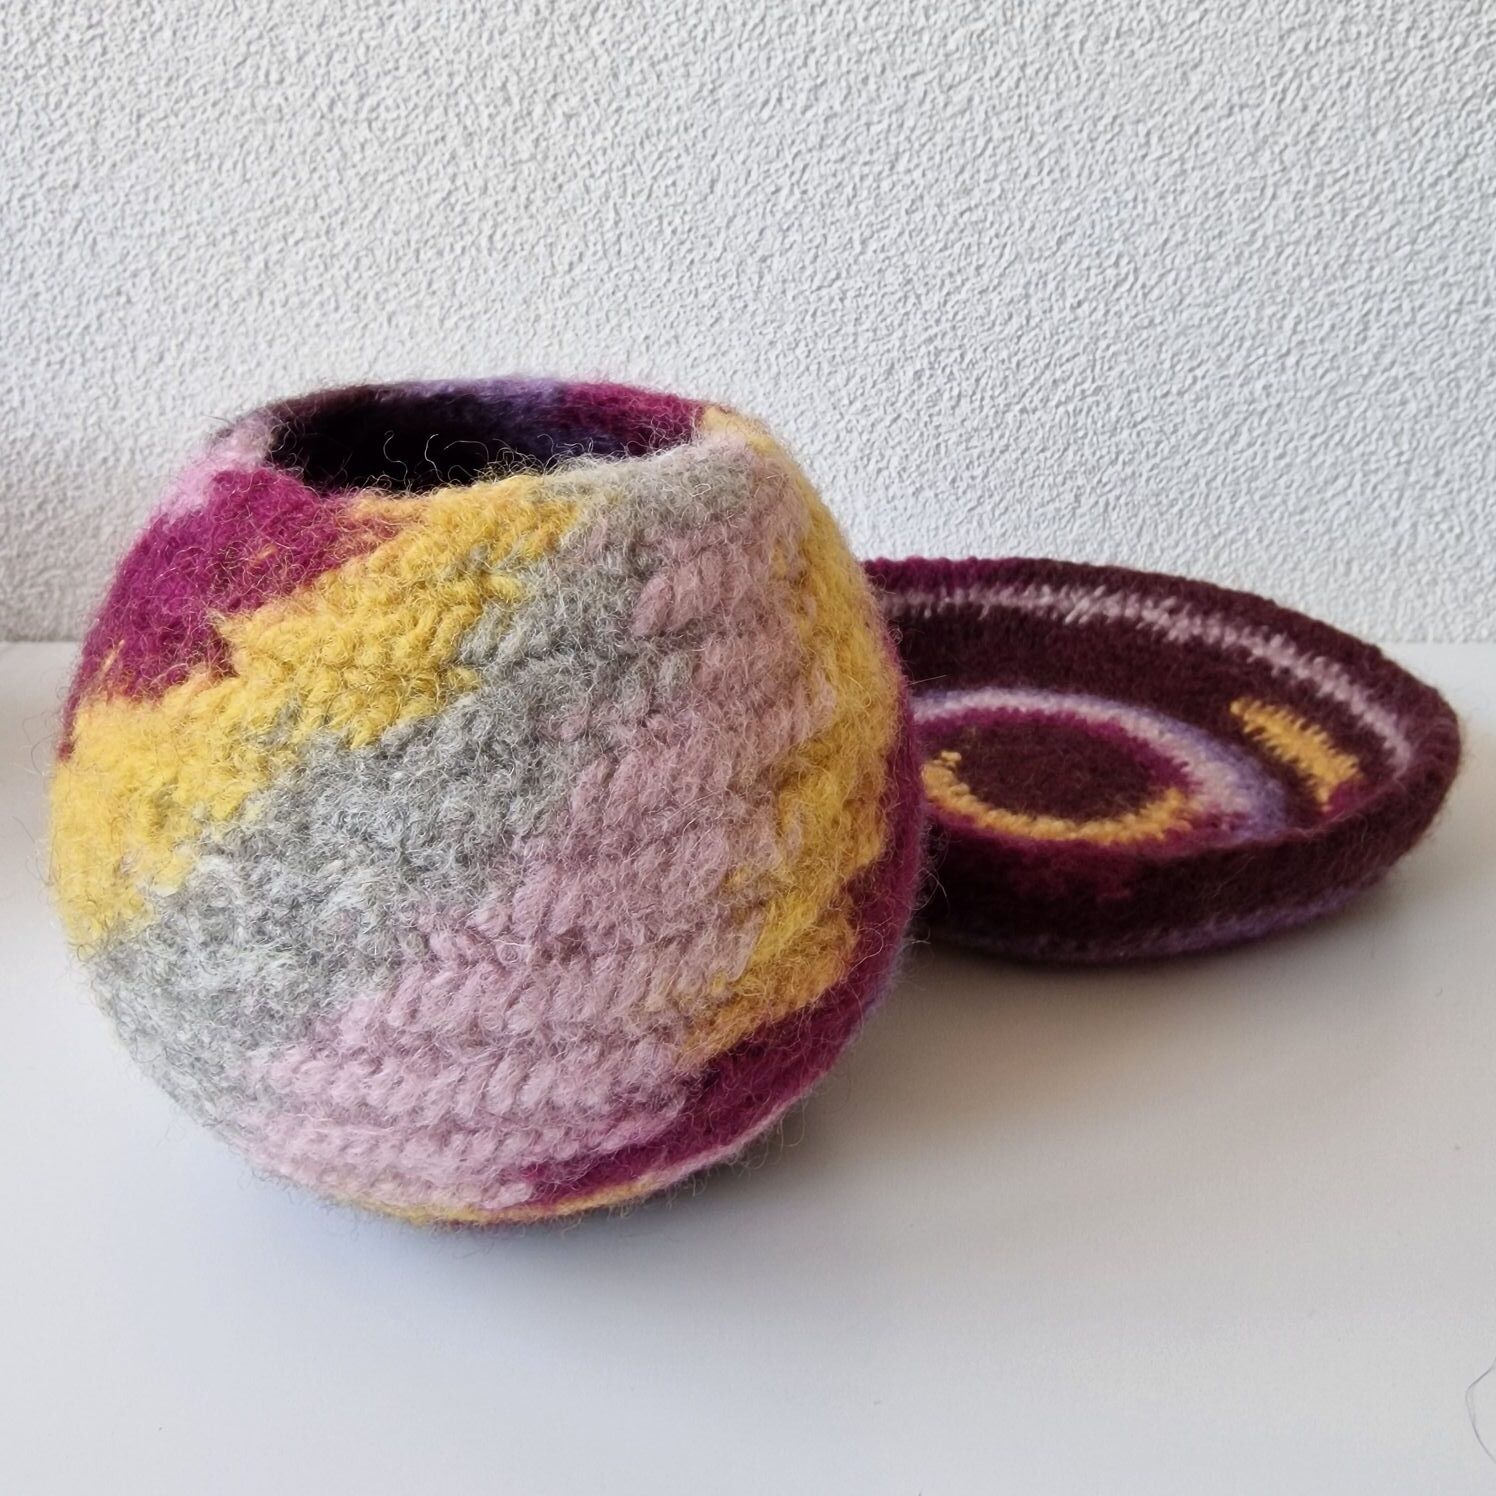
I got the old hat in this shape, with a flowerpot inside it.
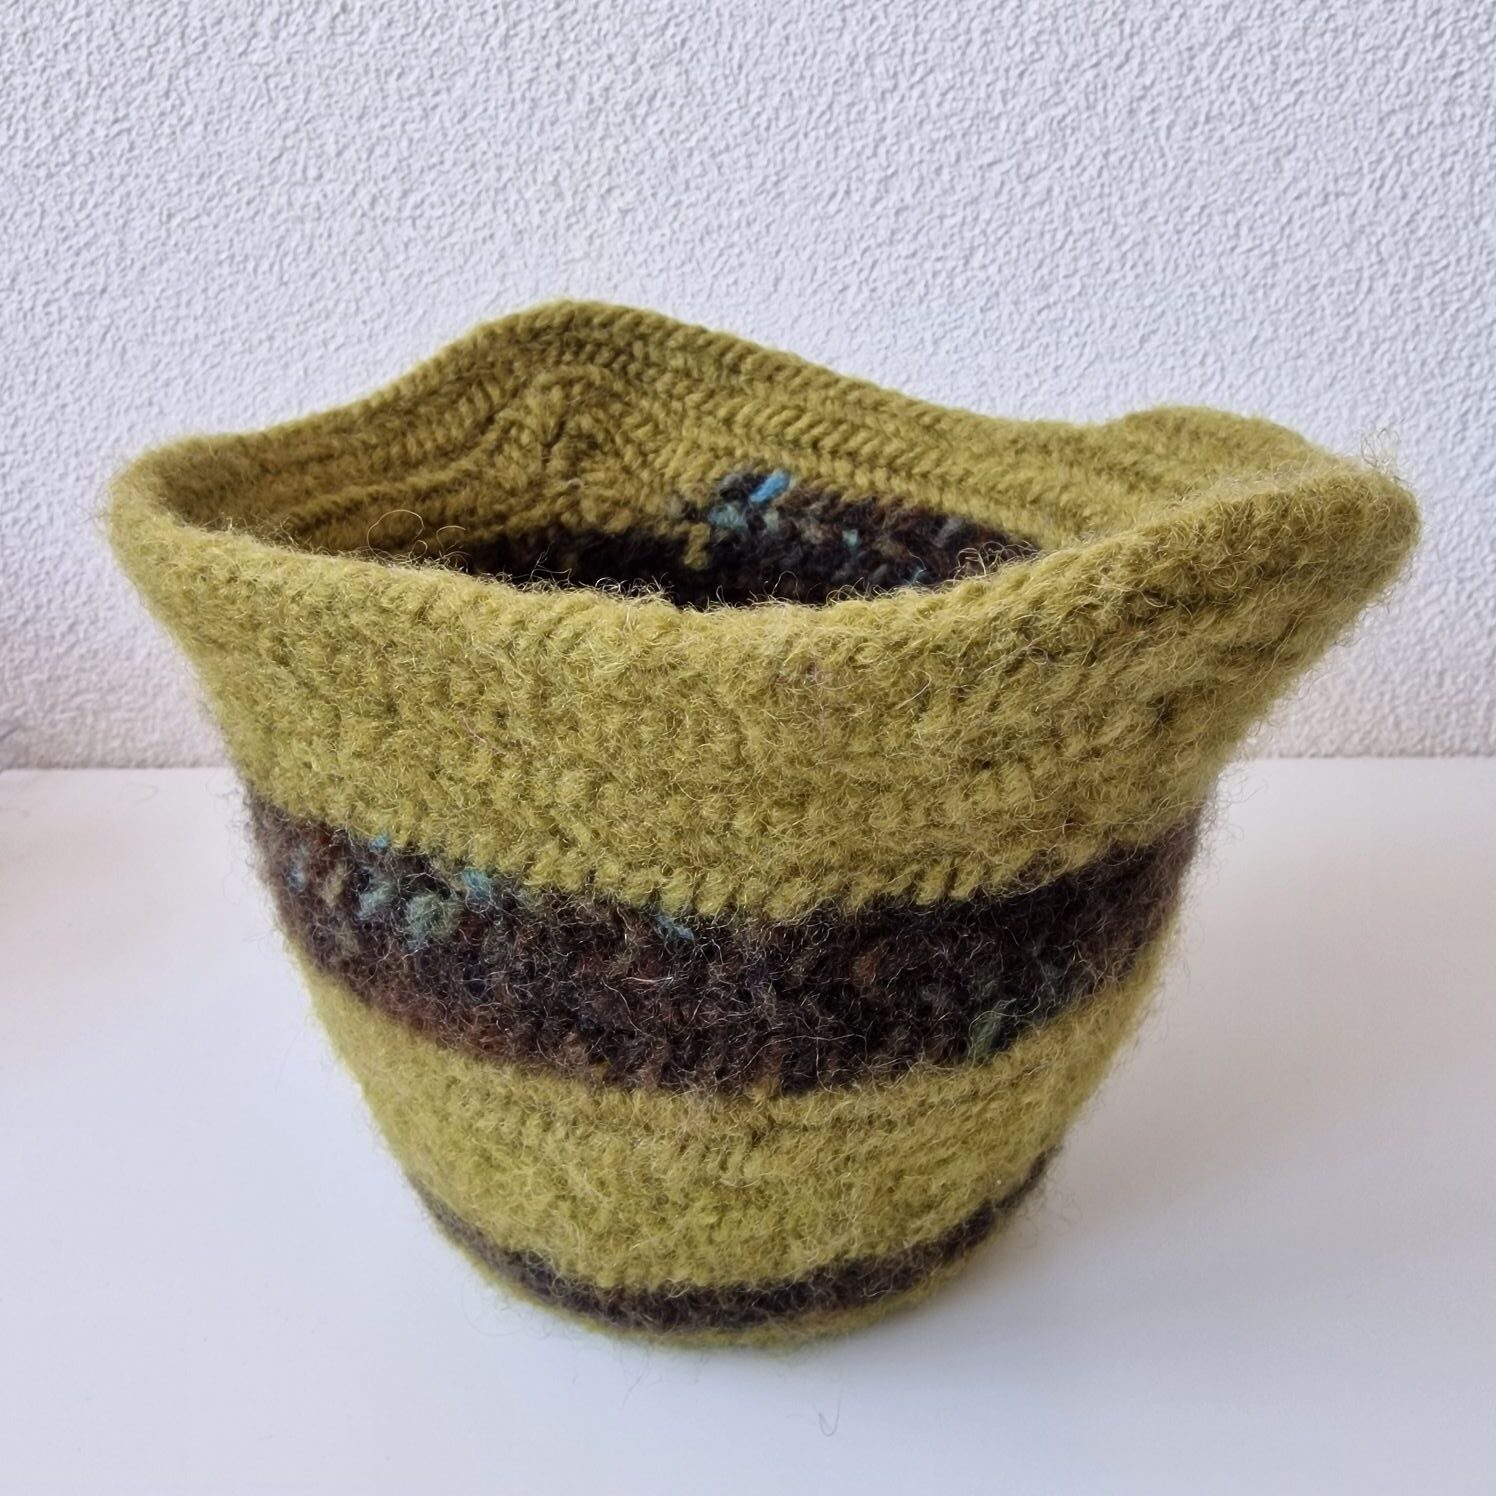
Well, what should you call this? A basket, a little pot it’s a sturdy little pot made using the Finnish 2+2 needlebinding stitch and the F2 joining stitch; perfect for holding a few small balls of yarn.

I am now also starting nalbinding projects using fine wool blends for example, 45% alpaca, 30% polyamide, and 25% wool.
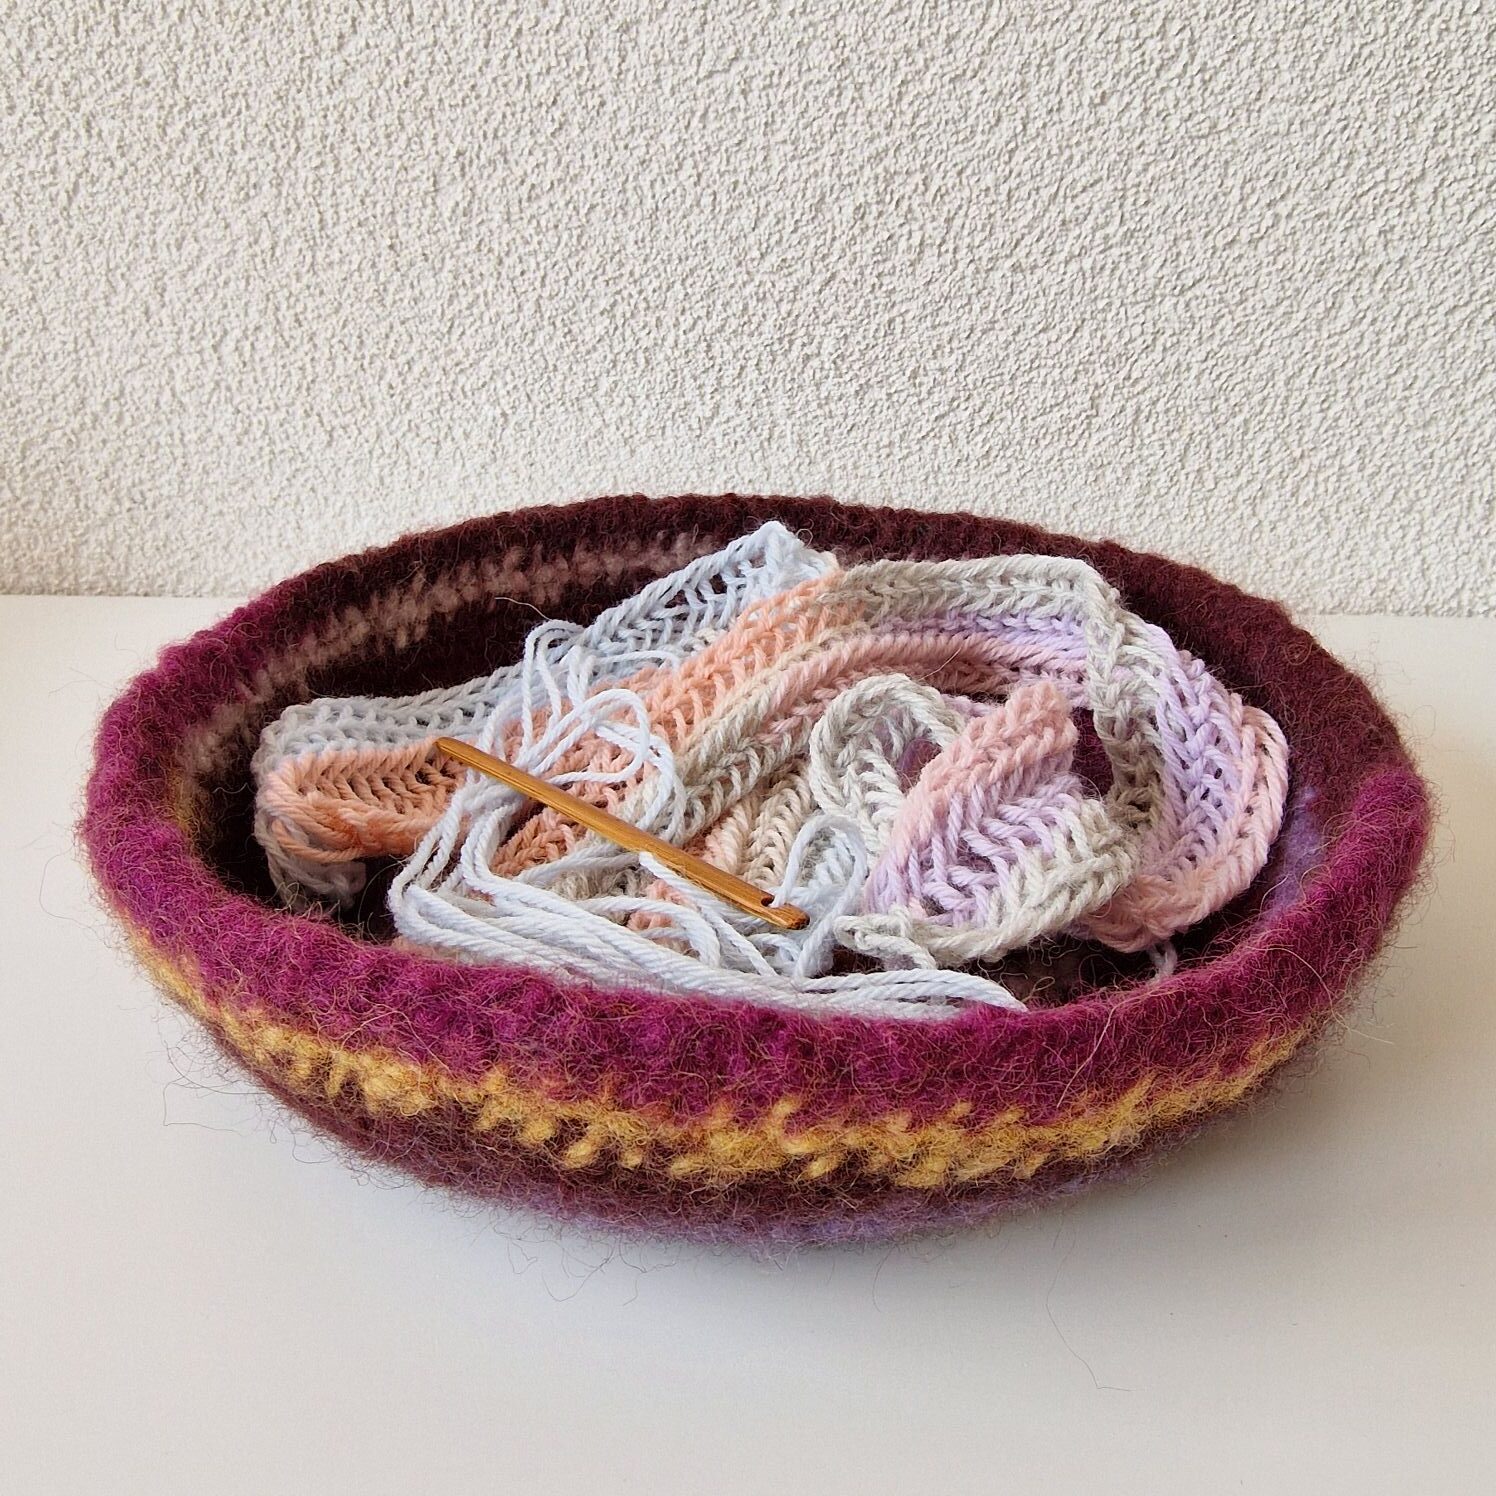
A colored bag.
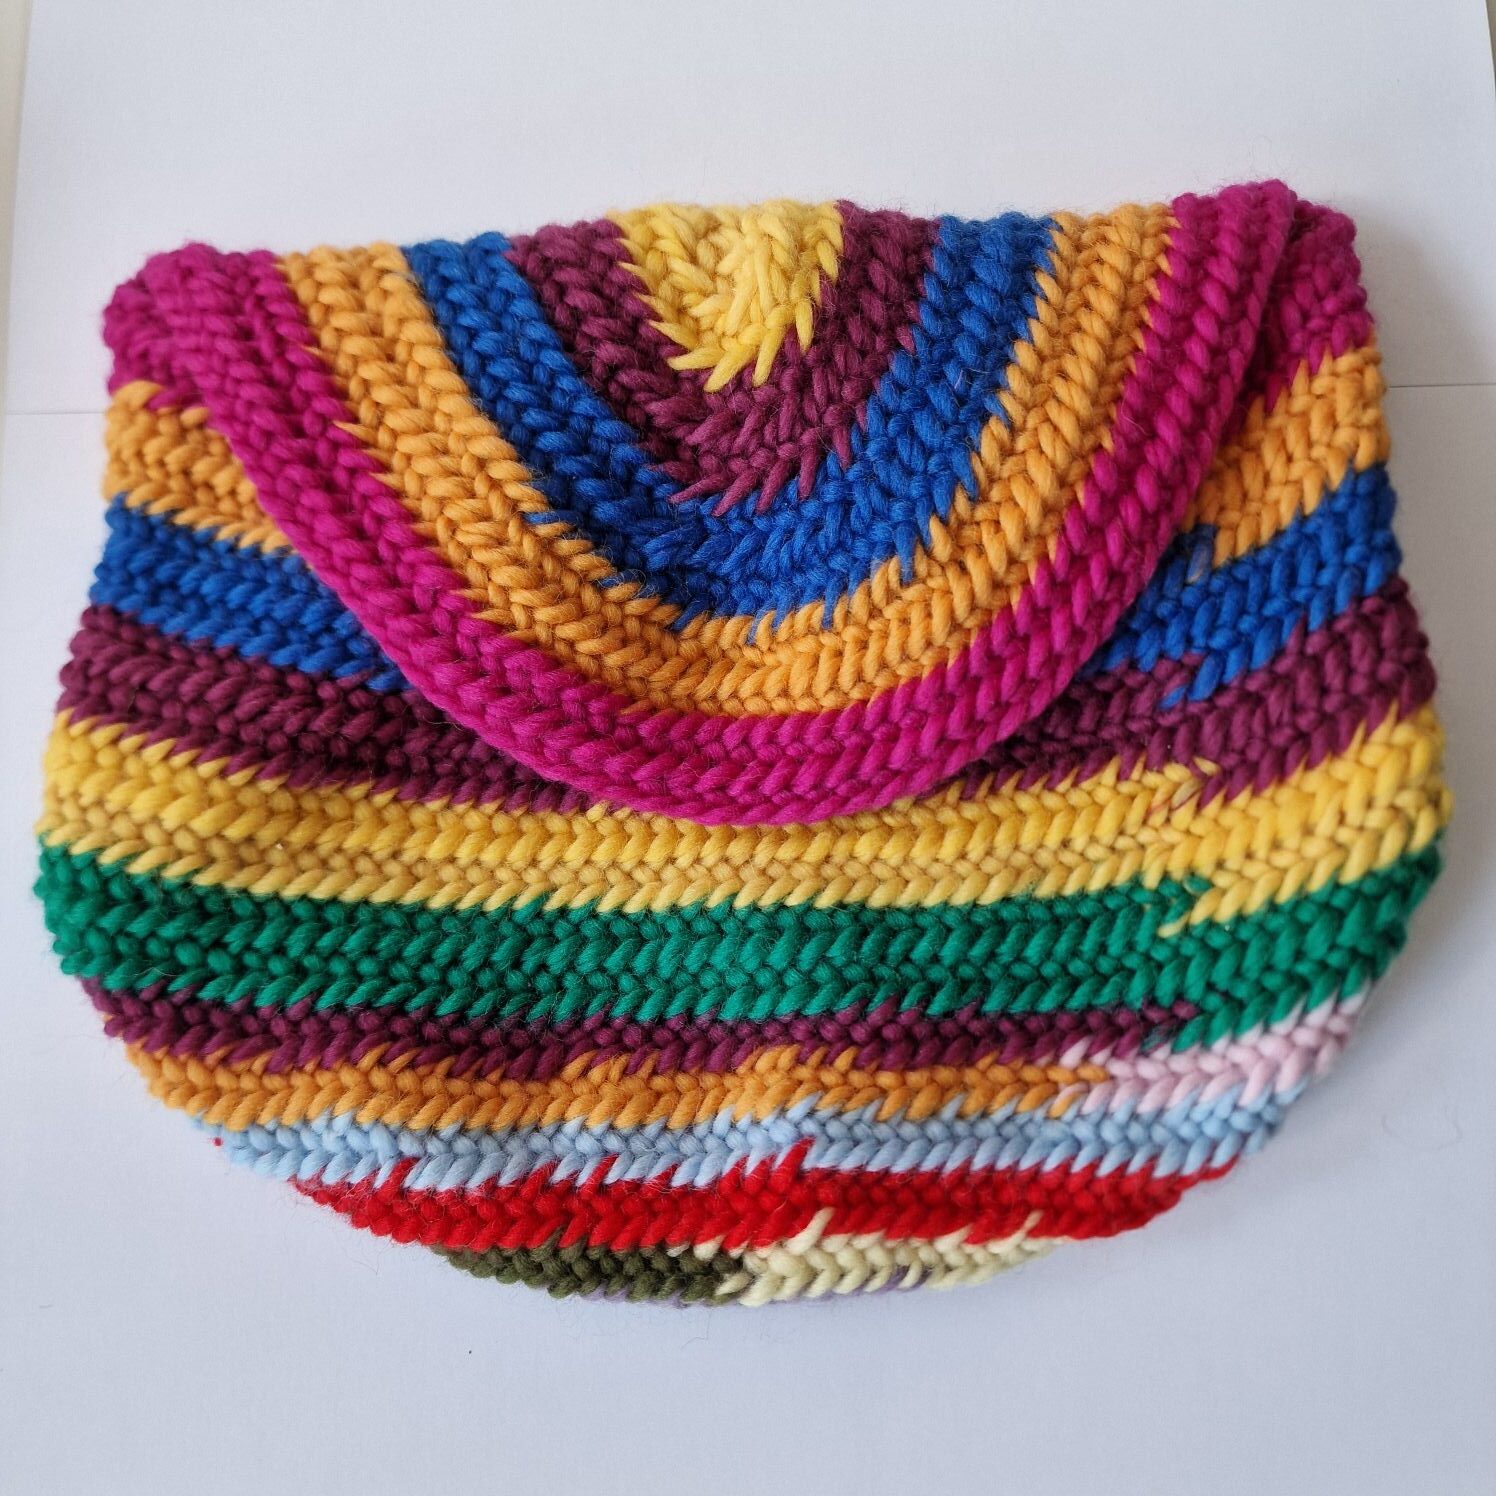
I wanted to make a felted bag using the Oslo stitch and the F1 joining stitch, and I started with the usual 100% wool because it felts perfectly.
I started with 14 stitches—which, on reflection, turned out to be a bit too many, as the circle wobbled slightly.                                                                                                                              Next time, I’ll start with 12 stitches. In the first round after forming the circle, increase in every stitch.                                                                                                                                                      In the next round, work one stitch normally and increase in the second, continuing this pattern up to the round where you work five stitches normally and increase in the sixth. Work the next six rounds without any increases, and the wobbling effect will disappear.
Next, increase again: work 6 stitches normally and increase in the 7th stitch.                                              You can work a few rounds normally to make the bag deeper.                                                                 Then, in the next round, work normally until you reach the stitch marker; there, create a "finger" using a chain of 10 stitches (you can see exactly how this is done in the socks chapter).                                                                                                                                                   When you reach the tip of the finger, increase by 2 stitches; this allows you to easily round the bend.                                                                                                                                                                  The finger will become the bag's flap; the bag's diameter is now 30 cm.                                                            Once you have passed the tip of the finger and arrive back at its base, decrease by 1 stitch (this removes the sharp angle), and do the same on the other side of the finger.
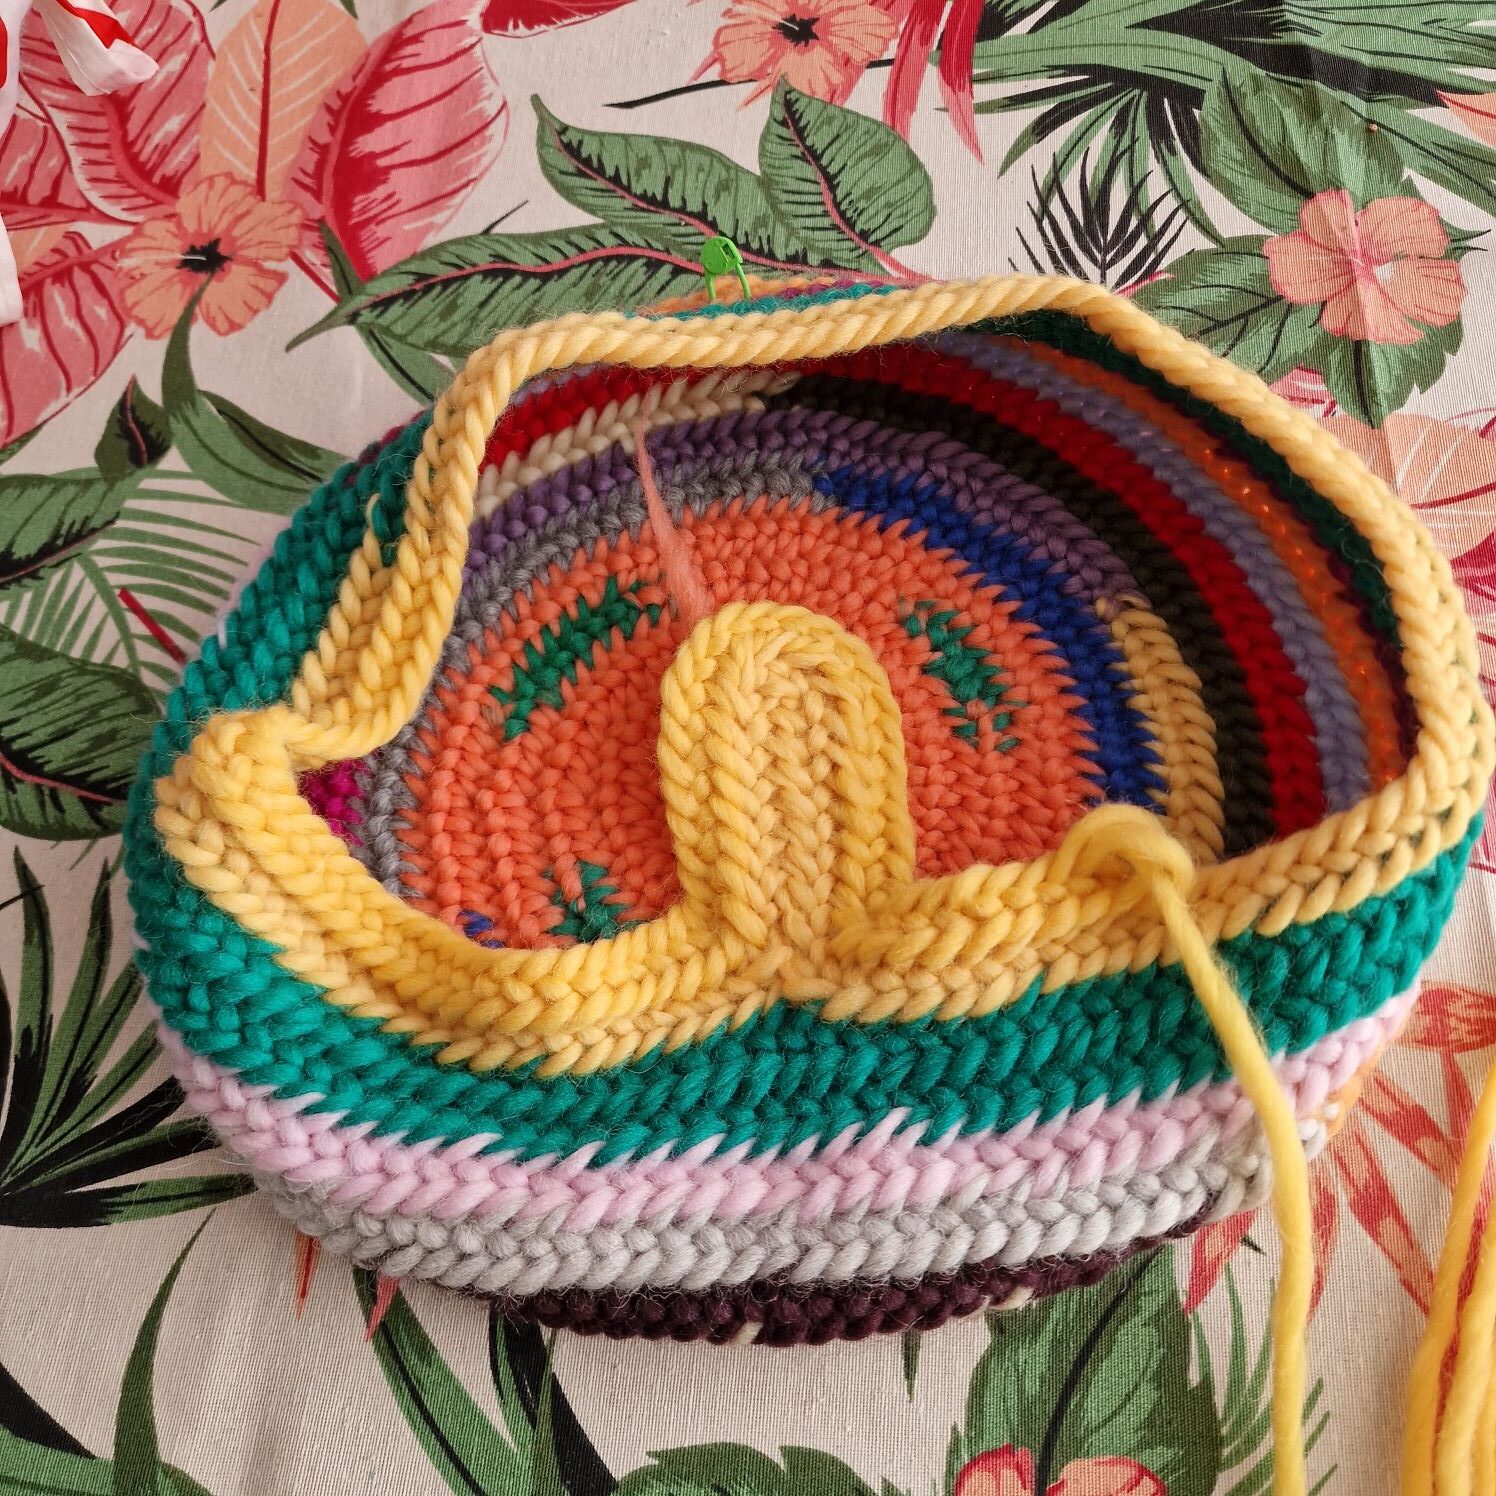
At the tip of the finger, increase 5 stitches, and in the next round, decrease 1 stitch in the valley. After that, work 6 stitches normally but do not decrease on the 7th; simply continue the nalbinding there. Increase 7 stitches at the tip, then increase 8 stitches, and decrease 2 stitches in the valley. The finger grows larger, forming a flap that neatly closes the bag. Then, work another round of nalbinding normally. Next, work 5 stitches normally and decrease the 6th (continue working normally at the finger). Then, work 3 rounds normally. Next, work 4 stitches normally and decrease the 5th (continue working normally at the finger). Then work 1 round normally. In the next round, work 3 stitches normally and decrease the 4th (continue working normally at the finger). Work 1 more round normally; I felt the bag was large enough then.
The total length of the flap, measured from the center of the bag, is 41 cm, and the width of the bag is 31 cm.
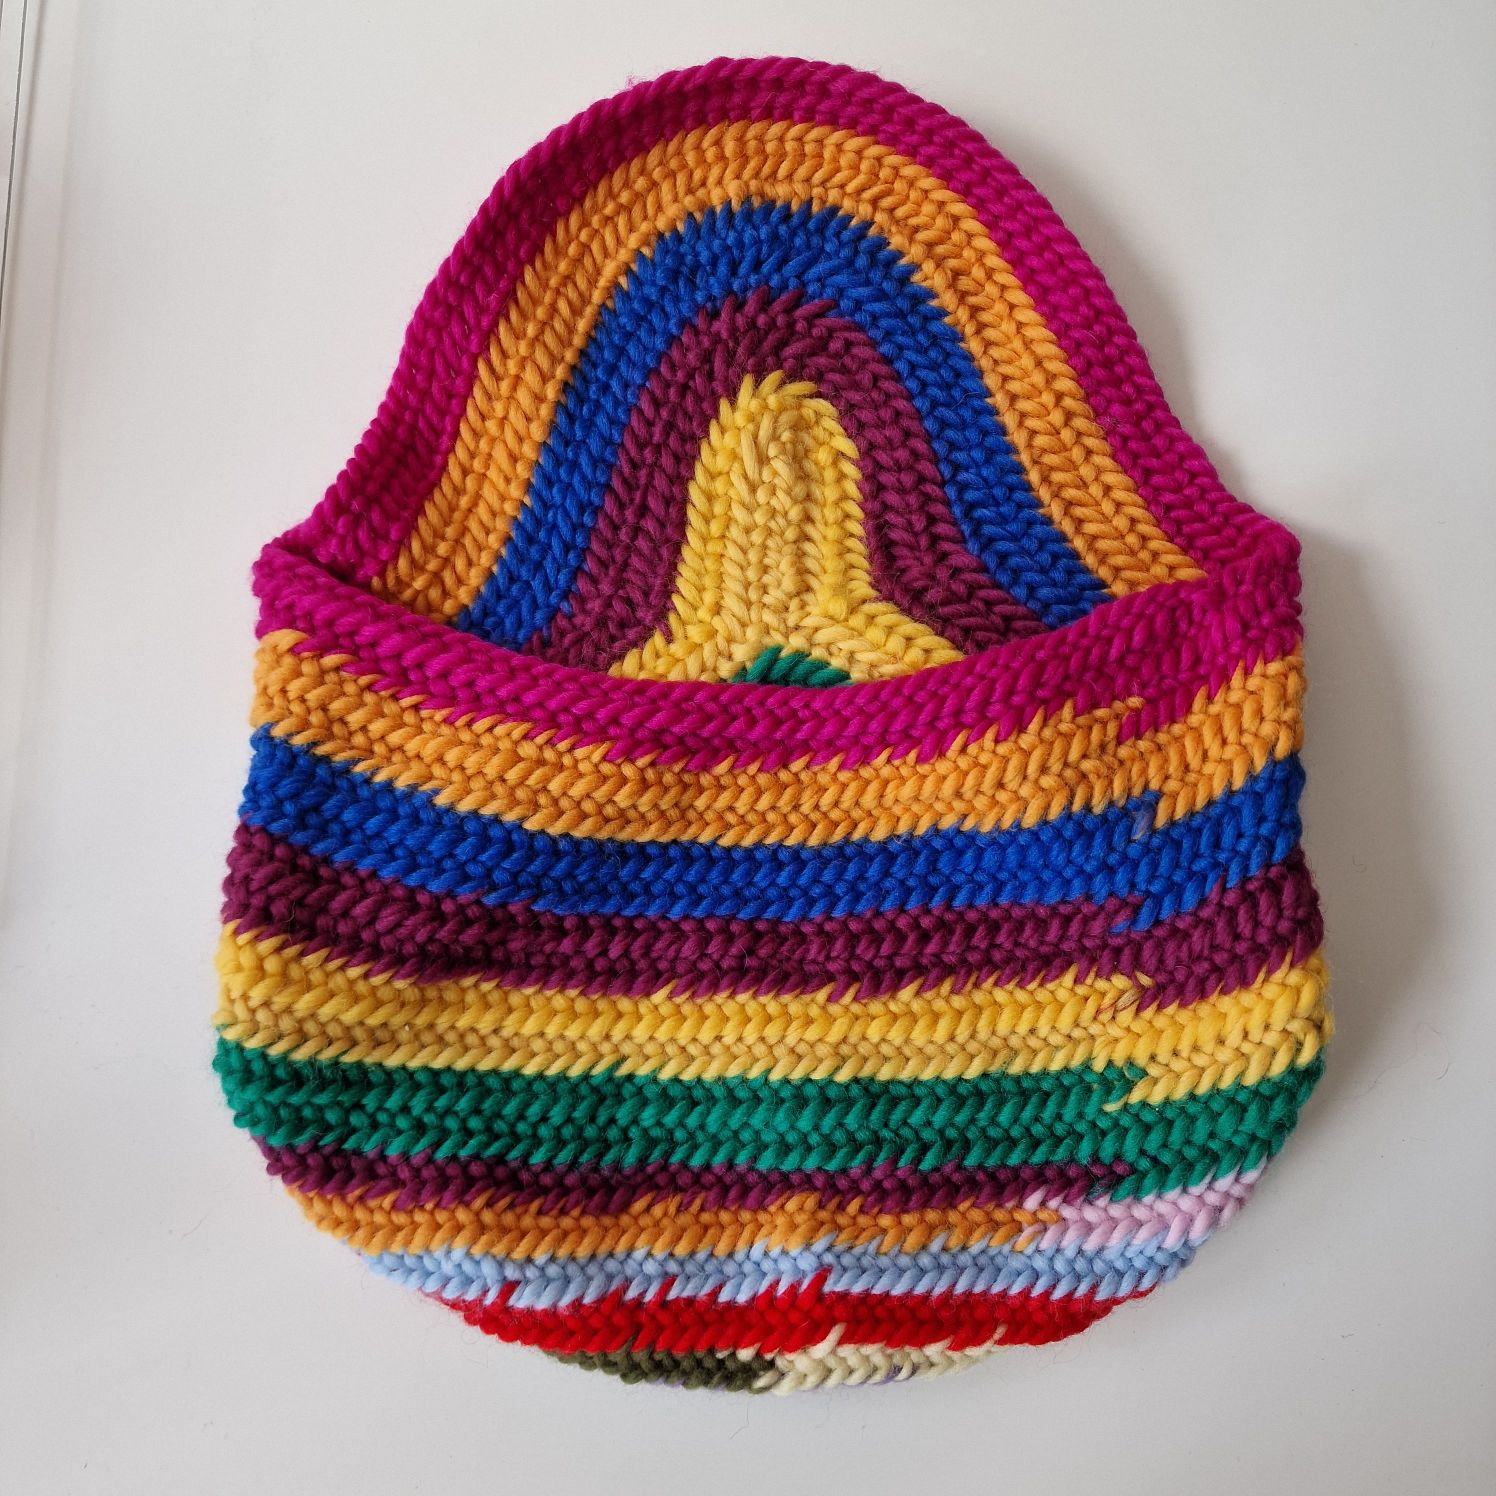
The bag also needed a strap.
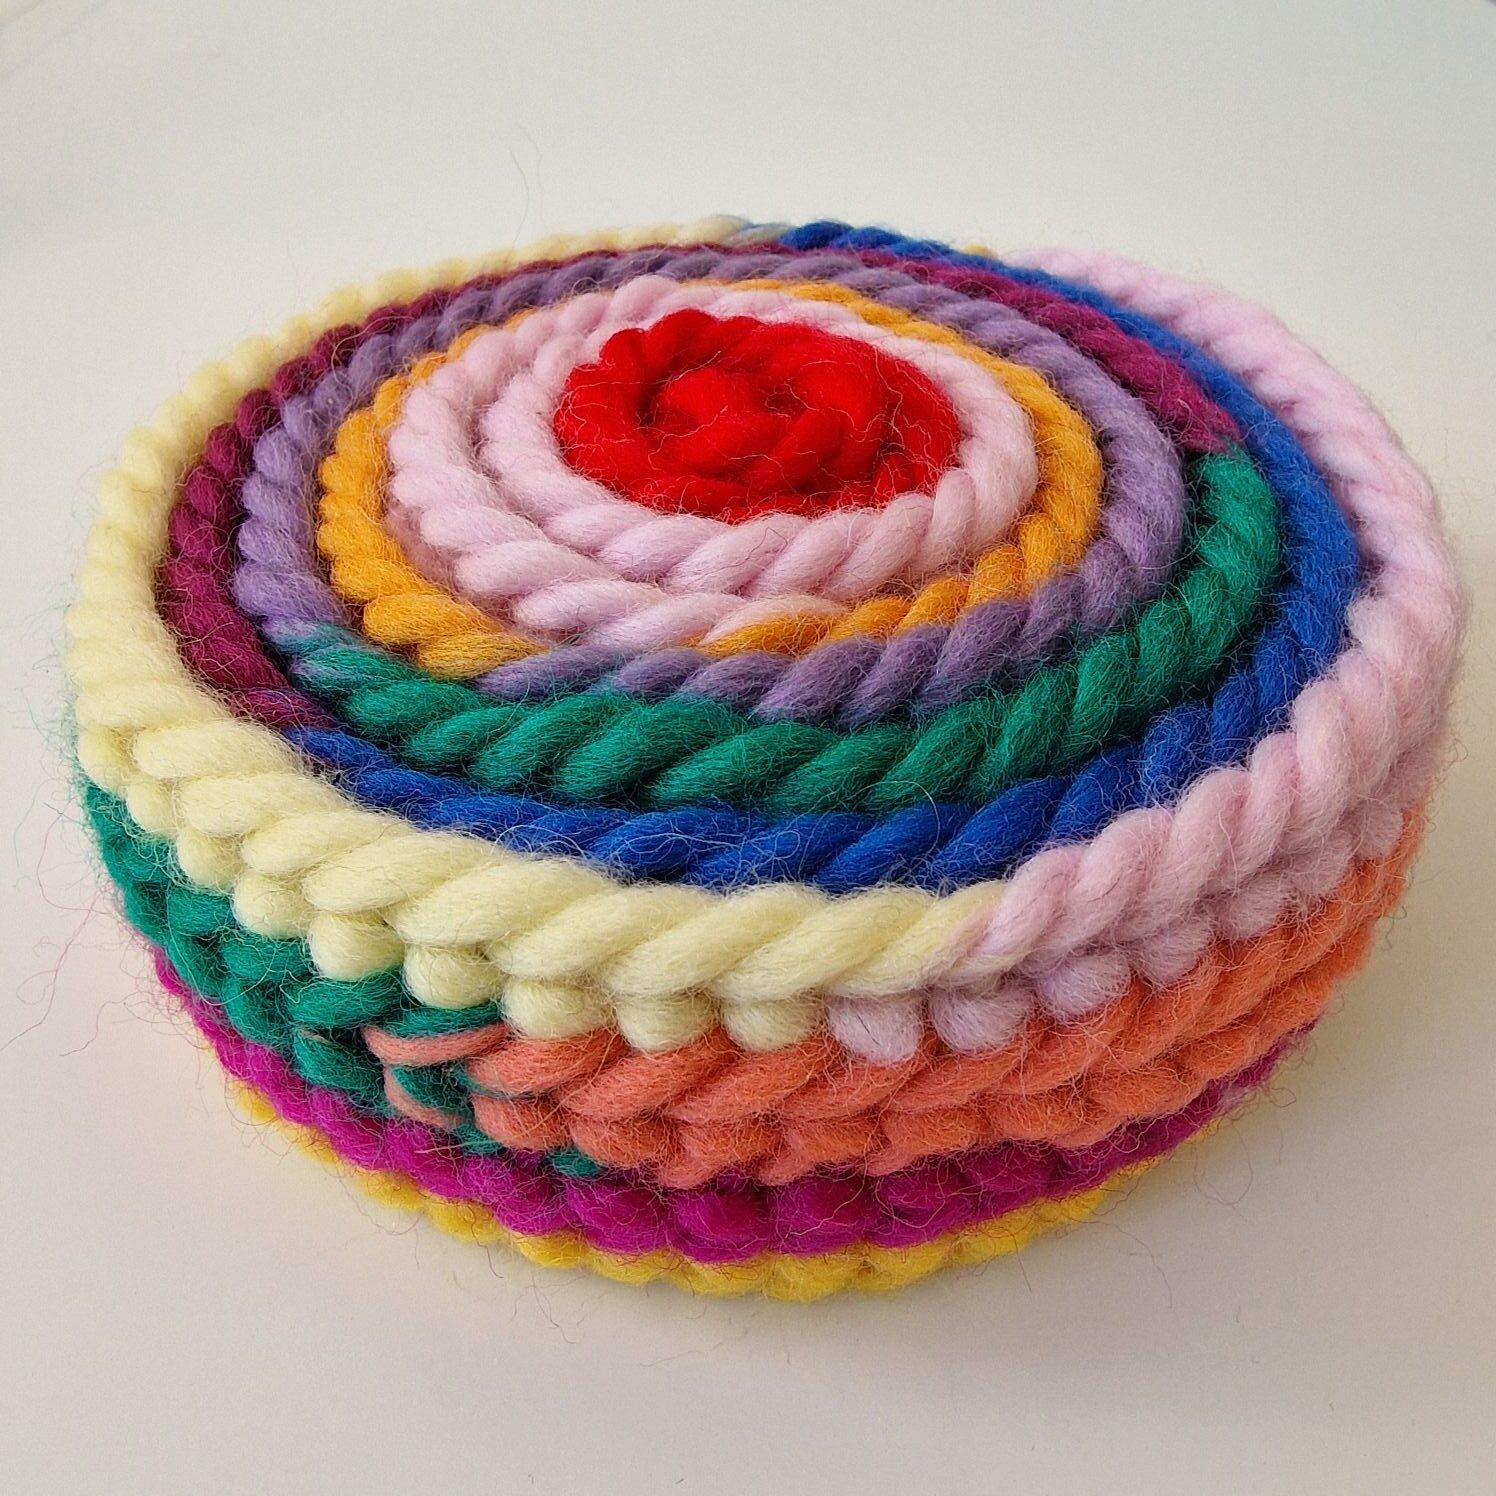
The length is 1.85 meters, and the width of the strap is 5.5 cm.
Other items from the stained-glass project are in the washing machine, but I always use this wash cycle for felting.
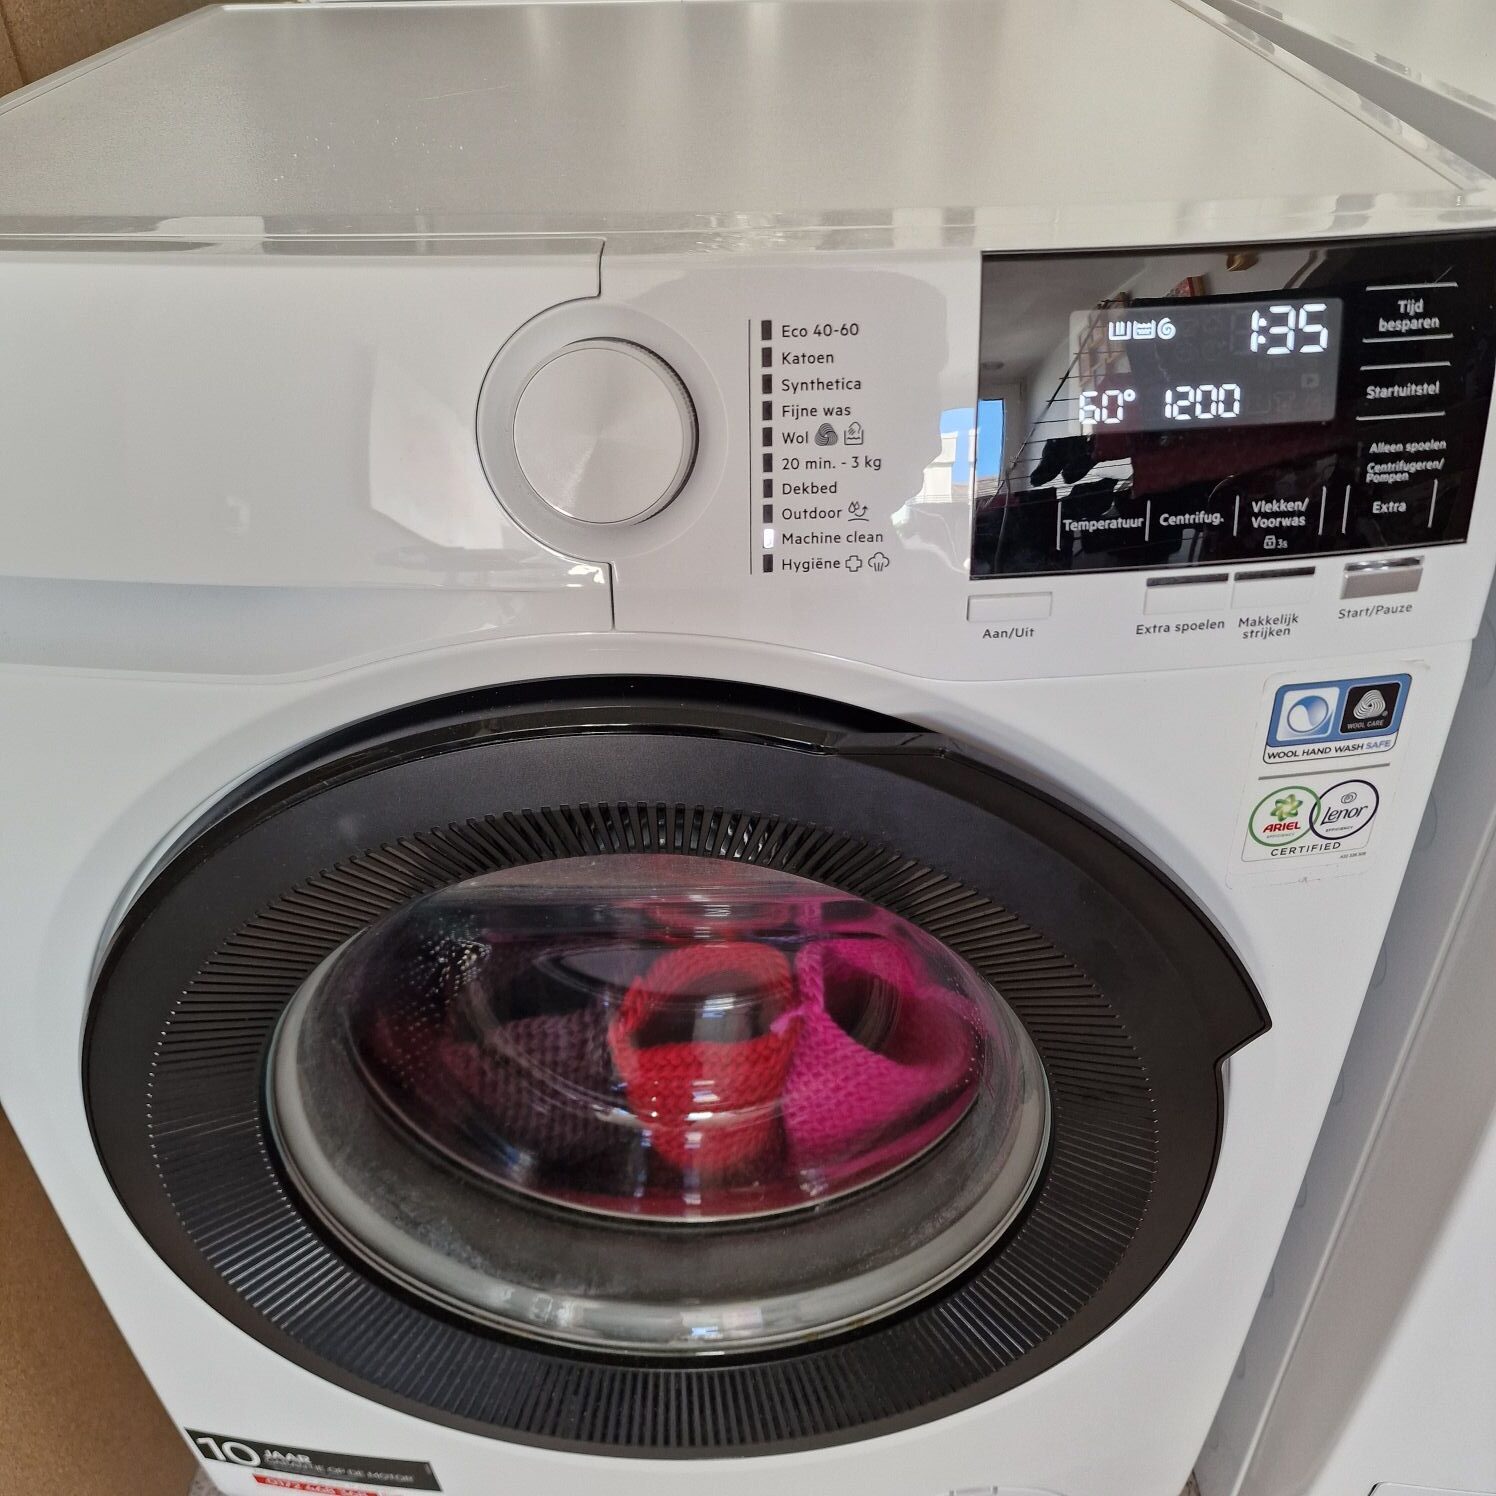
Now for the exciting part: just how small have the bag and the strap become? The total length of the flap, measured from the center of the bag, is now 33 cm, and the width of the bag is 27 cm. The length of the strap is now 1.50 meters, and the width is 3.5 cm. With this information on shrinkage, you have an idea of roughly how much the wool shrinks when making a bag using the Oslo stitch.
Once the cycle finishes, I immediately take the items out of the machine while they can still be shaped. I place a balloon inside the bag and inflate it to achieve that beautiful bag shape; then, I fold the flap over the bag (having already removed the balloon).
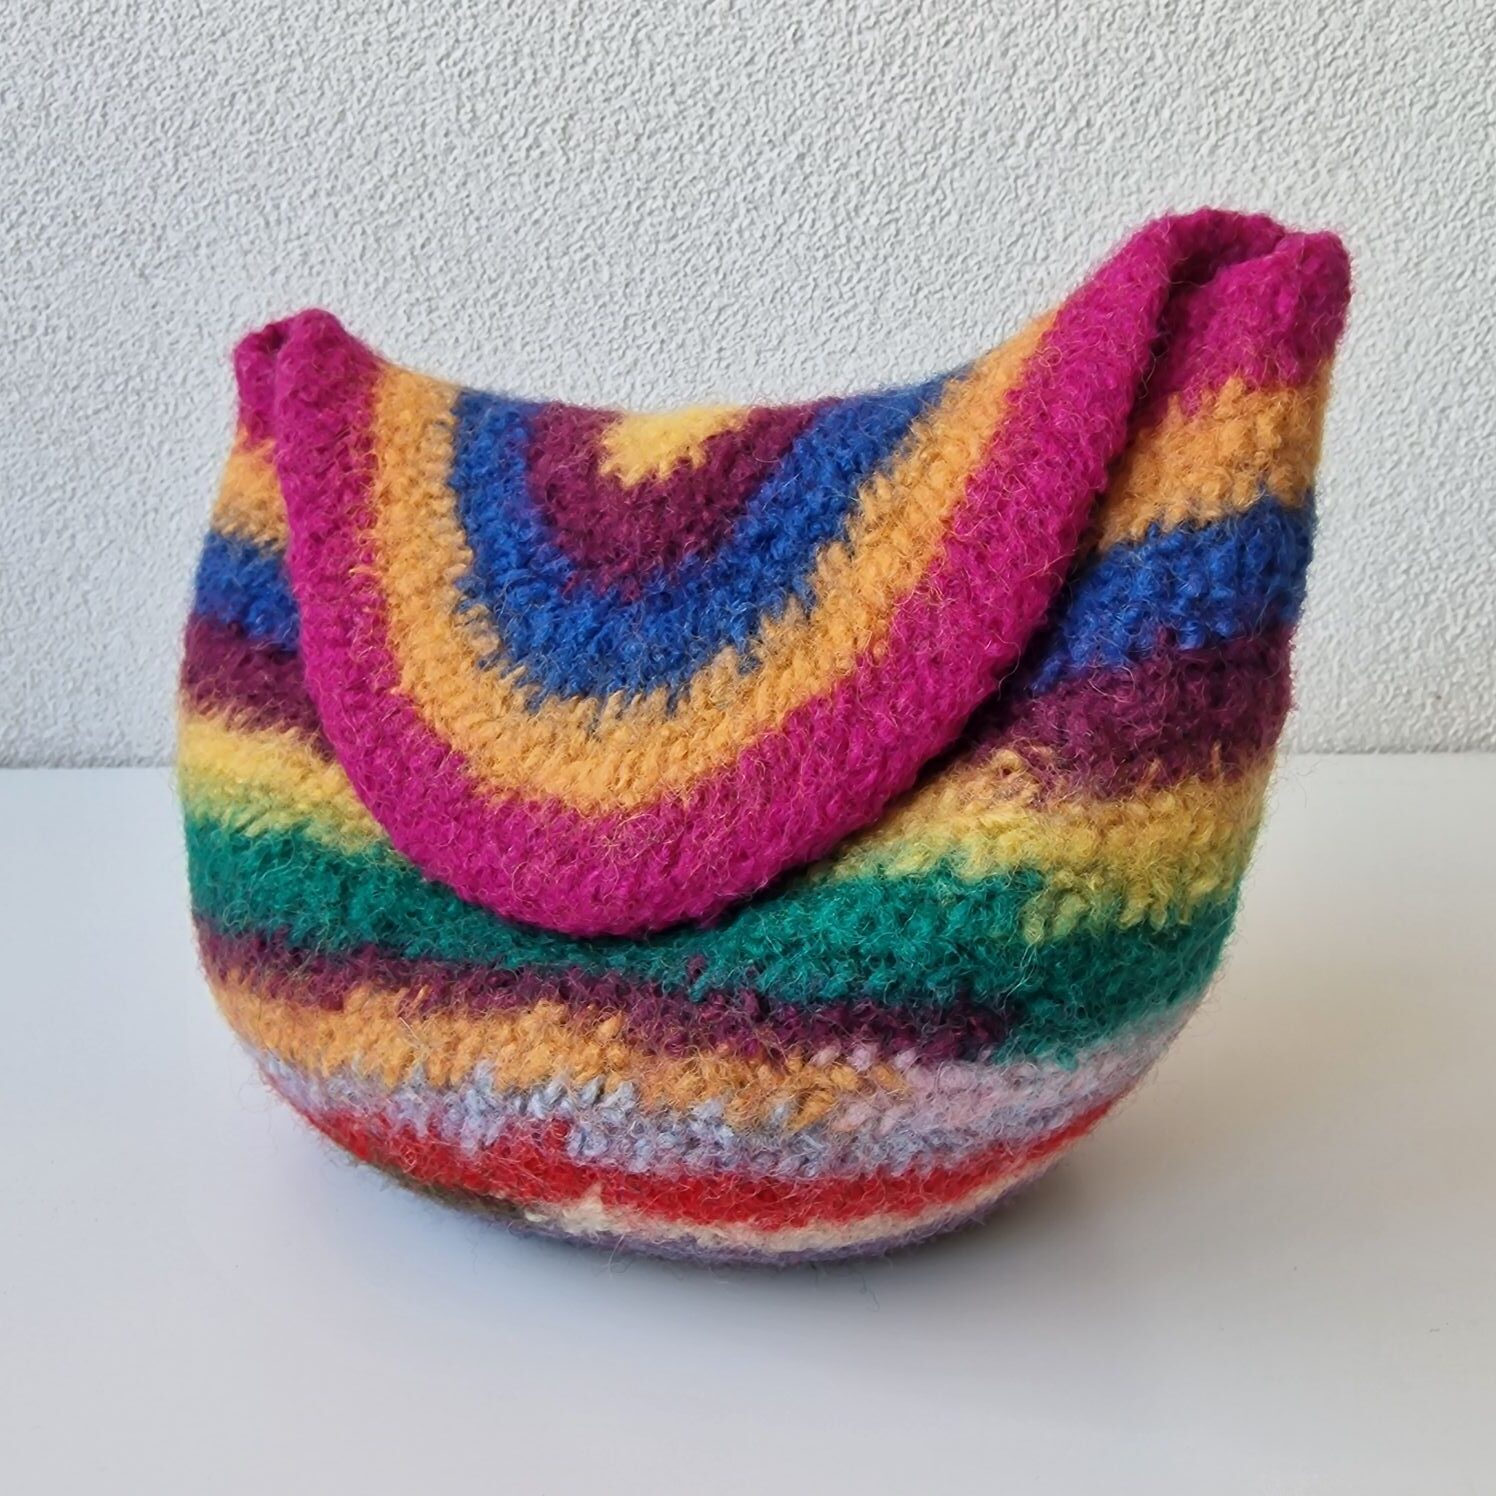
The handle has shrunk by 35 cm in length and 2 cm in width.
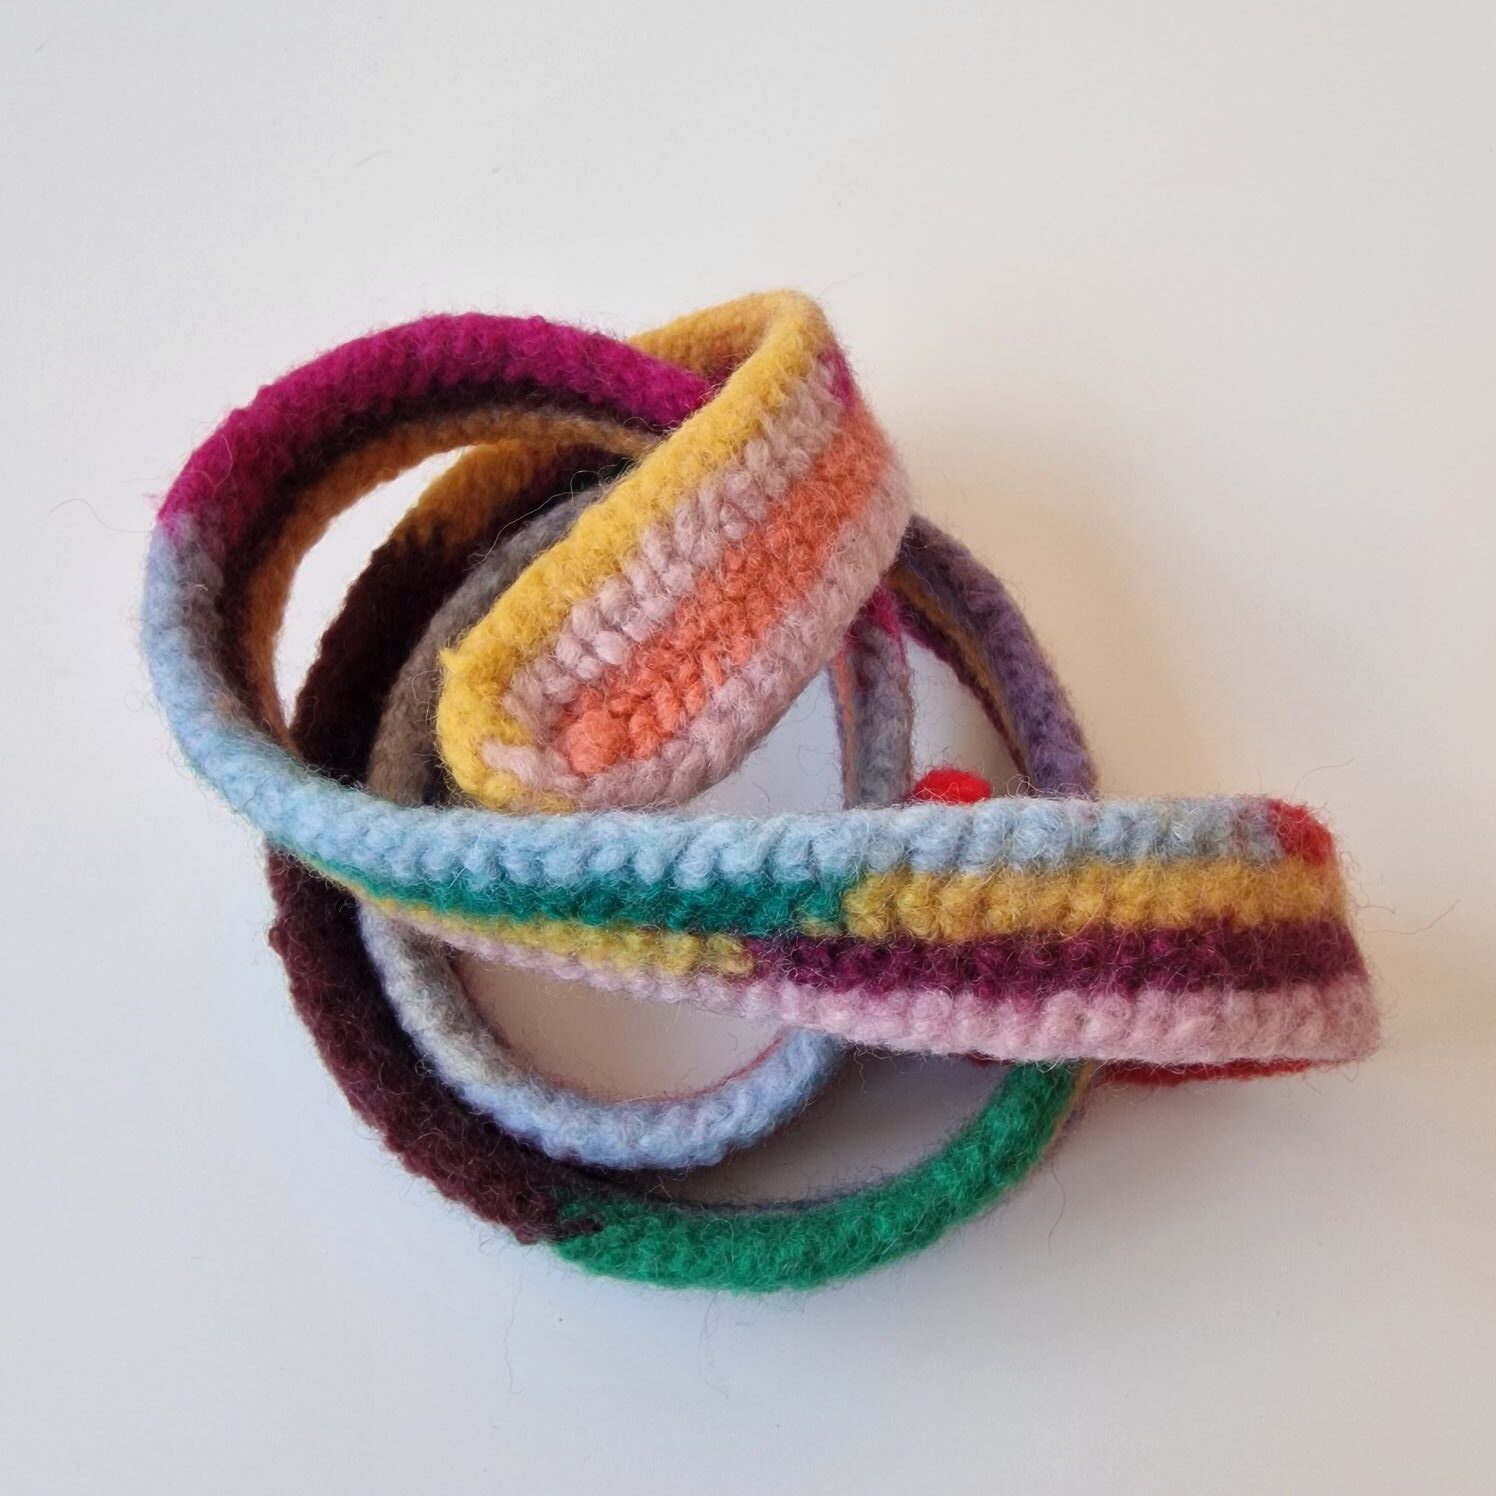
Here you can see more clearly which colors I used.
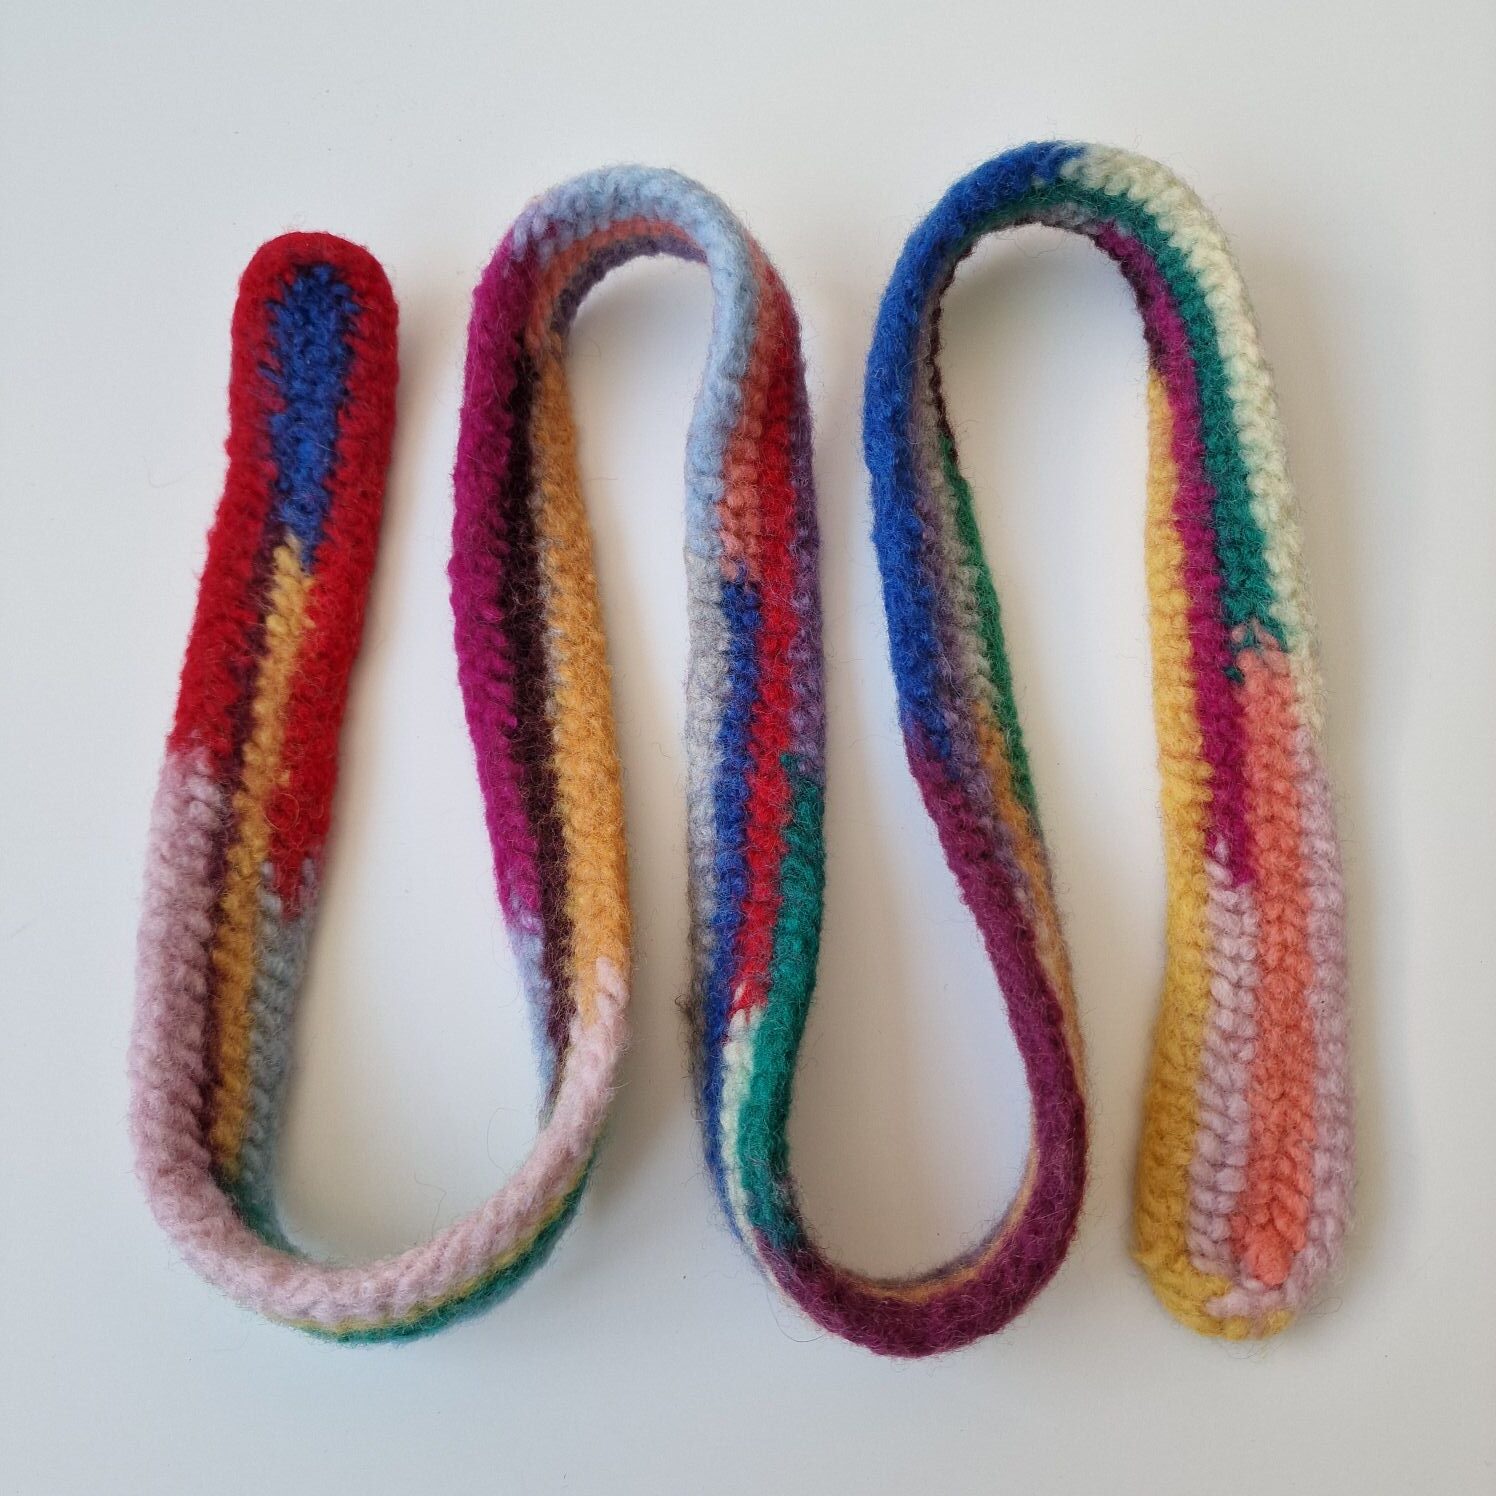
Now just to attach the strap to the bag, and it’ll be ready to be shown at the next trade fair—and it is NOT for sale :)
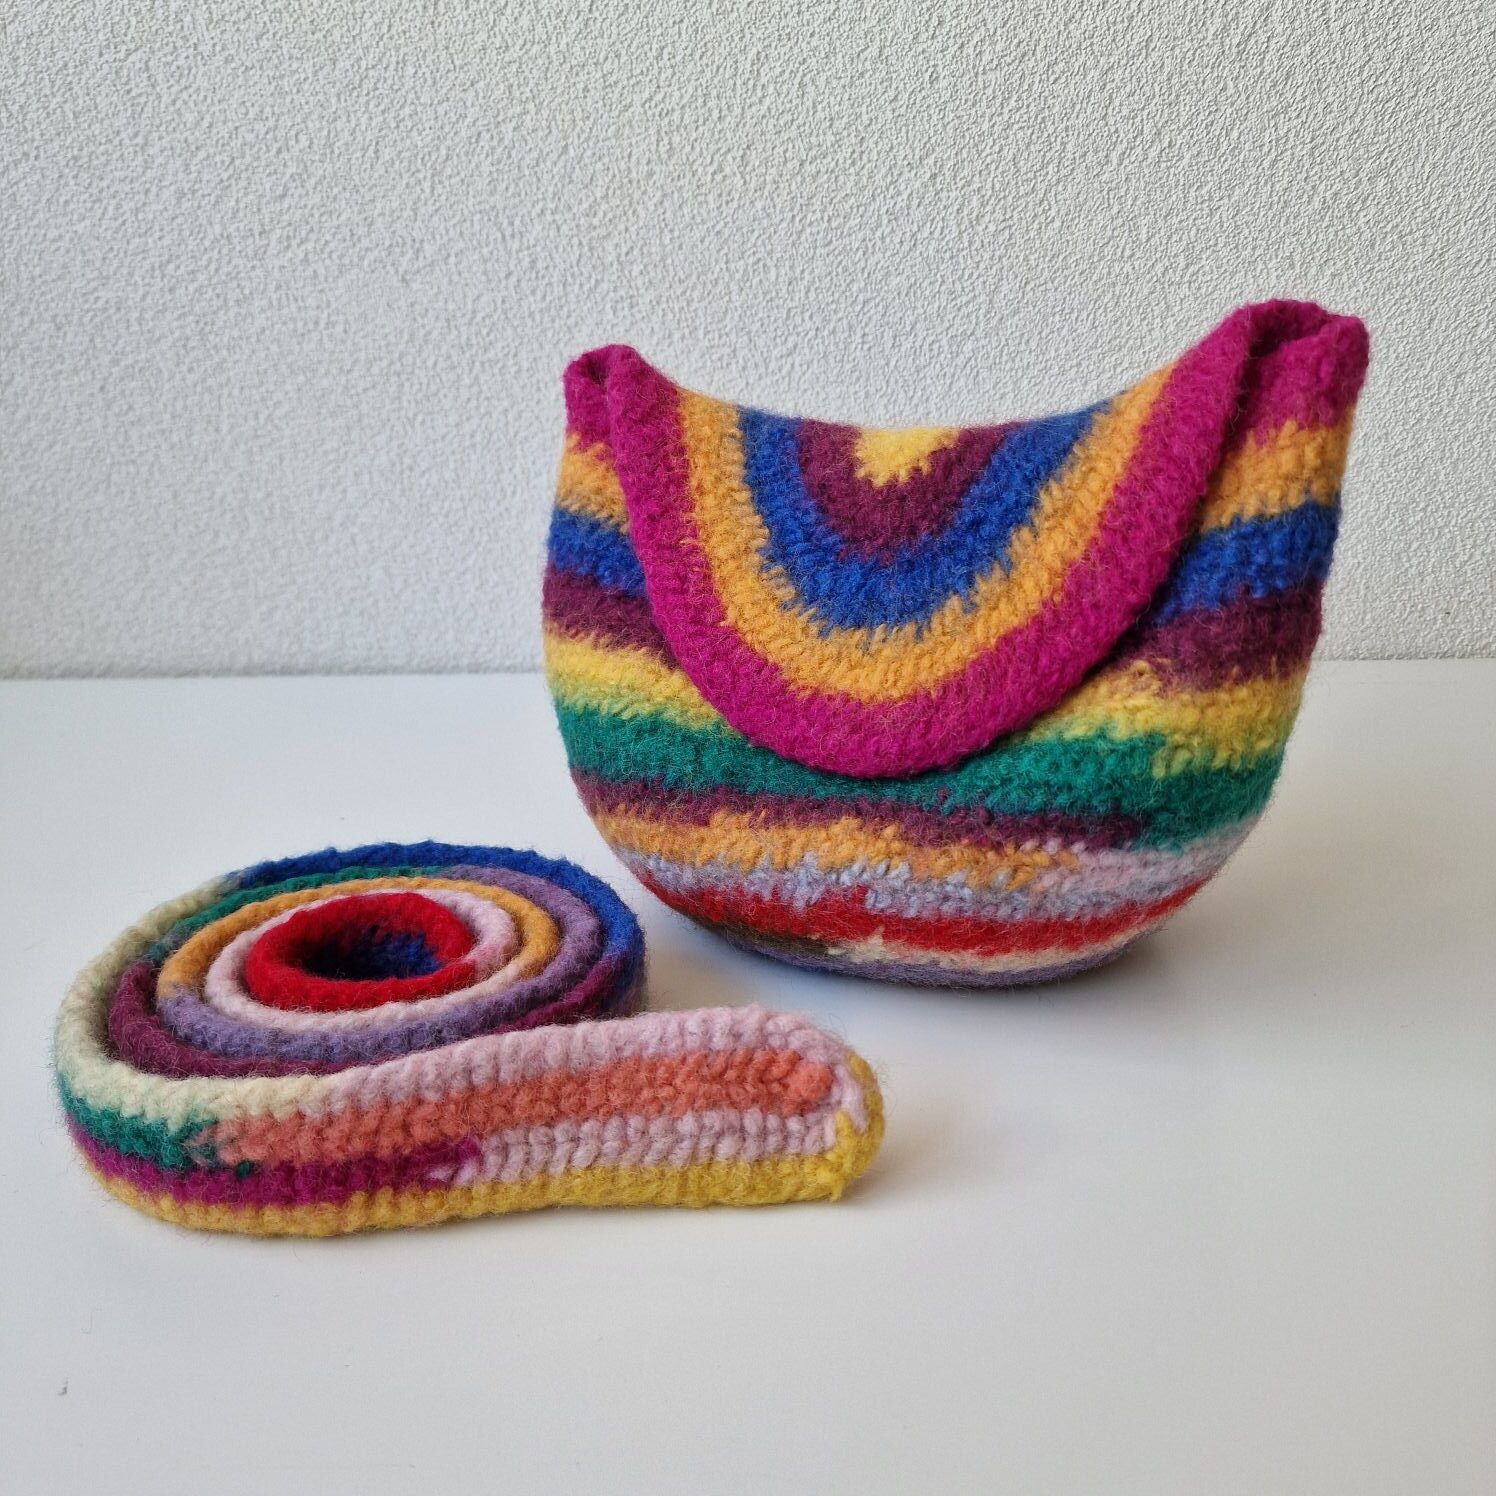
Couldn't decide which photo to post. :)
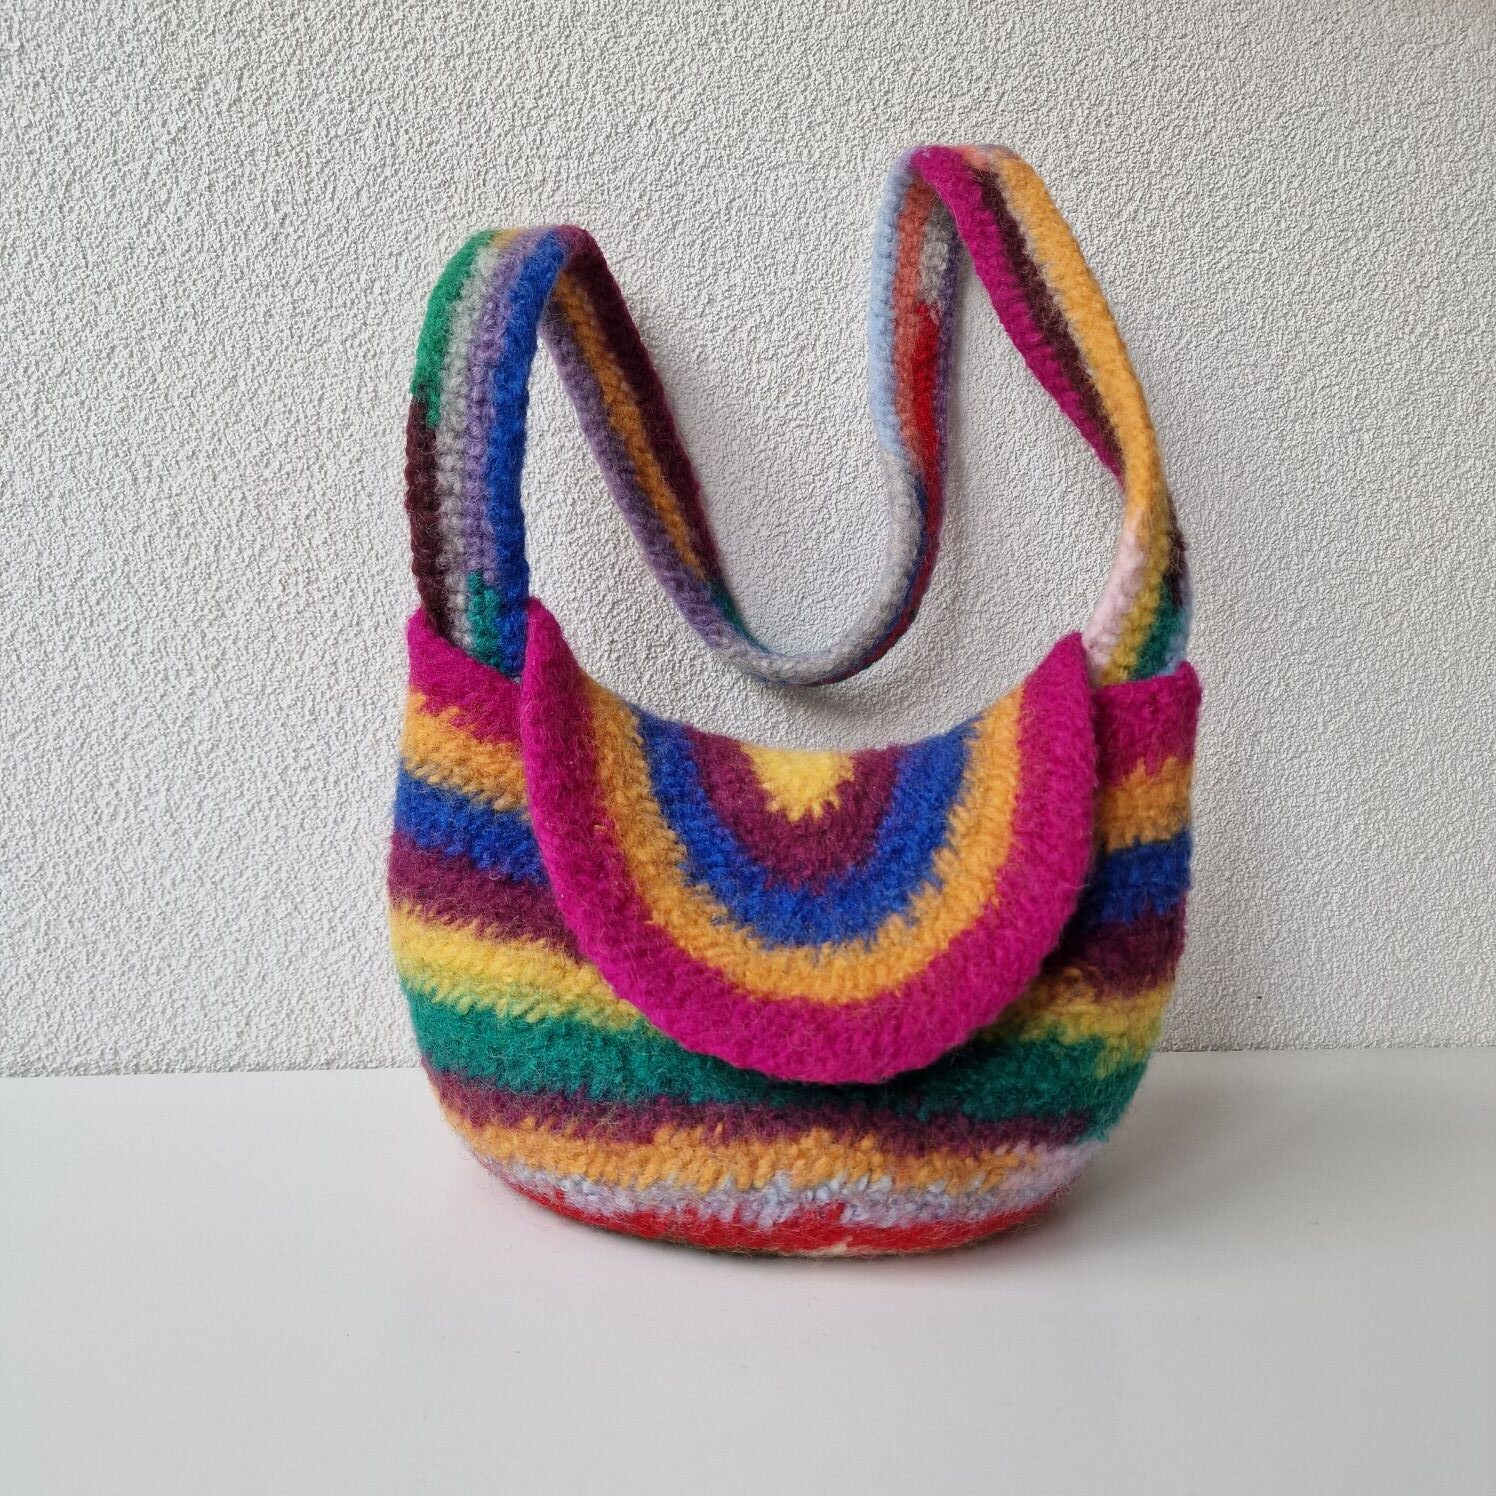
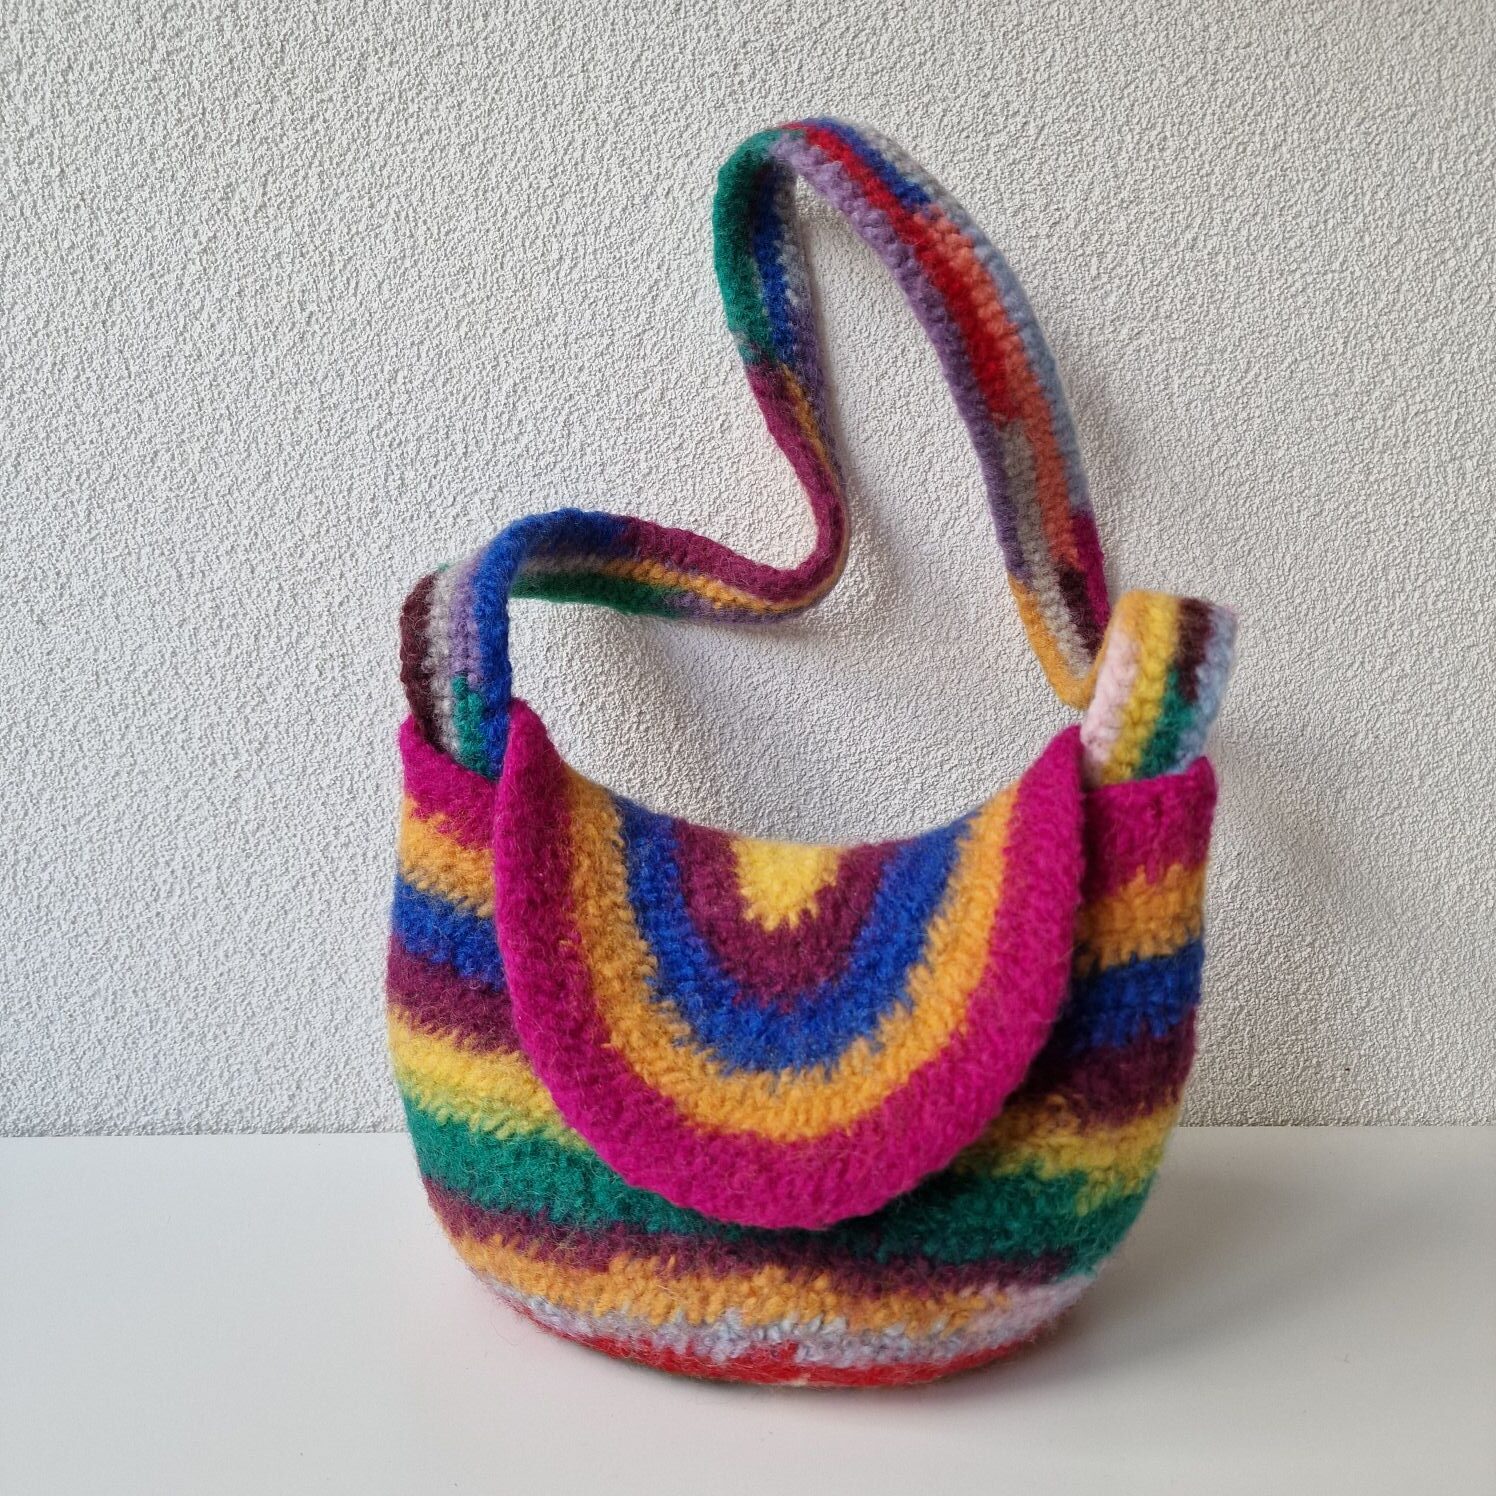
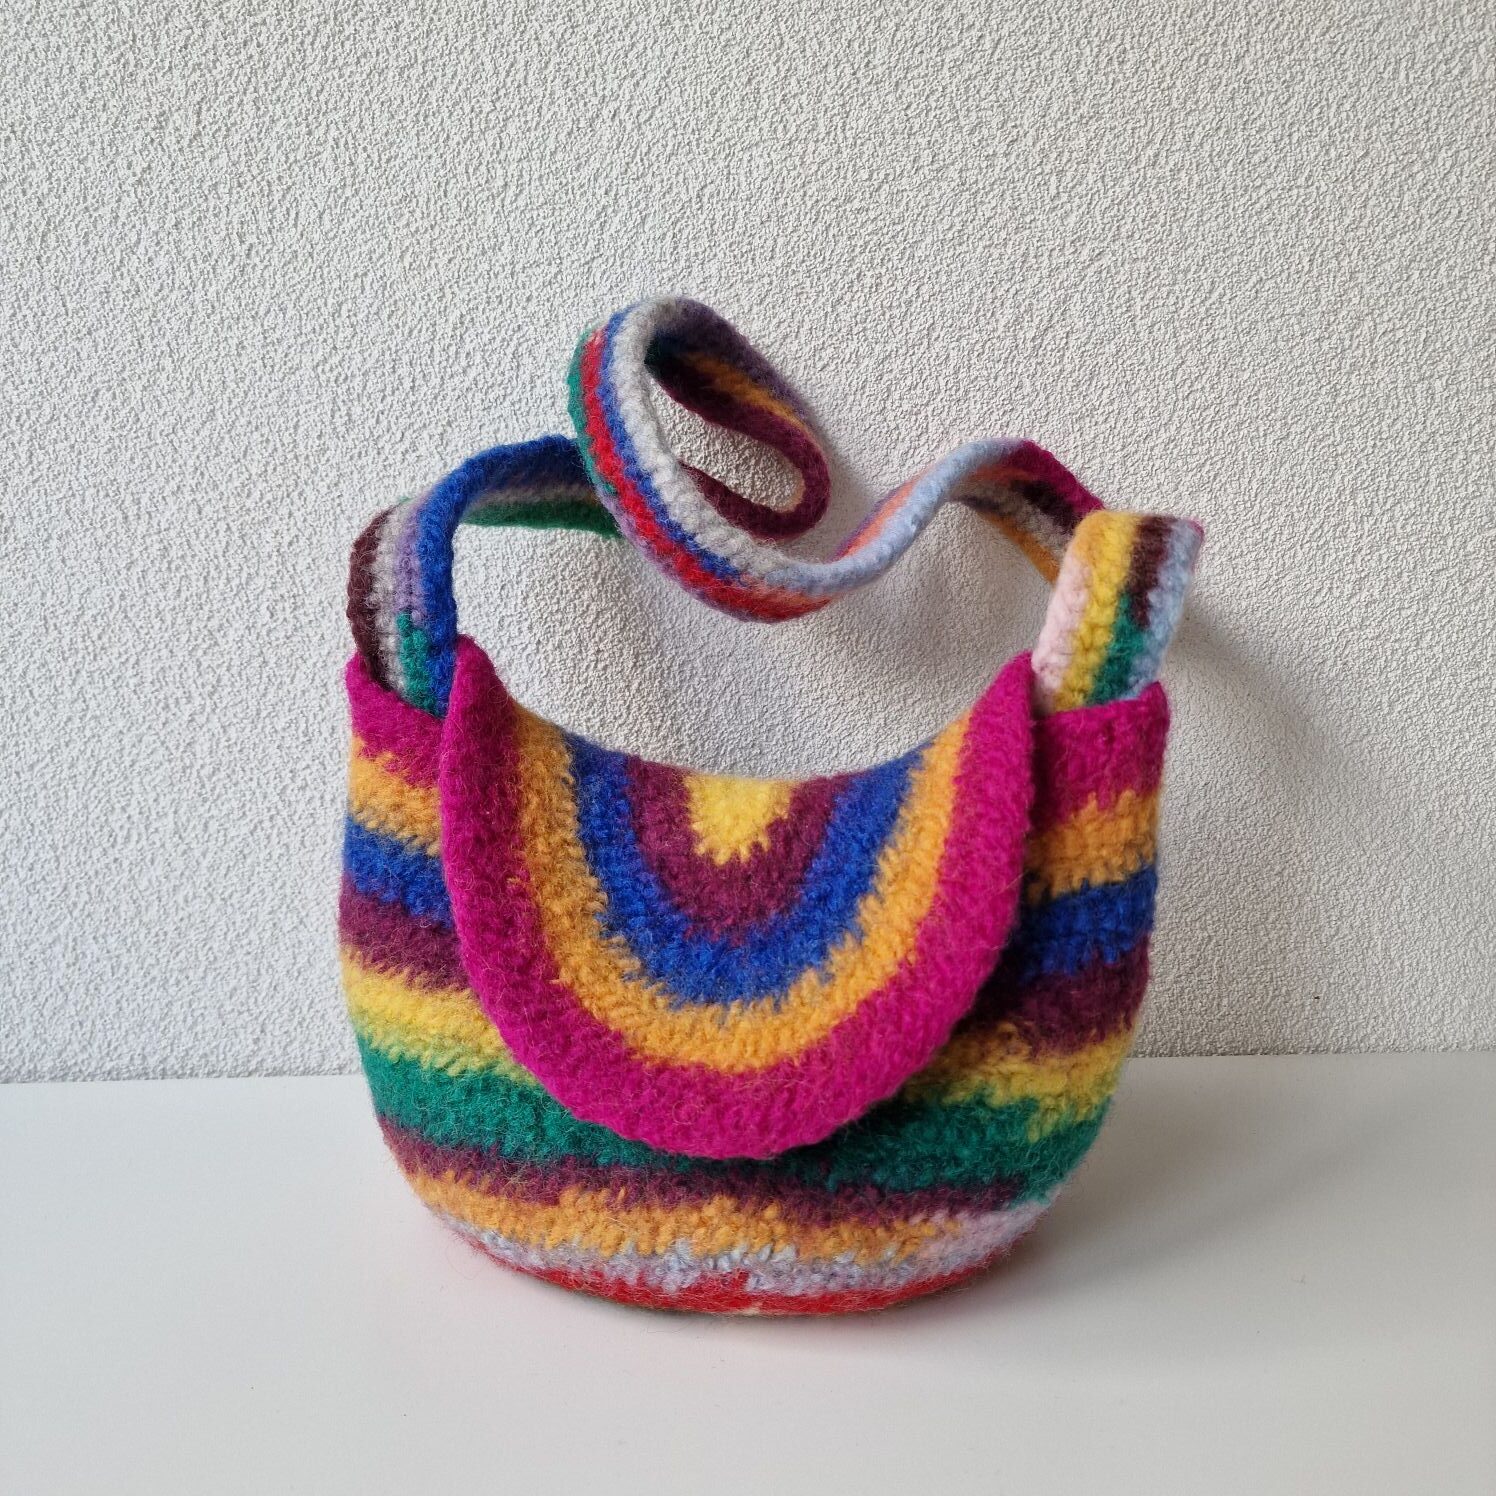
The next bag will have a different color combination this time. I started with 12 Faberg stitches and the F1 connection stitch.

After that round, increase in every stitch. Next, work 1 stitch normally and increase in the 2nd stitch, then work the 2nd stitch normally and increase in the 3rd. Continue this pattern until you reach the round where you work 5 stitches normally and increase in the 6th. Then work 2 rounds normally using variegated brown wool.

Then, for the next round, work normally and increase in the 7th stitch using the camel-colored yarn. After that, work 7 stitches normally and increase in the 8th stitch with the camel color. Next, work another round increasing in the 9th stitch (working 8 stitches normally before the increase), again using the camel color.

At the tip of the separate row I’m calling the “finger,” immediately increase by 2 stitches so you can easily turn the corner. When you reach the base of the finger, immediately decrease by 1 stitch—this rounds out the sharp angle—and do the same on the other side of the finger. When you reach the tip of the finger, increase by 3 stitches.


Then decrease 1 stitch at the base and increase 5 stitches at the top.

Then decrease 2 stitches at the base and increase 7 stitches at the top.
After 3 rounds using the variegated yarn, switch to the camel-colored yarn and begin decreasing, except at the finger section. Work 8 stitches normally, then decrease on the 9th. Next, work 2 rounds normally with the variegated yarn, without increasing or decreasing at the finger. Then, work 7 stitches normally and decrease on the 8th (except at the finger, where you use the camel color). After that, work 6 stitches normally and decrease on the 7th. Finally, work a round normally using the camel-colored yarn.

Now, just a few more rounds of needle-binding to make the bag a bit bigger.

This size is perfect, and now the bag can go in the washing machine and this is how it turned out.

Next, I’m going to put a balloon inside.


After drying, I remove the balloon and shape the bag.

The beauty of this bag lies in the combination of the felted Faberg stitch—where the stitch is clearly visible on the flap—and the F2 joining stitch. I just need to nalbind a strap for it.