Crafts from ancient times give relaxation in our present time
My latest project
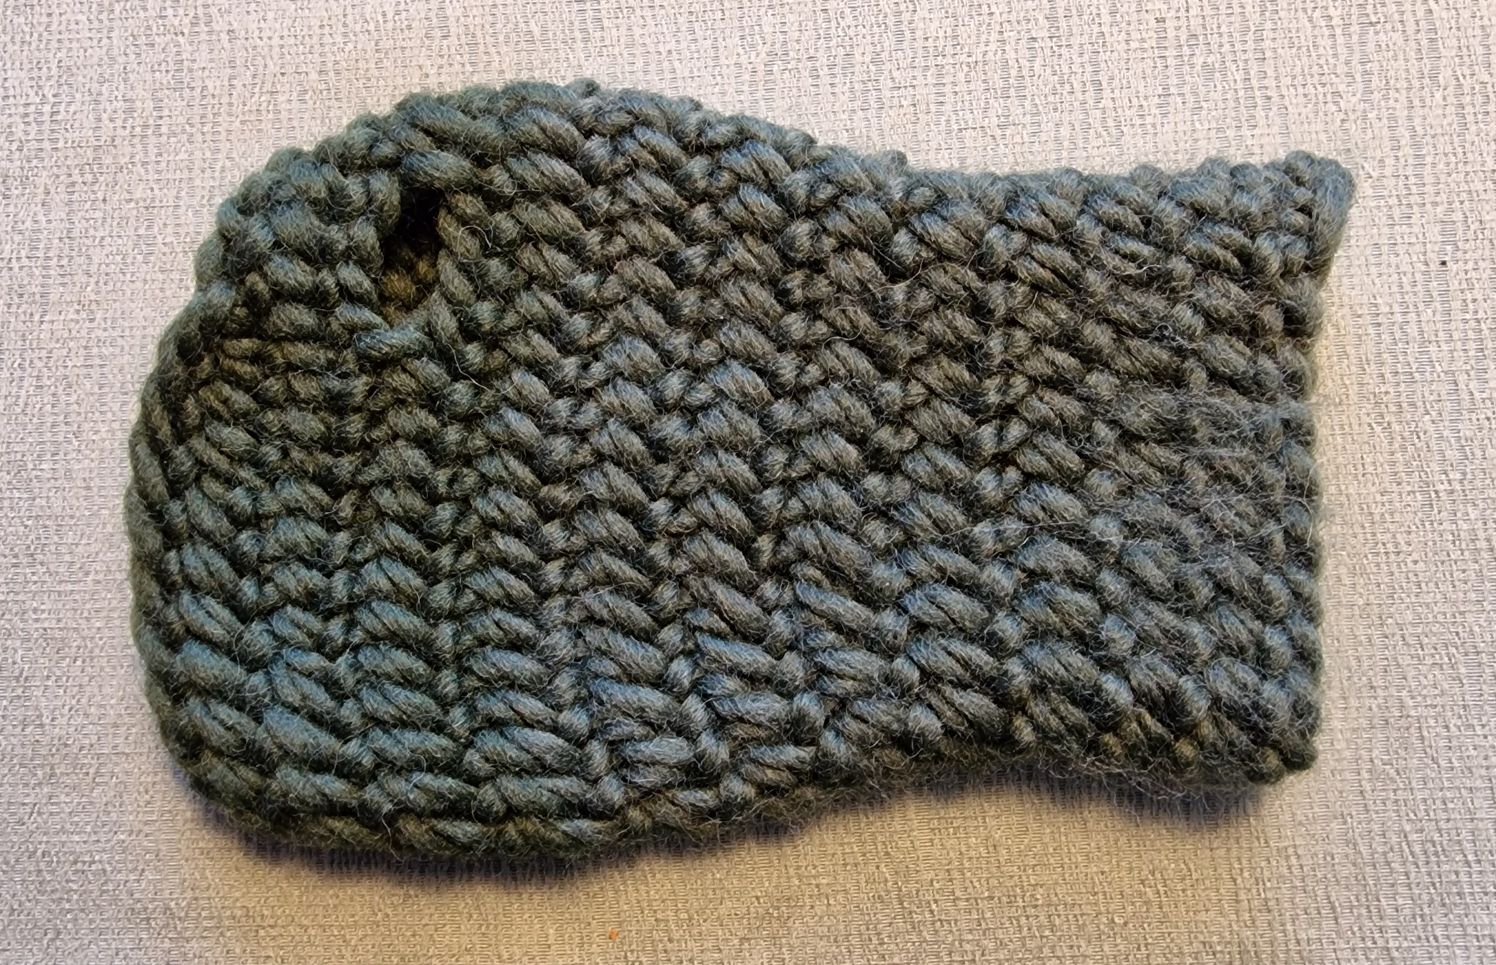
I saw some funny, crocheted witch hats for Halloween on Facebook. I thought to myself, "That could certainly be done using nalbinding, too." When I received a request on my YouTube channel, "Happy Needlebinding," to create one using this technique, I got started right away. It is now October 24, 2026, and Halloween is next Saturday.
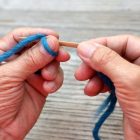
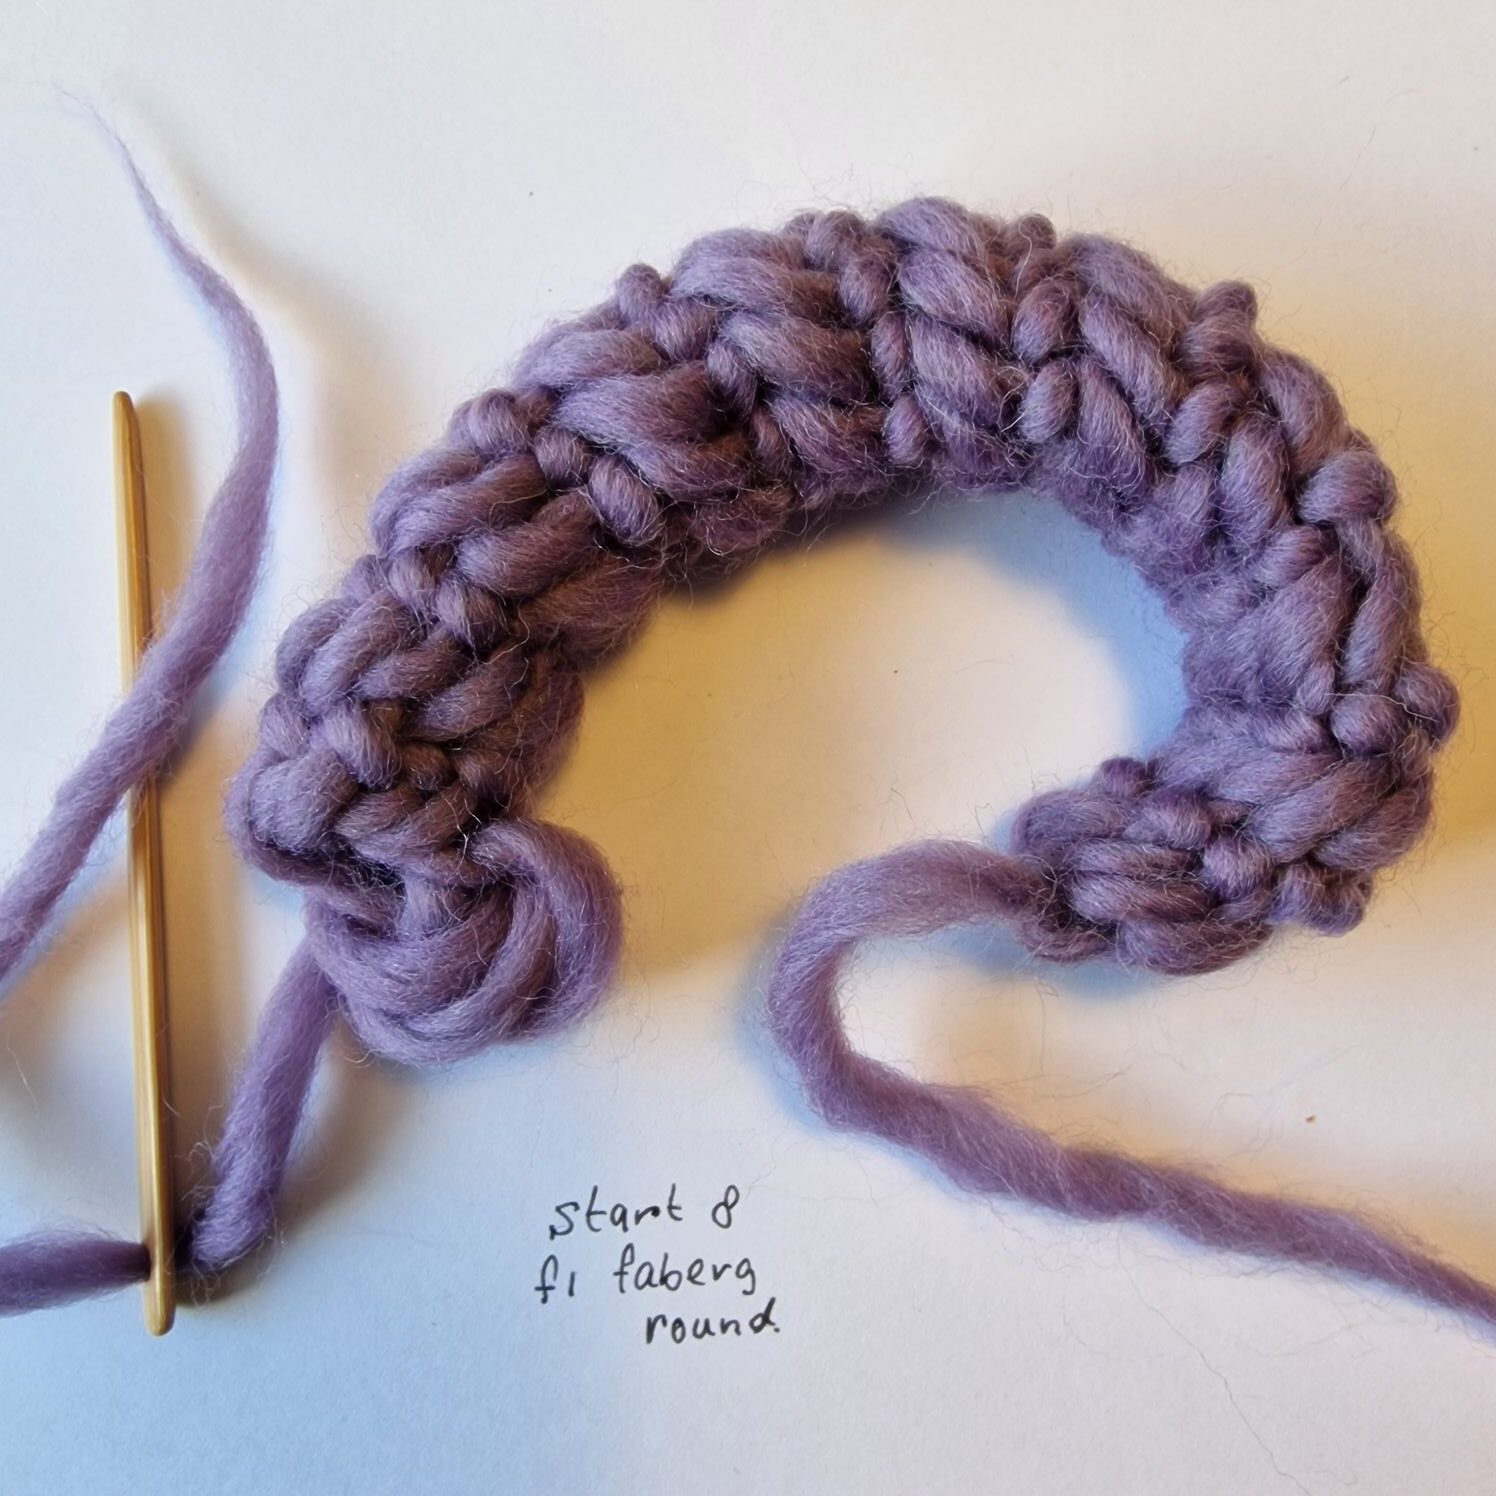
I started with 8 stitches using the Faberg technique and then worked one round of nålebinding. Below, you can see a video showing how to make a round.
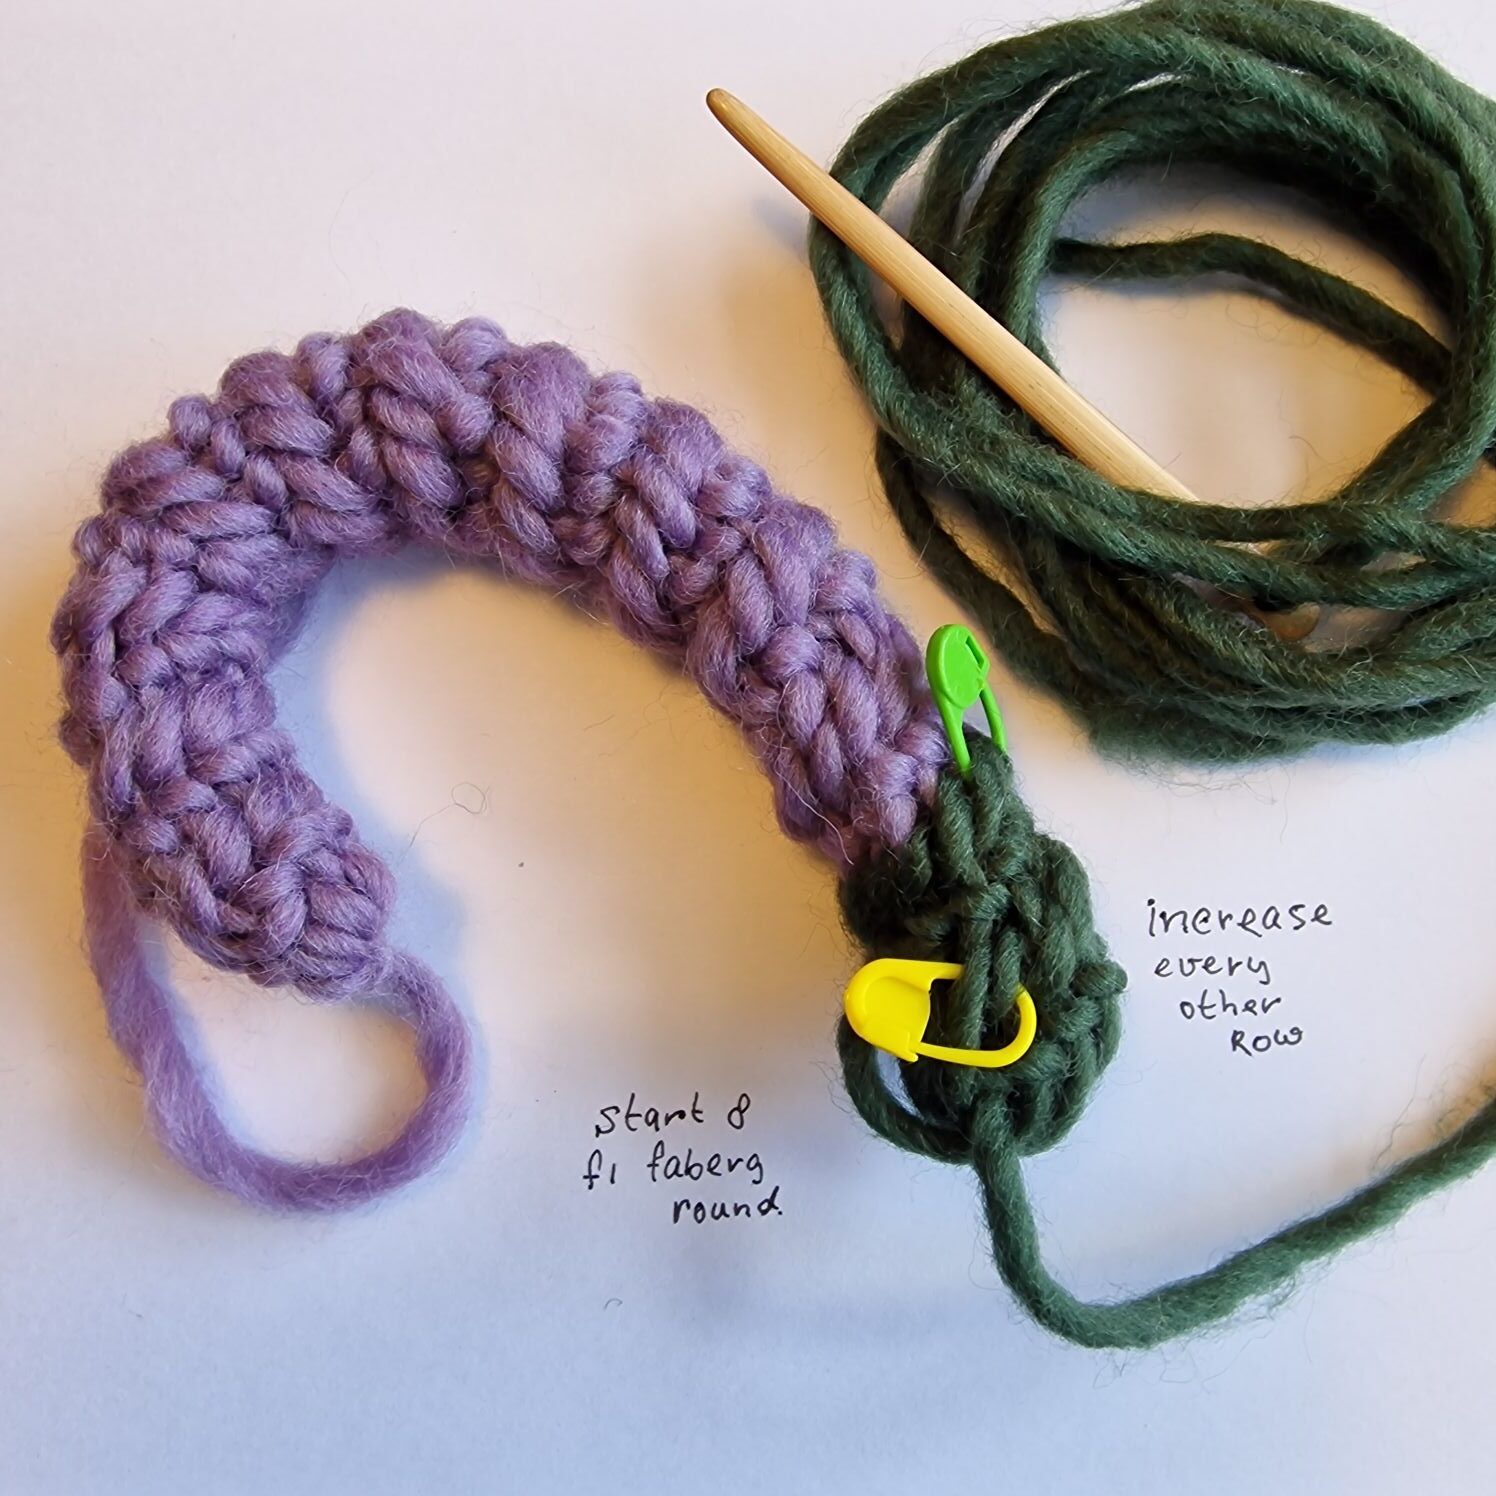
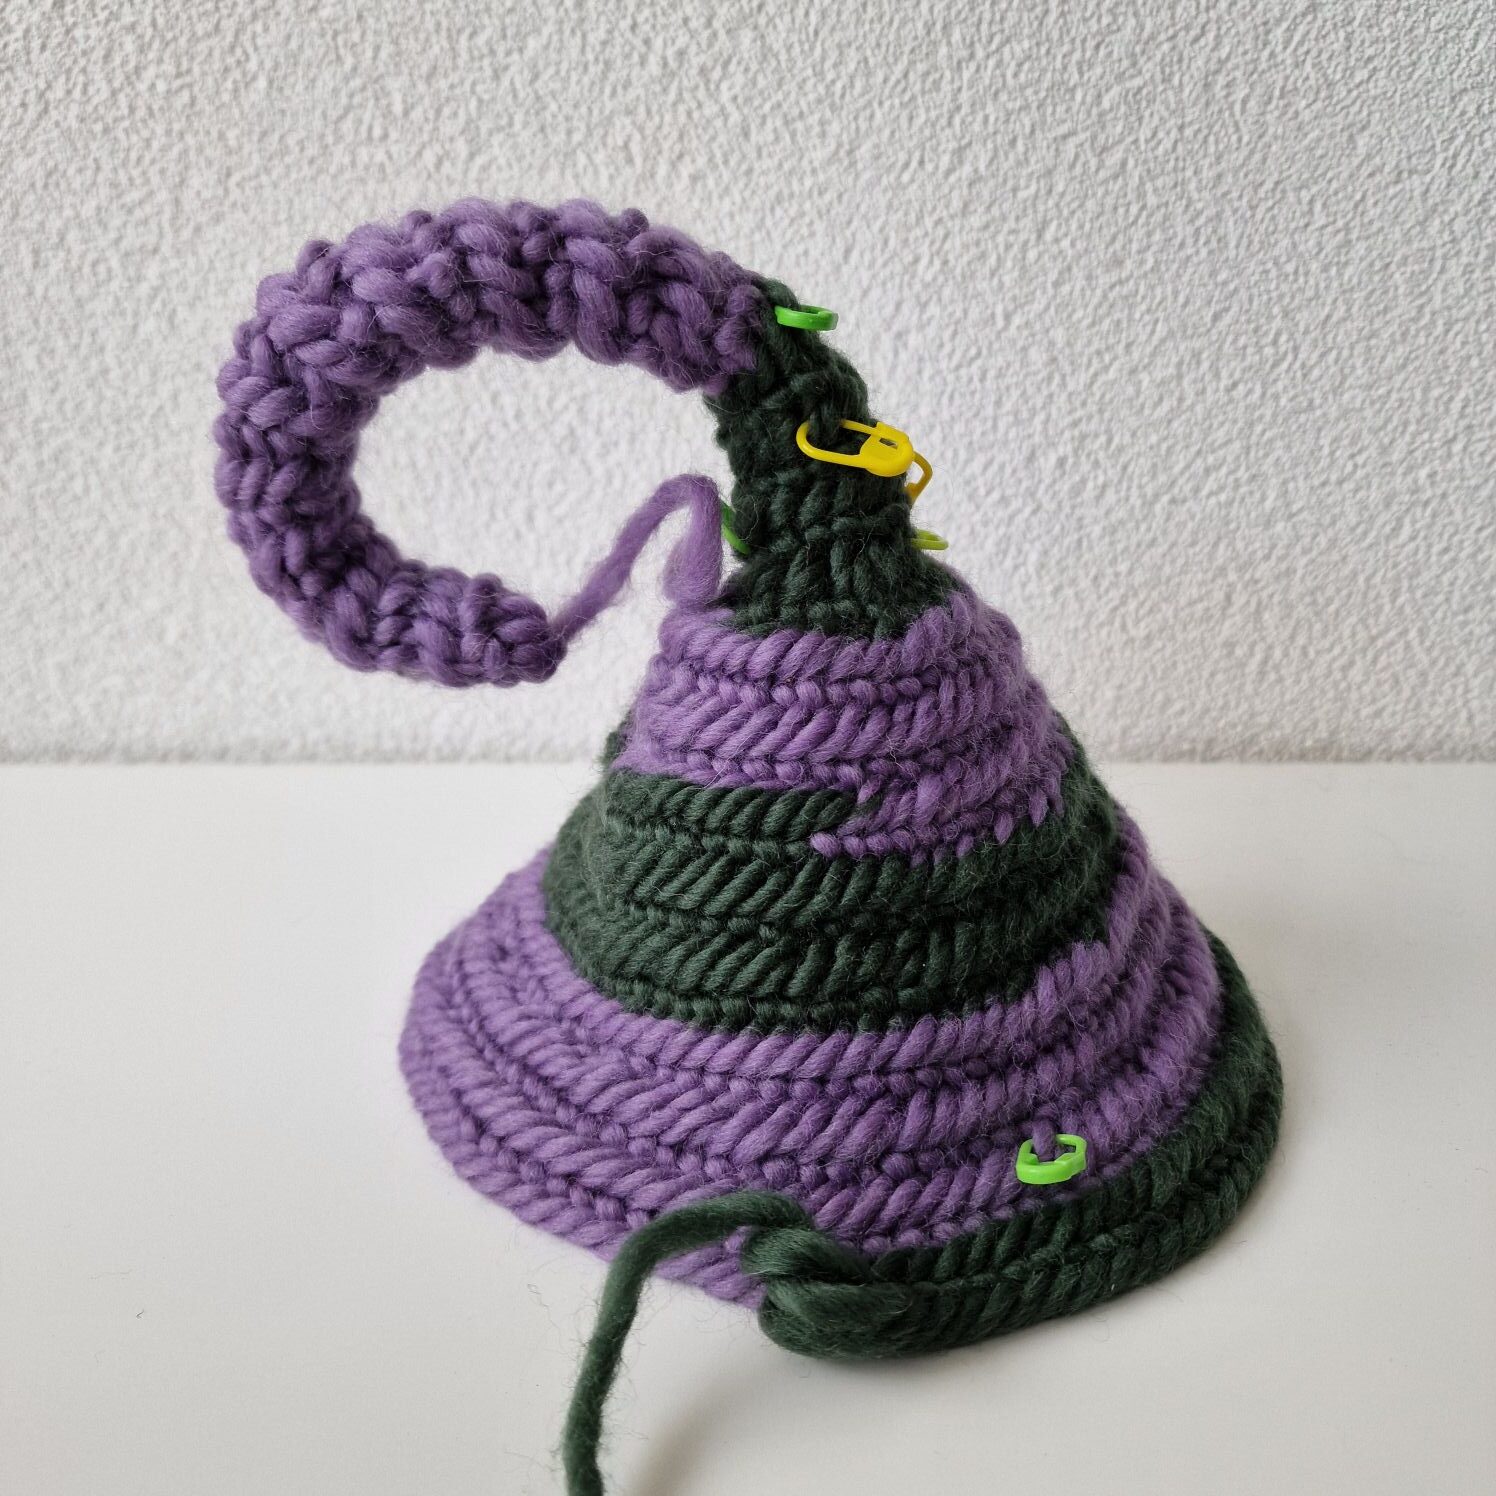
Once the tip was long enough, I felted a dark green color onto it and, after the first stitch, attached a stitch marker.
I forgot to mention "increase one stitch every other row"—in other words, add one stitch every second row. The tip needed to be a bit more tapered, so after two rounds, I decided to increase by two stitches per round.
When two stitches didn't provide enough of a taper, I increased every stitch in the following round and attached a stitch marker (so I would know where each round begins and ends). The diameter of the circle is now 6 cm, consisting of 30 stitches—though this will vary depending on the size of your thumb, the thickness of the yarn, and how loosely or tightly you work your nålebinding. Next, I work one stitch normally and then increase on the second stitch. In the following round, I work all stitches normally. After that, I work two stitches normally and increase on the third stitch. In the next round, I work all stitches normally—and so on, until you feel that the tip of the hat is sufficiently high and large.
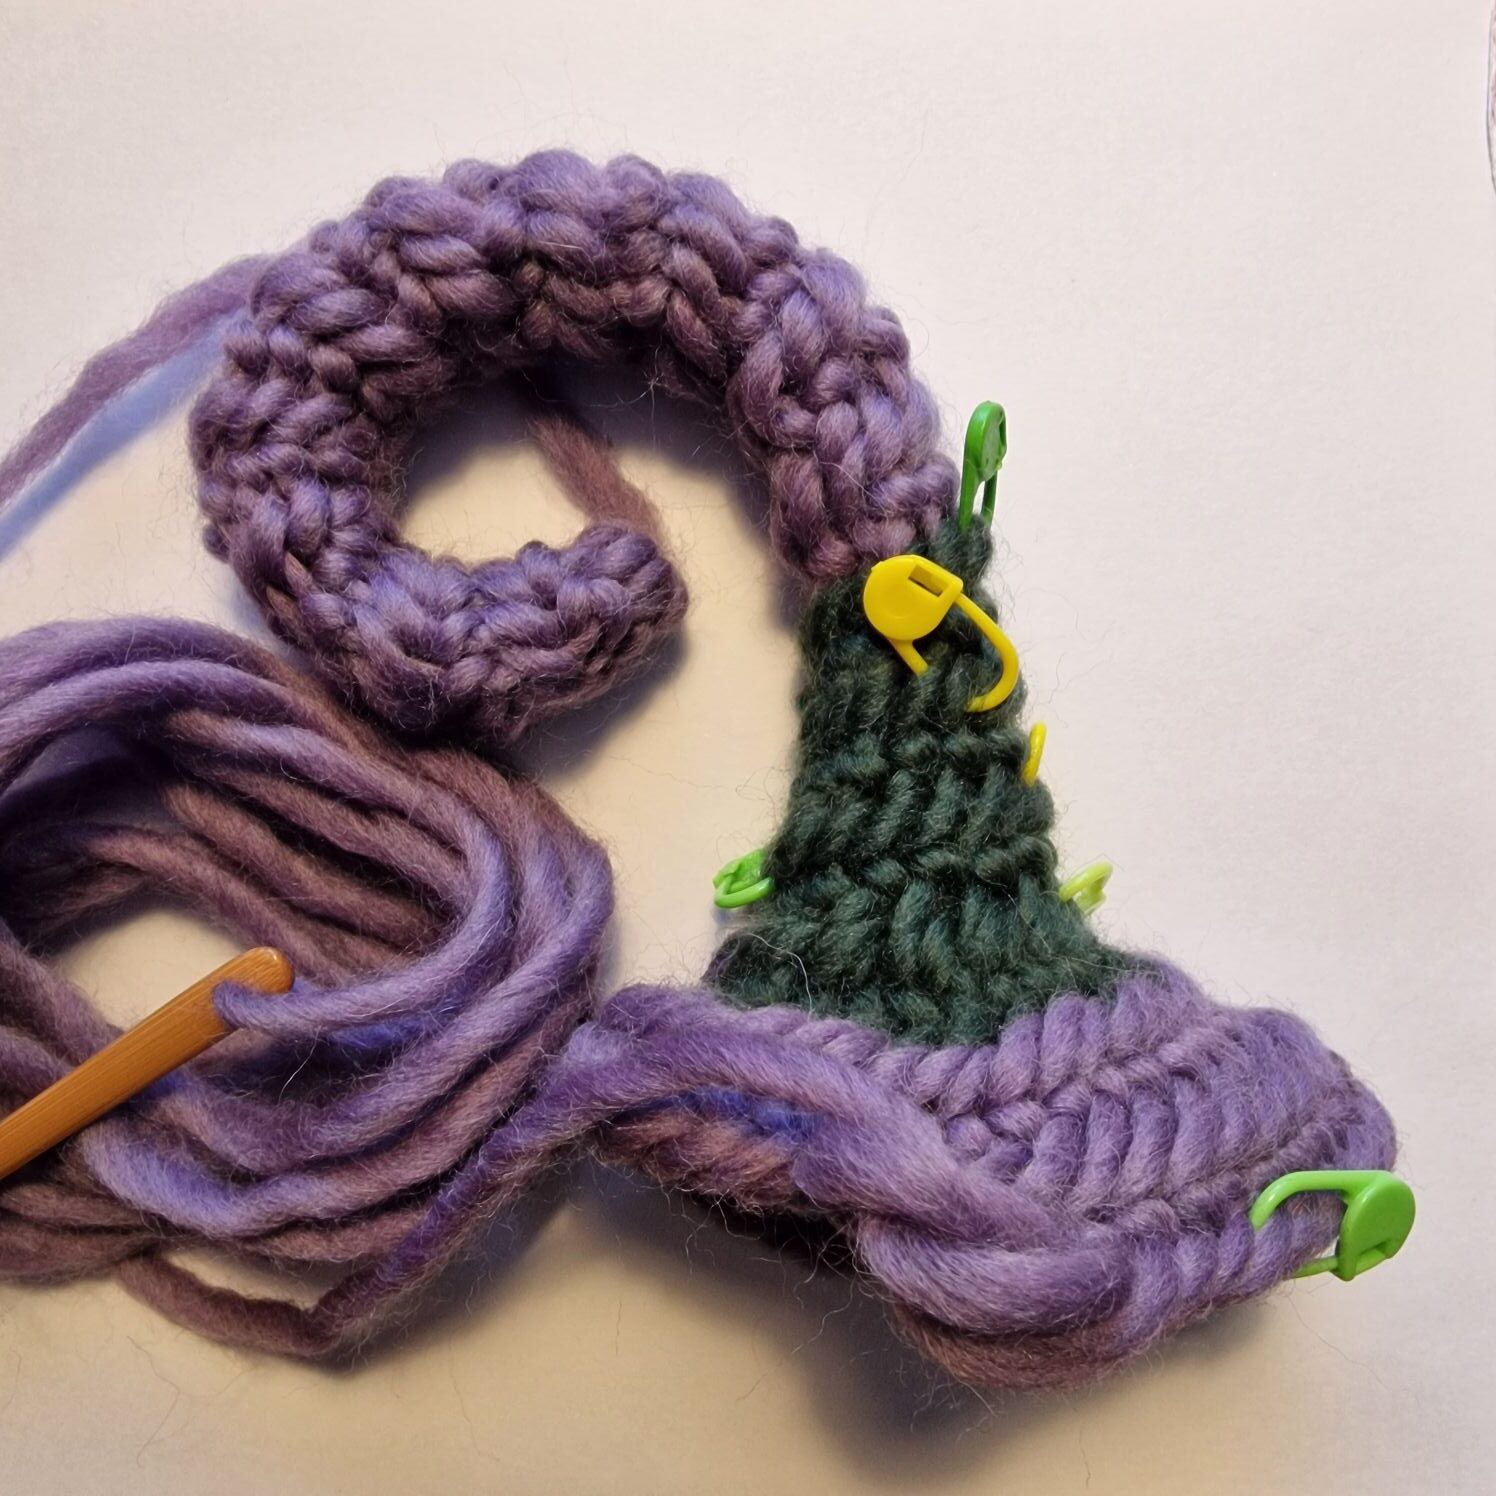
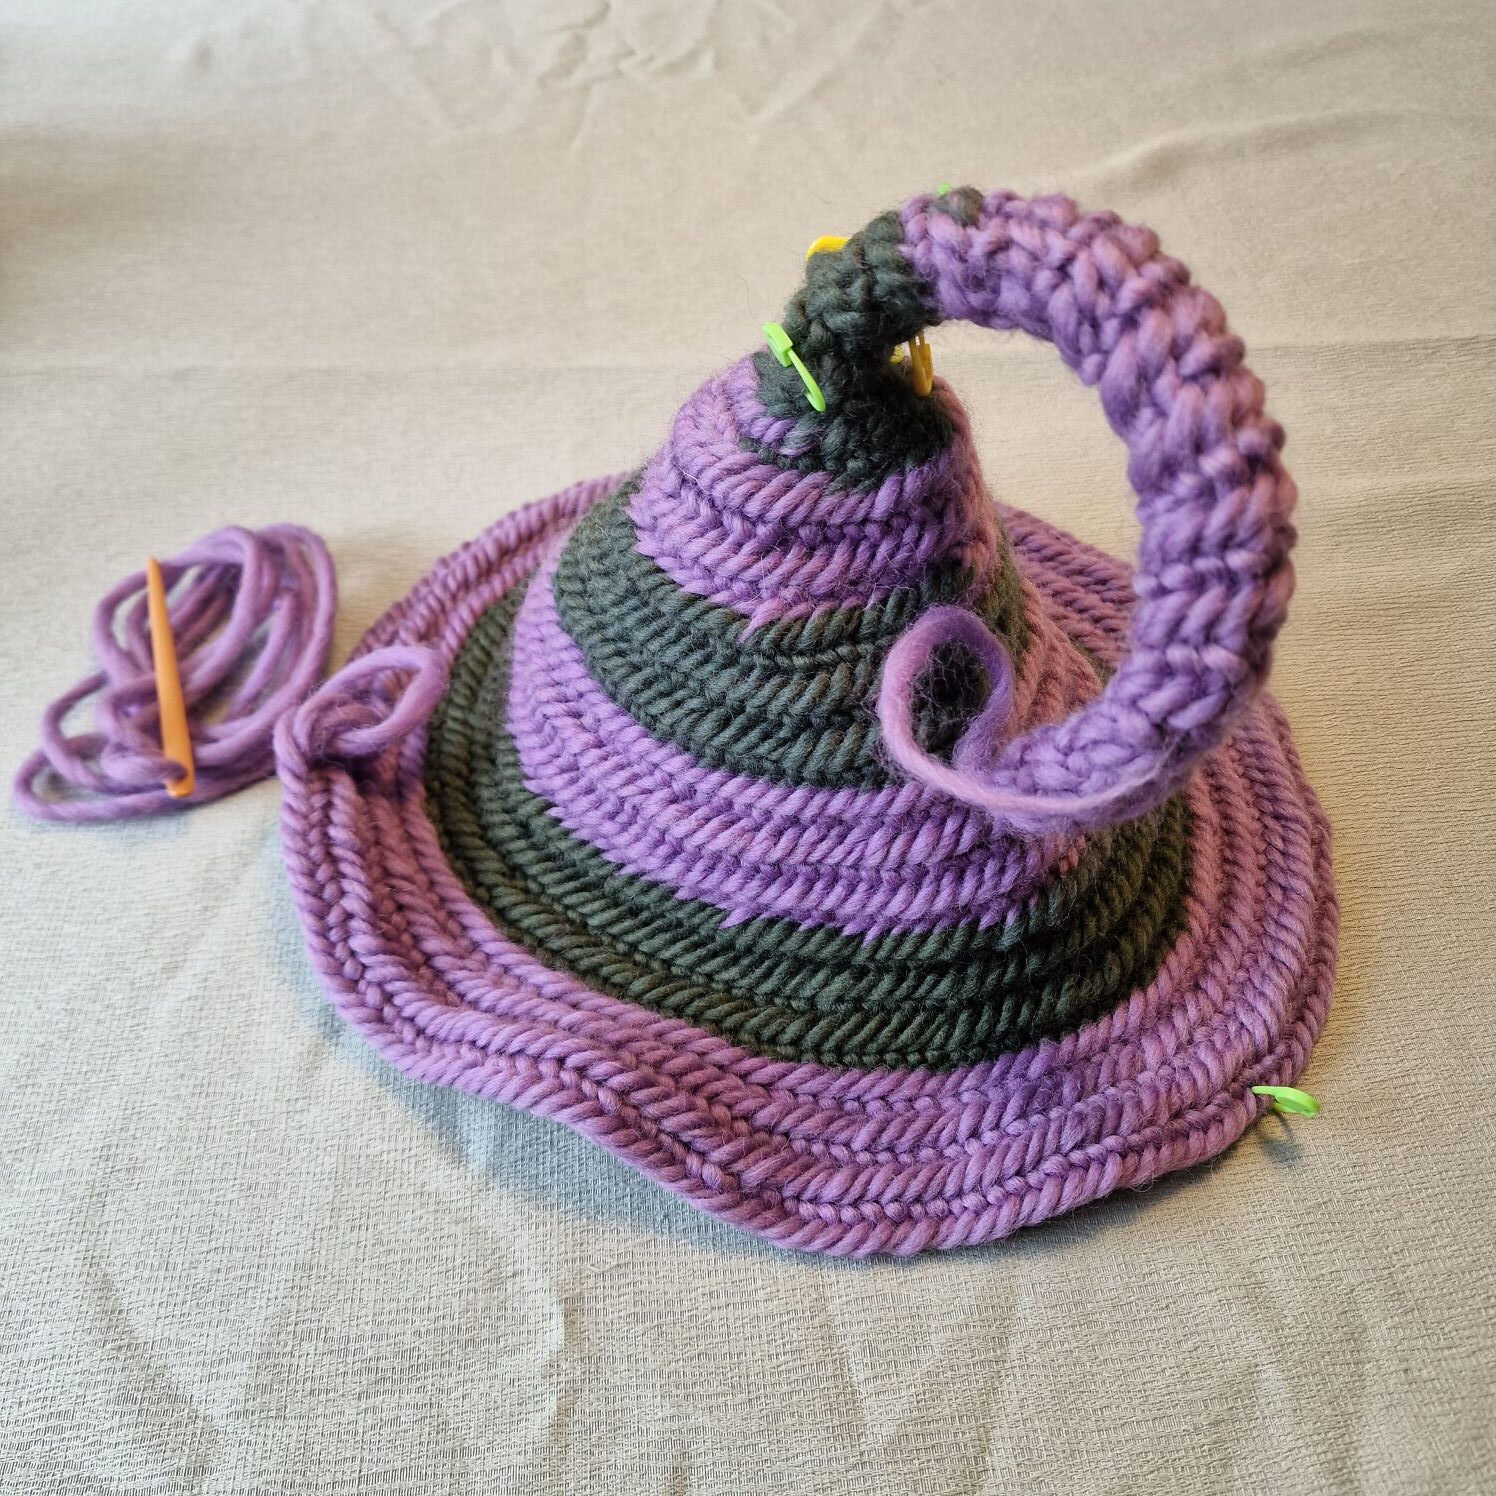
Once the height and size are sufficient, I will begin the *naaldbinden* (needle-binding) process for the wavy brim of the hat. I’ll attach a stitch marker, then work 3 stitches normally before increasing on the 4th stitch. This creates a wavy edge. For the next round, I’ll work 4 stitches normally and increase on the 5th stitch.

You can already see the wavy edge forming with the pattern of 3 regular stitches followed by an increase on the 4th stitch.
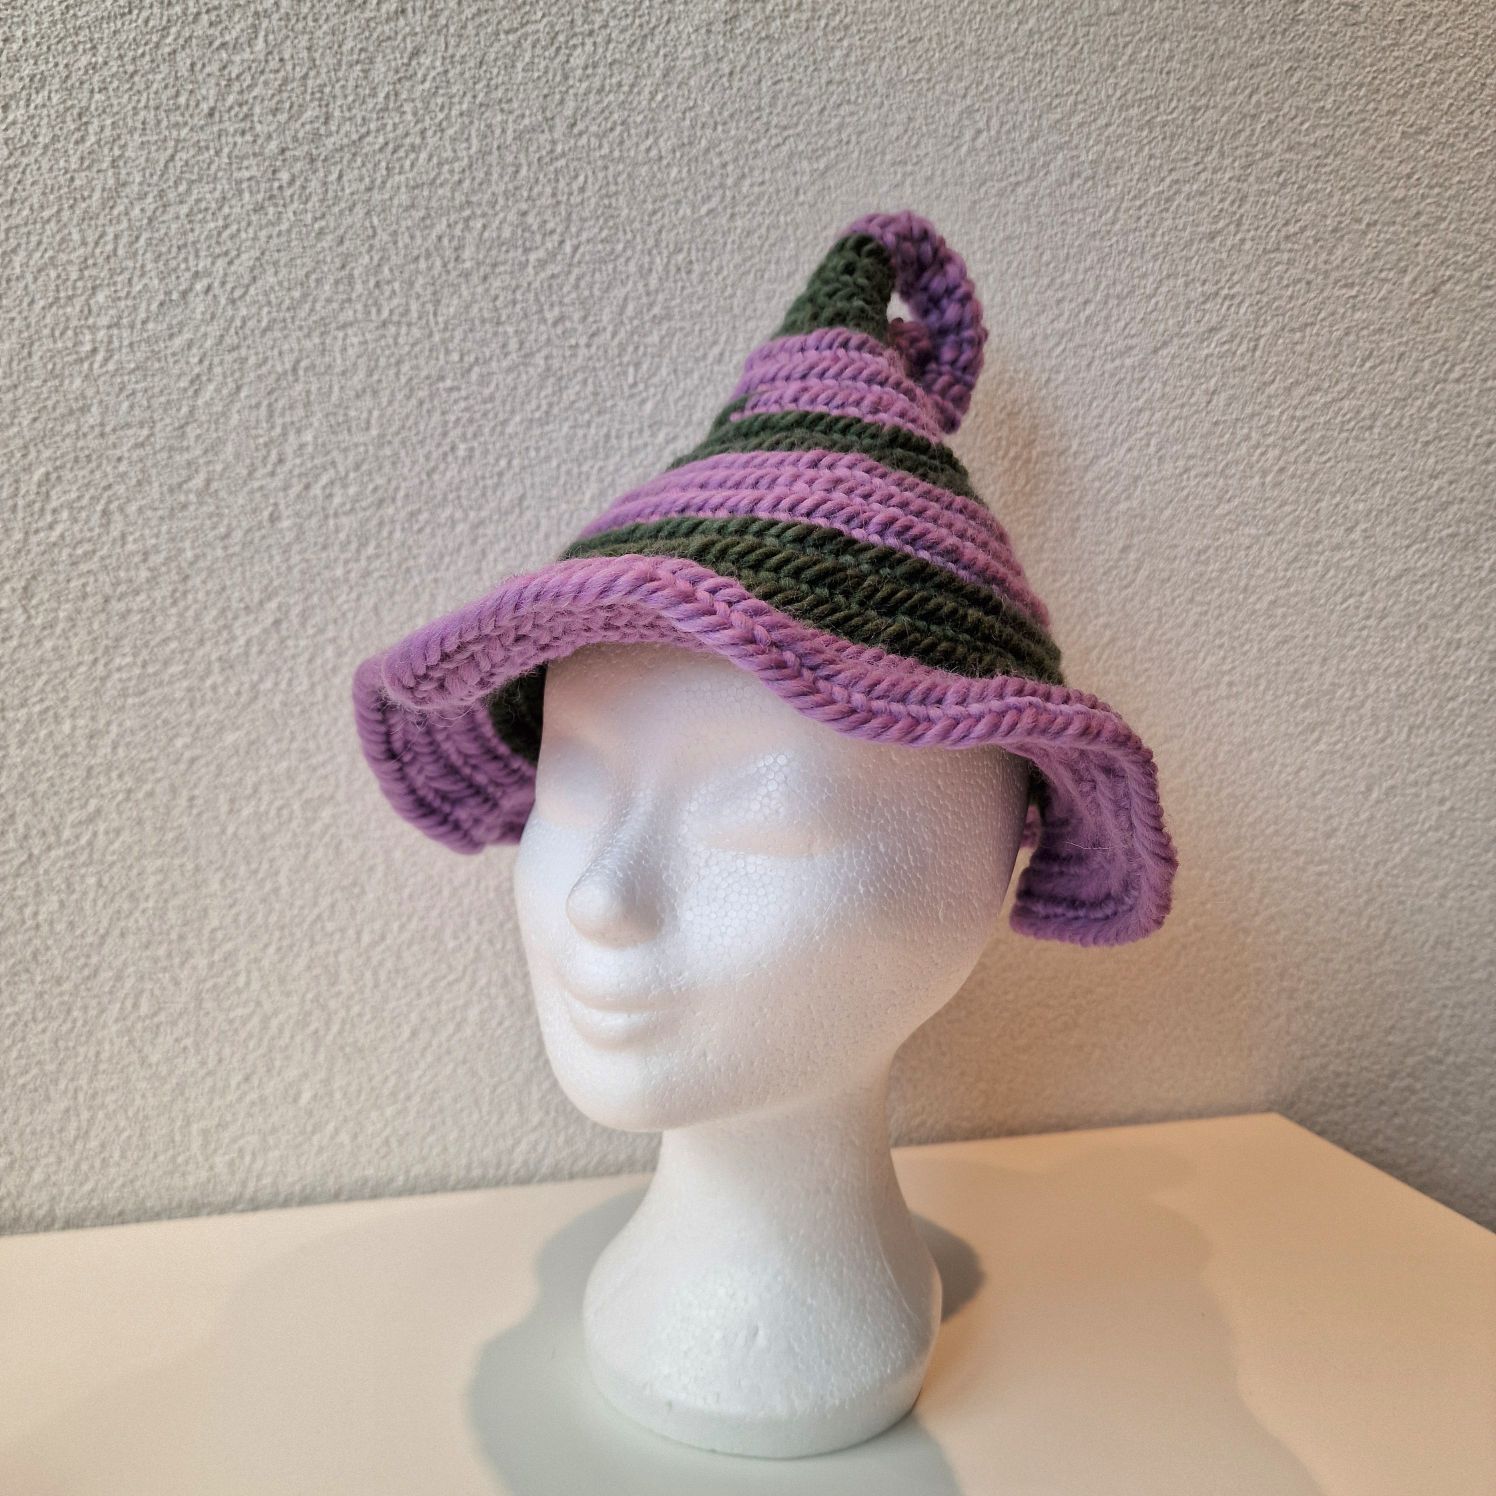
It is now Sunday, Oct 25, 2026, and my Halloween witch's hat is finished—time to pass it on! :)
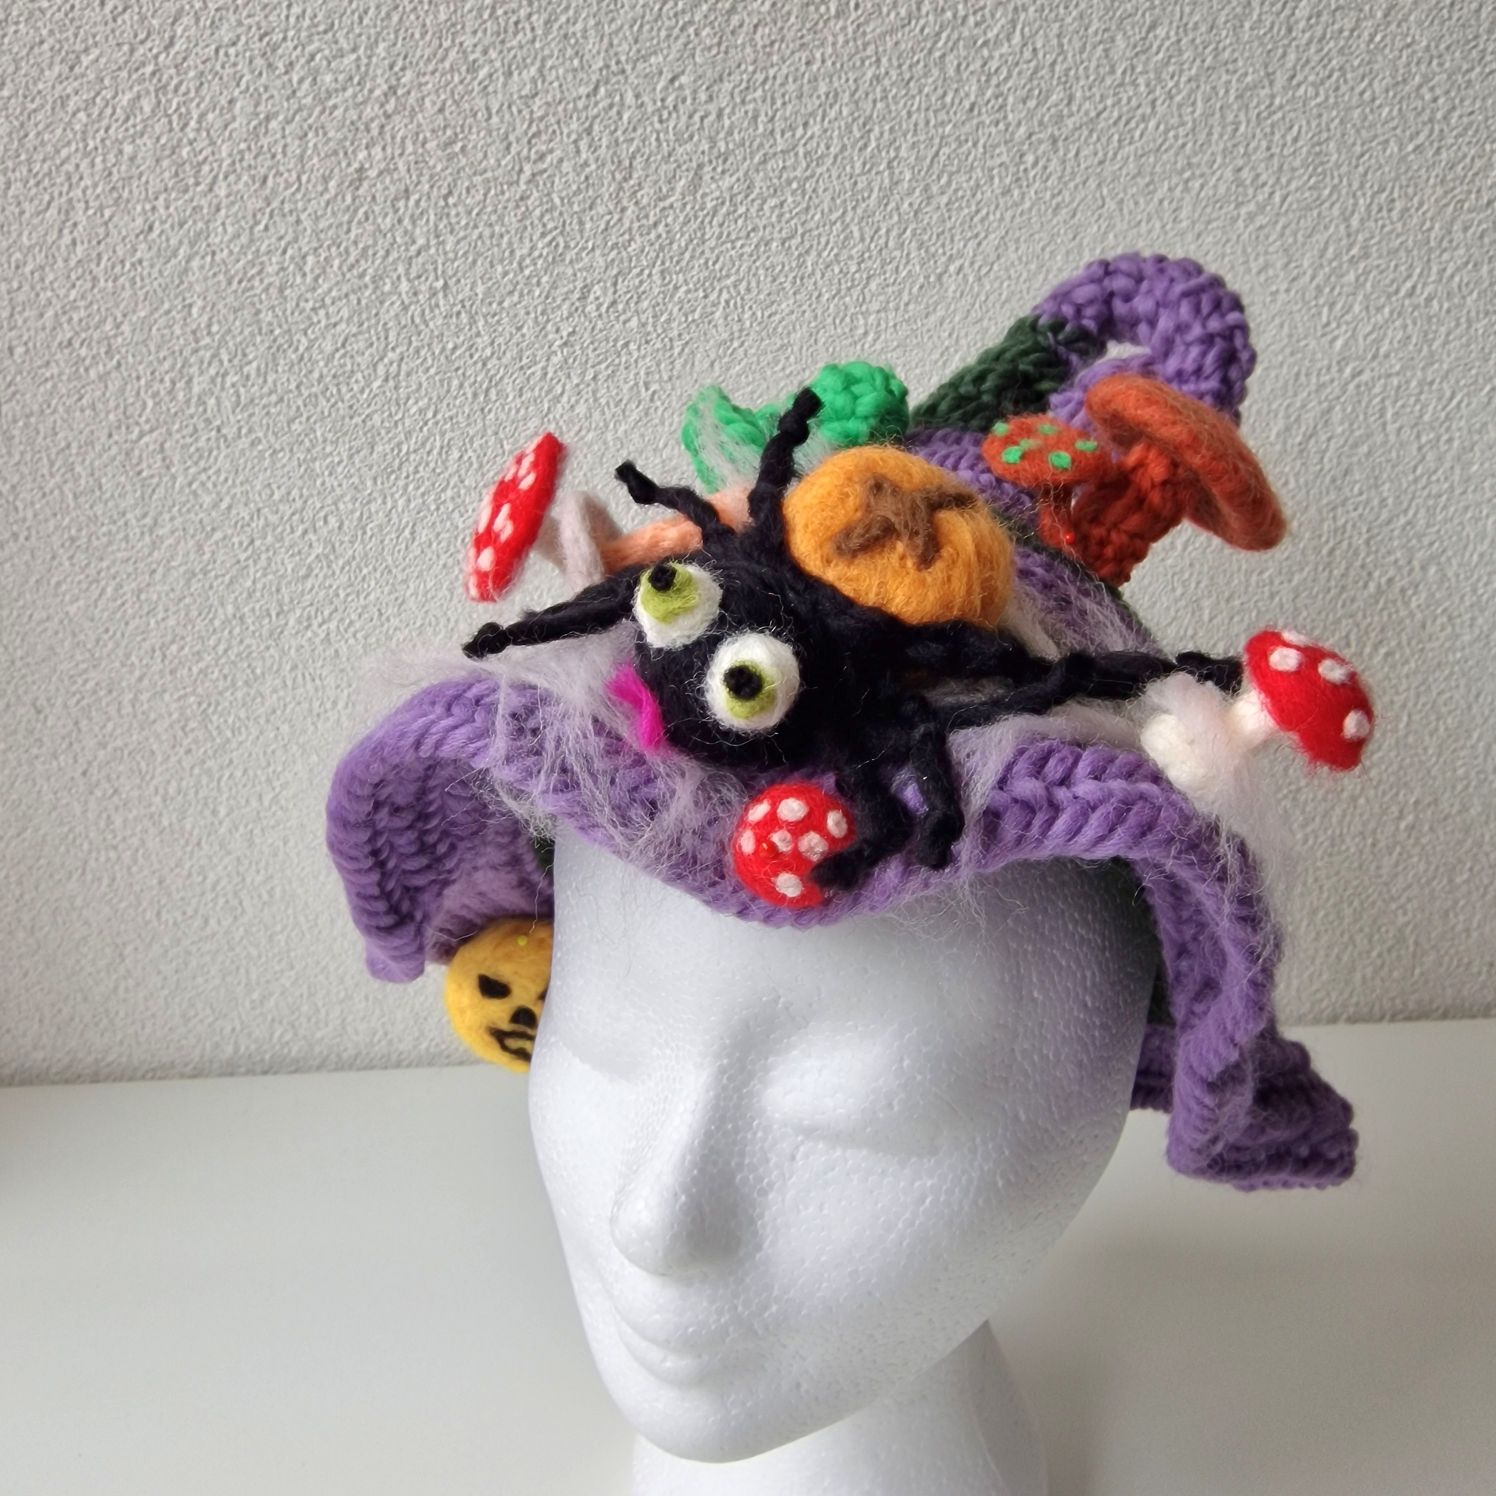
Now, the hat also needs some decoration—think of a spider, pumpkin, mushroom, toad, skull, bat, or anything else fun.
                                                                                                                                                            Today it is Halloween and the witch hat is ready  :)

I saw this example of a witch's hat on Facebook; it was crocheted by Amy David. She creates many other beautiful witch's hats, along with a wide variety of other lovely crochet artworks.
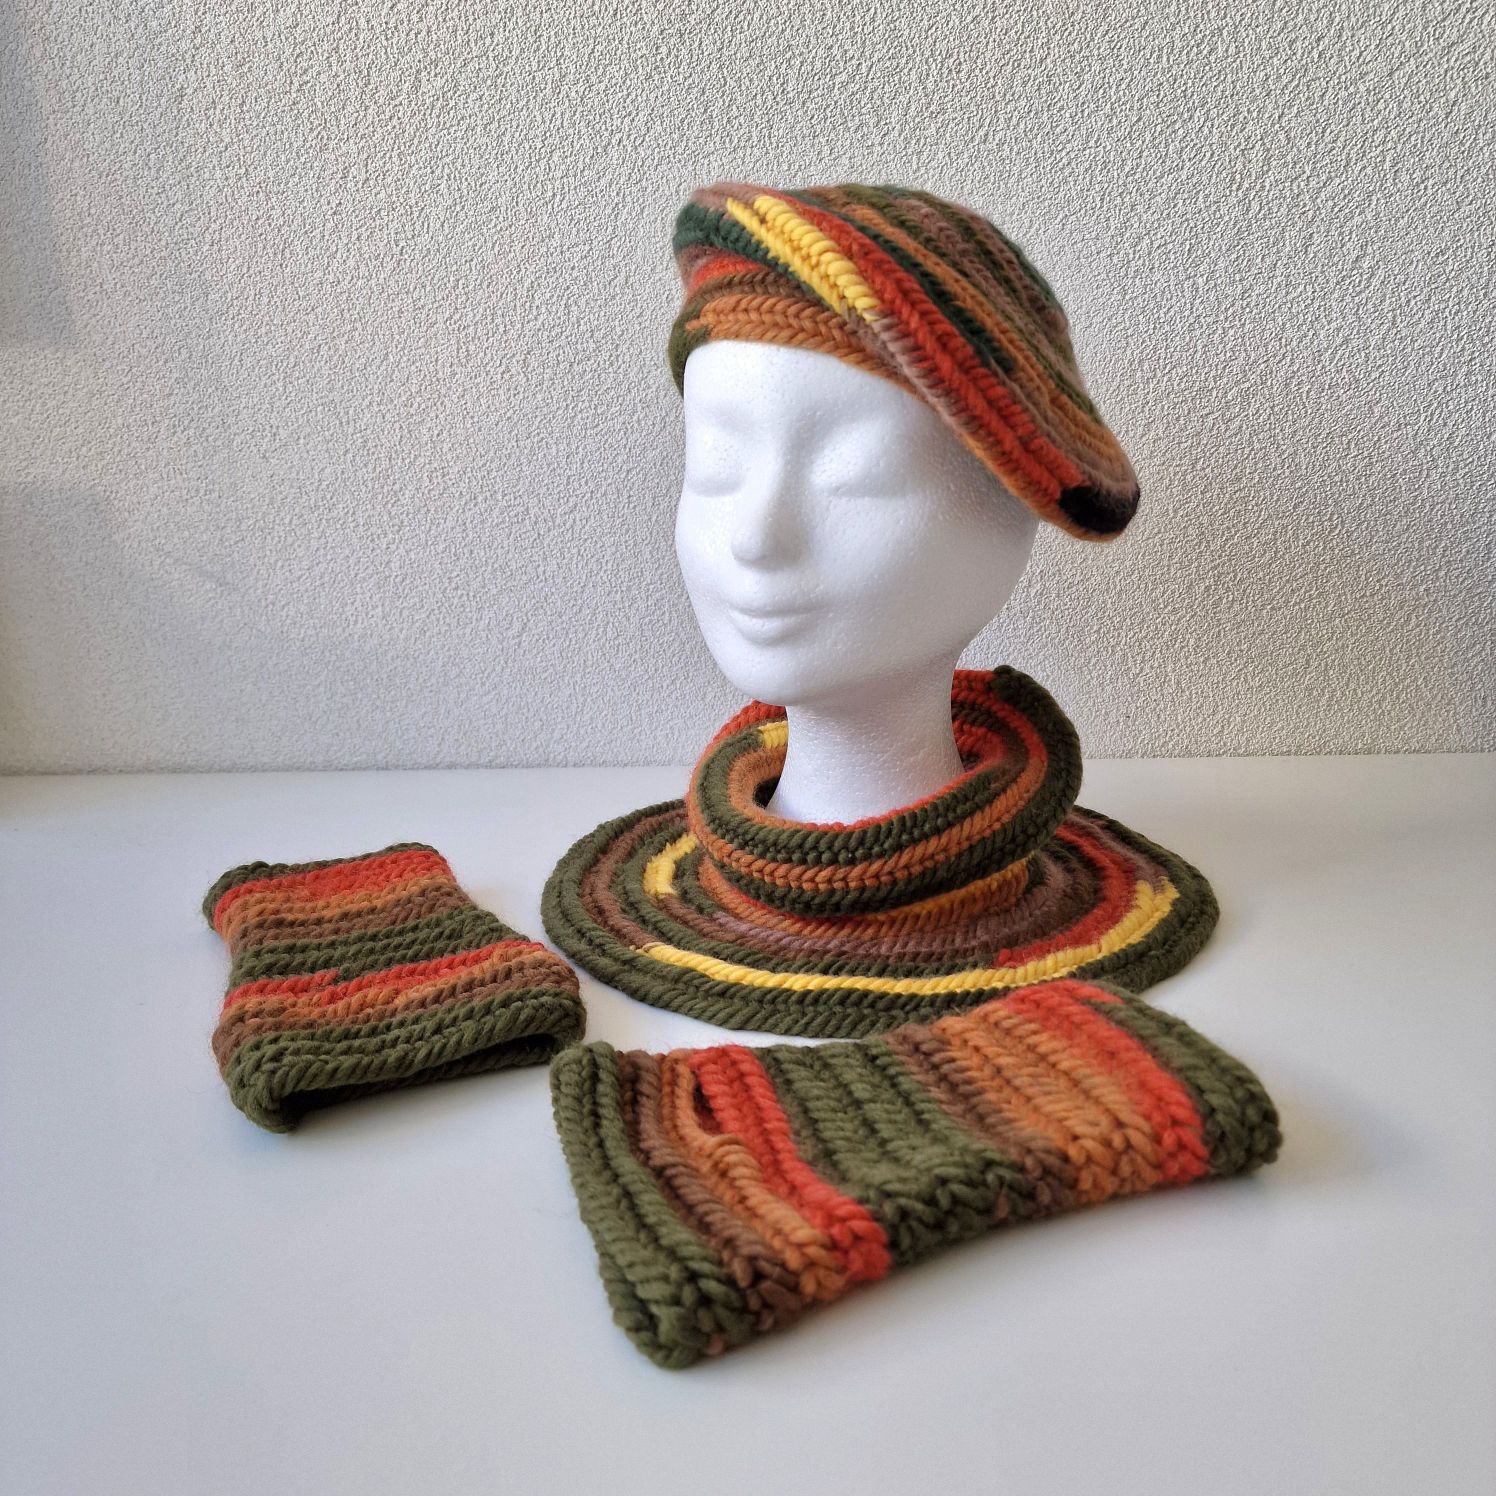
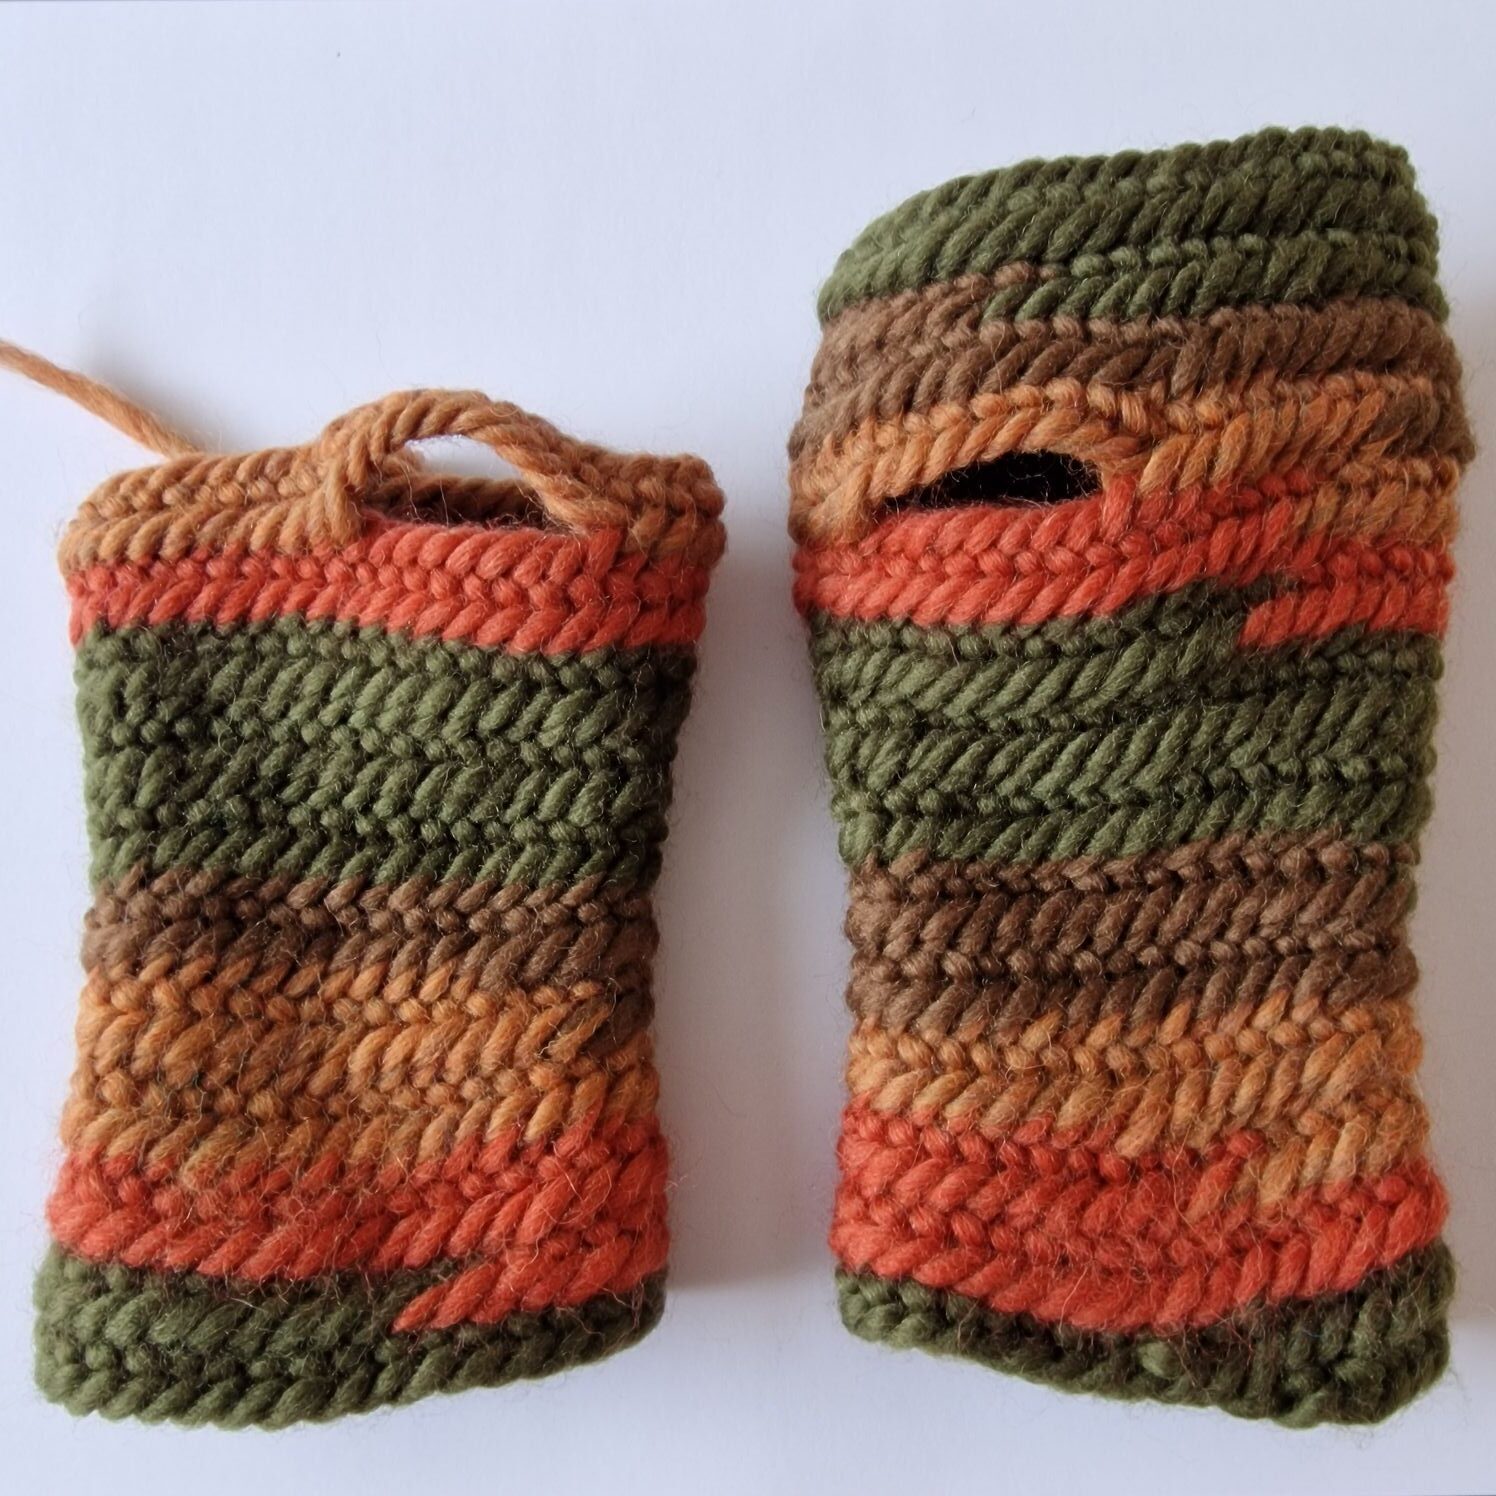
Autumn colors—the leaves on the trees at this time of year served as the inspiration for the color combinations I’ve used here.
In the section on the beret, you can see how it is constructed using the *nalbinding* (needle-binding) technique.

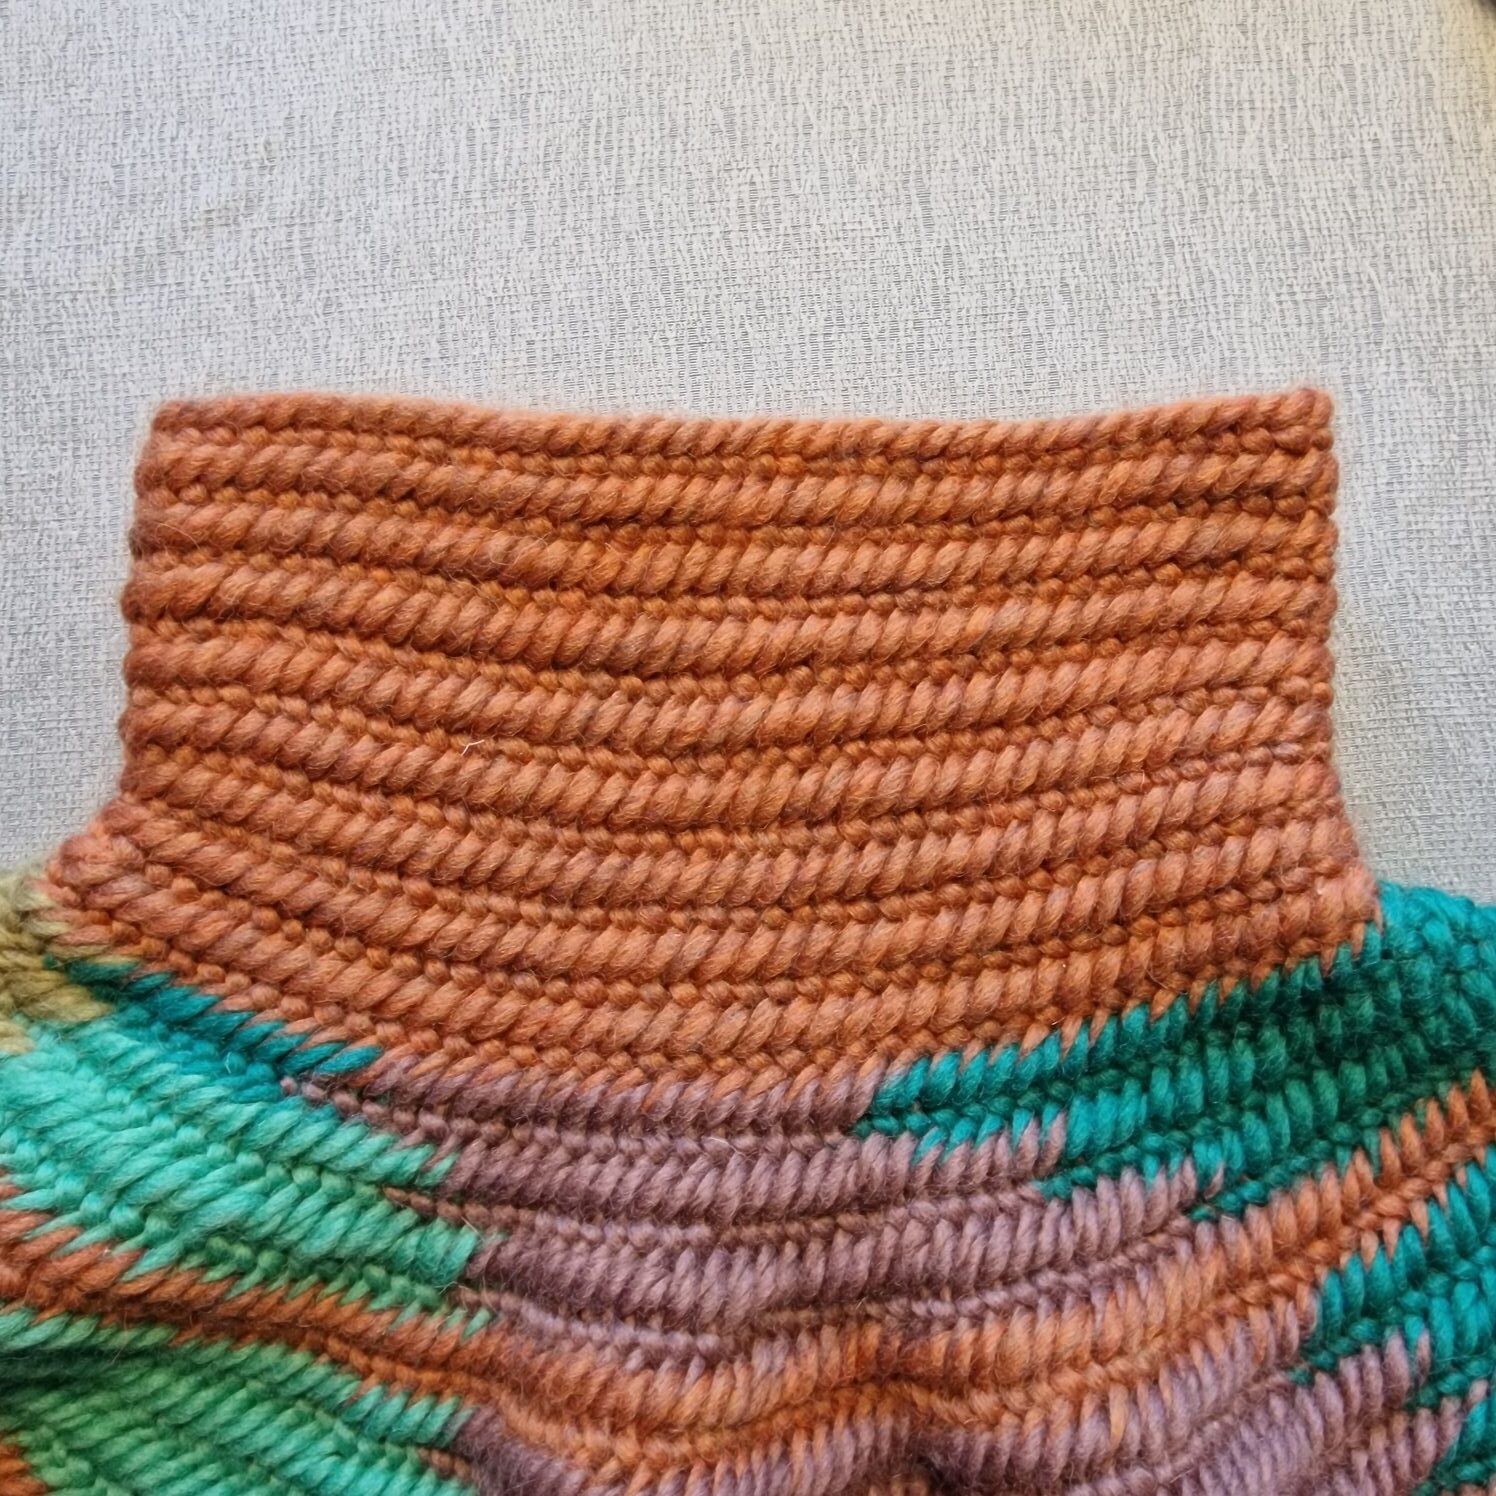
The cowl follows a very simple pattern: work a row of stitches and join them together to create an opening large enough for your head to pass through. Once the collar reaches the desired height, place a stitch marker and begin increasing. In the first round, work 4 stitches normally, then increase in the 5th stitch. In the second round, work 5 stitches normally, then increase in the 6th stitch. In the third round, work 6 stitches normally, then increase in the 7th stitch, and so on—you can decide for yourself how large the cowl should be.
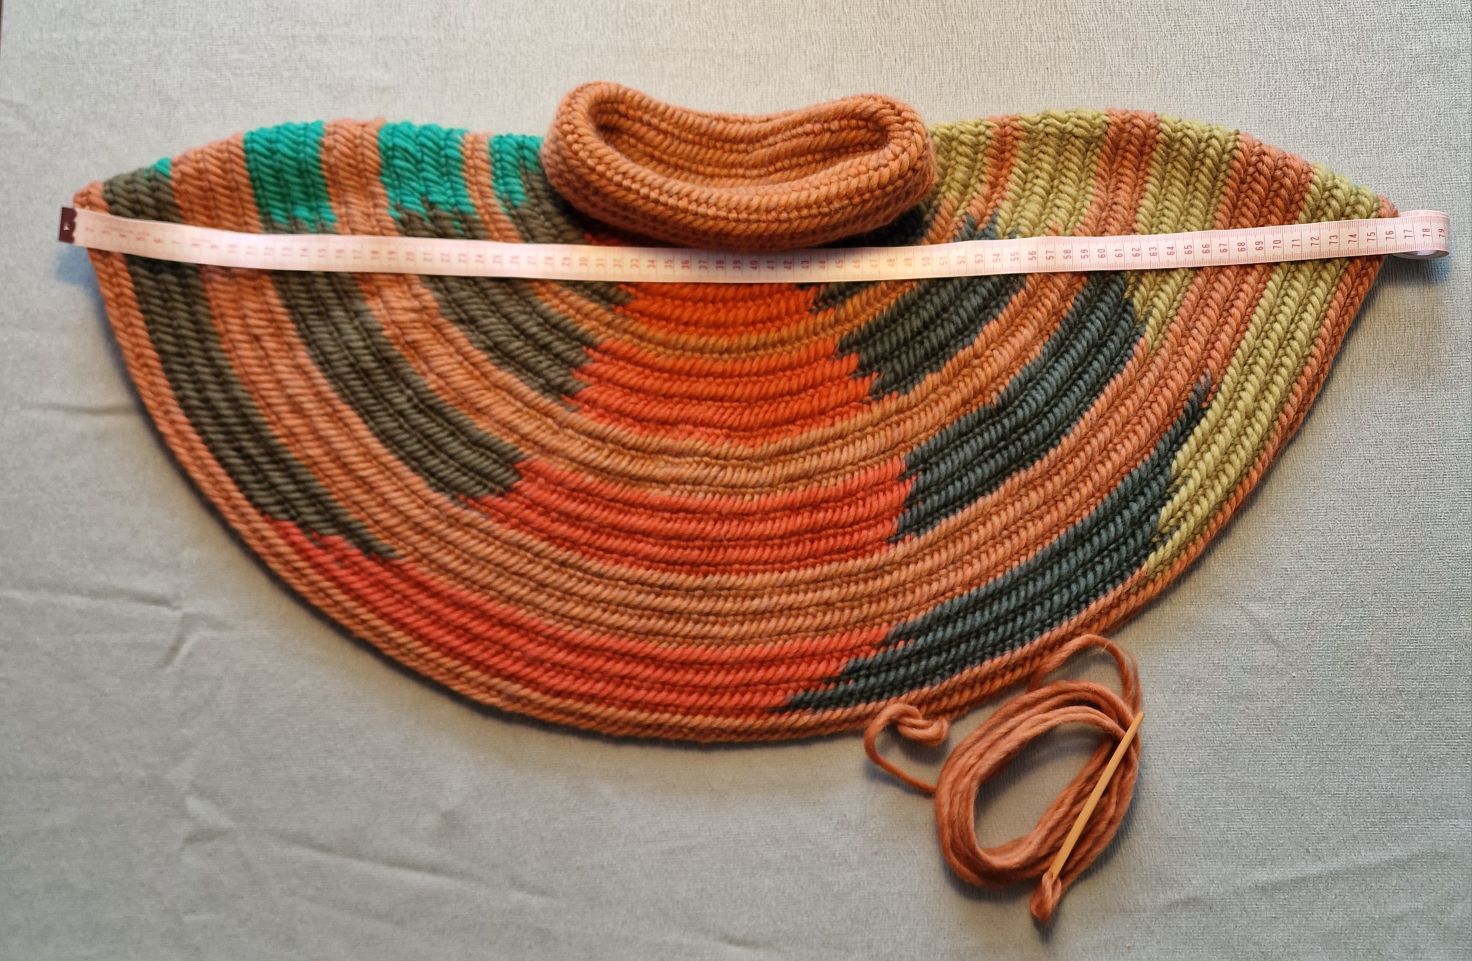
I am currently nalbinding a cowl with a very large collar, which will eventually become a sort of poncho.
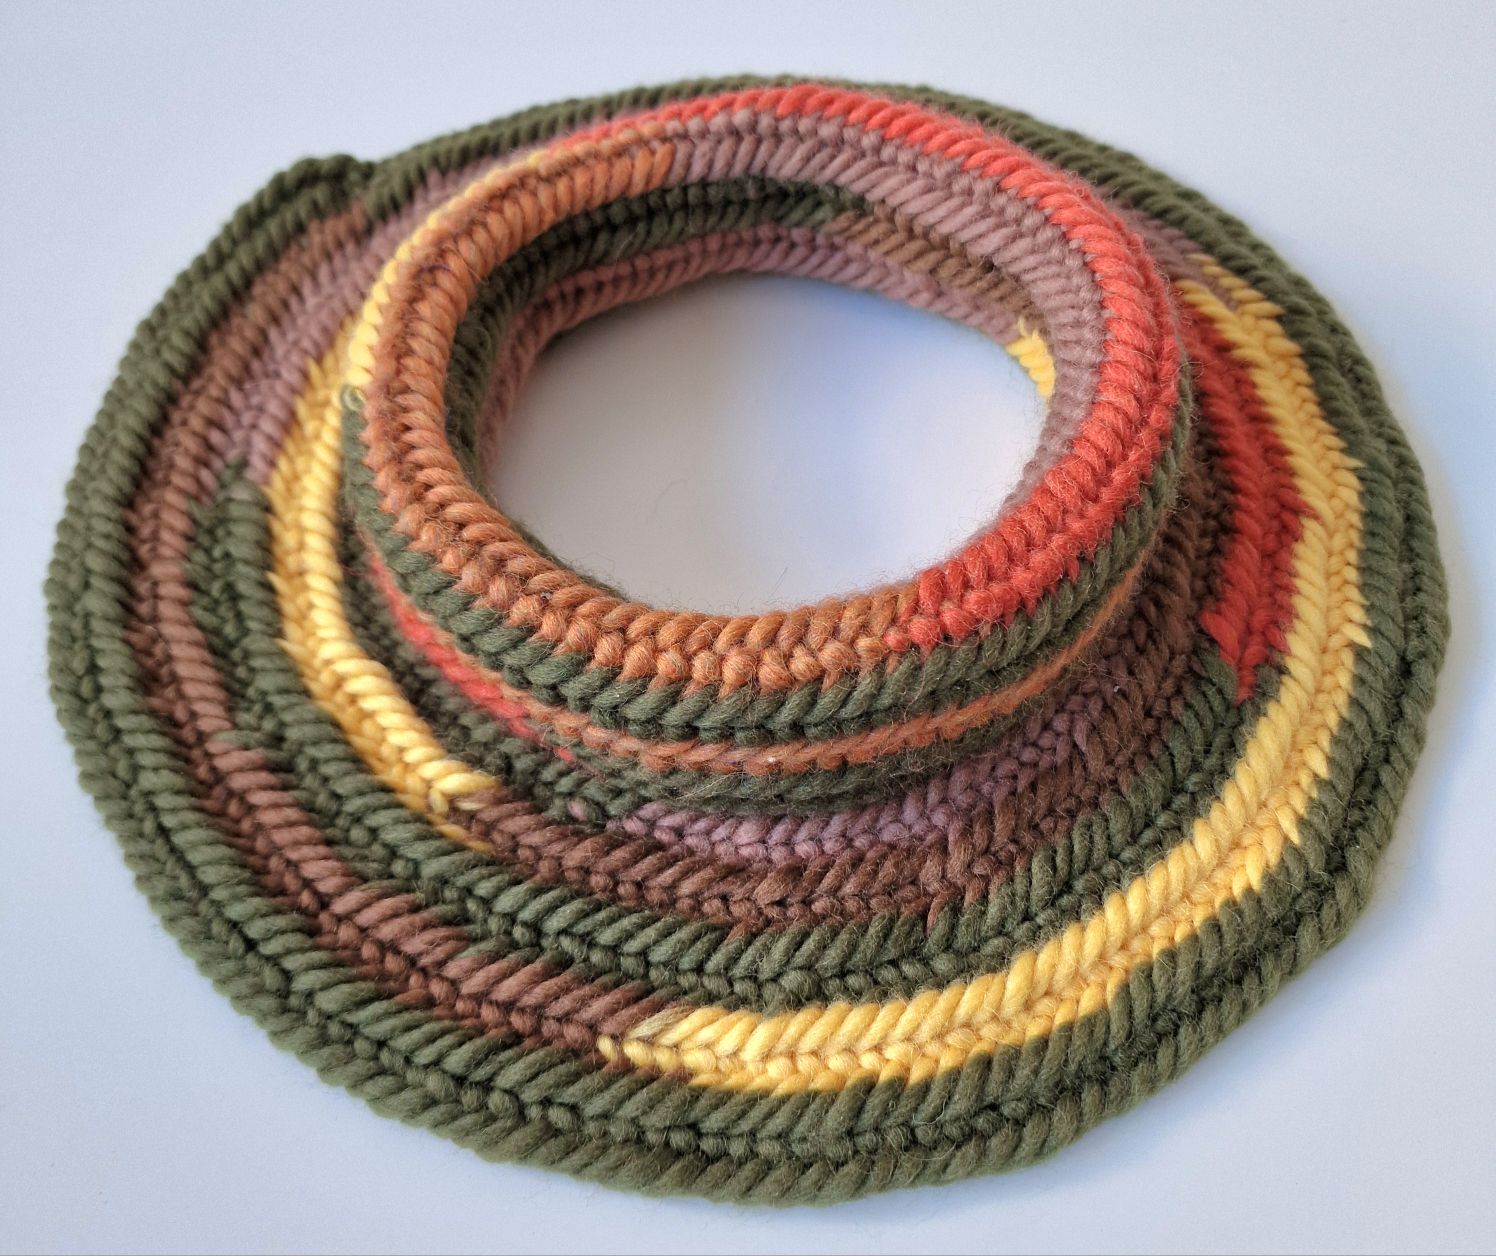
Once the cowl reached the desired height, I began increasing. The first increase involved working 3 stitches normally and then increasing on the 4th stitch; this makes the cowl larger, but it also causes it to become "wobbly"—as you can clearly see in the photo above. For a witch's hat, this is a desirable effect, as you want the brim to "ripple" or "wave." The cowl in autumn colors, however, has a nice, flat edge; this was achieved by using a higher frequency for the increases—specifically, working 4 stitches normally and then increasing on the 5th stitch. In the following round, you work 5 stitches normally and increase on the 6th, and so on.
The stitch I am using here is the Faberg stitch (the Oslo stitch with an extra loop around your thumb), and the joining stitch is the F1 stitch.
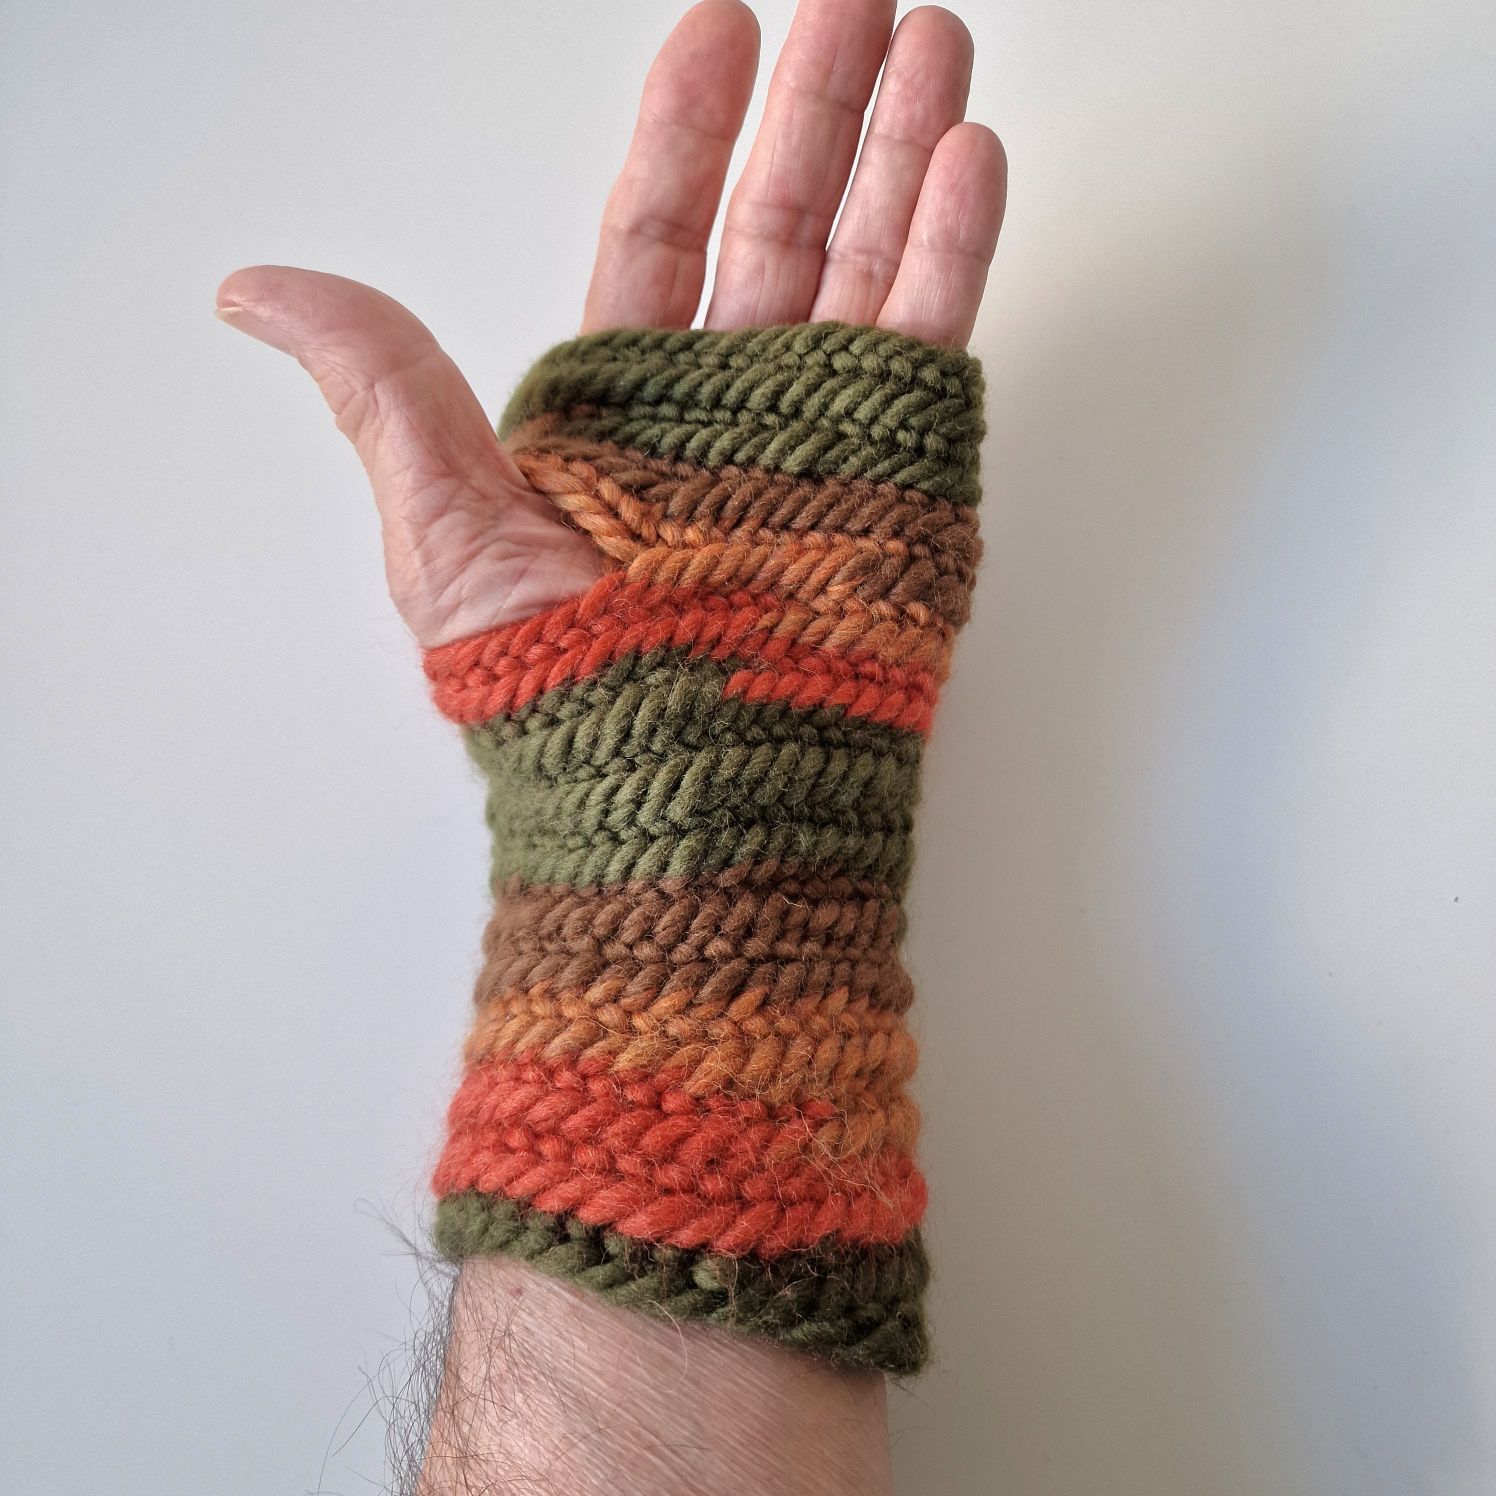
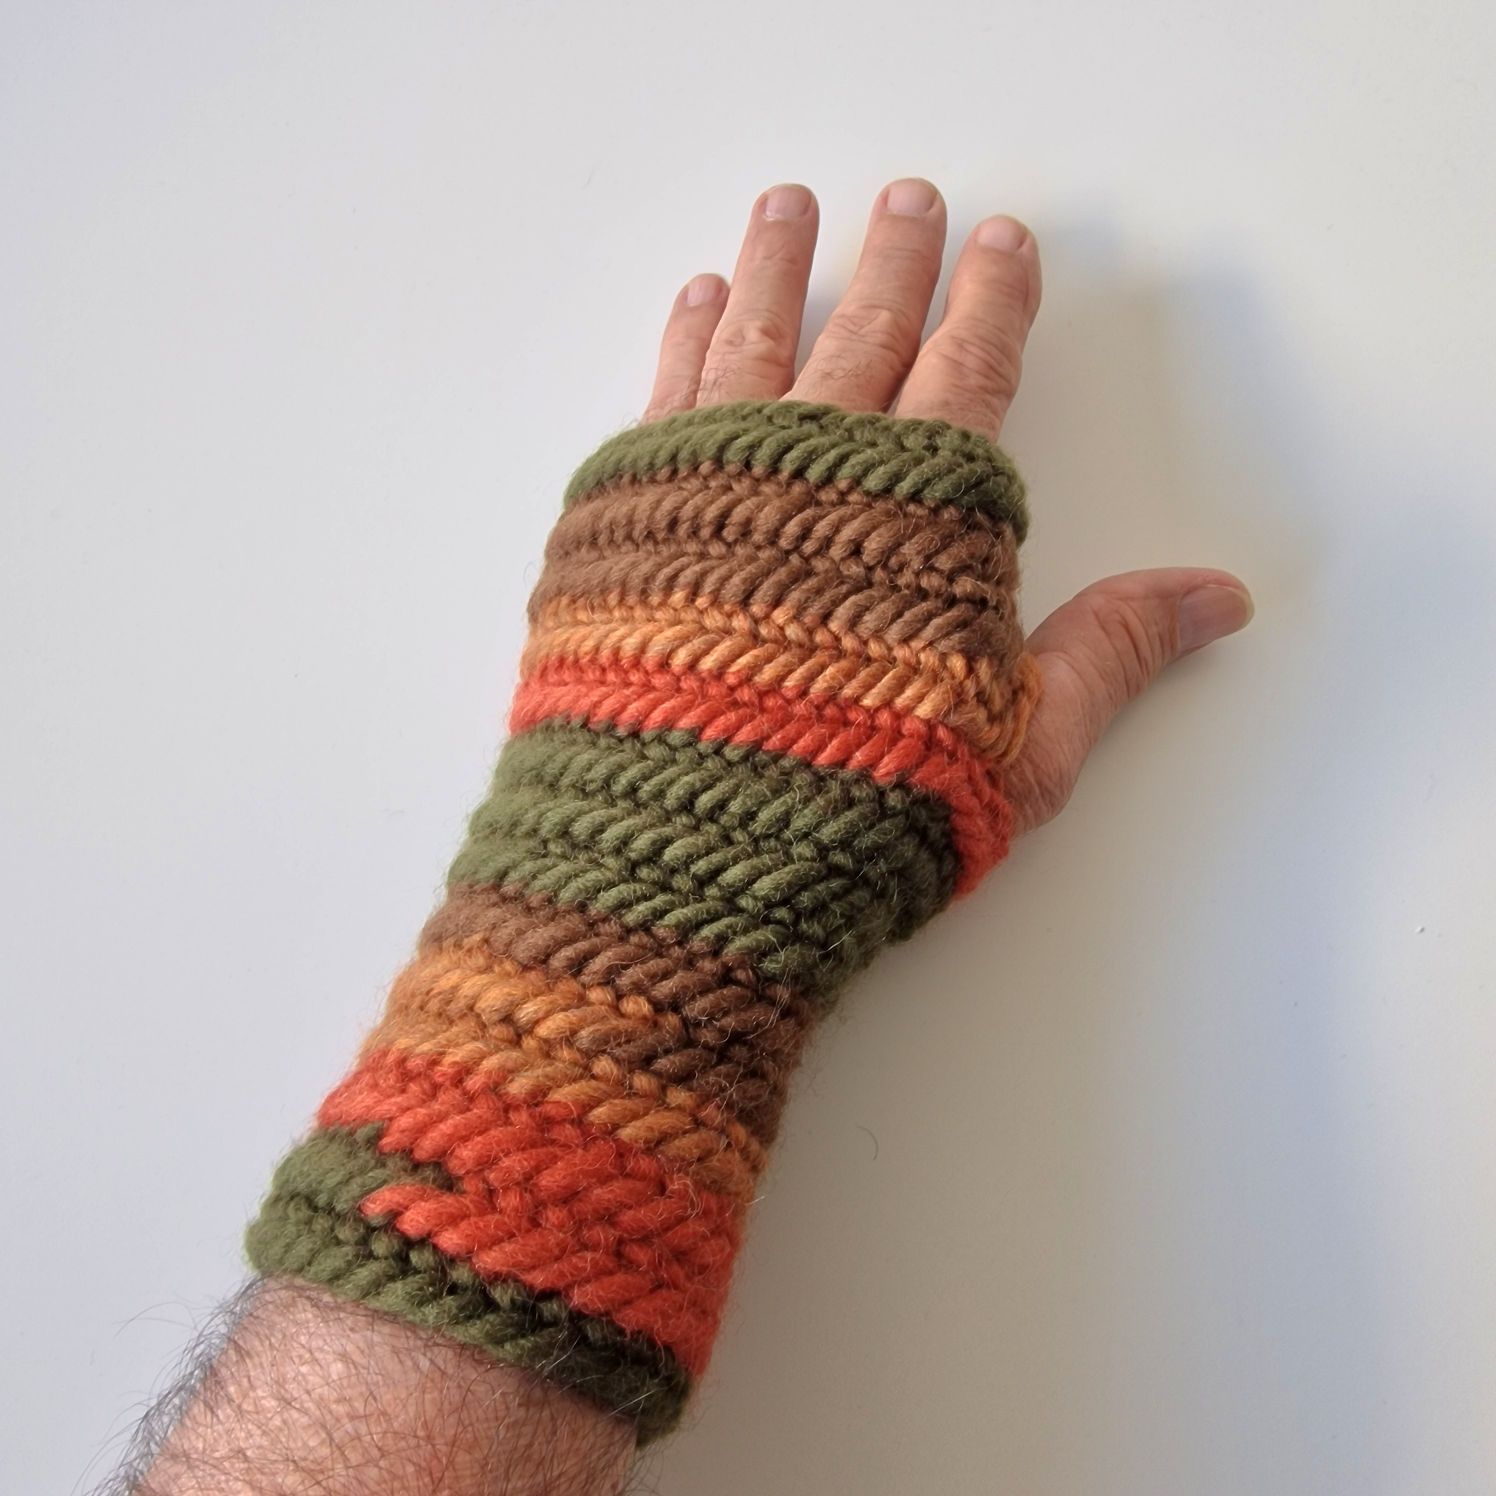
Seven years ago, I made one wrist warmer, but I had completely forgotten about it; it had ended up under a pile of wool in a crate. The wrist warmer was made using the *naaldbinding* technique—specifically the Oslo stitch combined with the F1 joining stitch. So, now I’m going to make a full pair of wrist warmers.
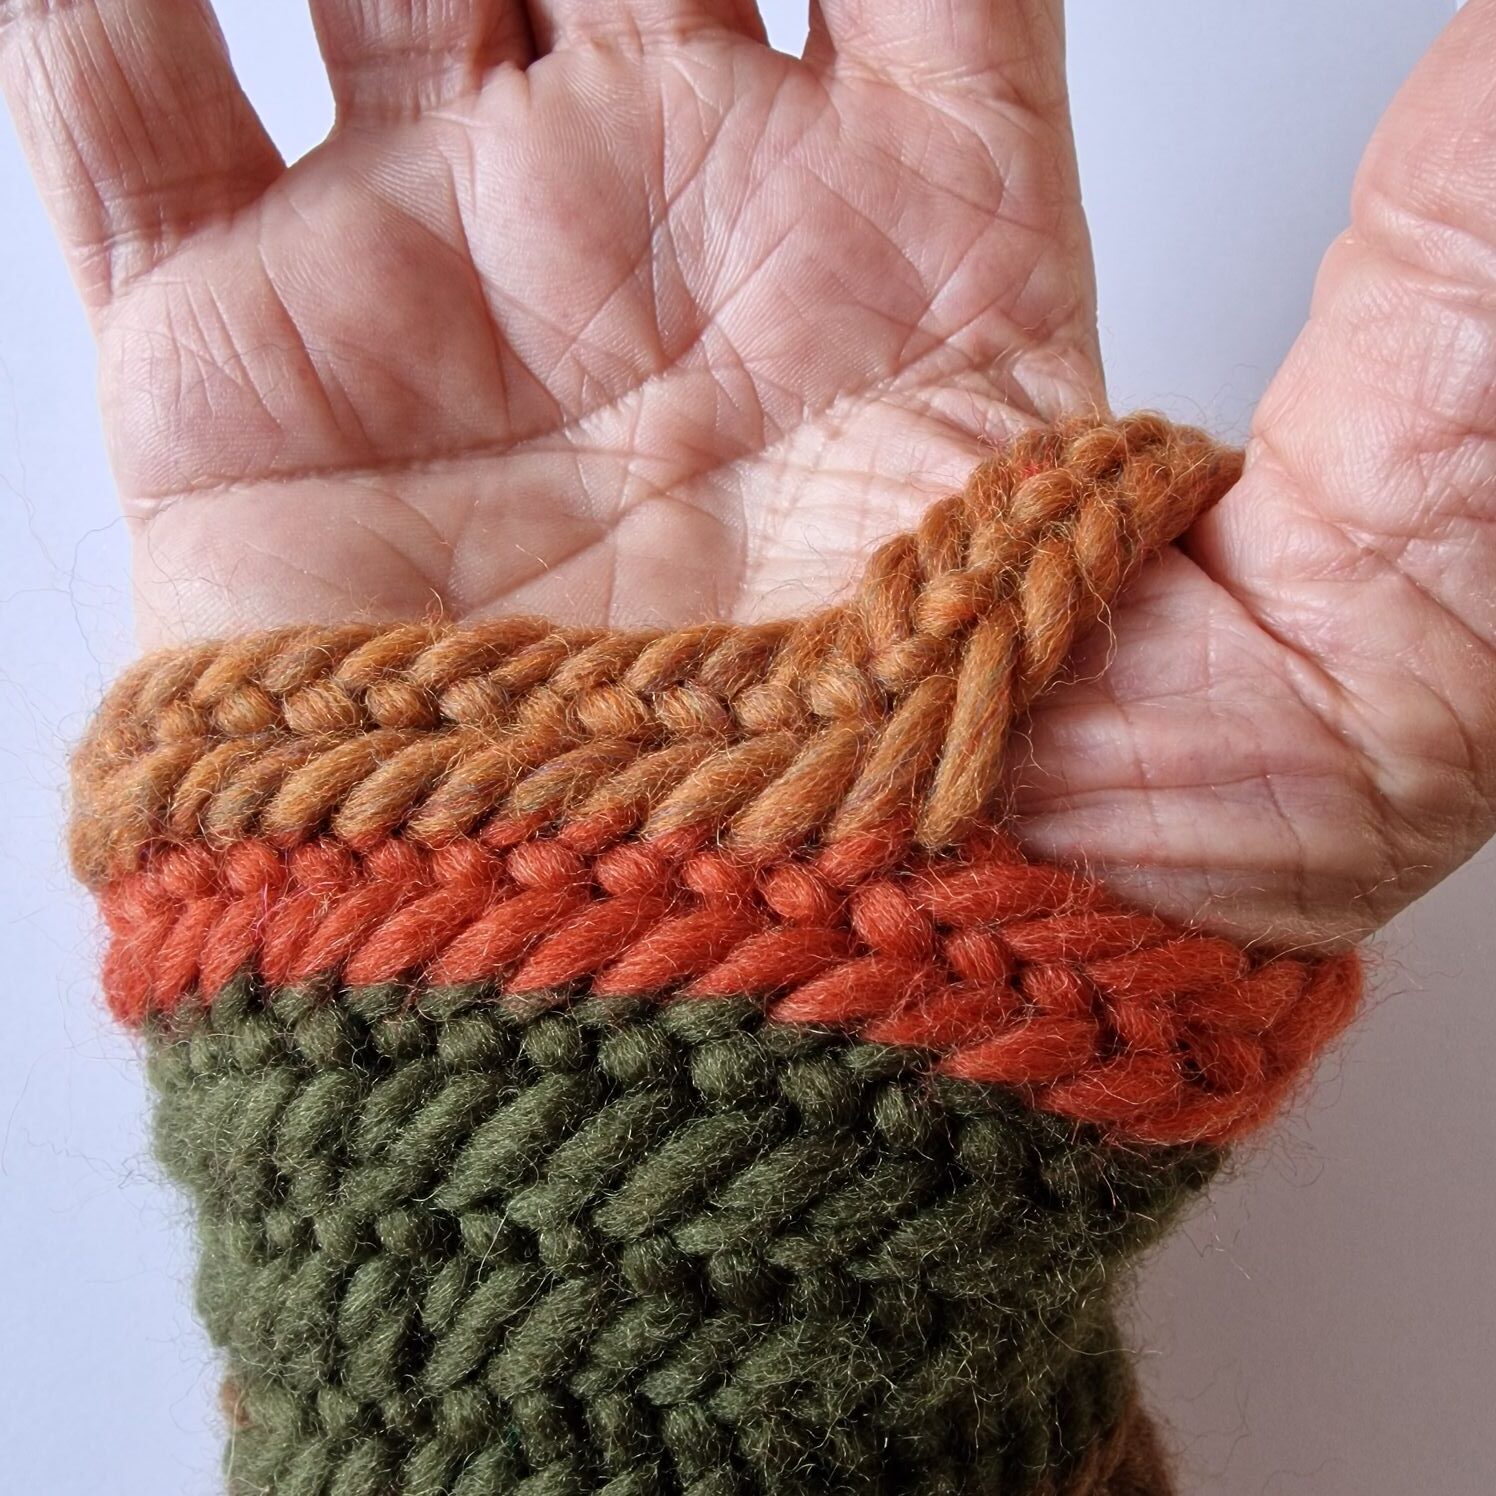
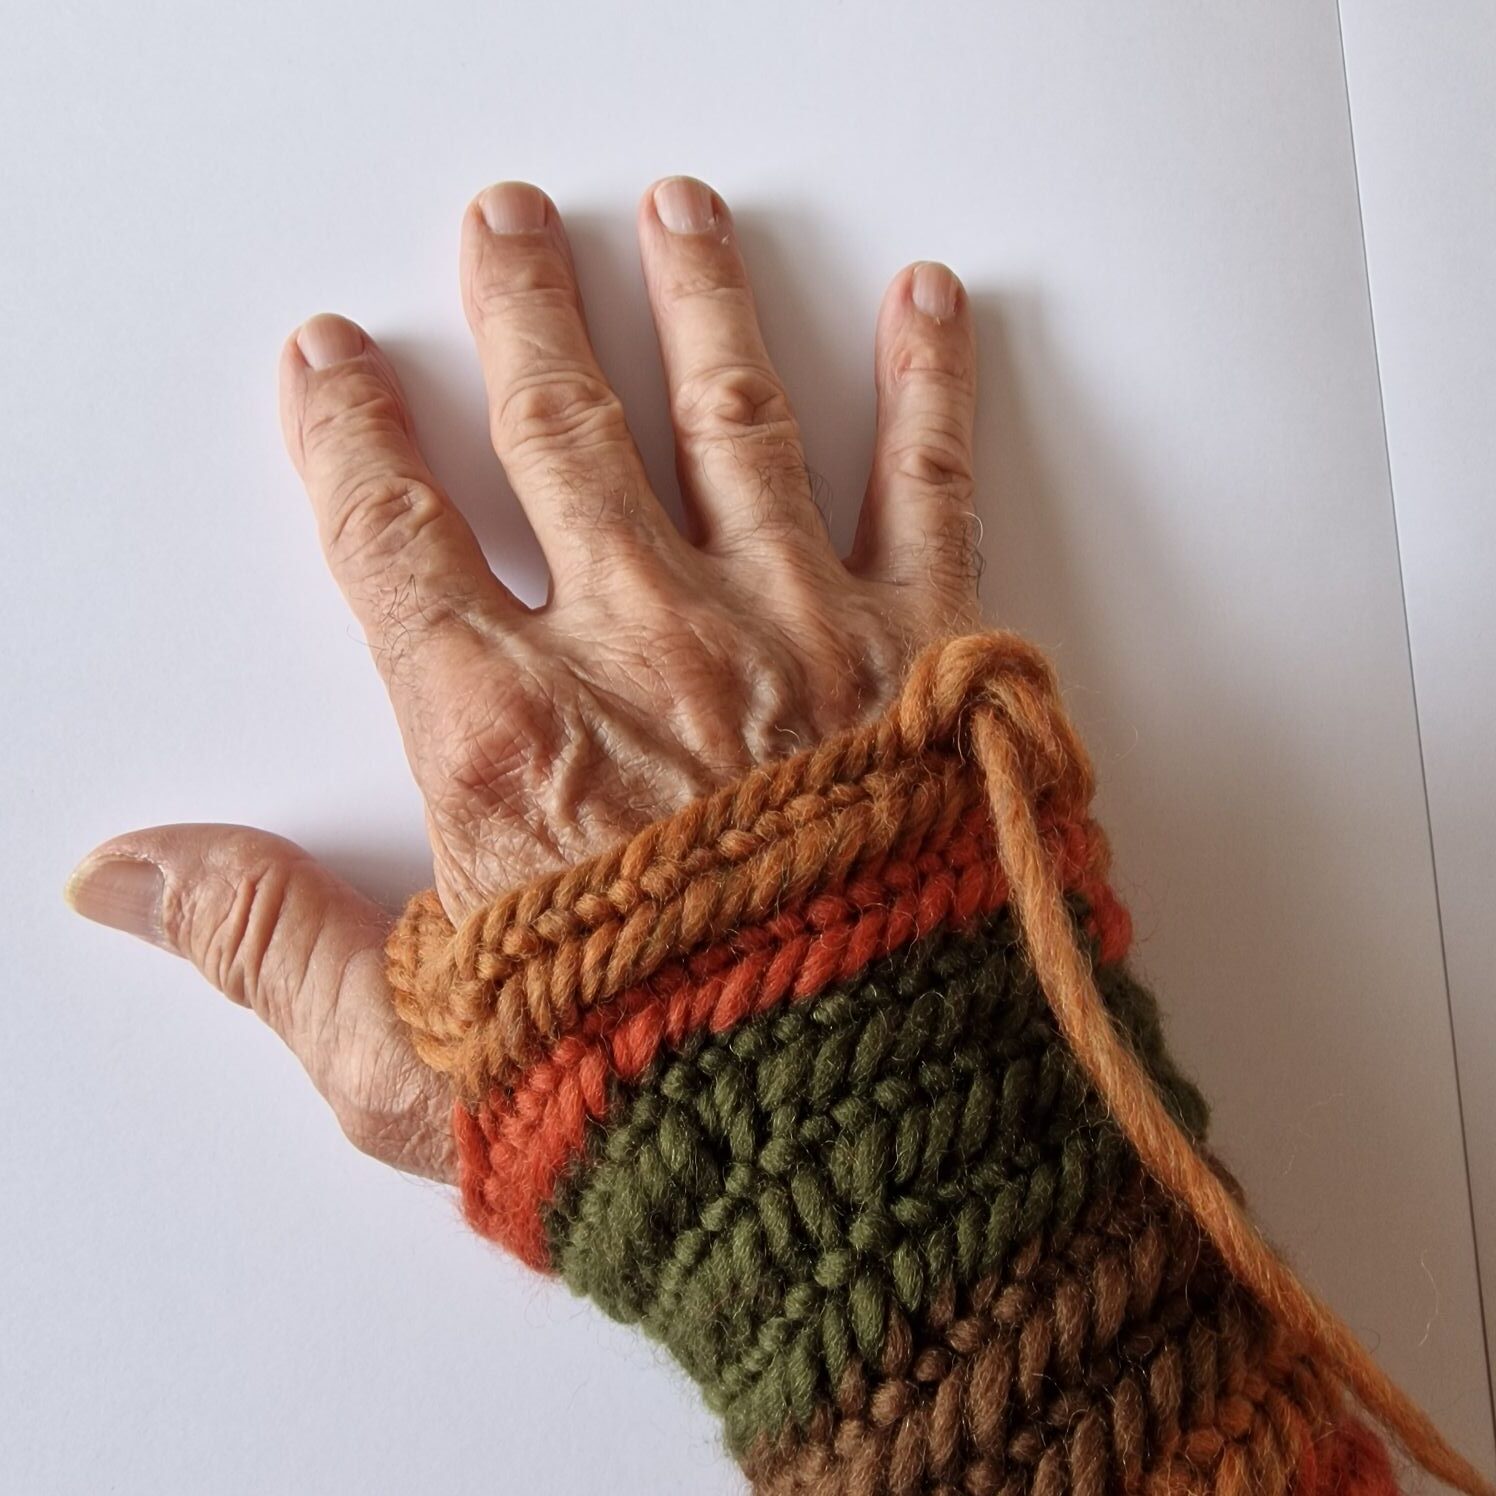
This pattern is also simple: you begin with a row of stitches, fit it around your hand and wrist, join the ends together, and then work 4 or 5 additional rows using the nålebinding technique. From there, increase by 1 stitch on the side near the little finger and by 2 stitches on the side near the thumb in every round. When you reach the point for the thumb, create a separate row of stitches, fit it around your thumb, and join it to the main piece by continuing with the next stitch.
From this point on, do not increase any further; instead, decrease by 1 stitch on each side, or simply work 2 rounds of the stitch pattern. Here, too, I opted for the Faberg stitch, using F1 as the join, which allows the fabric to stretch slightly when putting on the wrist warmers.