In the step by step chapter you saw how to make the Oslo stitch.
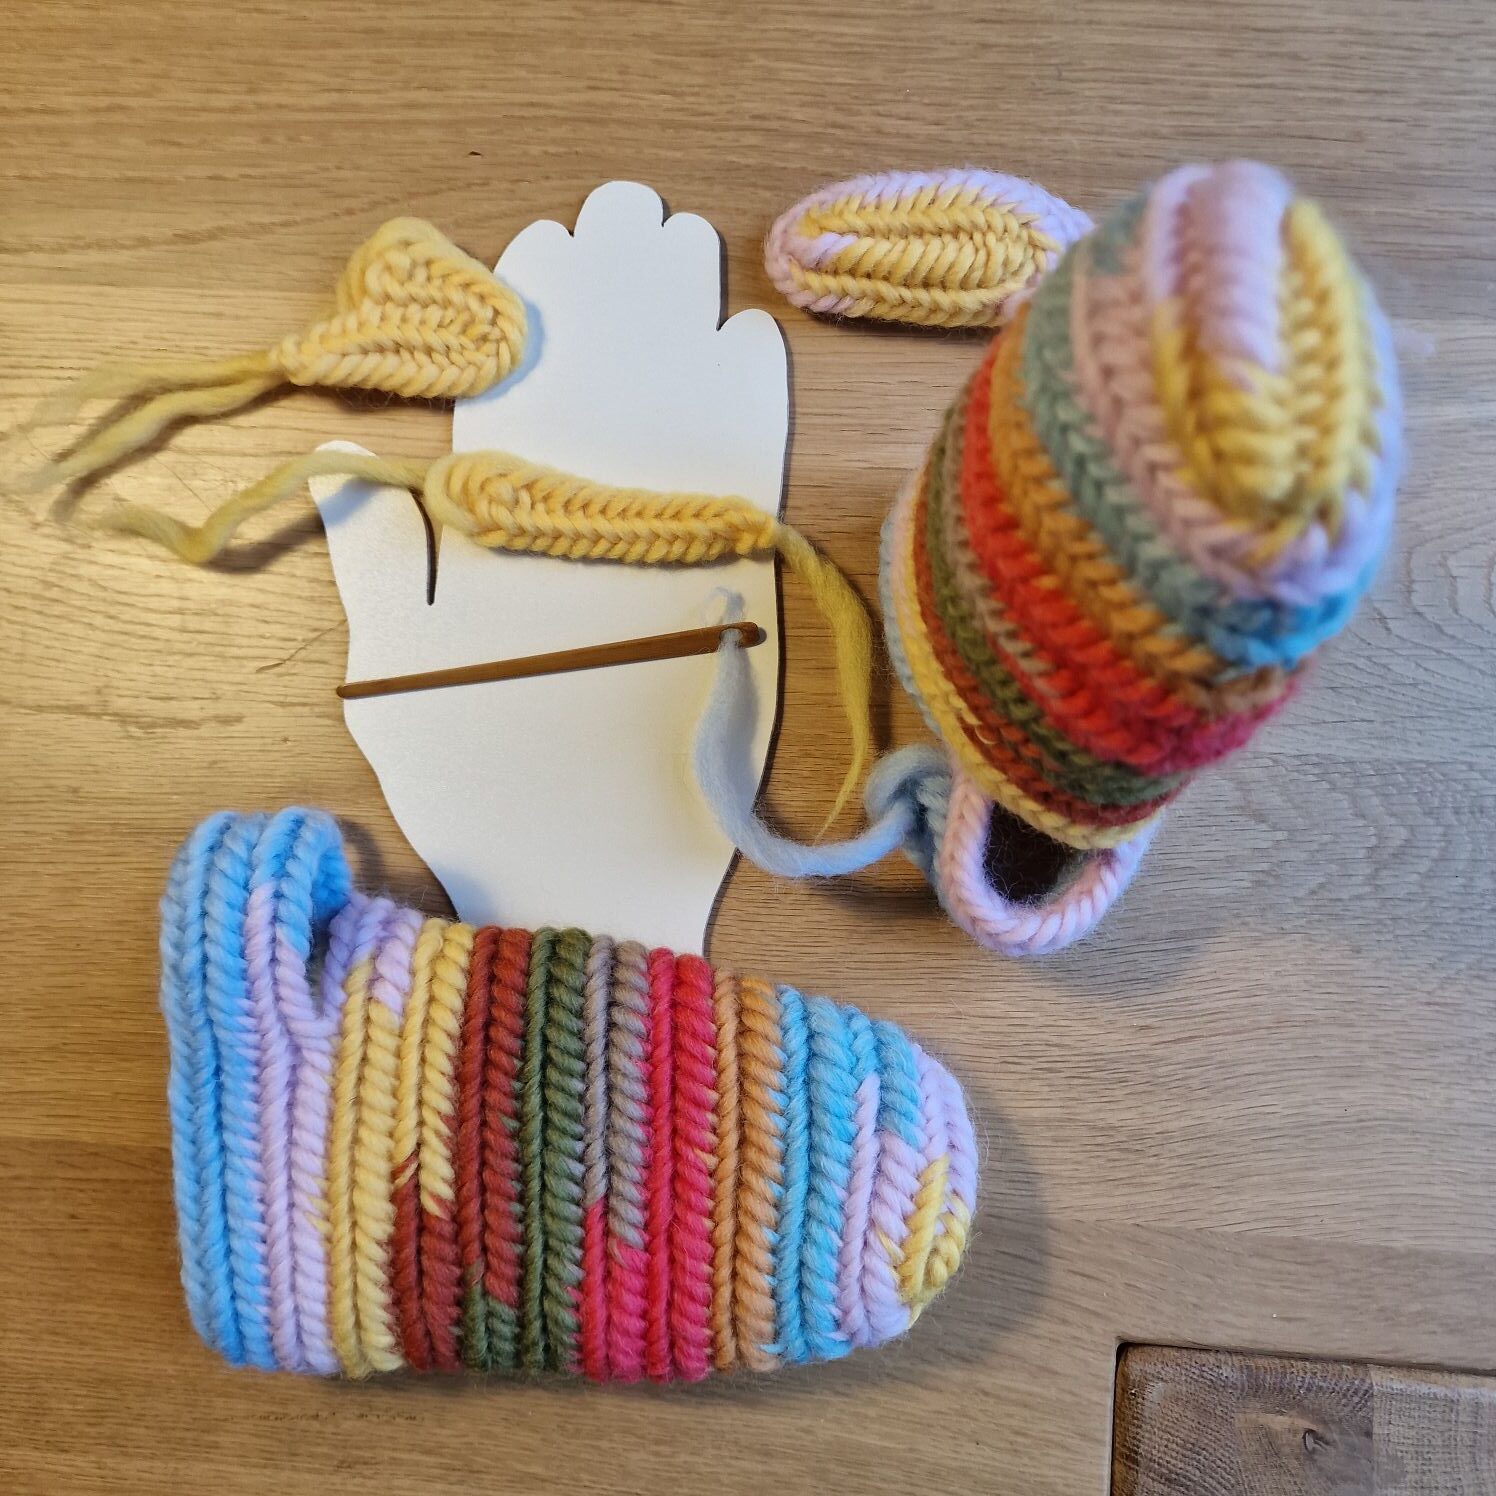
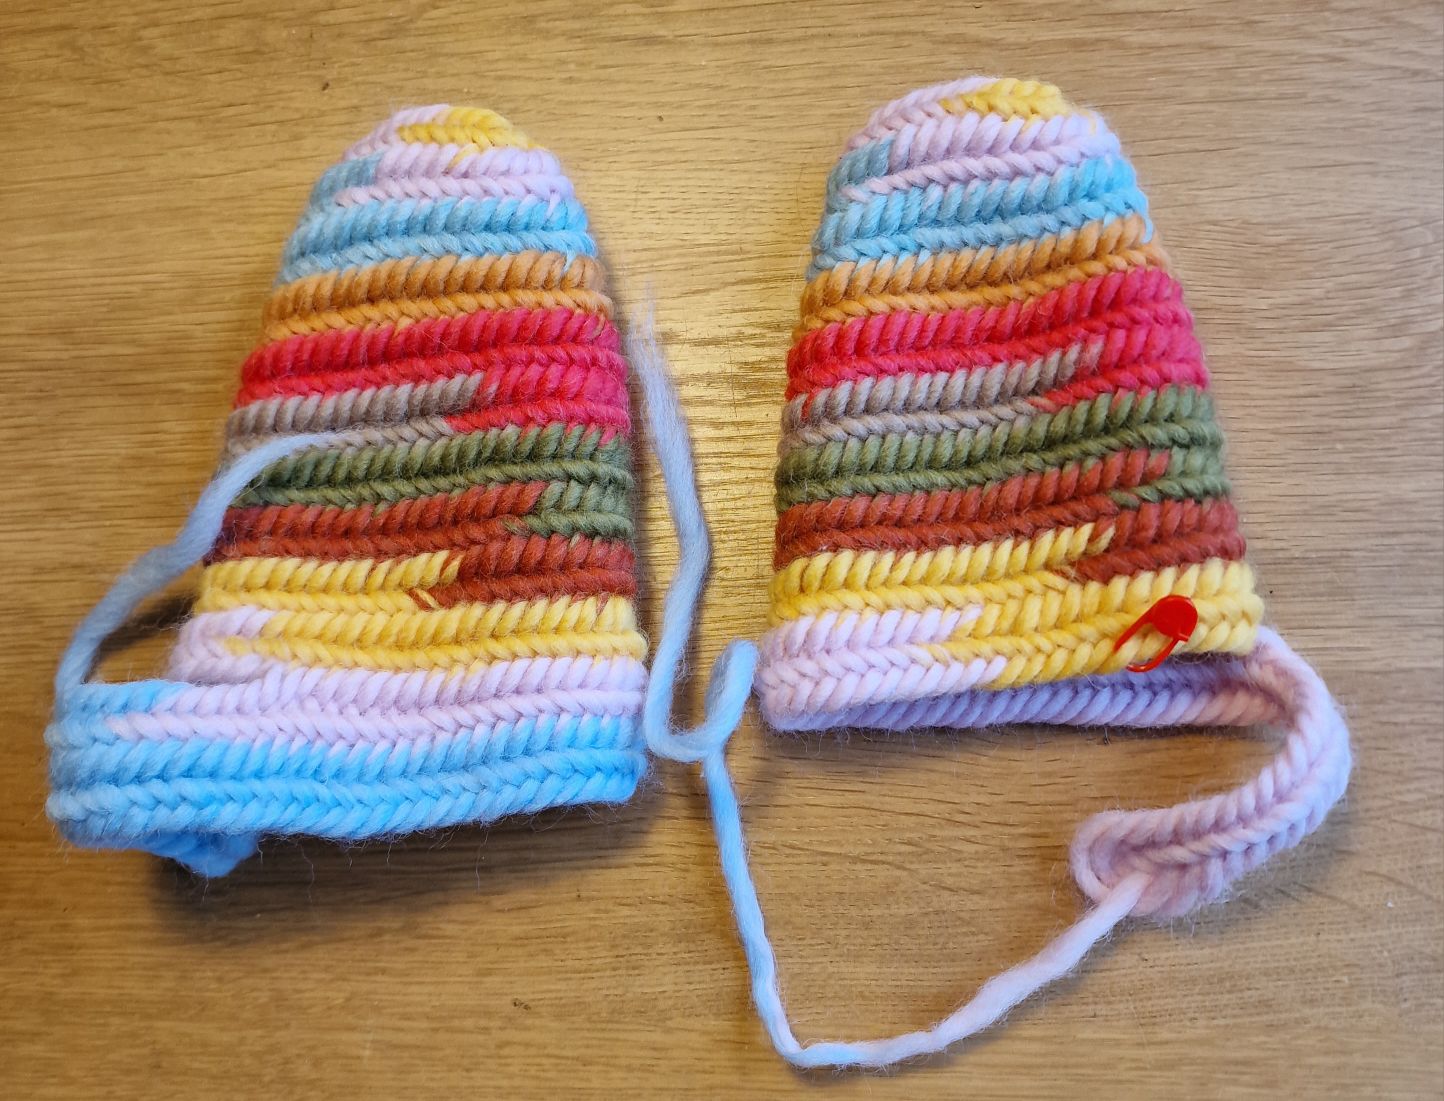
When you making mittens or slippers you actually start exactly the same, you make a row of stitches the width of your 4 fingers or the width of your 4 toes.
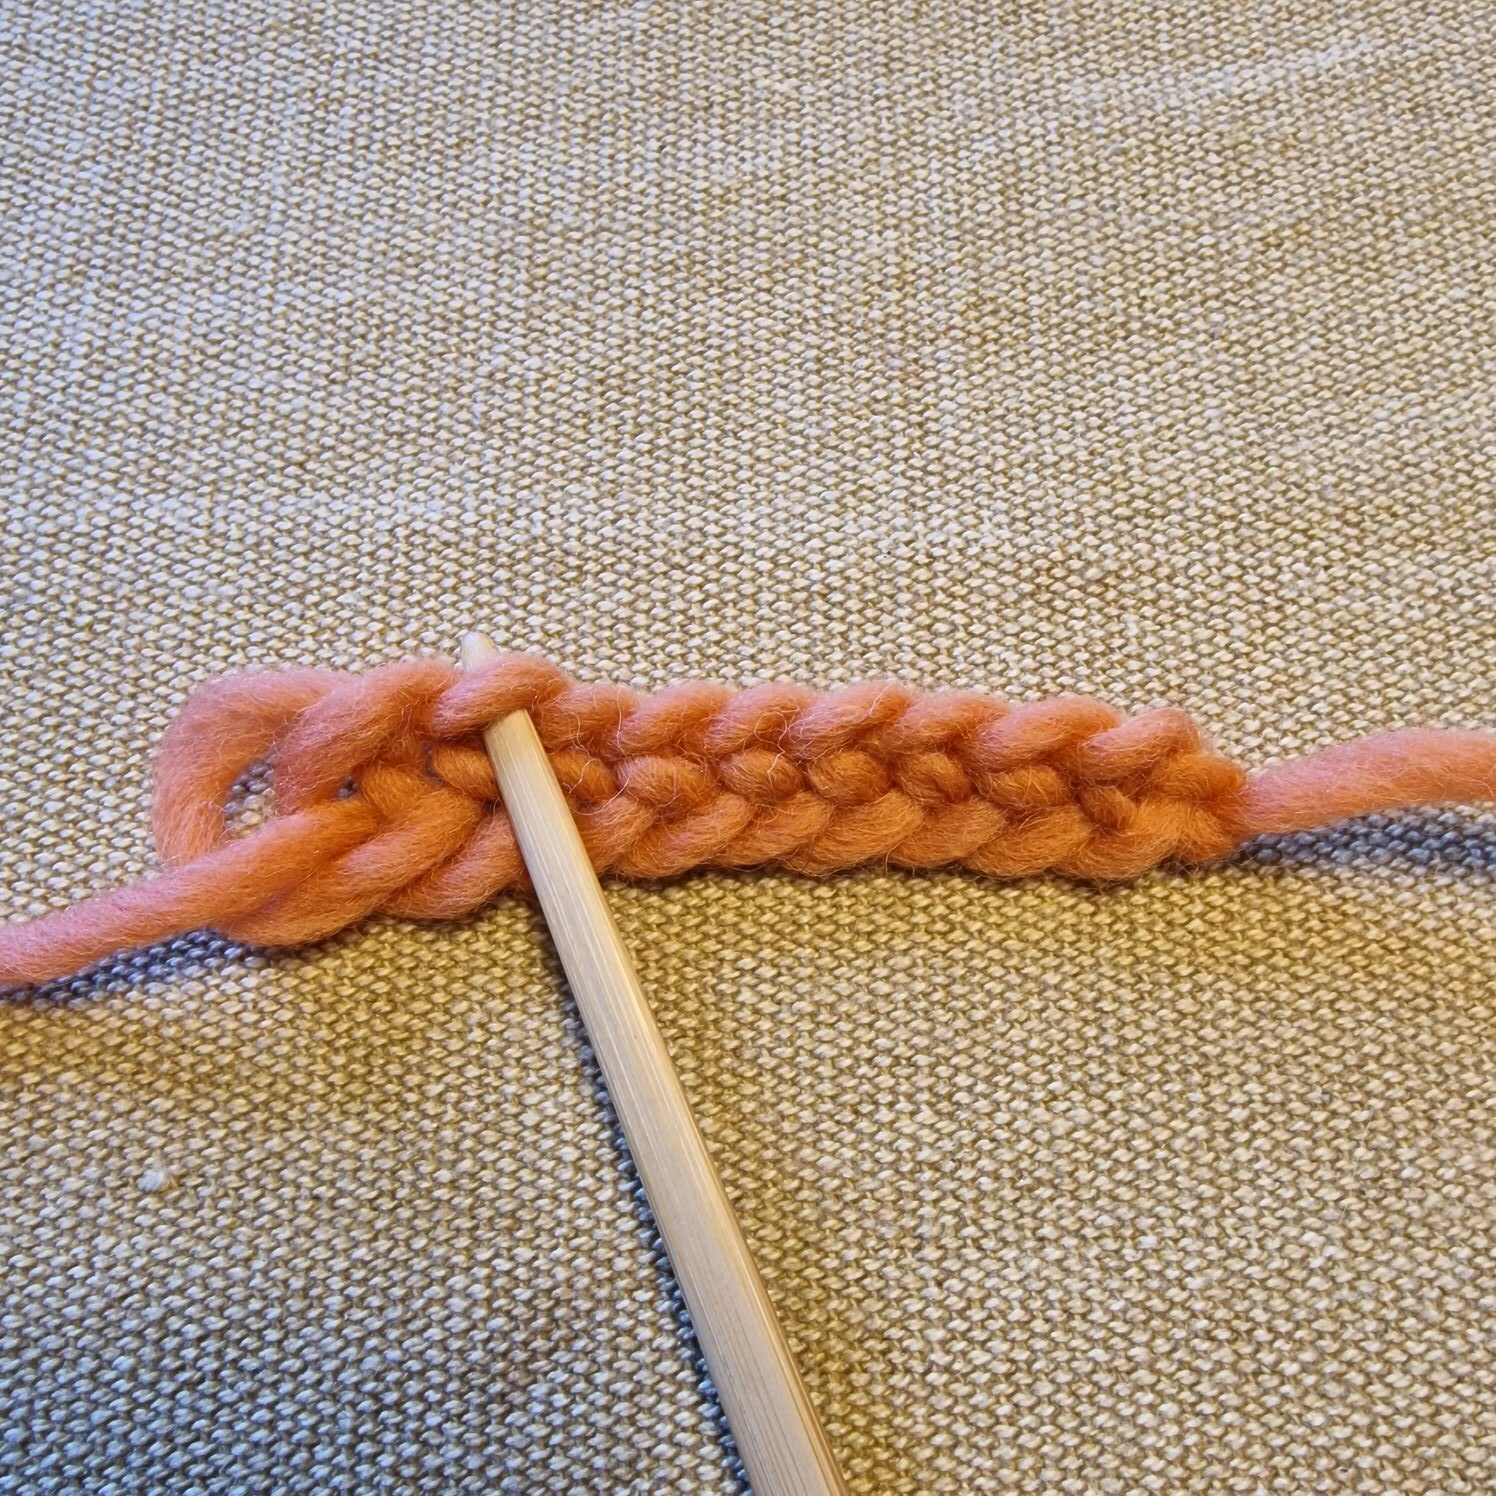
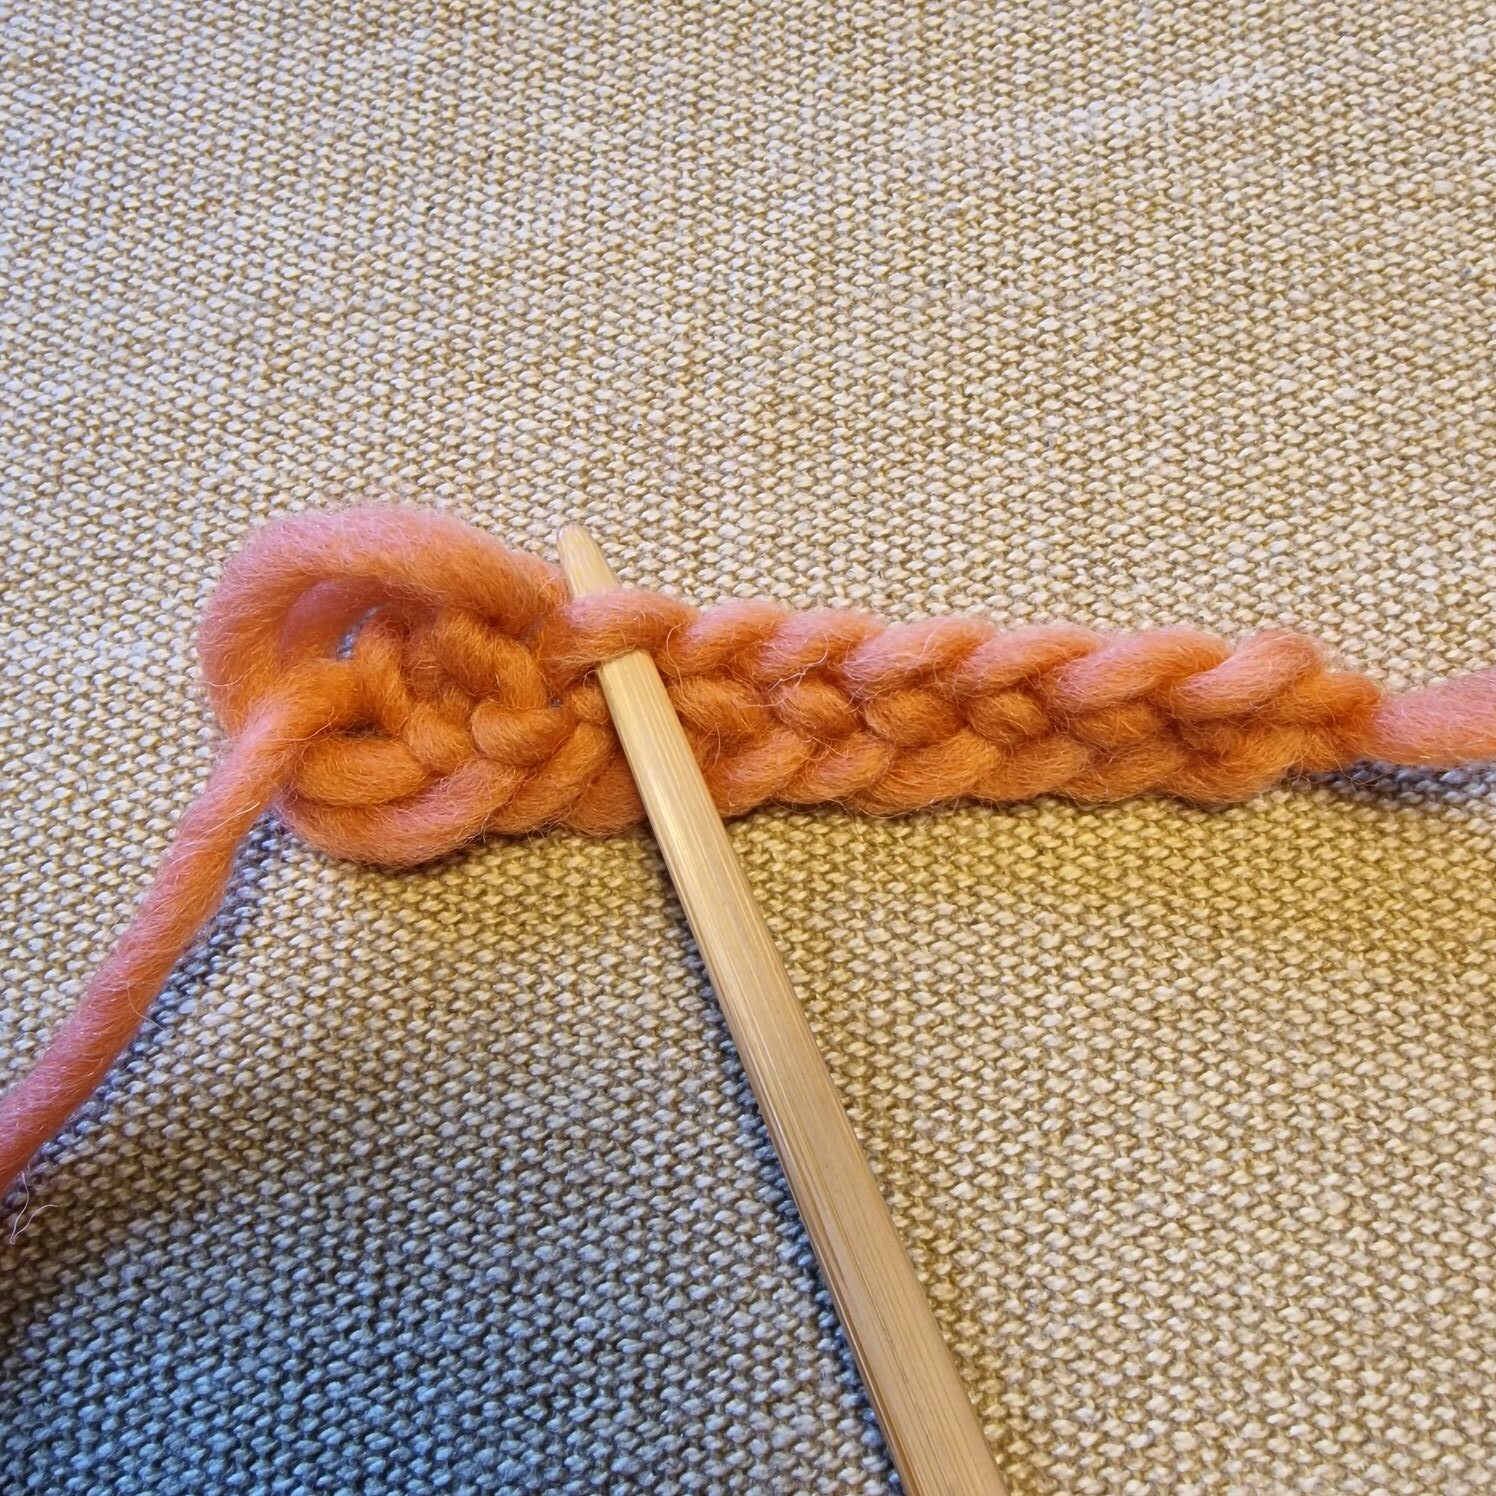
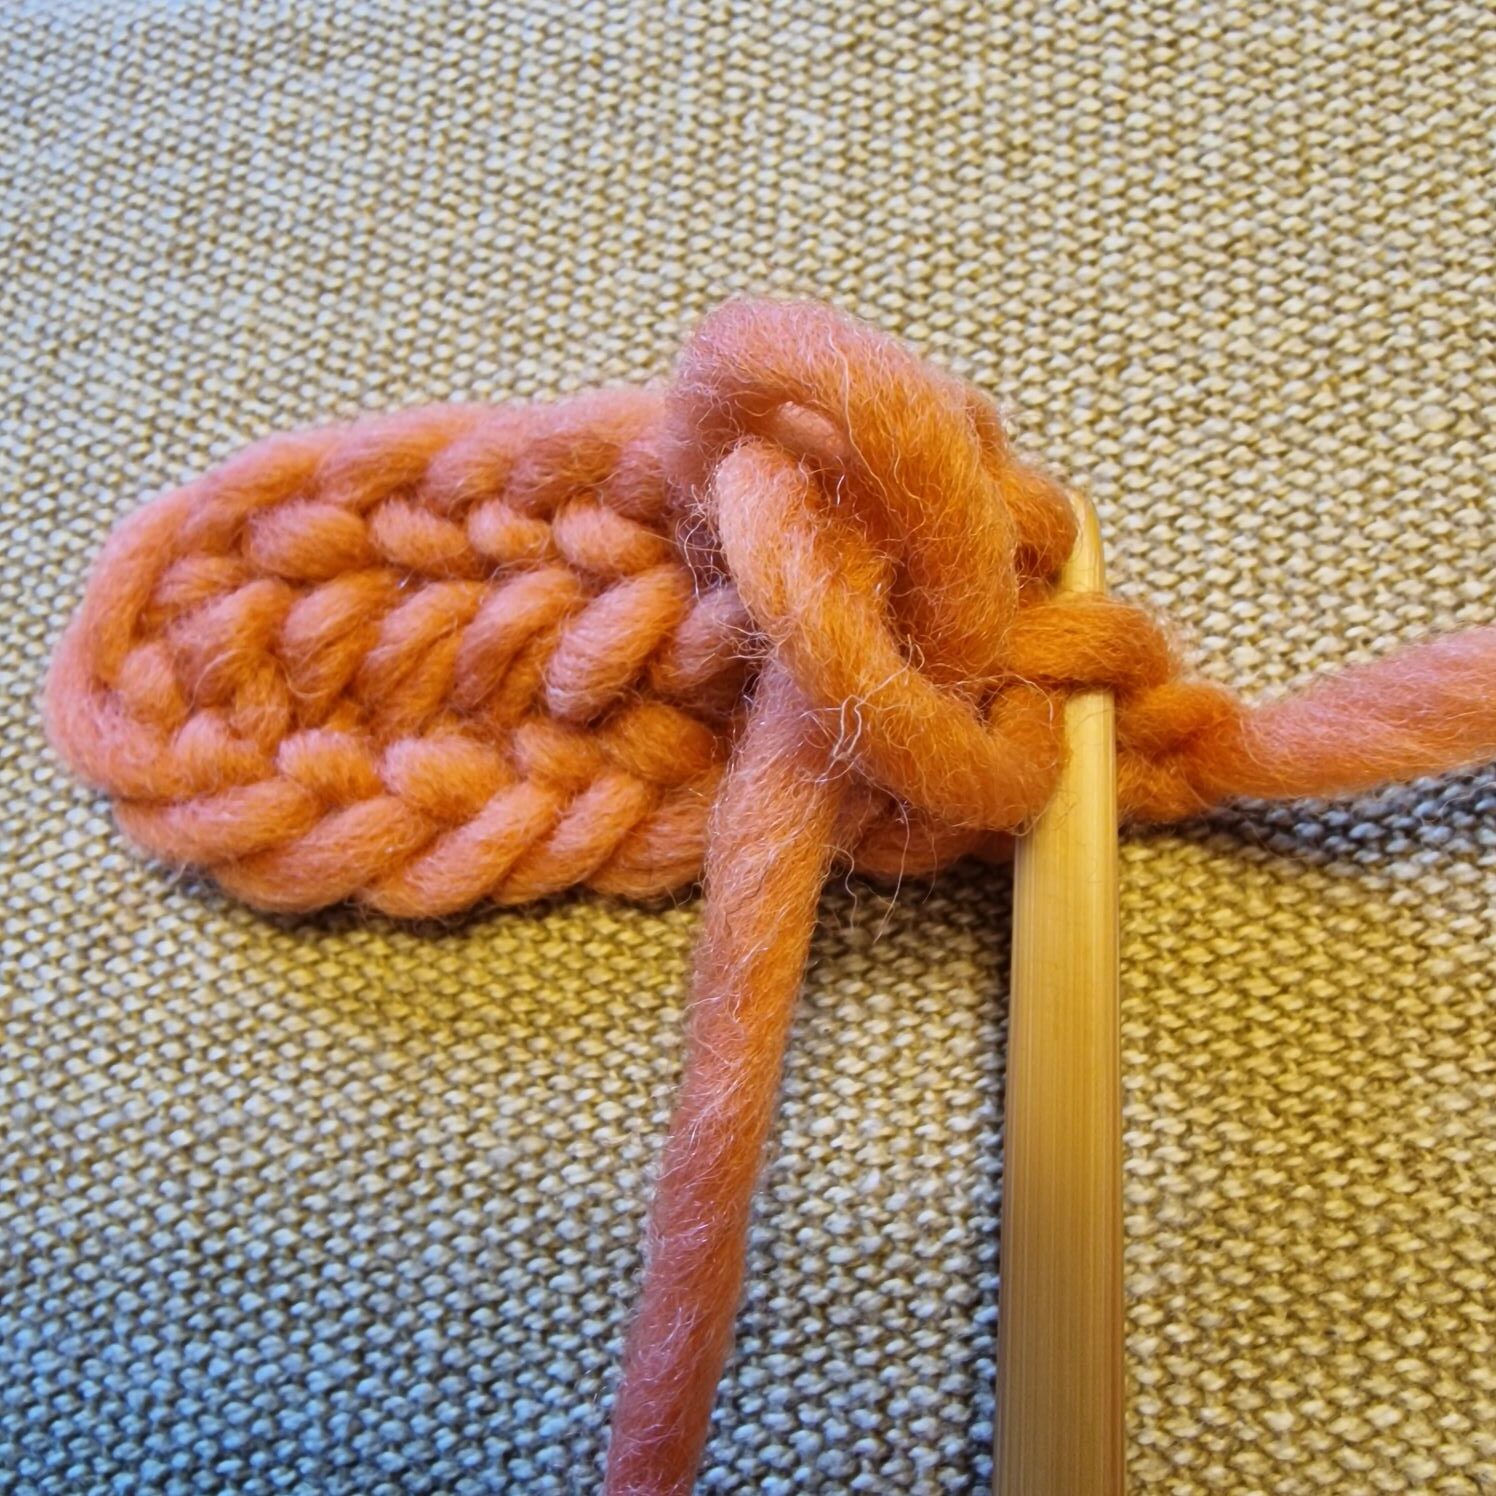
So you start with a row of stitches.
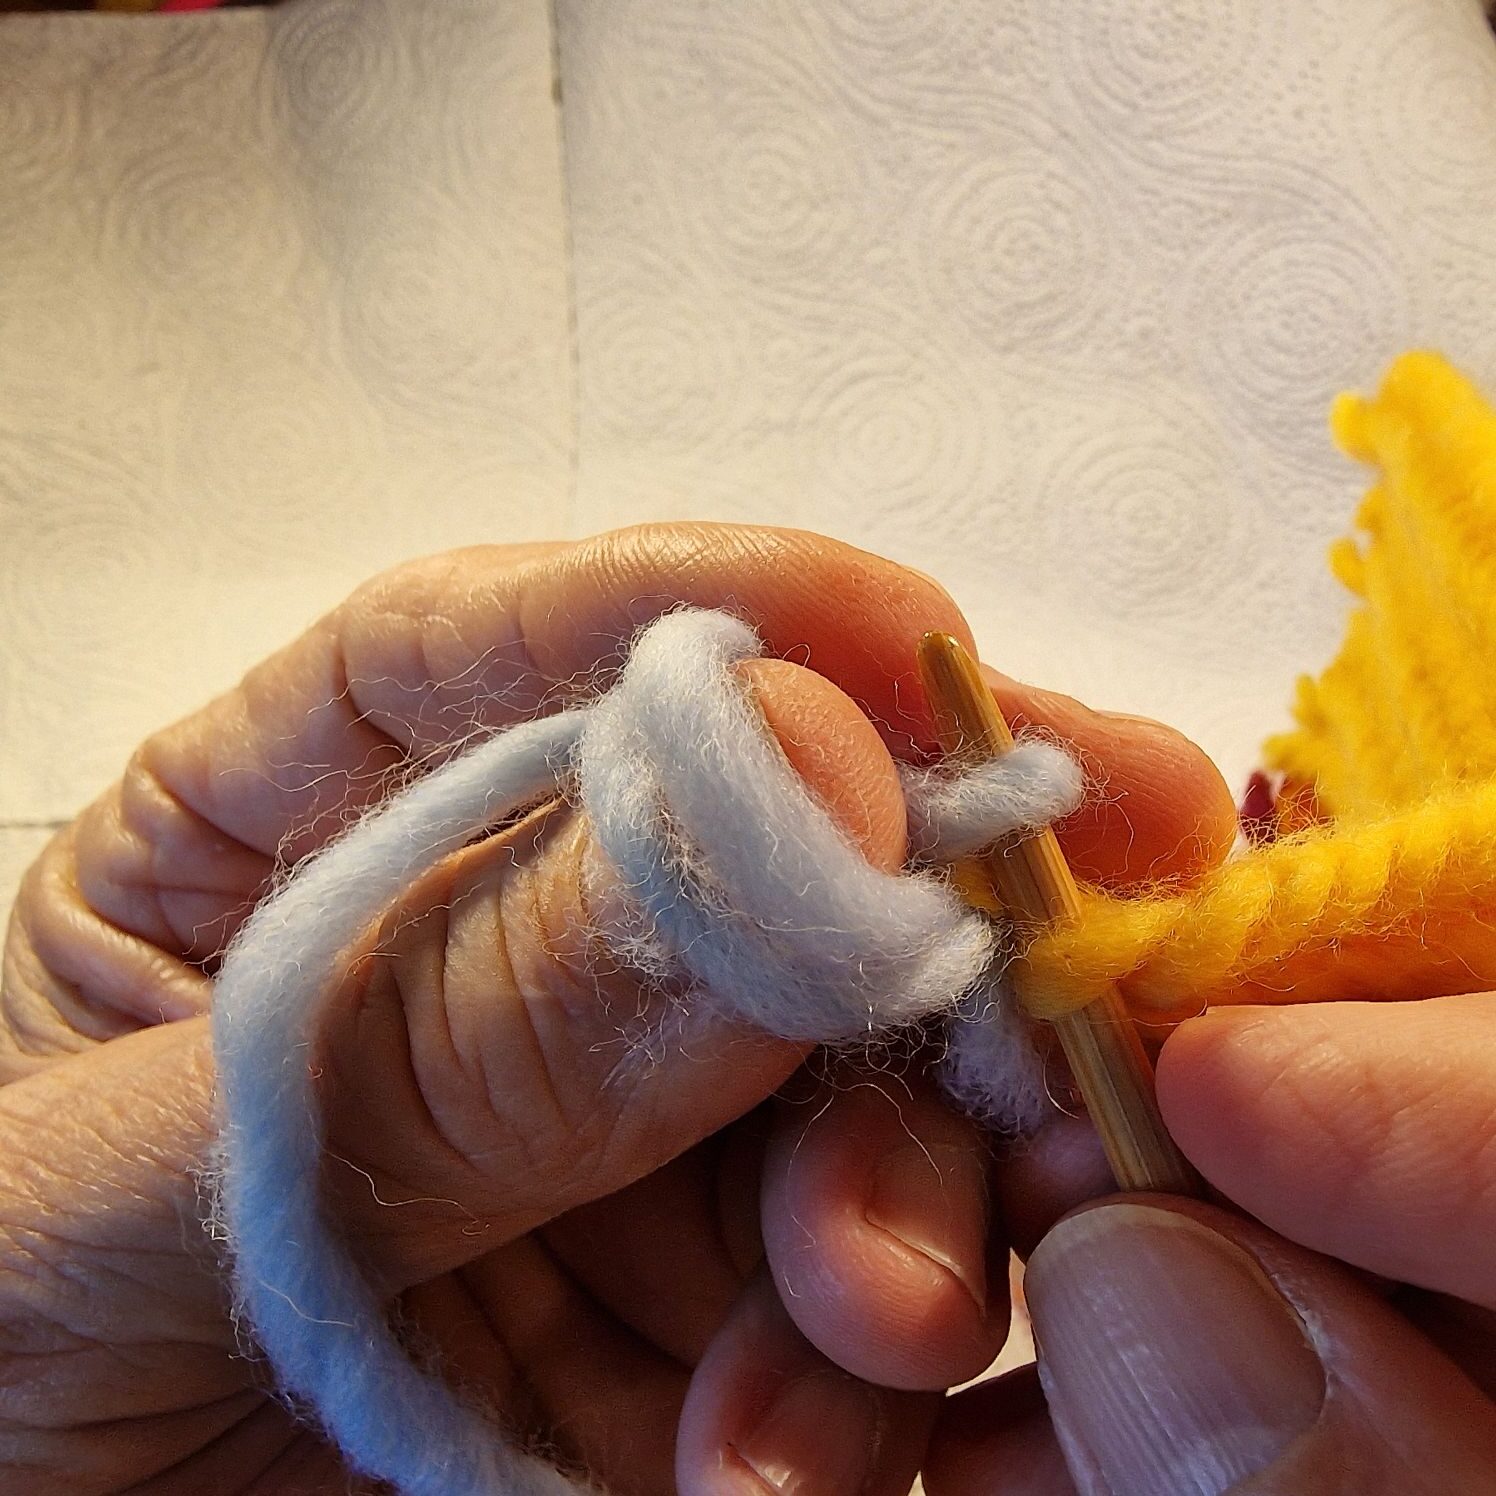
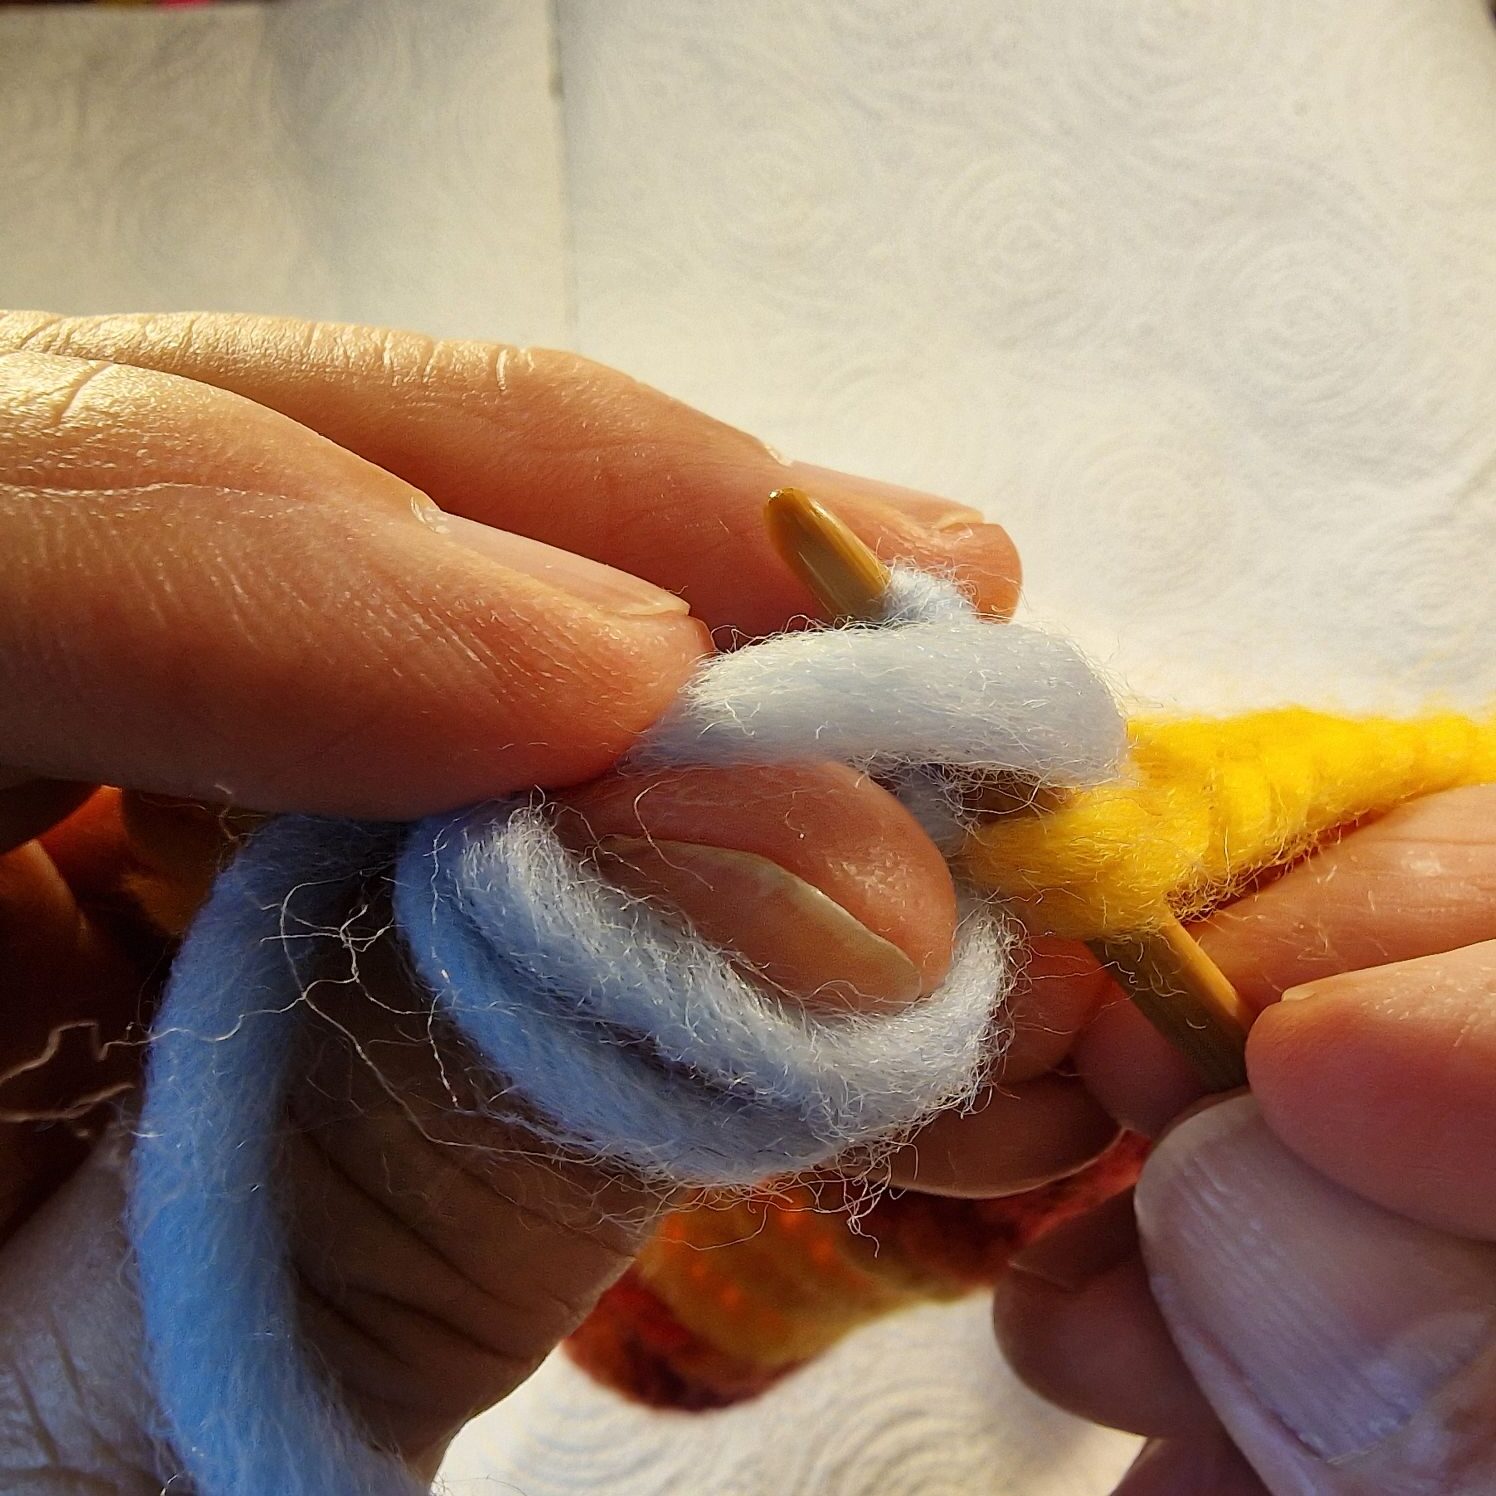
The third penultimate stitch goes through the needle (in the Finnish stitch the 4th penultimate) to make a bend and also ”making a bend” has now also been translated into a knitting term. make the next row without turning the needle binding work.
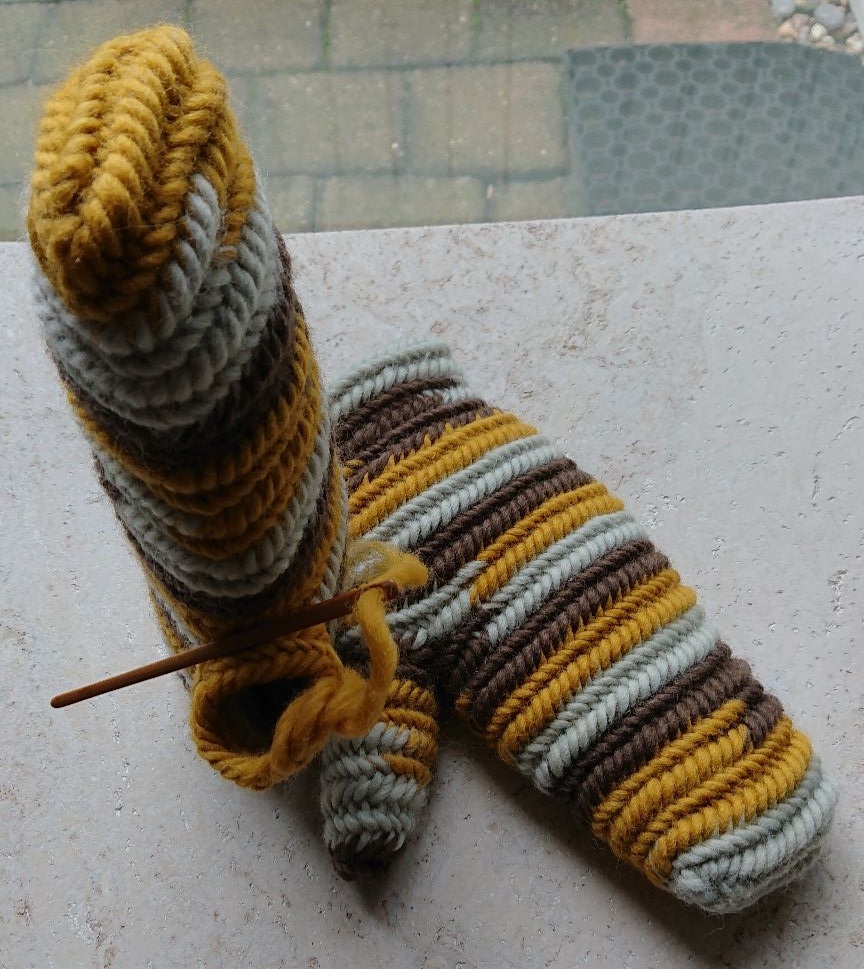
Then the needle goes through the next stitch, (the first 2 stitches are nalbinding with the F1) connecting stitch your needle goes around the bend more easily.
After the 2 stitches you can continue with the F2 connection stitch, in this sampe i used the F1 connection stitch.
And then the needle through the next stitch.
I made a video about the next row stitches with Oslo stitch.
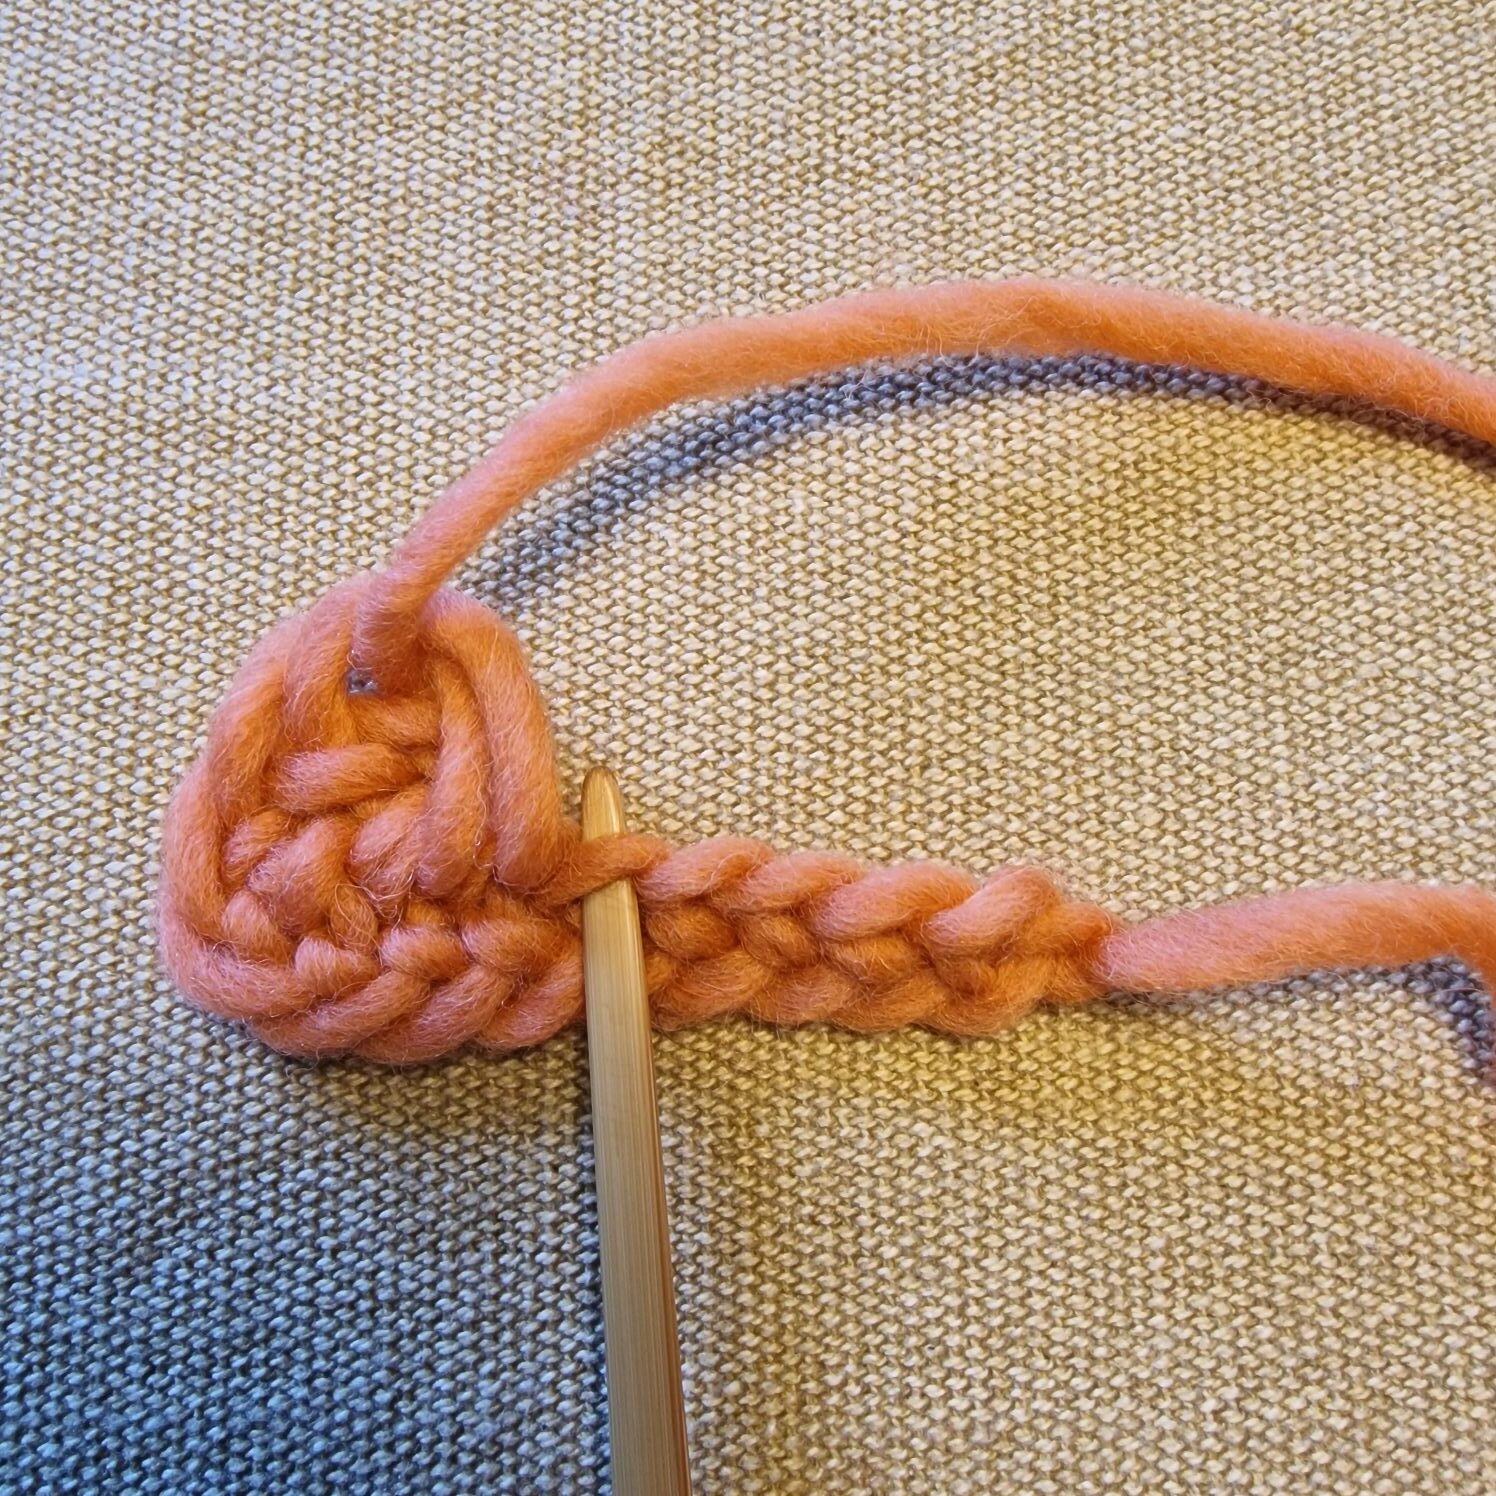
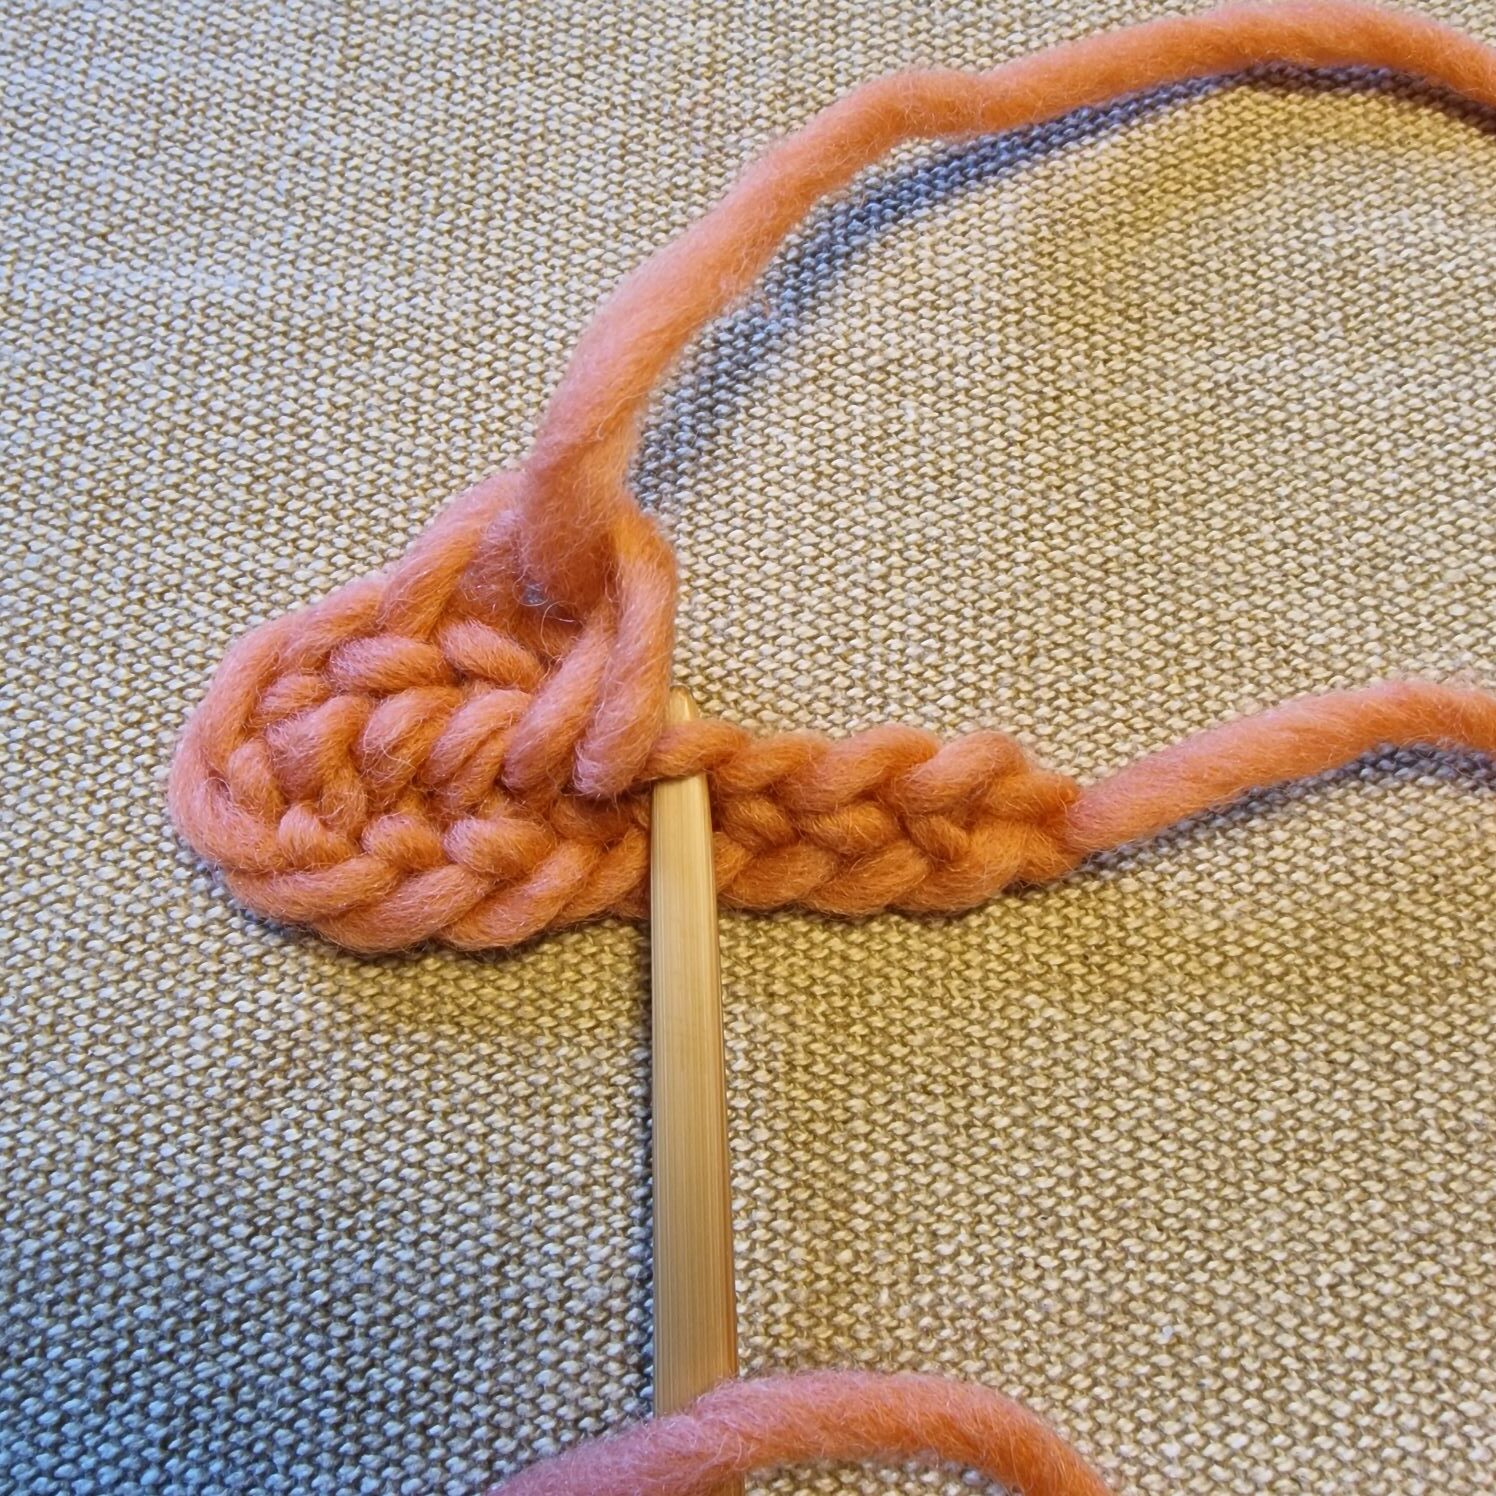
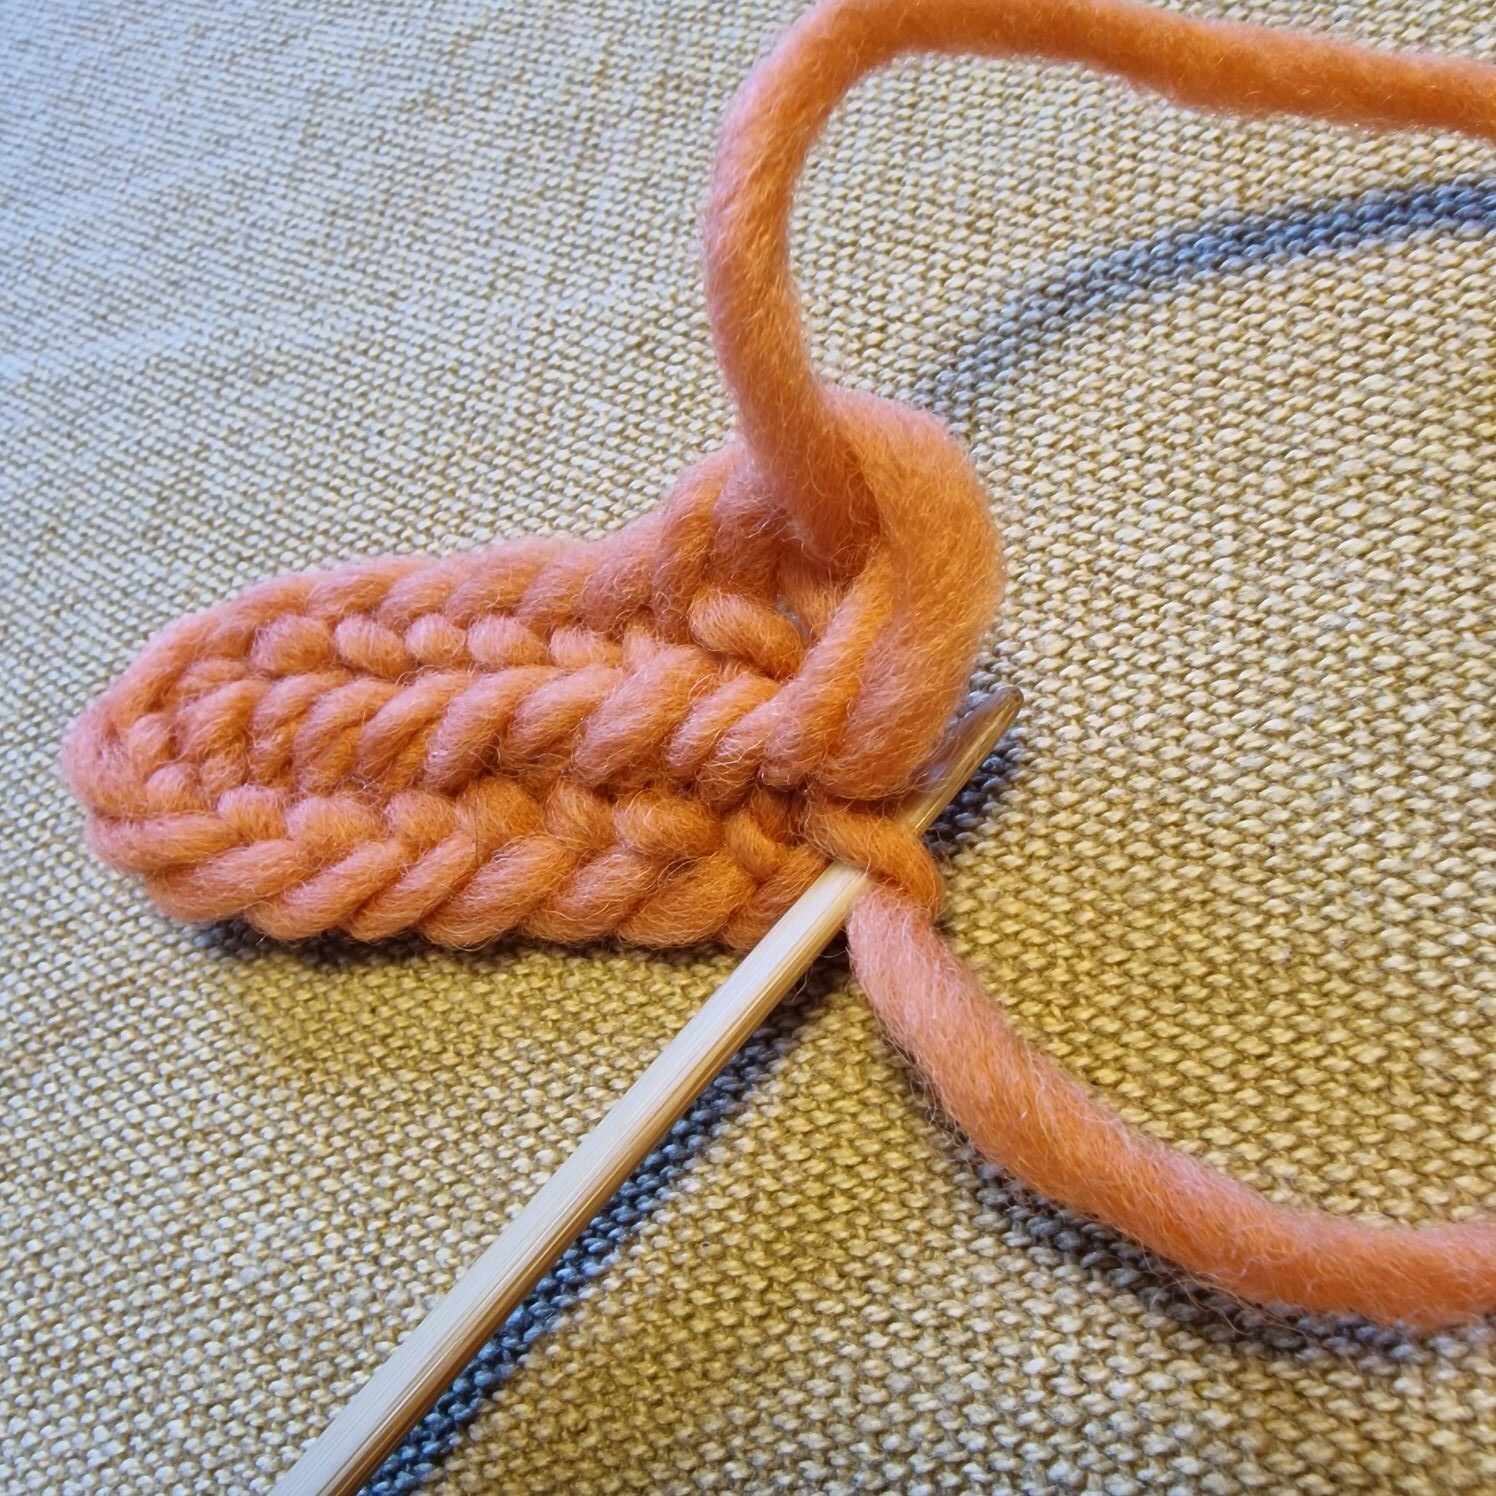
At the end of the row of stitches you will increase 3 stitches, also counting the starting knot as a stitch.
At the and off the row you have increased 3 stitches
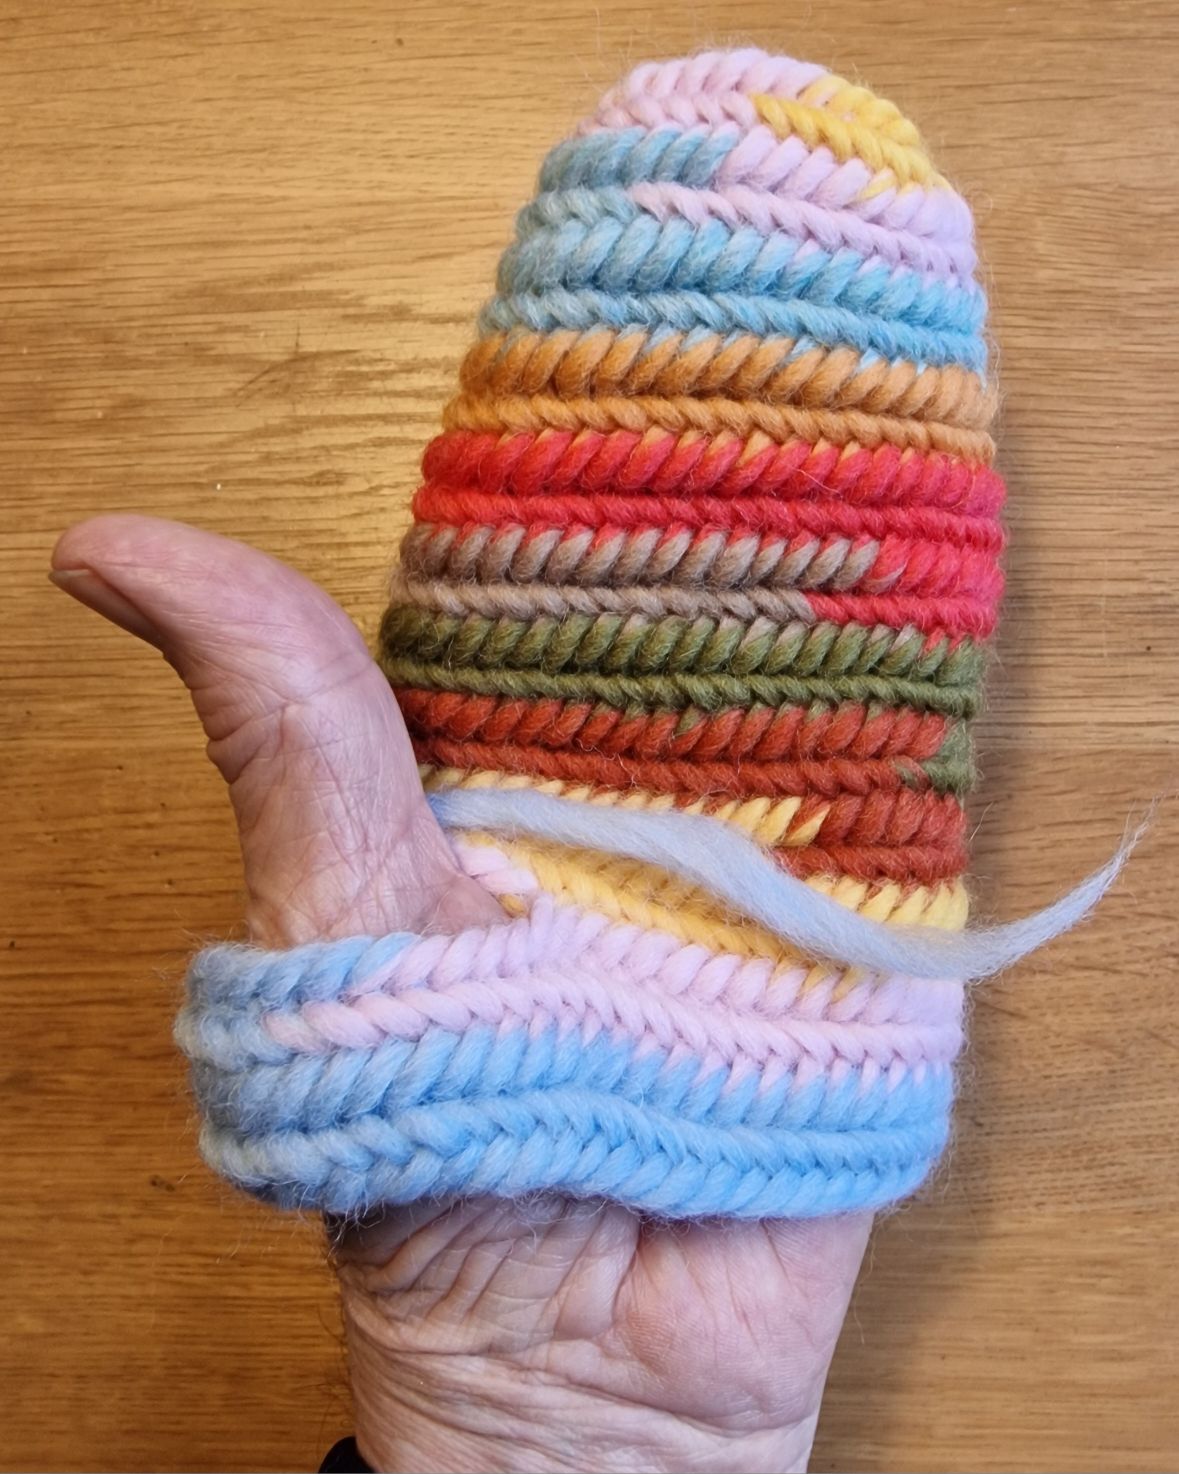
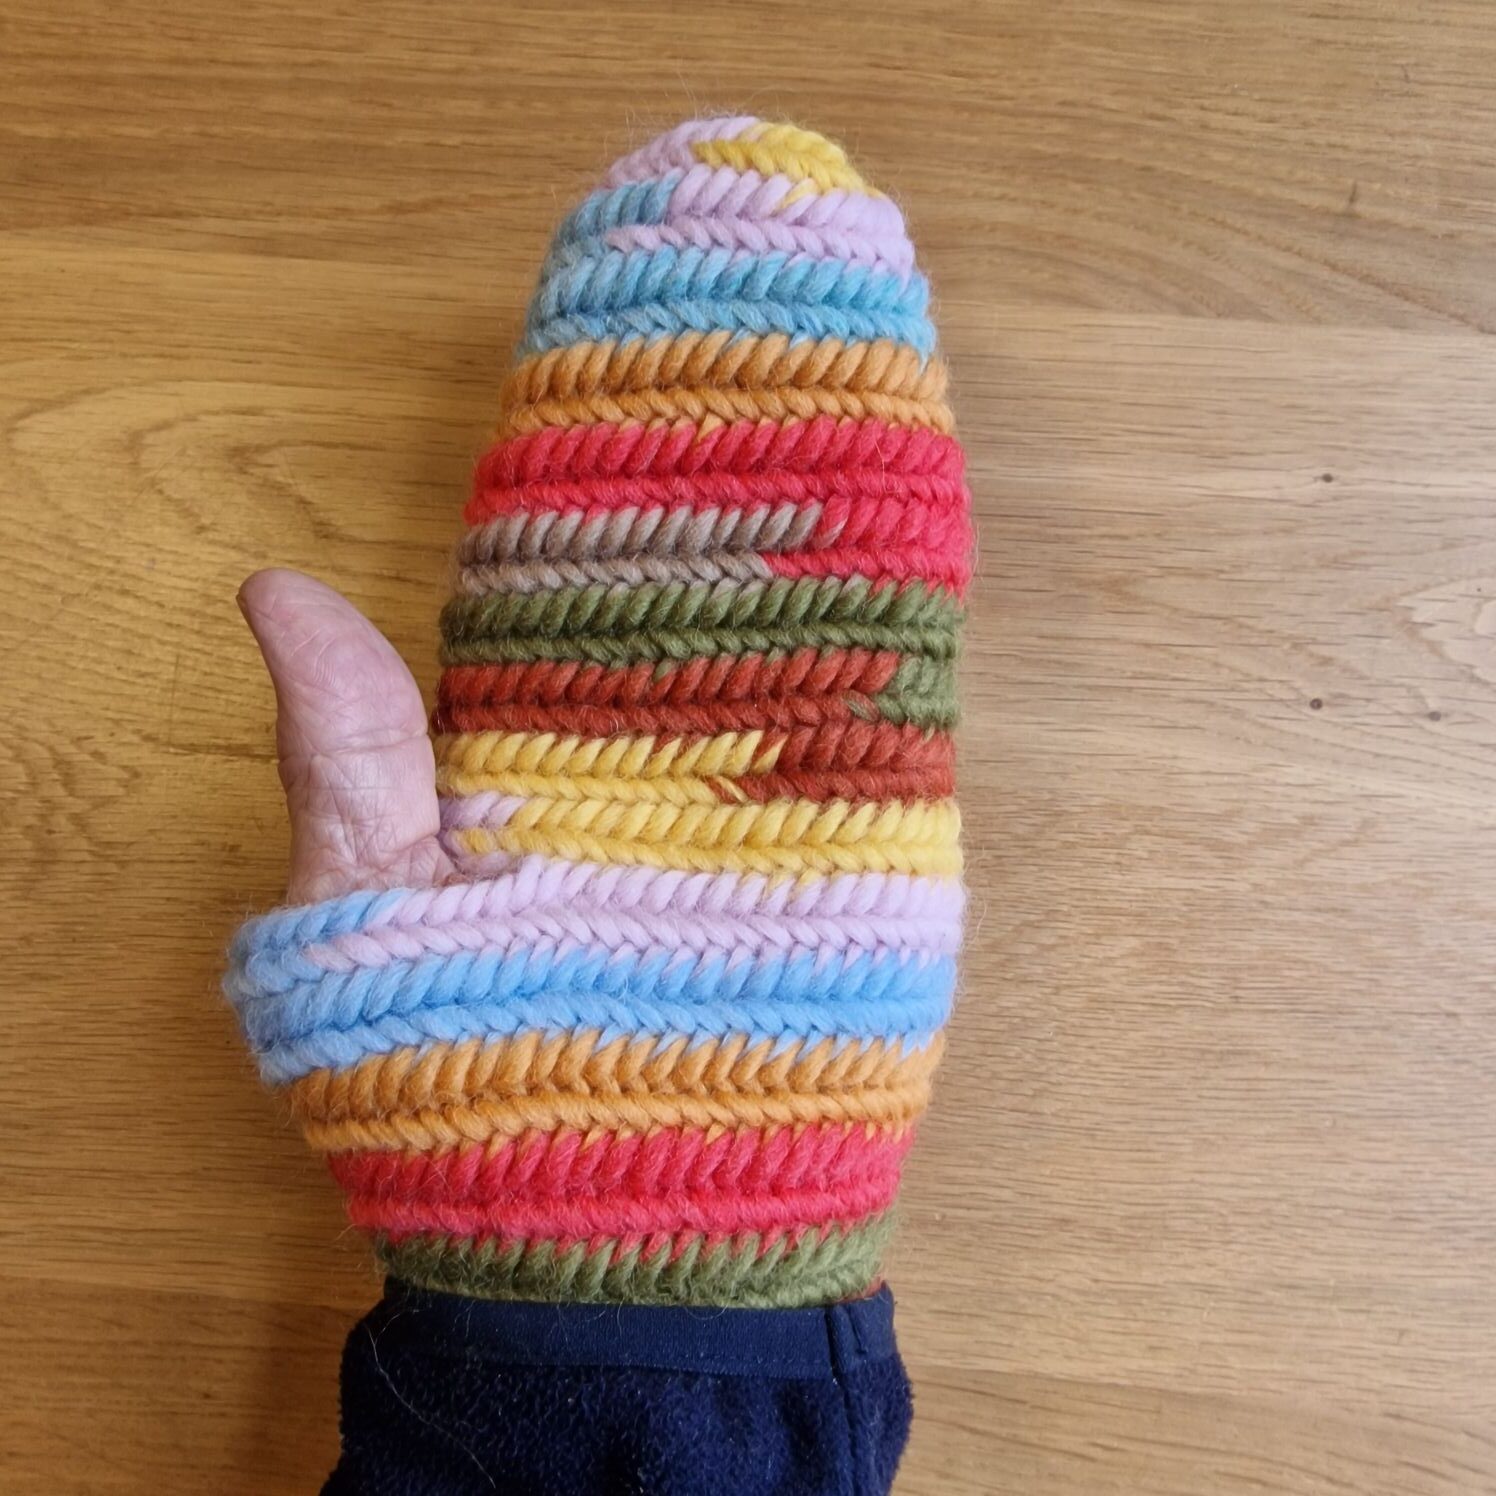
The inside of your mitten.
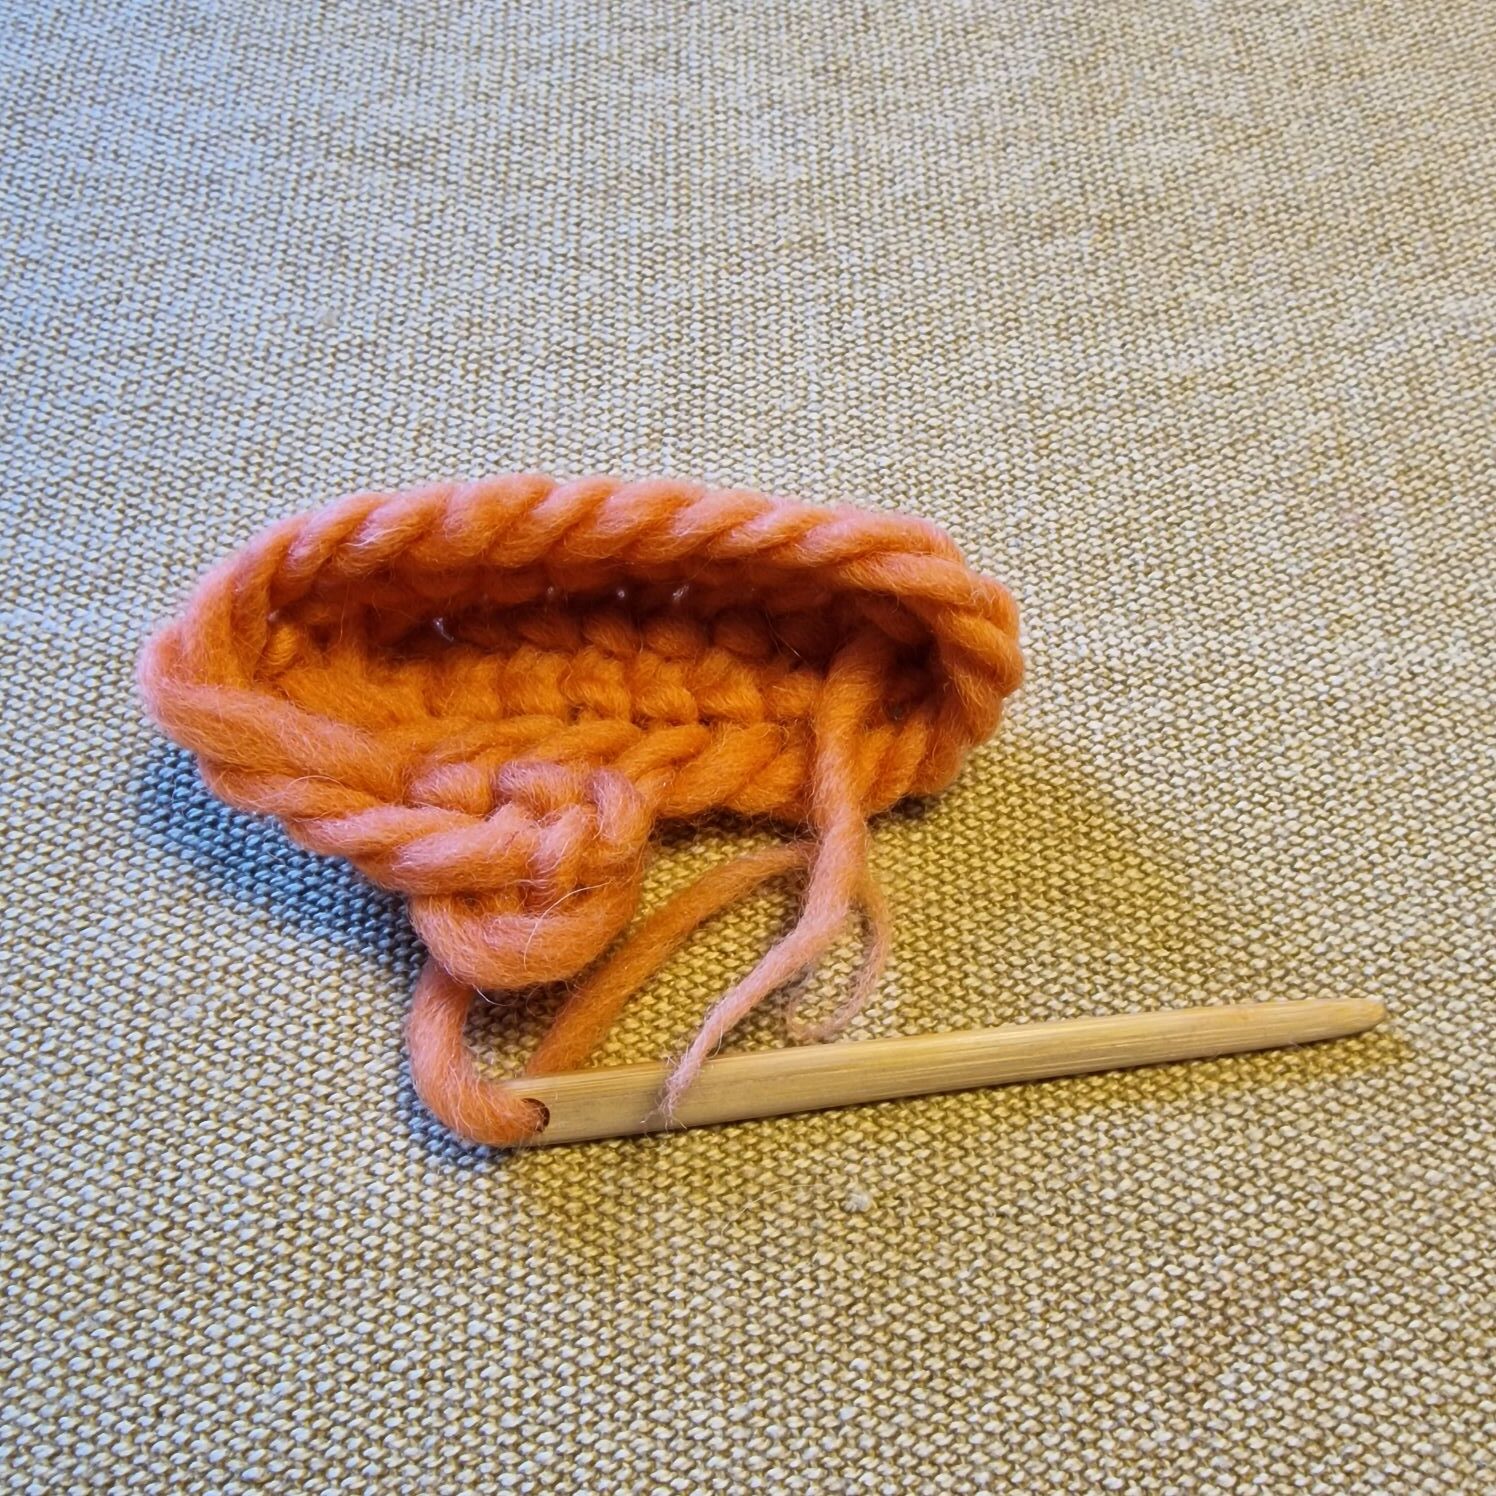
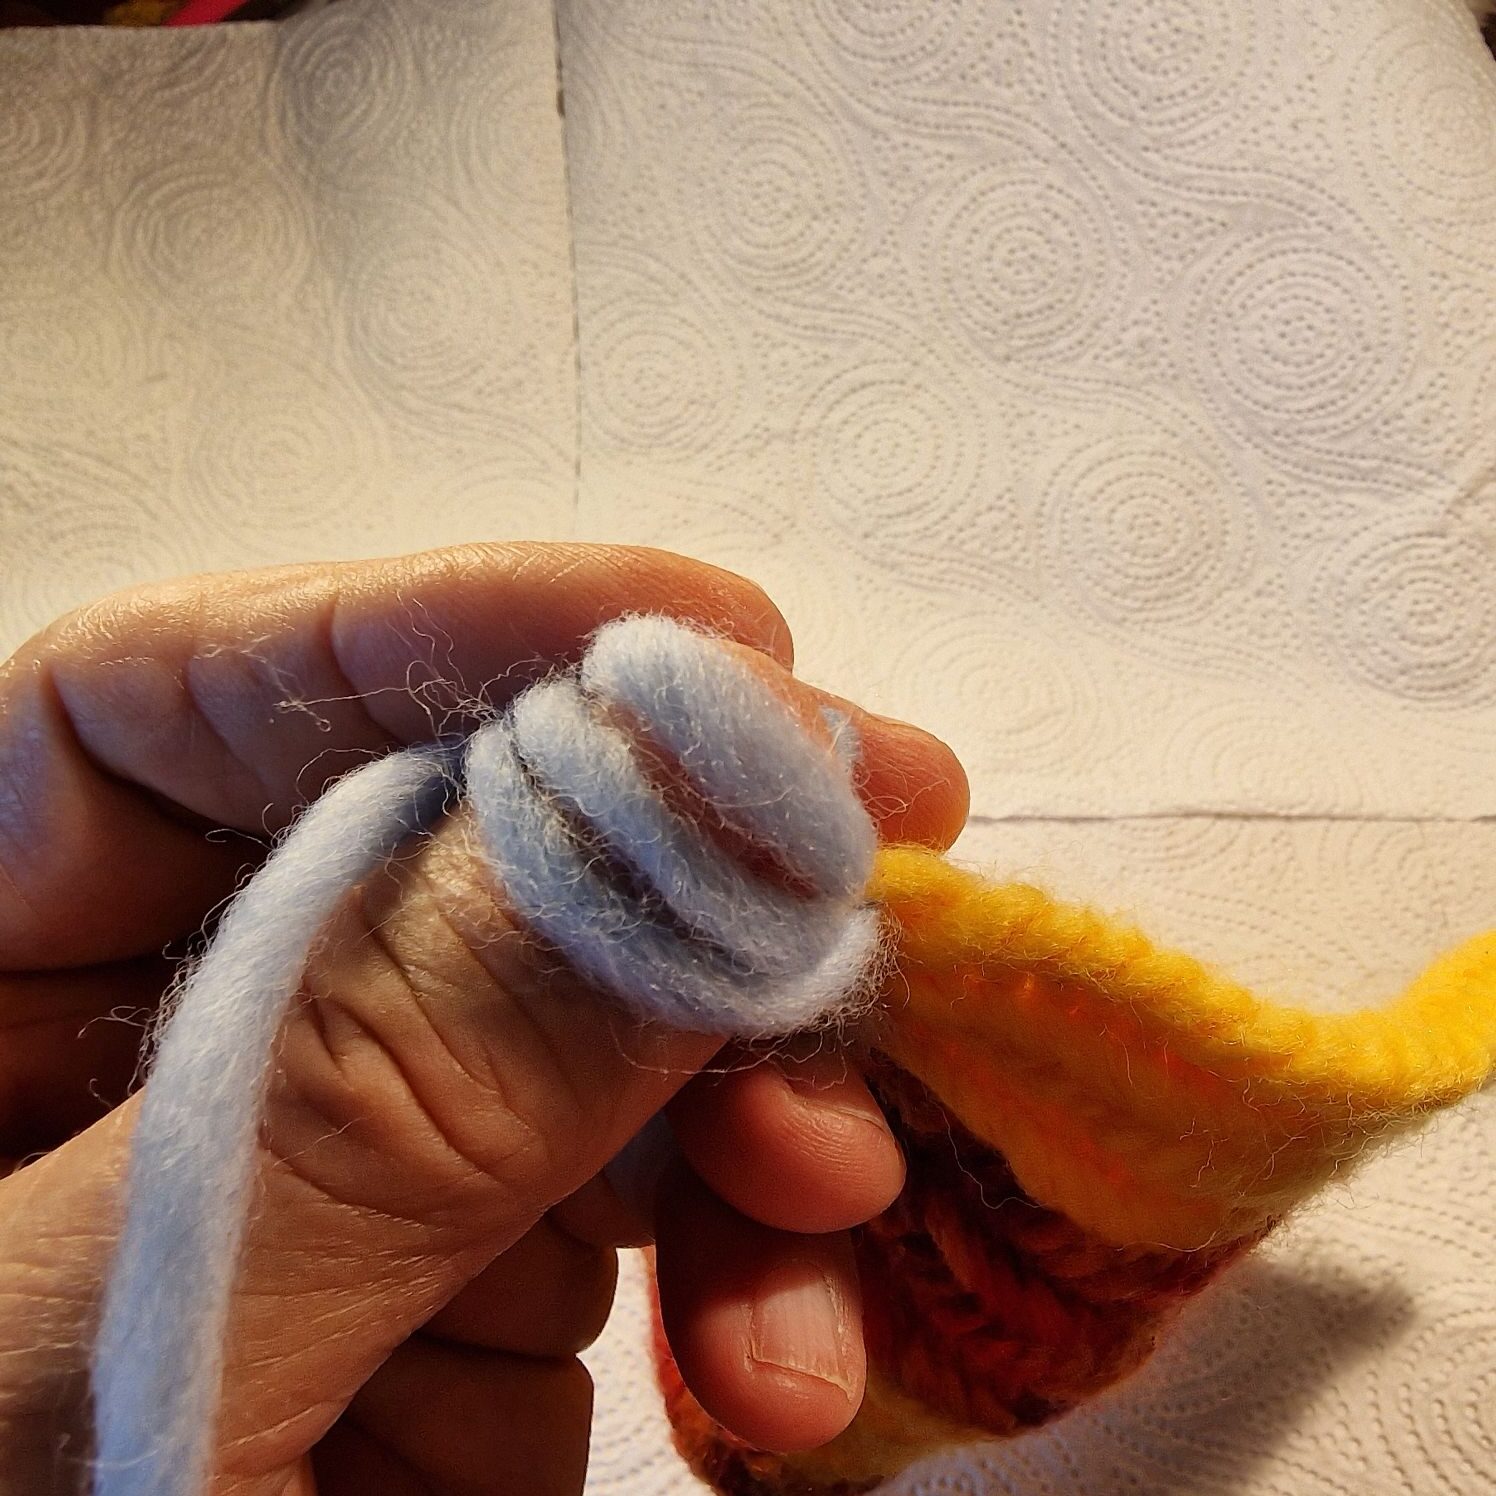
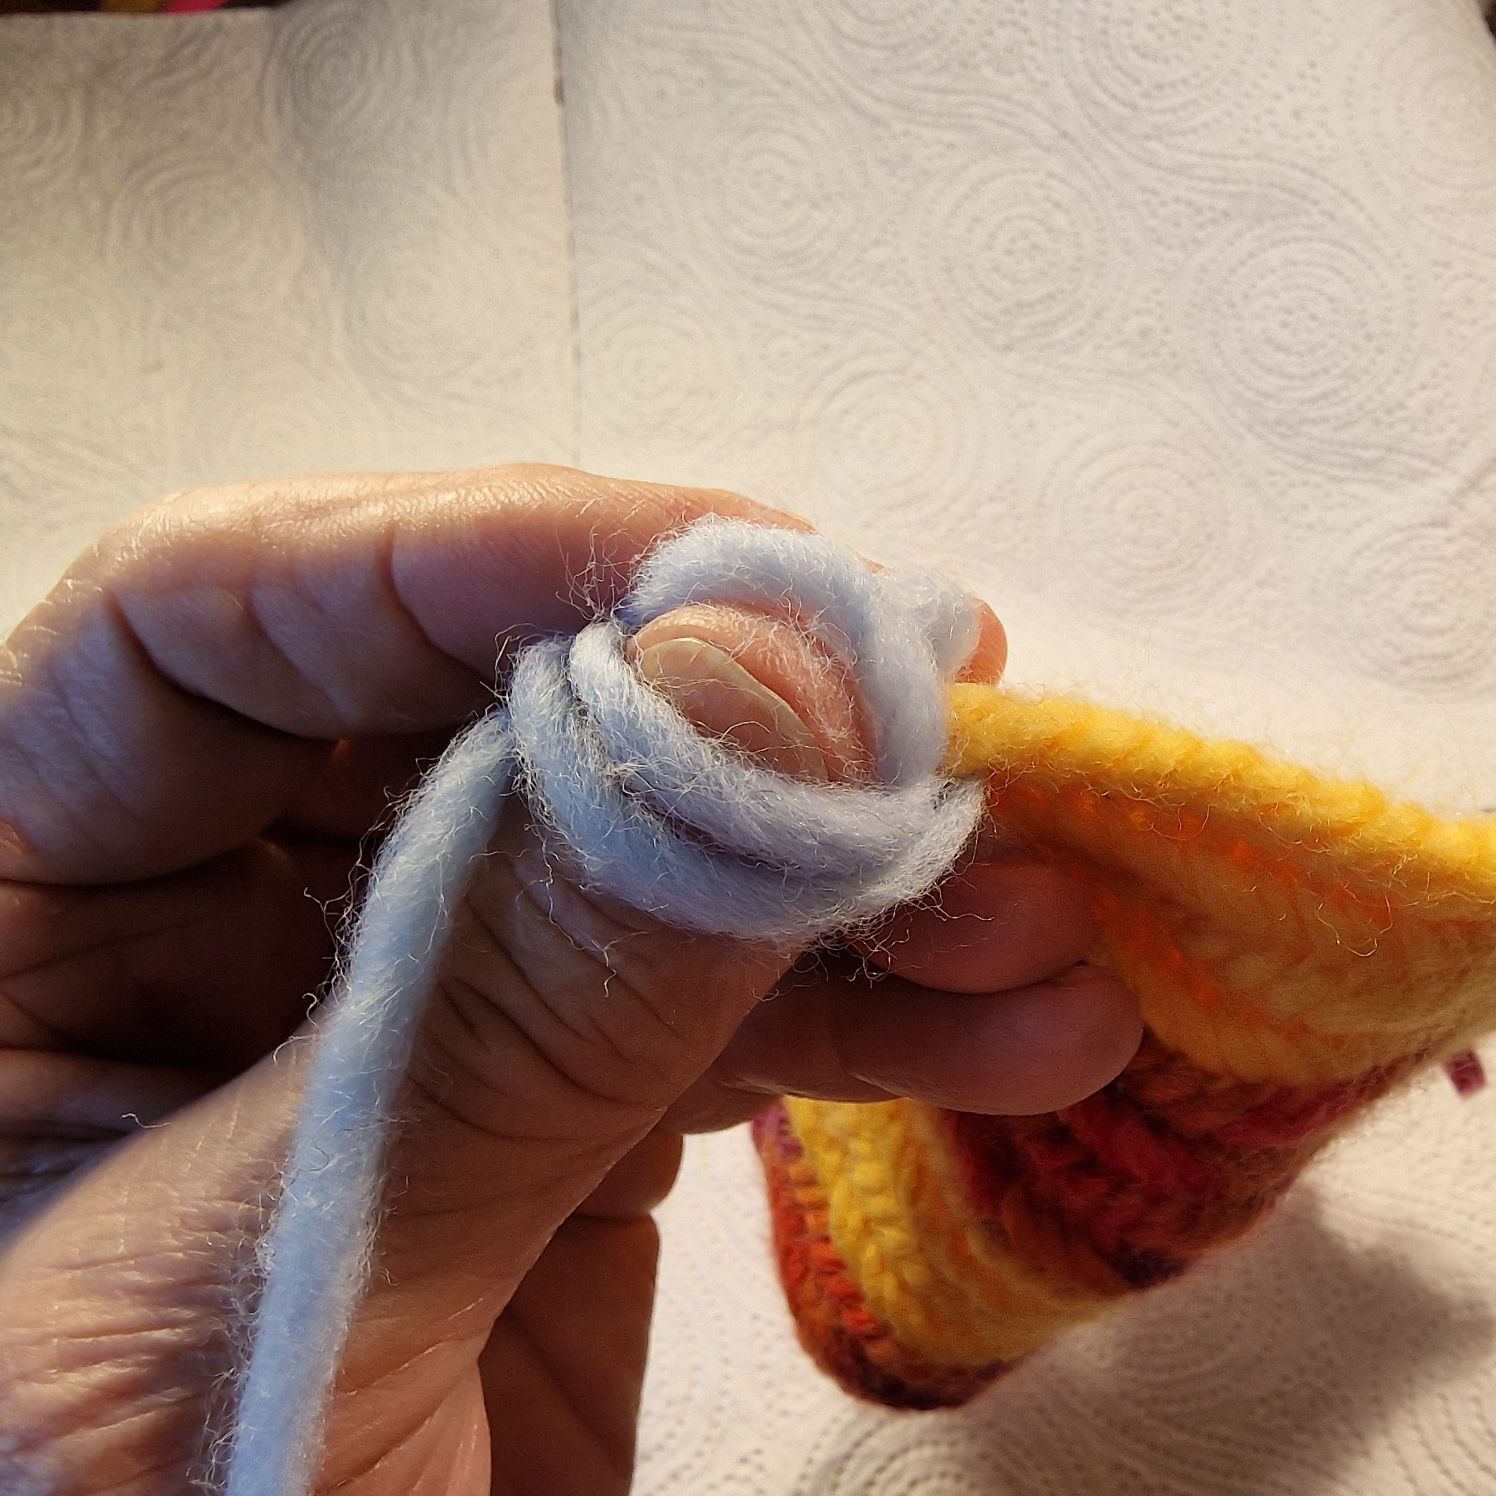
Oslo stitch.
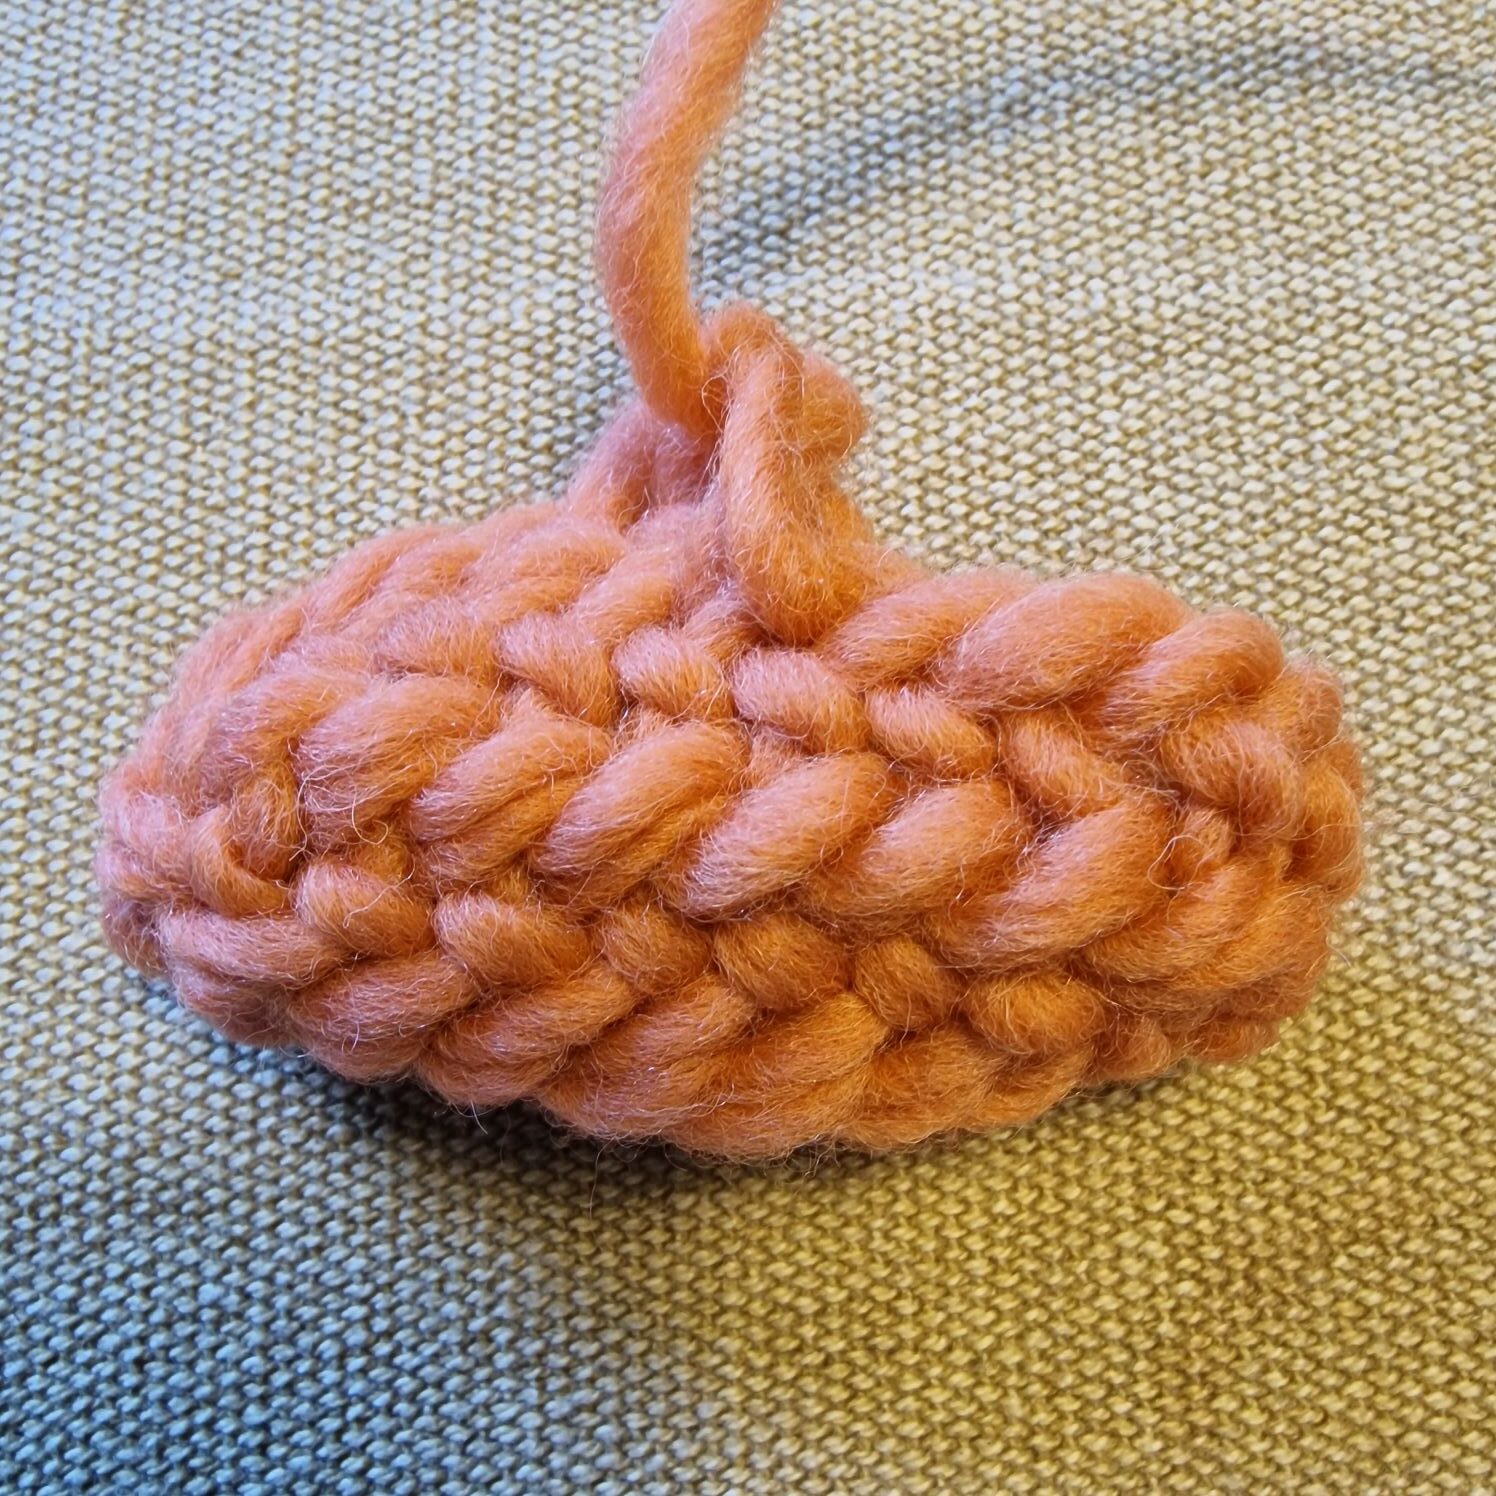
2 stitches are increased on each side until you have reached the desired width (not yet).
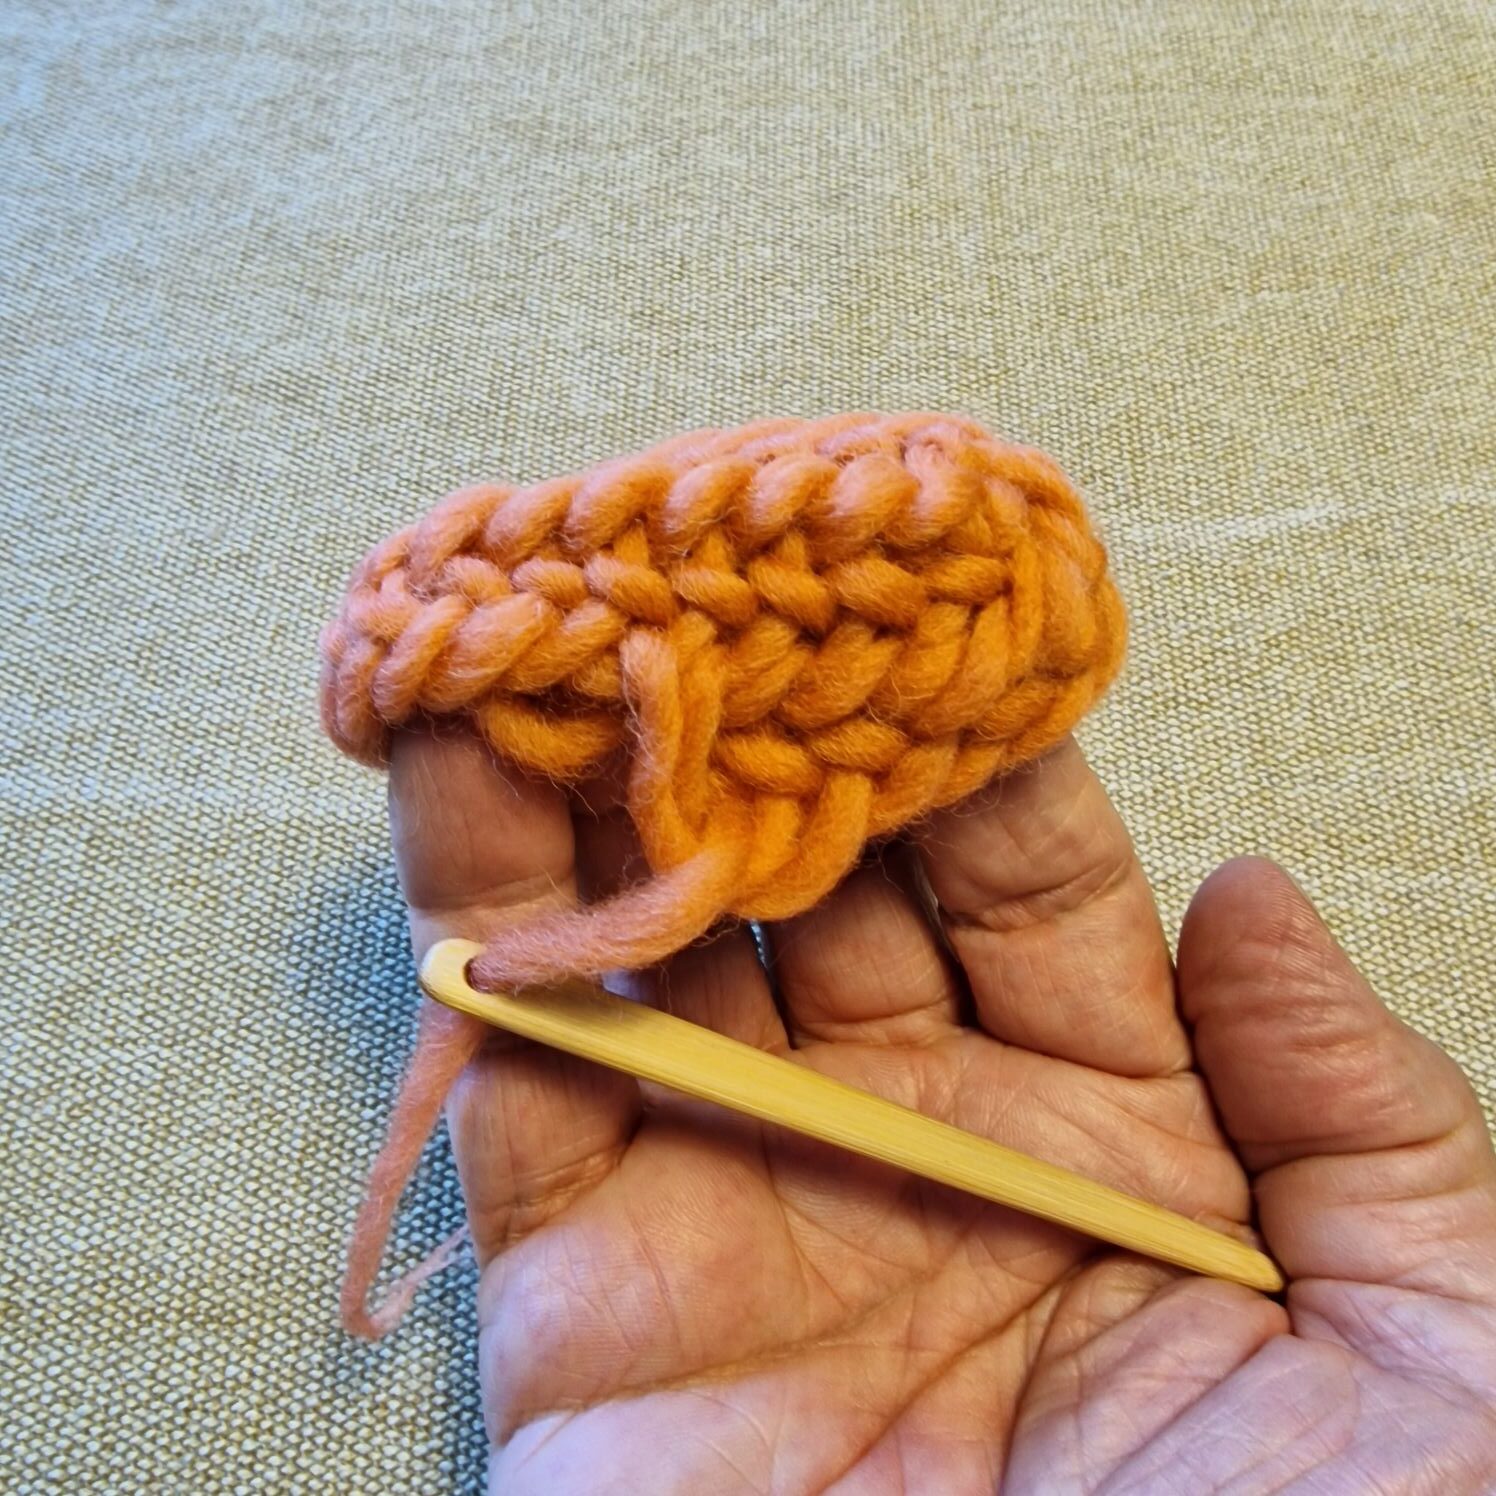
The above example is the Oslo stitch, with the connecting stitch F1 (means you pick up the next stitch).
When I needle tie mittens I always use the Finnish stitch with 2 loops around your thumb and 2 behind it and with the connecting stitch F2. (F2 means you take the old and new stitch on your needle, this makes the fabric denser and stronger).
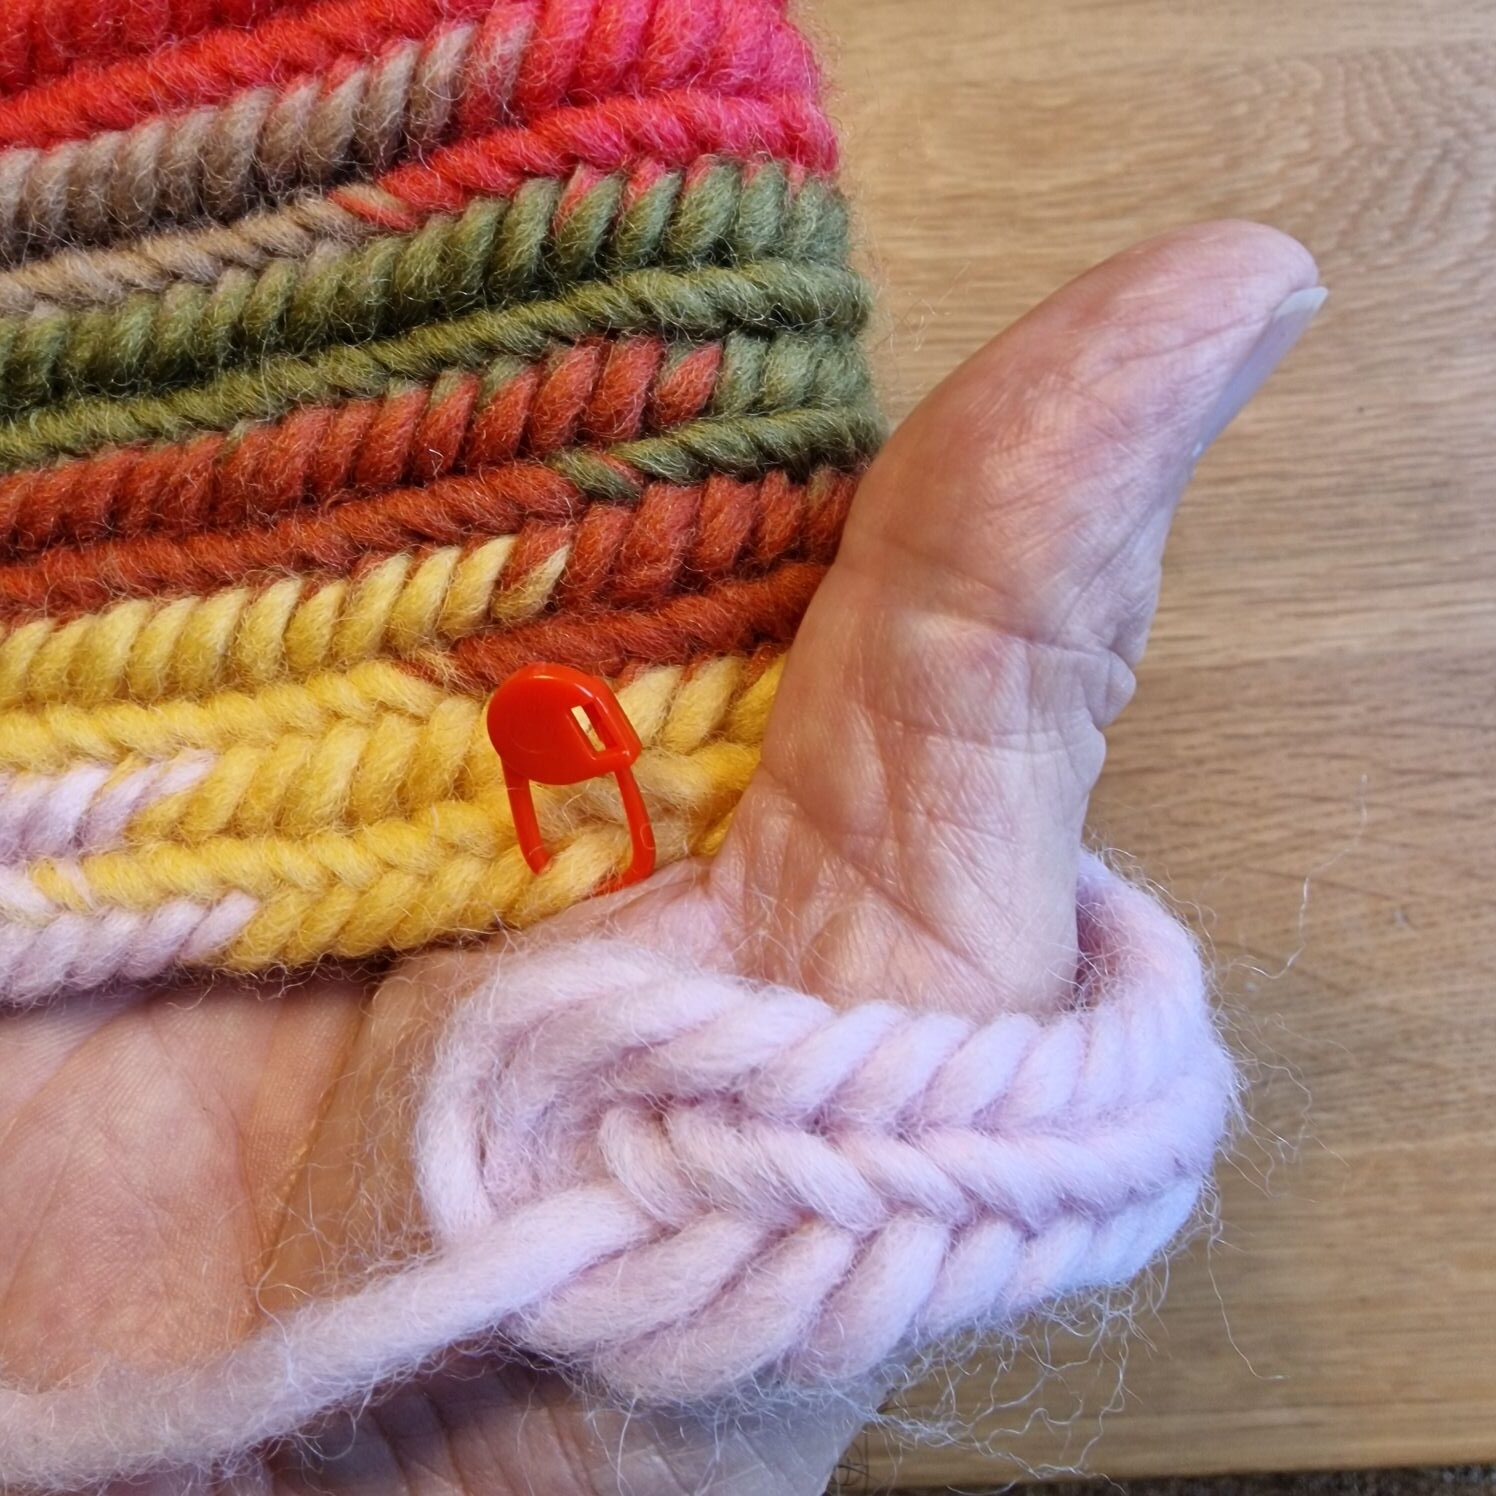
After 3 rounds I no longer have to increase 2 stitches on each side and then I start needle binding around (without increasing or decreasing) until about the middle of my hand.
Then increase 2 stitches on the outside of my hand. (side opposite my thumb) and continue needle binding until I reach the thumb.
At the thumb I make a loose row of stitches (18 stitches) that starts at the side of the mitten. And I attach this loose row of stitches again 6 stitches further.
The row of stitches should be loose around your thumb so that your thumb can move enough.
After I have secured the loose row of stitches, I will not decrease at the end of that row.
The next 2 rounds I will decrease 3 stitches on the thumb side.
For the next 2 rounds I won’t decrease again, just round needlebinding and finishing and then the mitten is almost ready.
Ready.
I made a YouTube video on how to finish a project.
I always forget to ask if you’d like to subscribe to my YouTube channel: happy needlebinding If I have a lot of subscribers, I can email magazines to write an article about this wonderful old craft so I can pass it on to the next generation.
Thank you kindly in advance. bert veugelers.
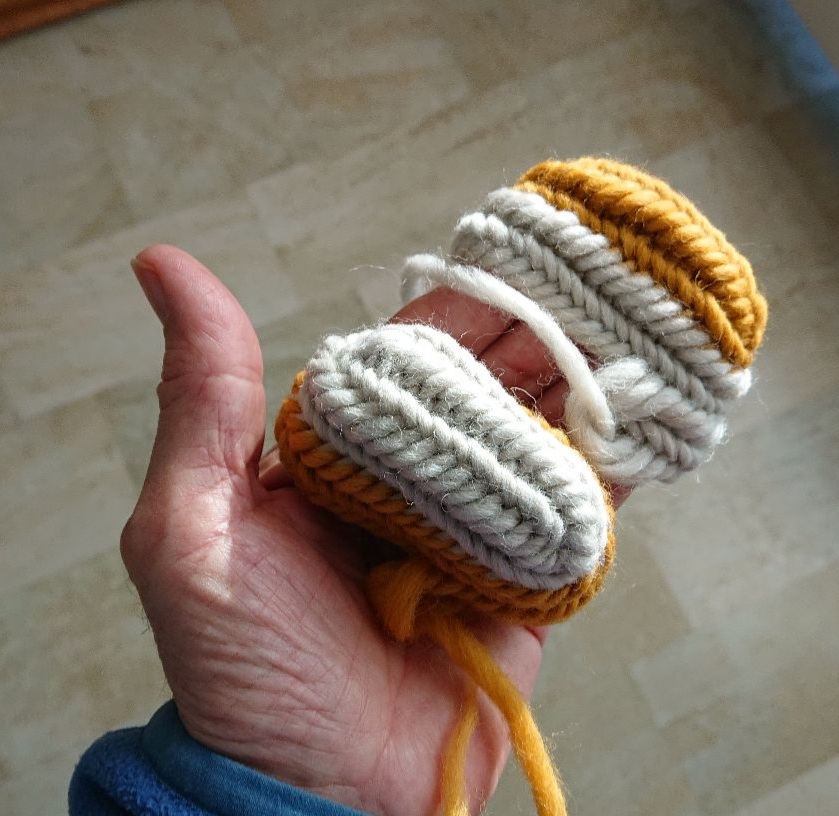
The thumb and how to start with it.
If these are your first mittens that you need to needle tie, it might be useful to first practice how to start the Finnish stitch 2+2 F2 for your thumb.
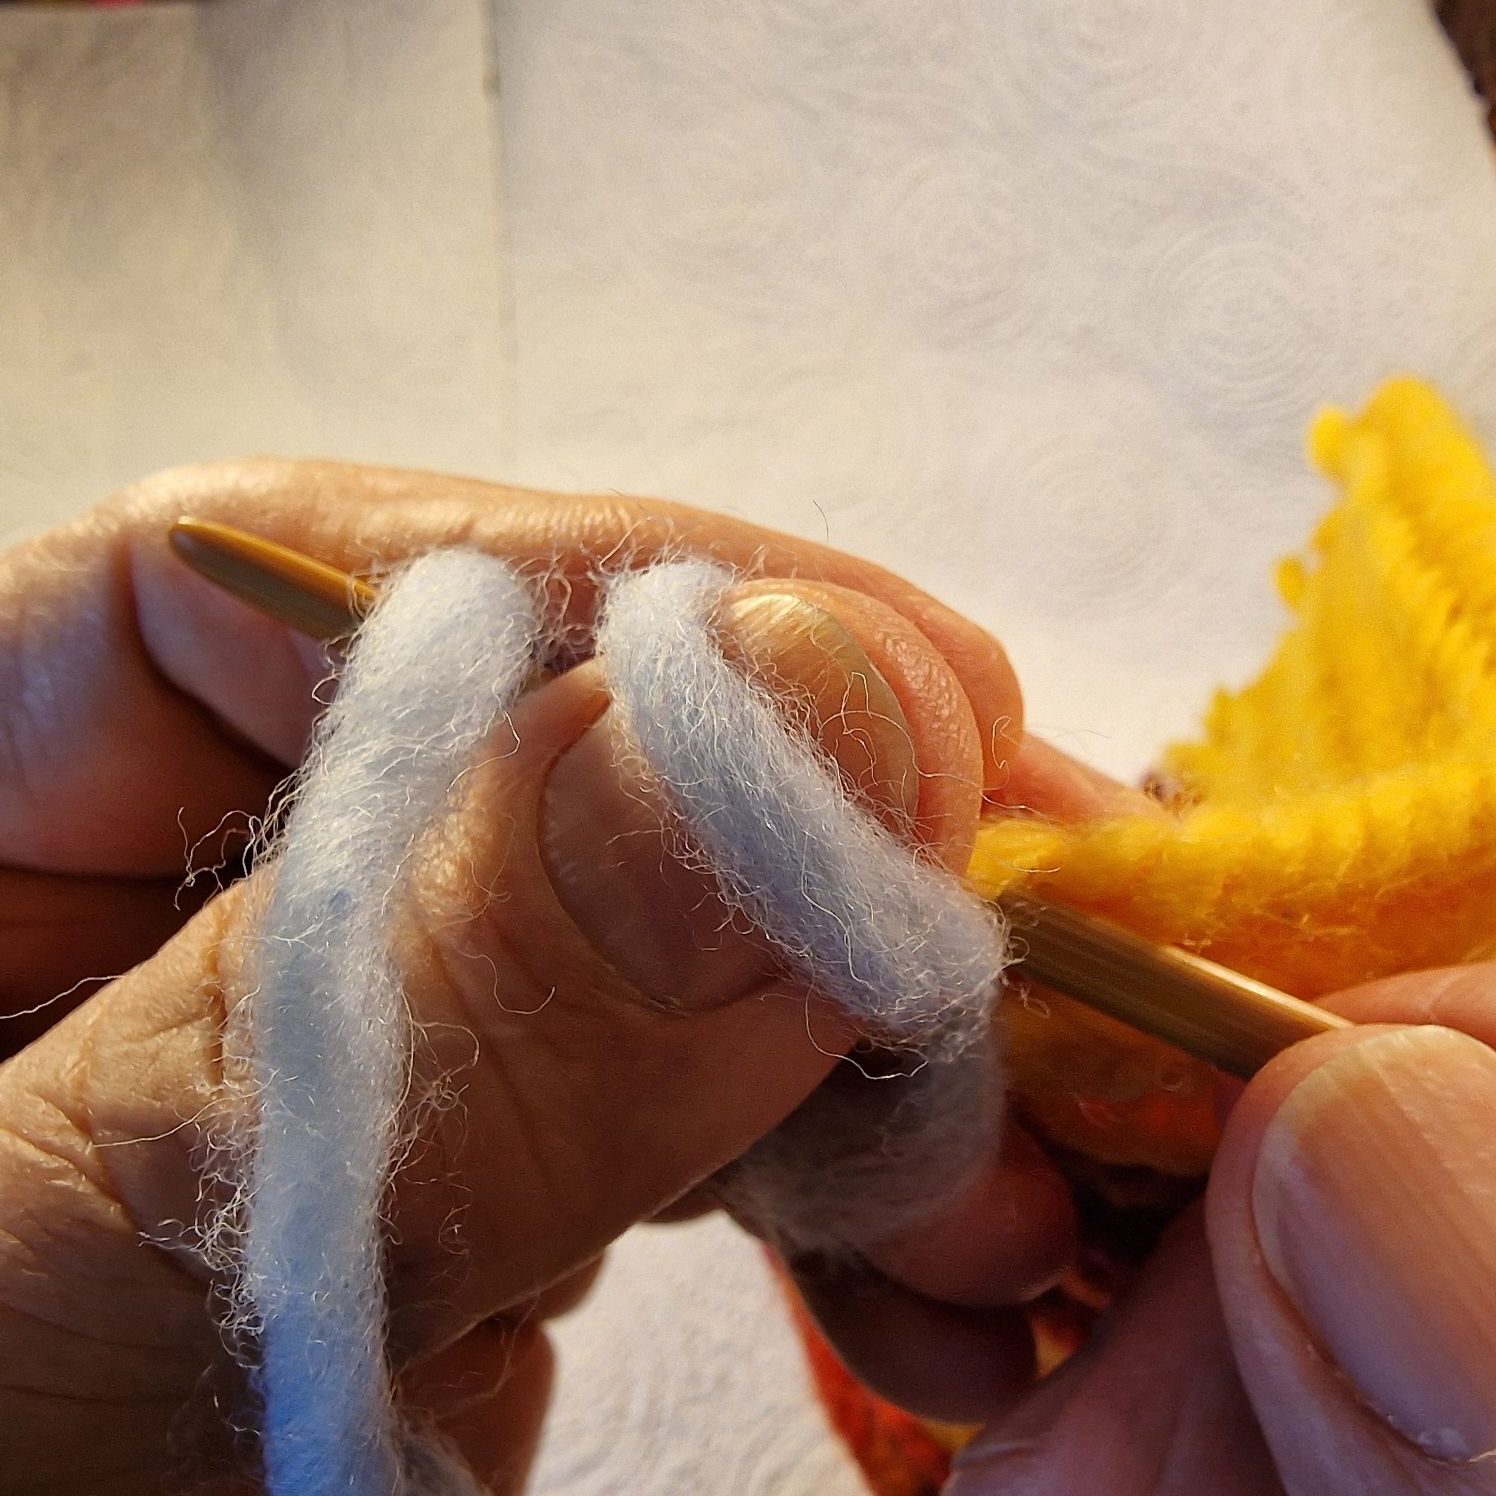
The needle goes through the stitch.
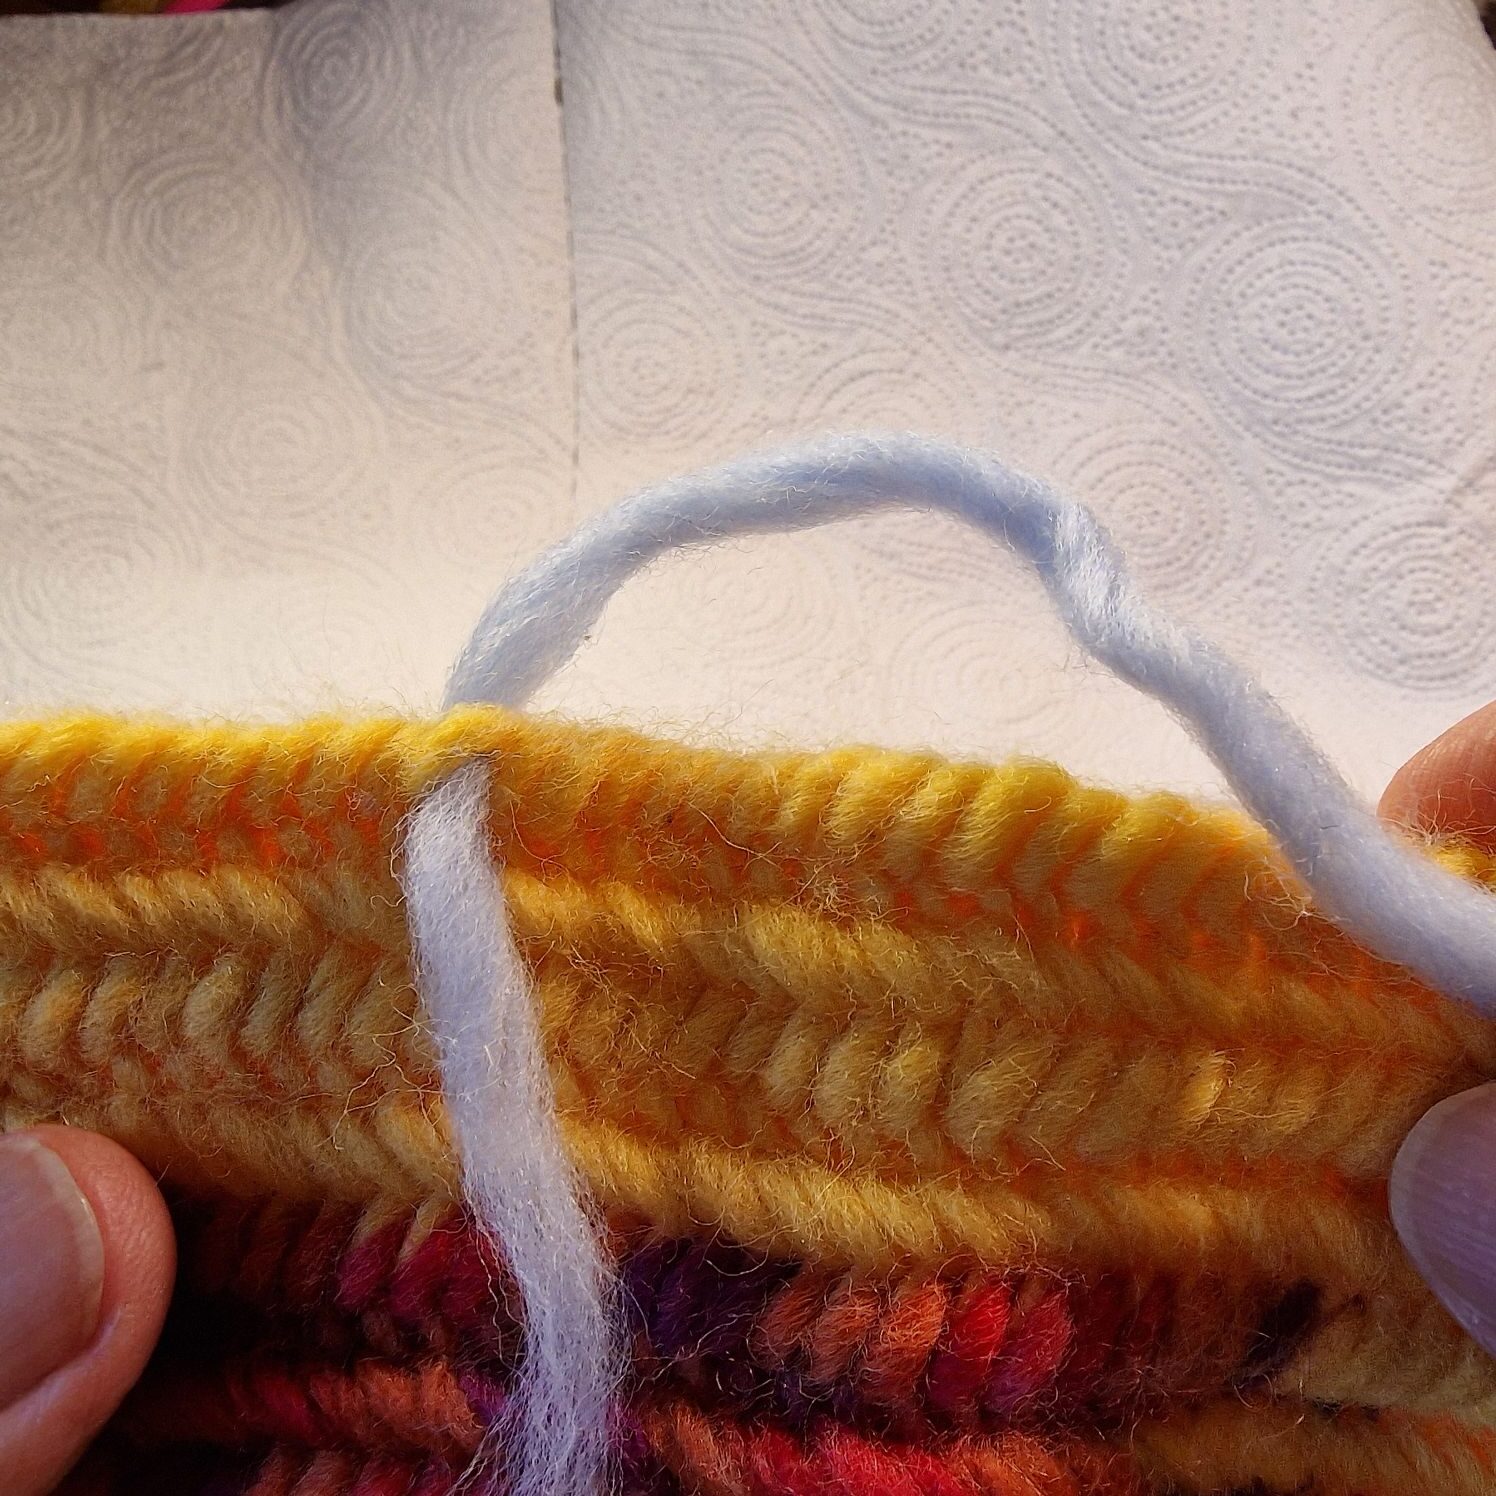
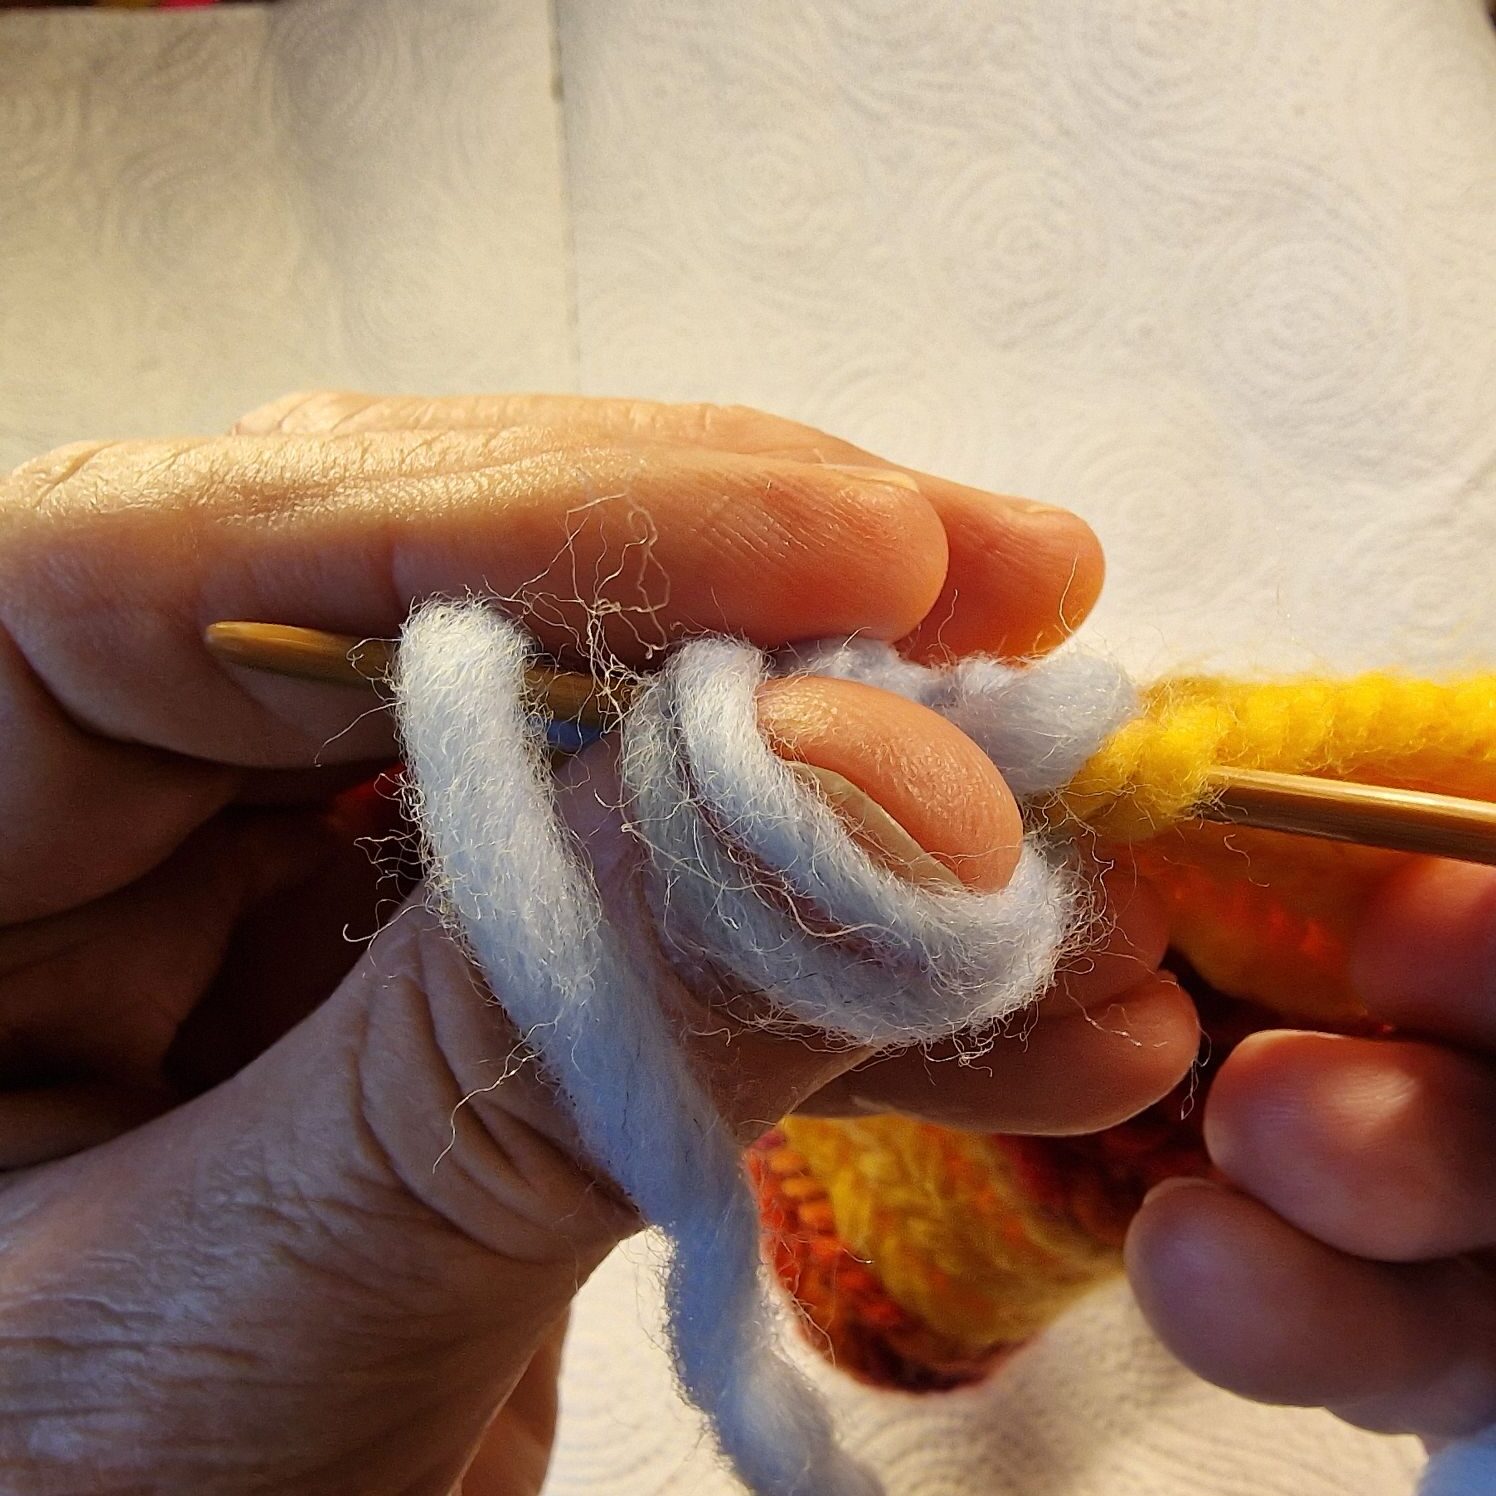
The working thread goes over your thumb.
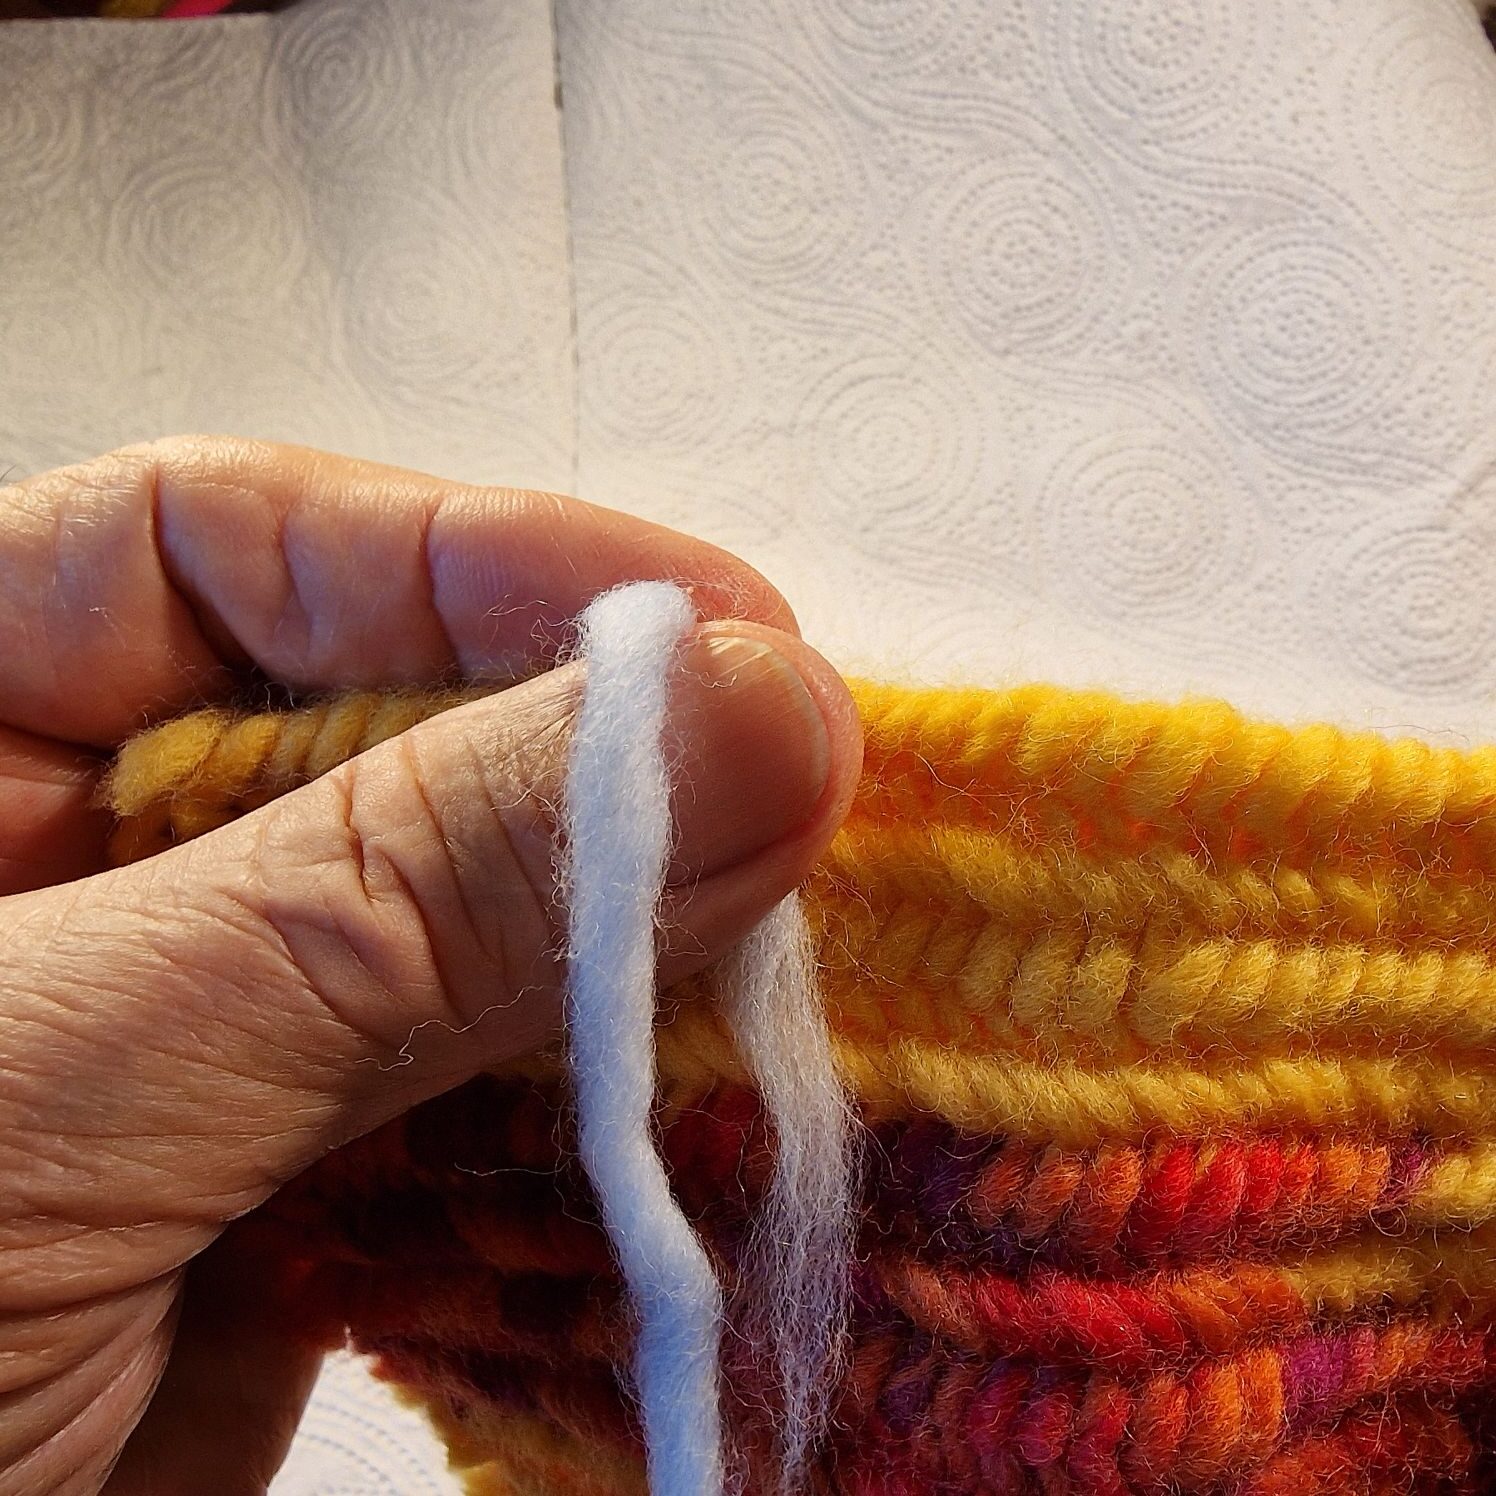
The needle goes through the loop.
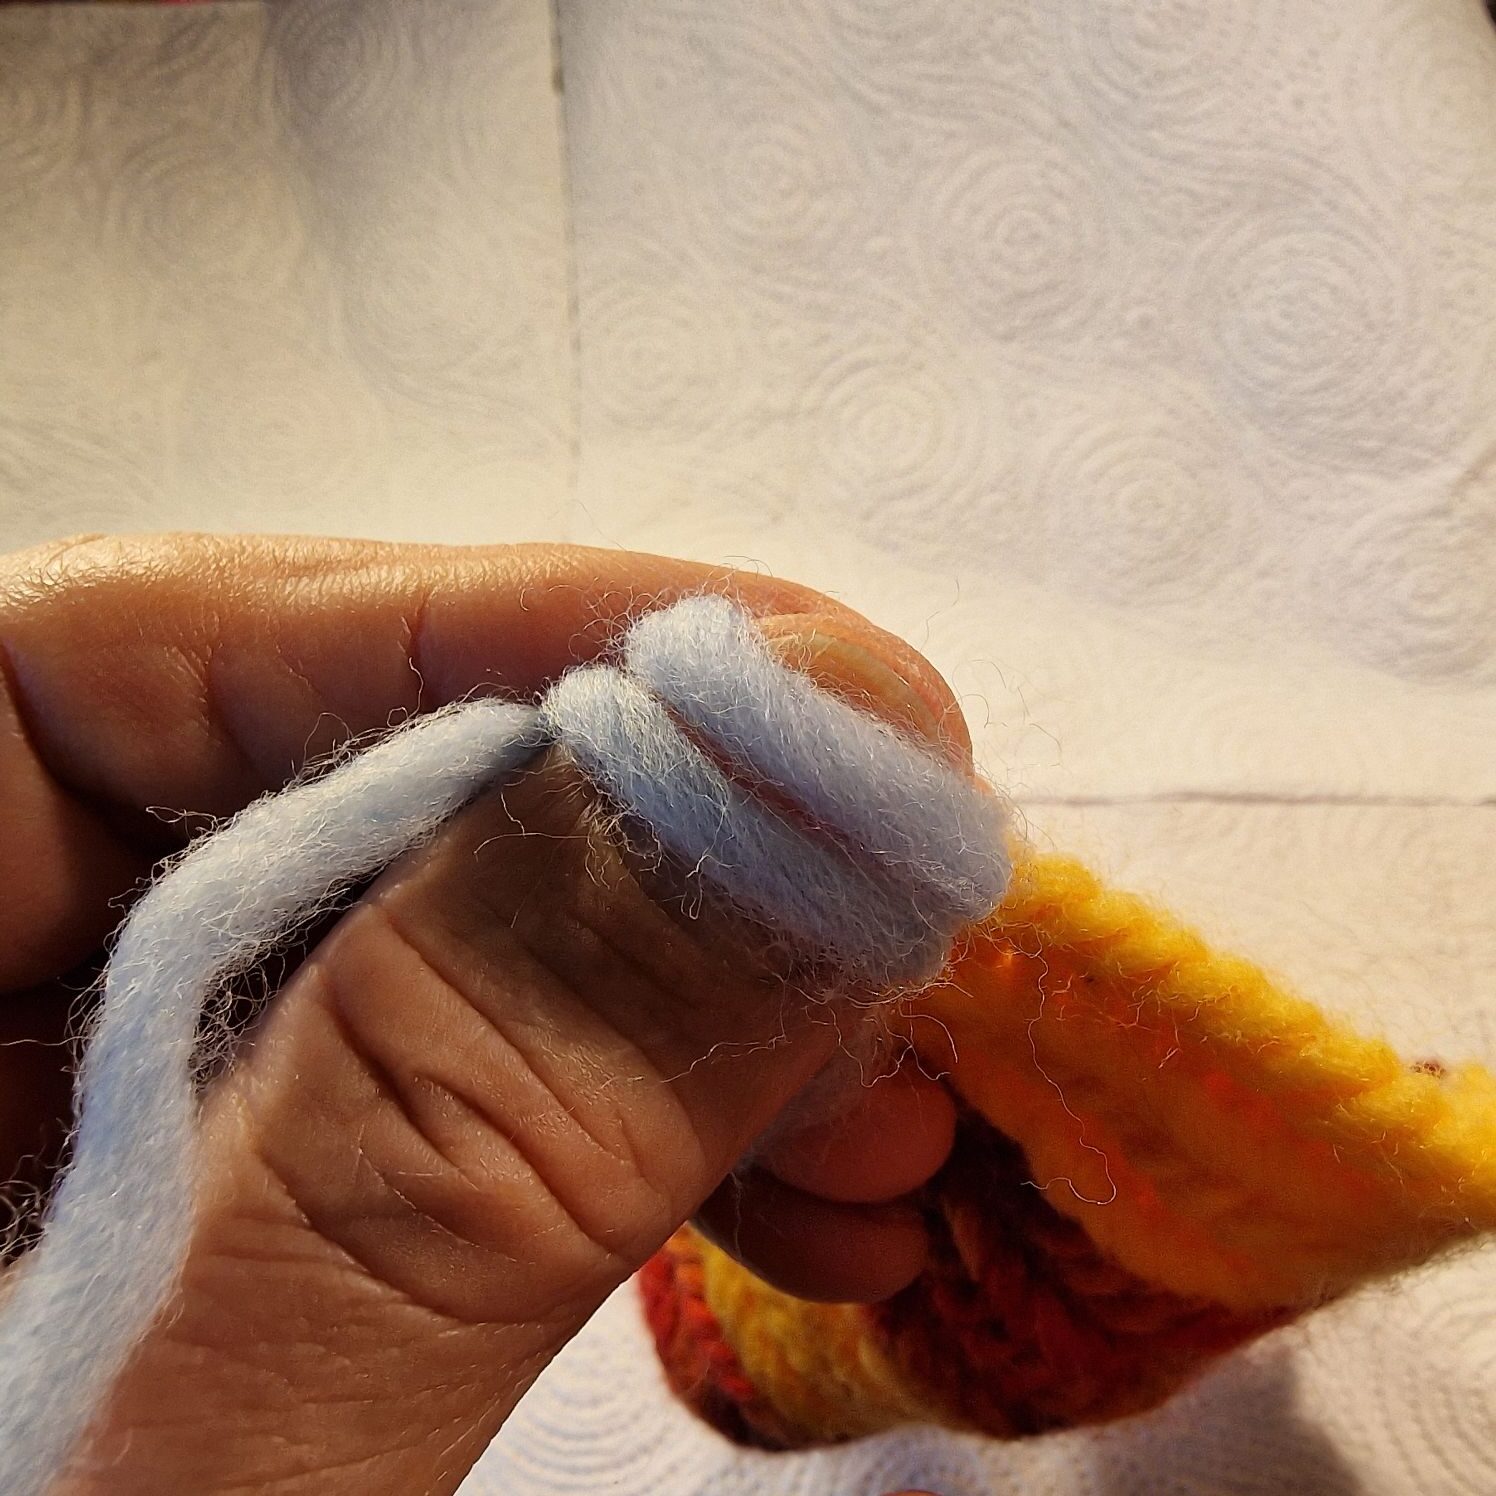
Here you see the thumb loop that becomes smaller.
The needle goes through the same loop again, under your thumb loop and under your working thread.
Now you have 2 loops around your thumb and slide the top loop off your thumb.
Then through the back thumb loop and turn to the left under your thumb loop and….
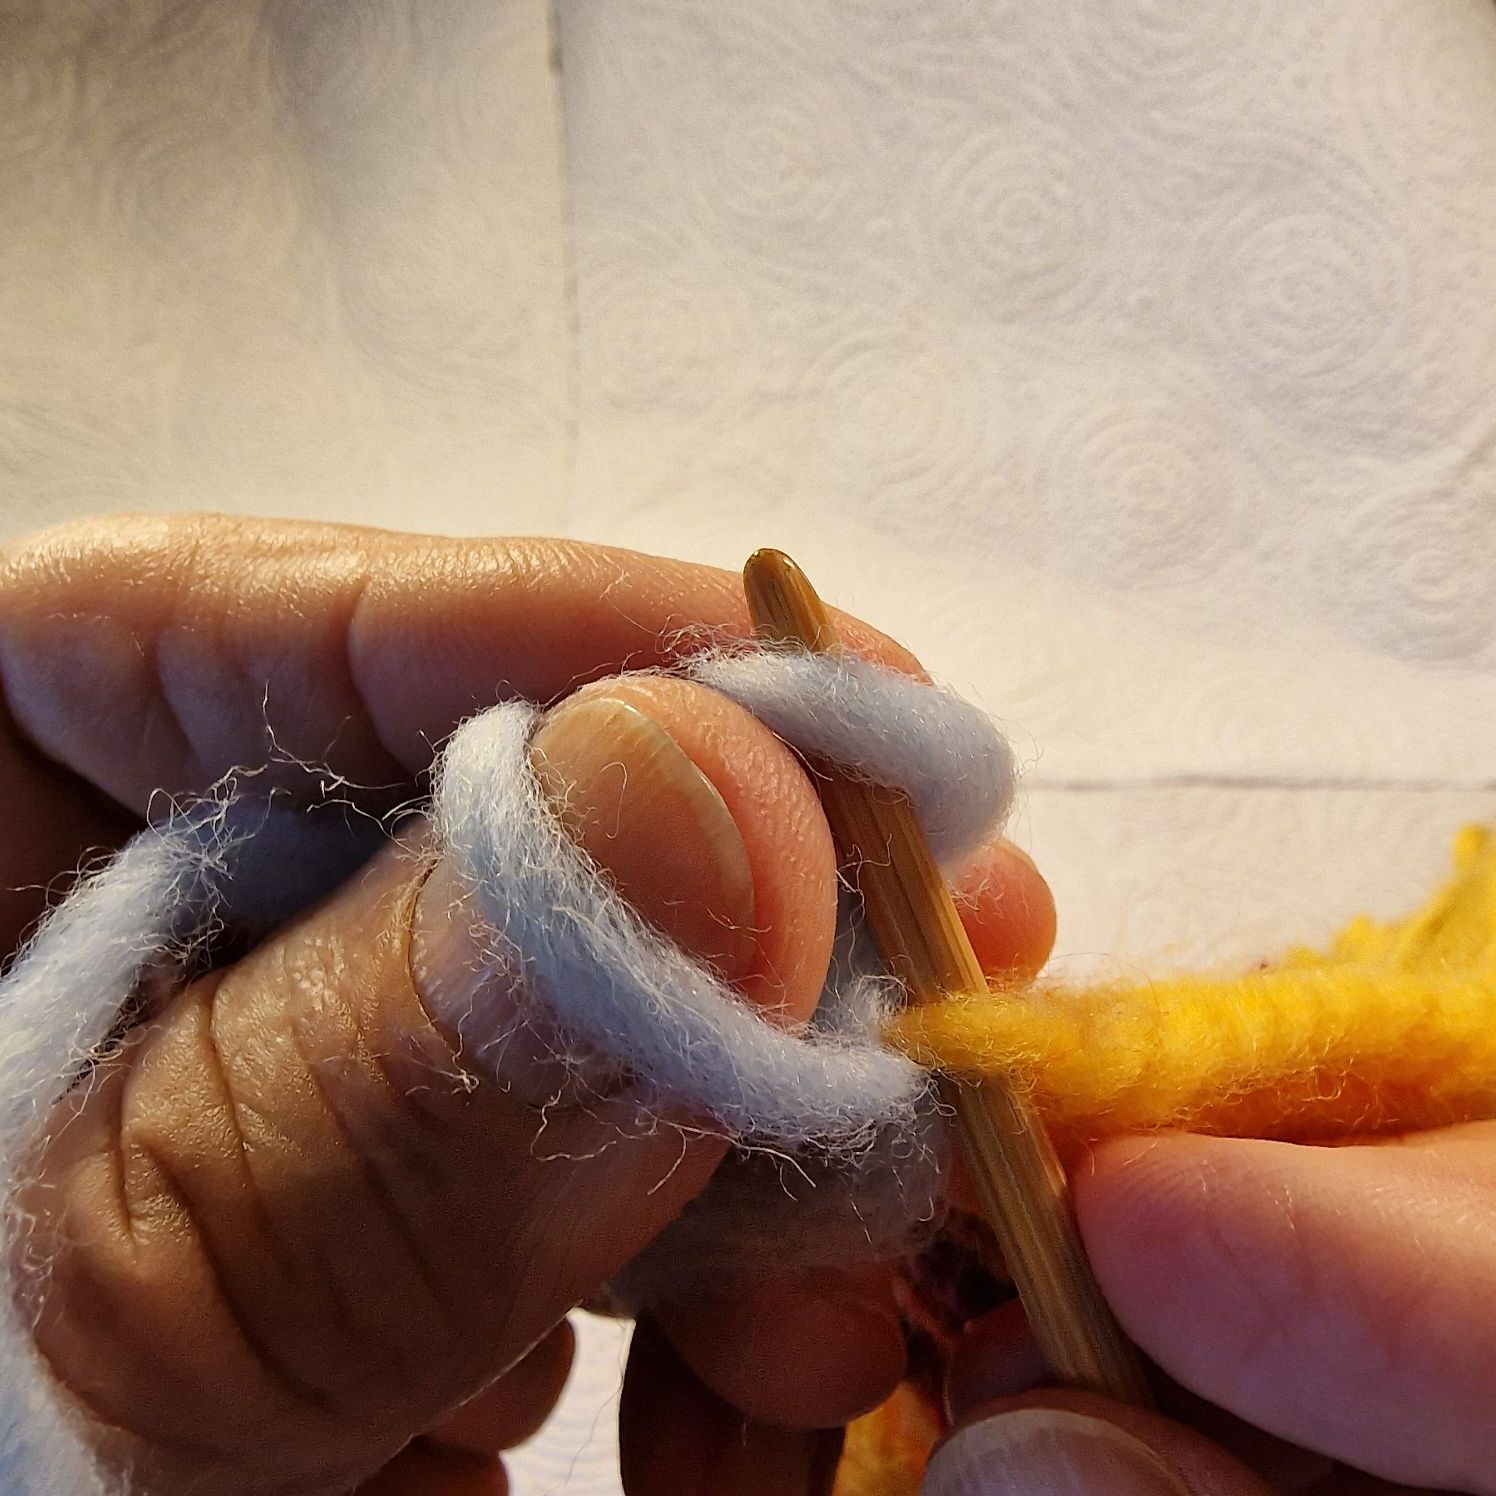
under your working thread.
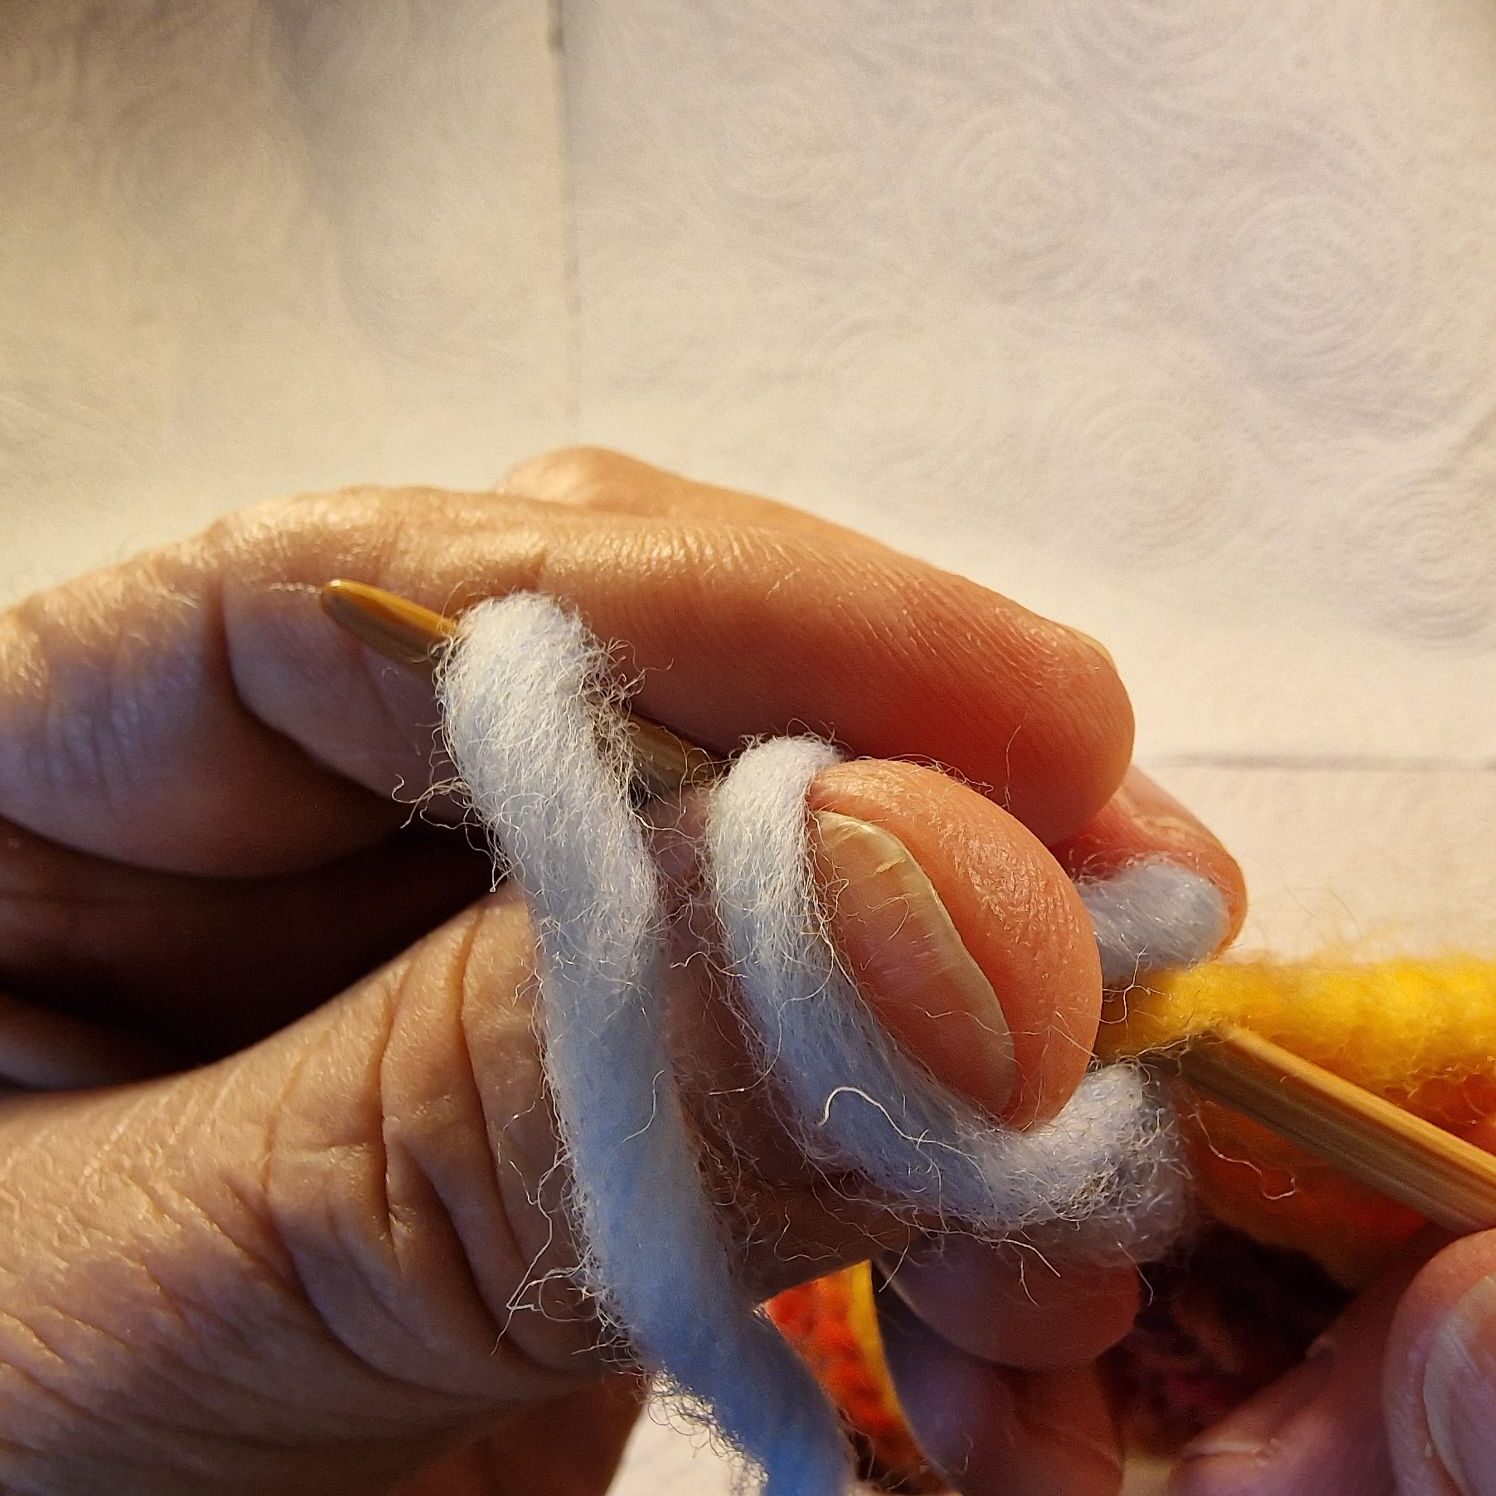
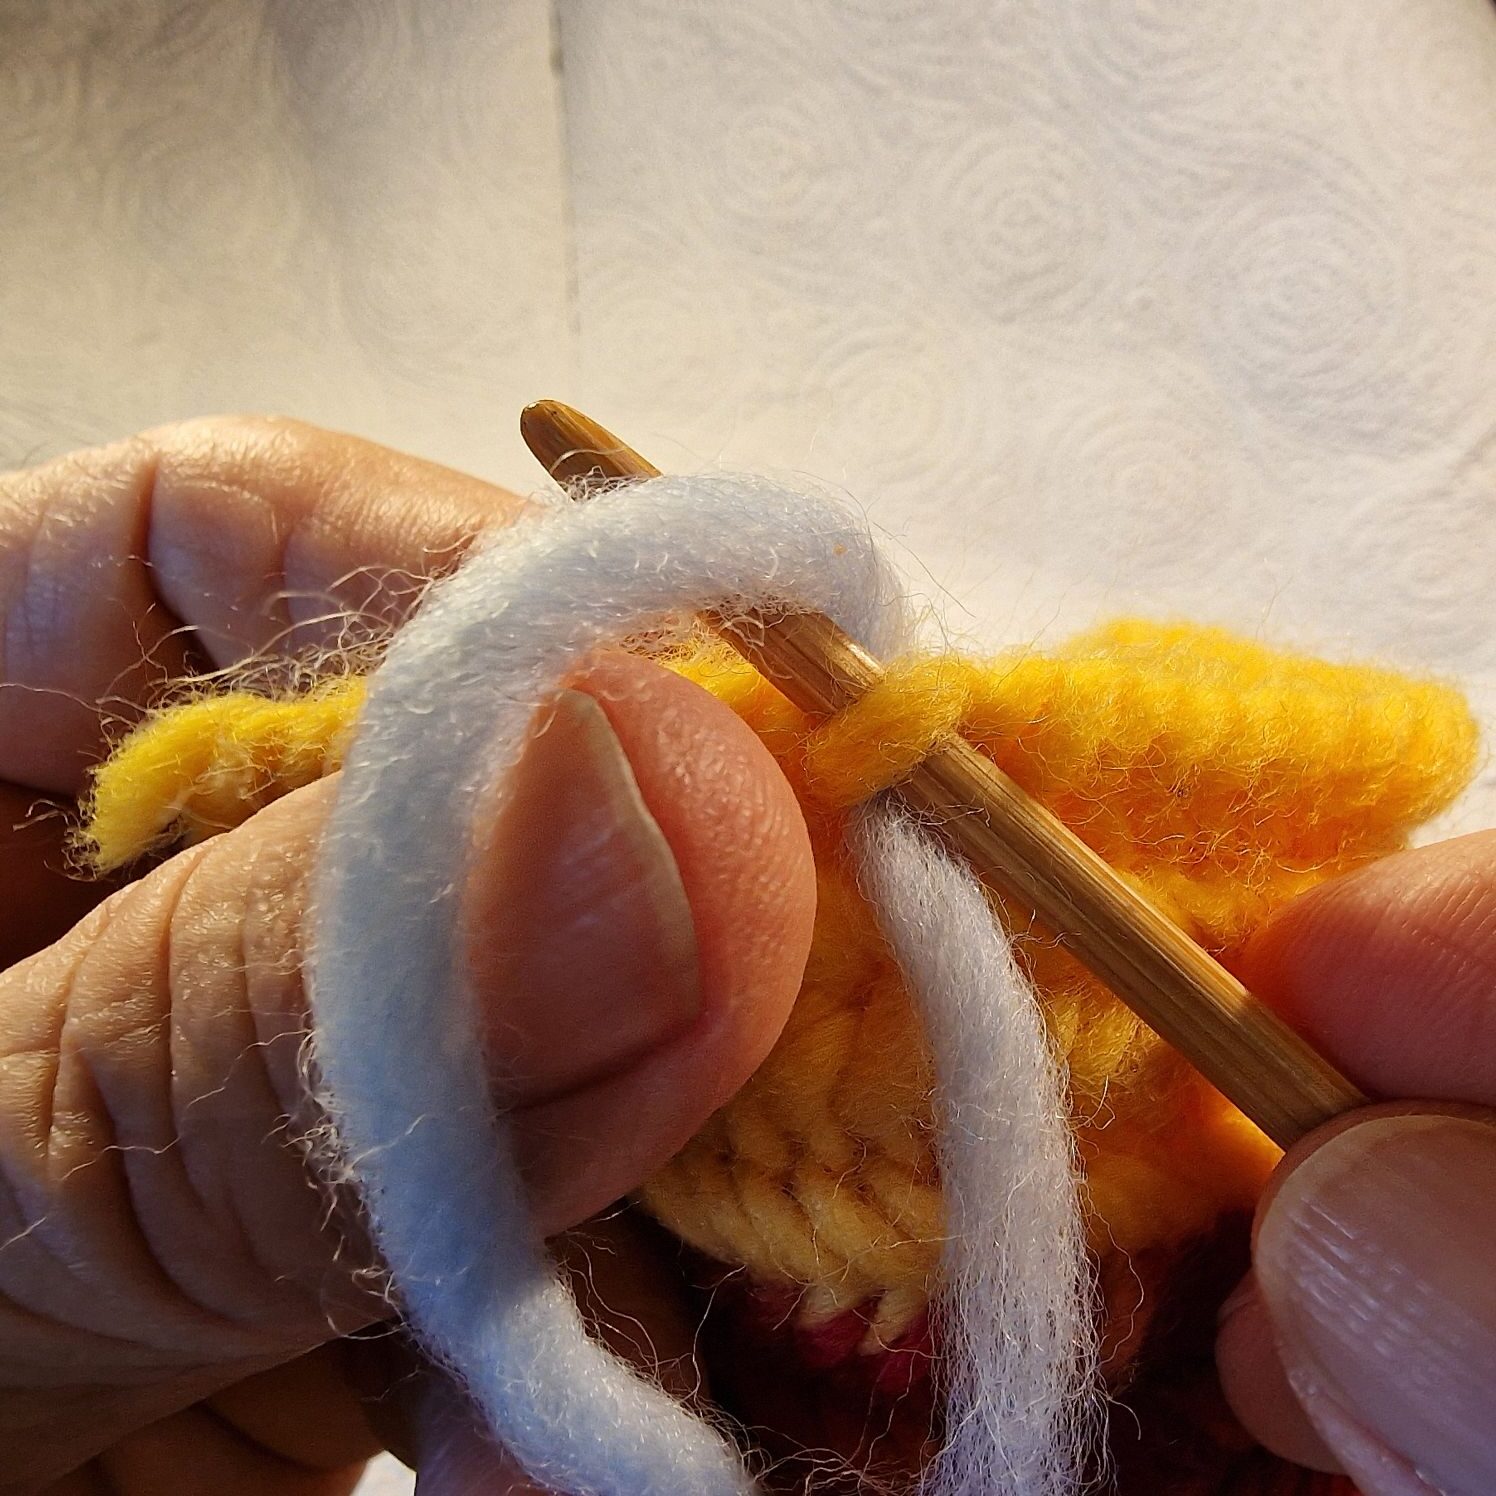
Now a small loop will be created behind your thumb and you insert your needle through it.
The needle goes through the next stitch and under your 2 thumb loops and under your working thread.

Now you have 3 loops around your thumb and slide the top loop off your thumb.
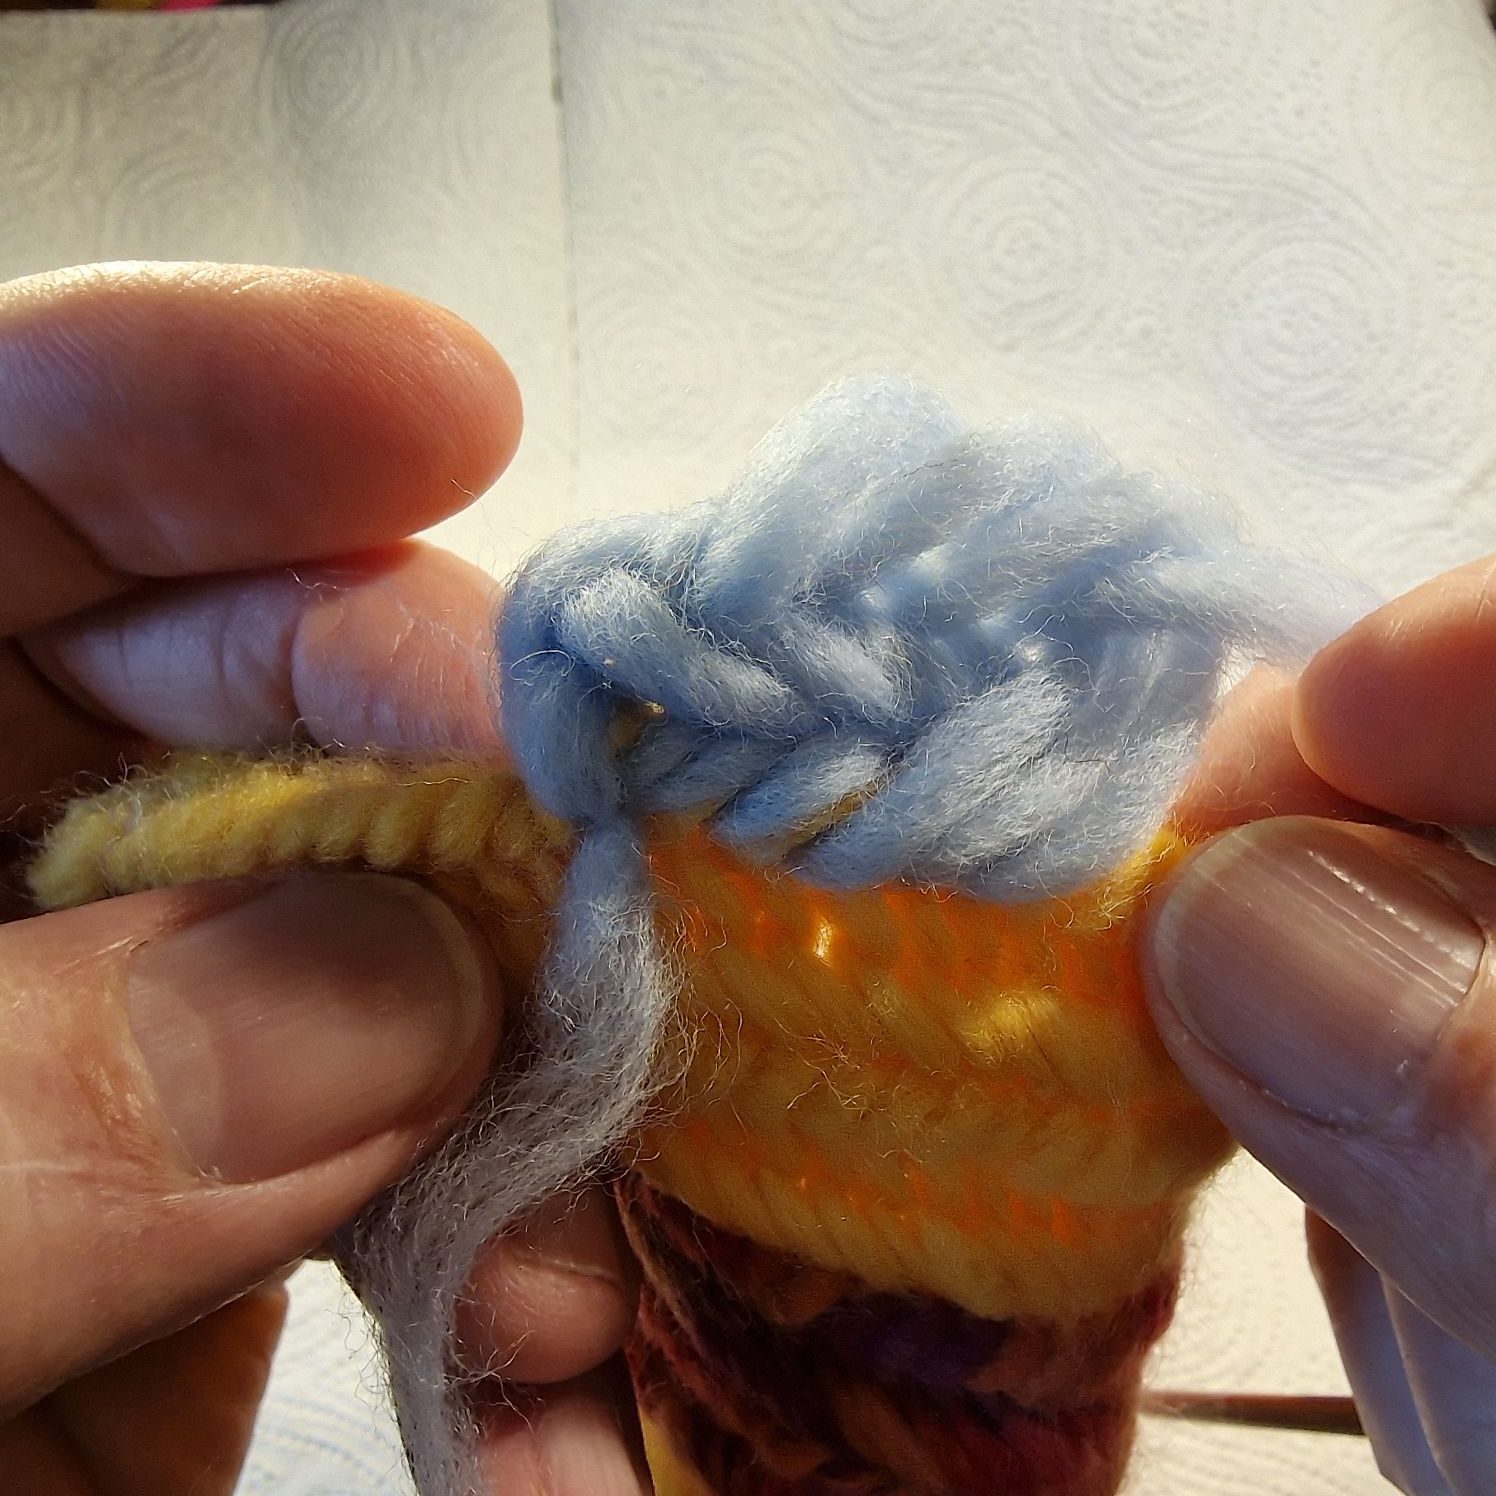
You now have 2 loops around your thumb and 2 loops behind your thumb and now you can make the Finnish stitch.
You have now used 2 loops next to each other for the starting position of the Finnish stitch, now you can start with the F2 connecting stitch (old loop and the new loop on your needle).
The needle goes through the F2 and through the 2 back thumb loops and….
through the 2 inch loops and under the working thread.
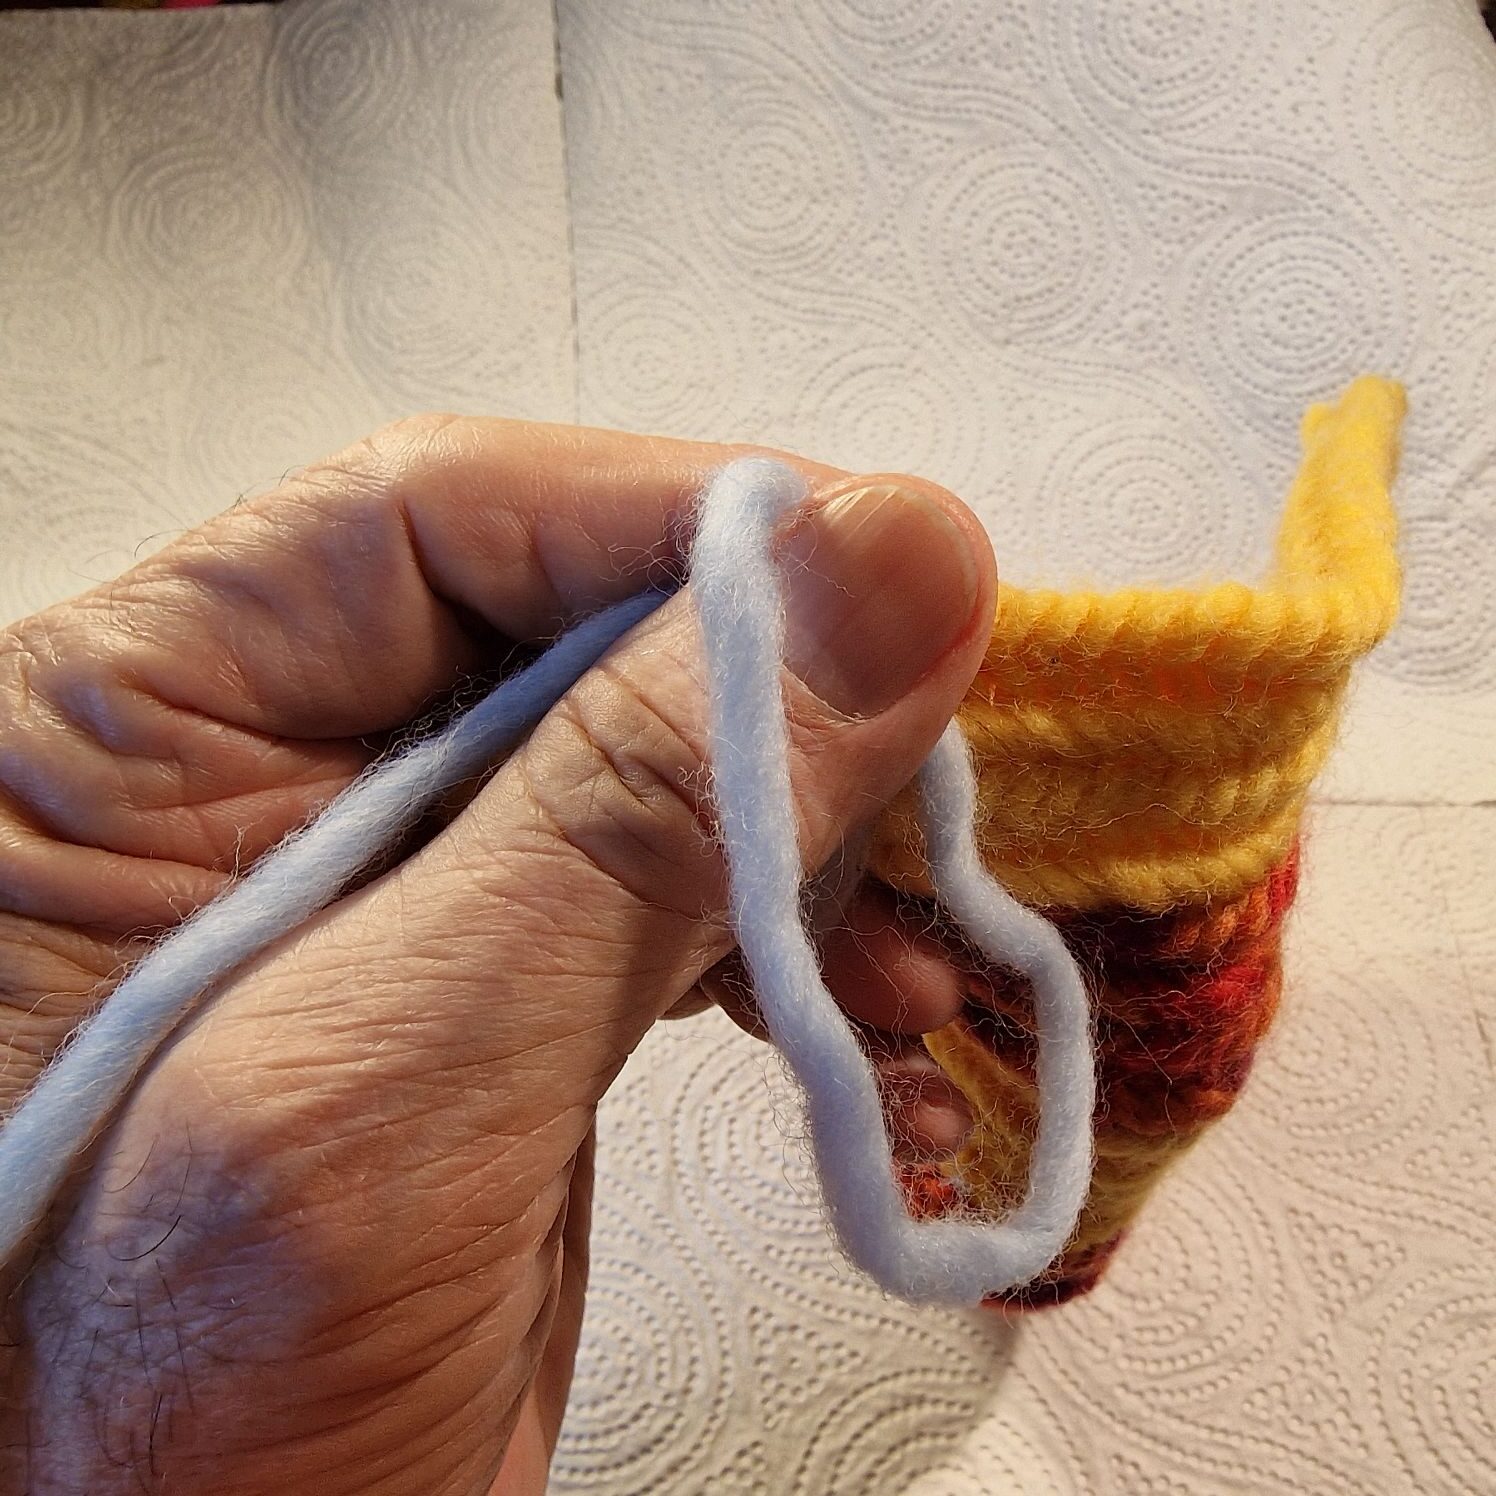
Now that you have practiced how to attach the thread and your stitch to a sample piece, you can start on the thumb.
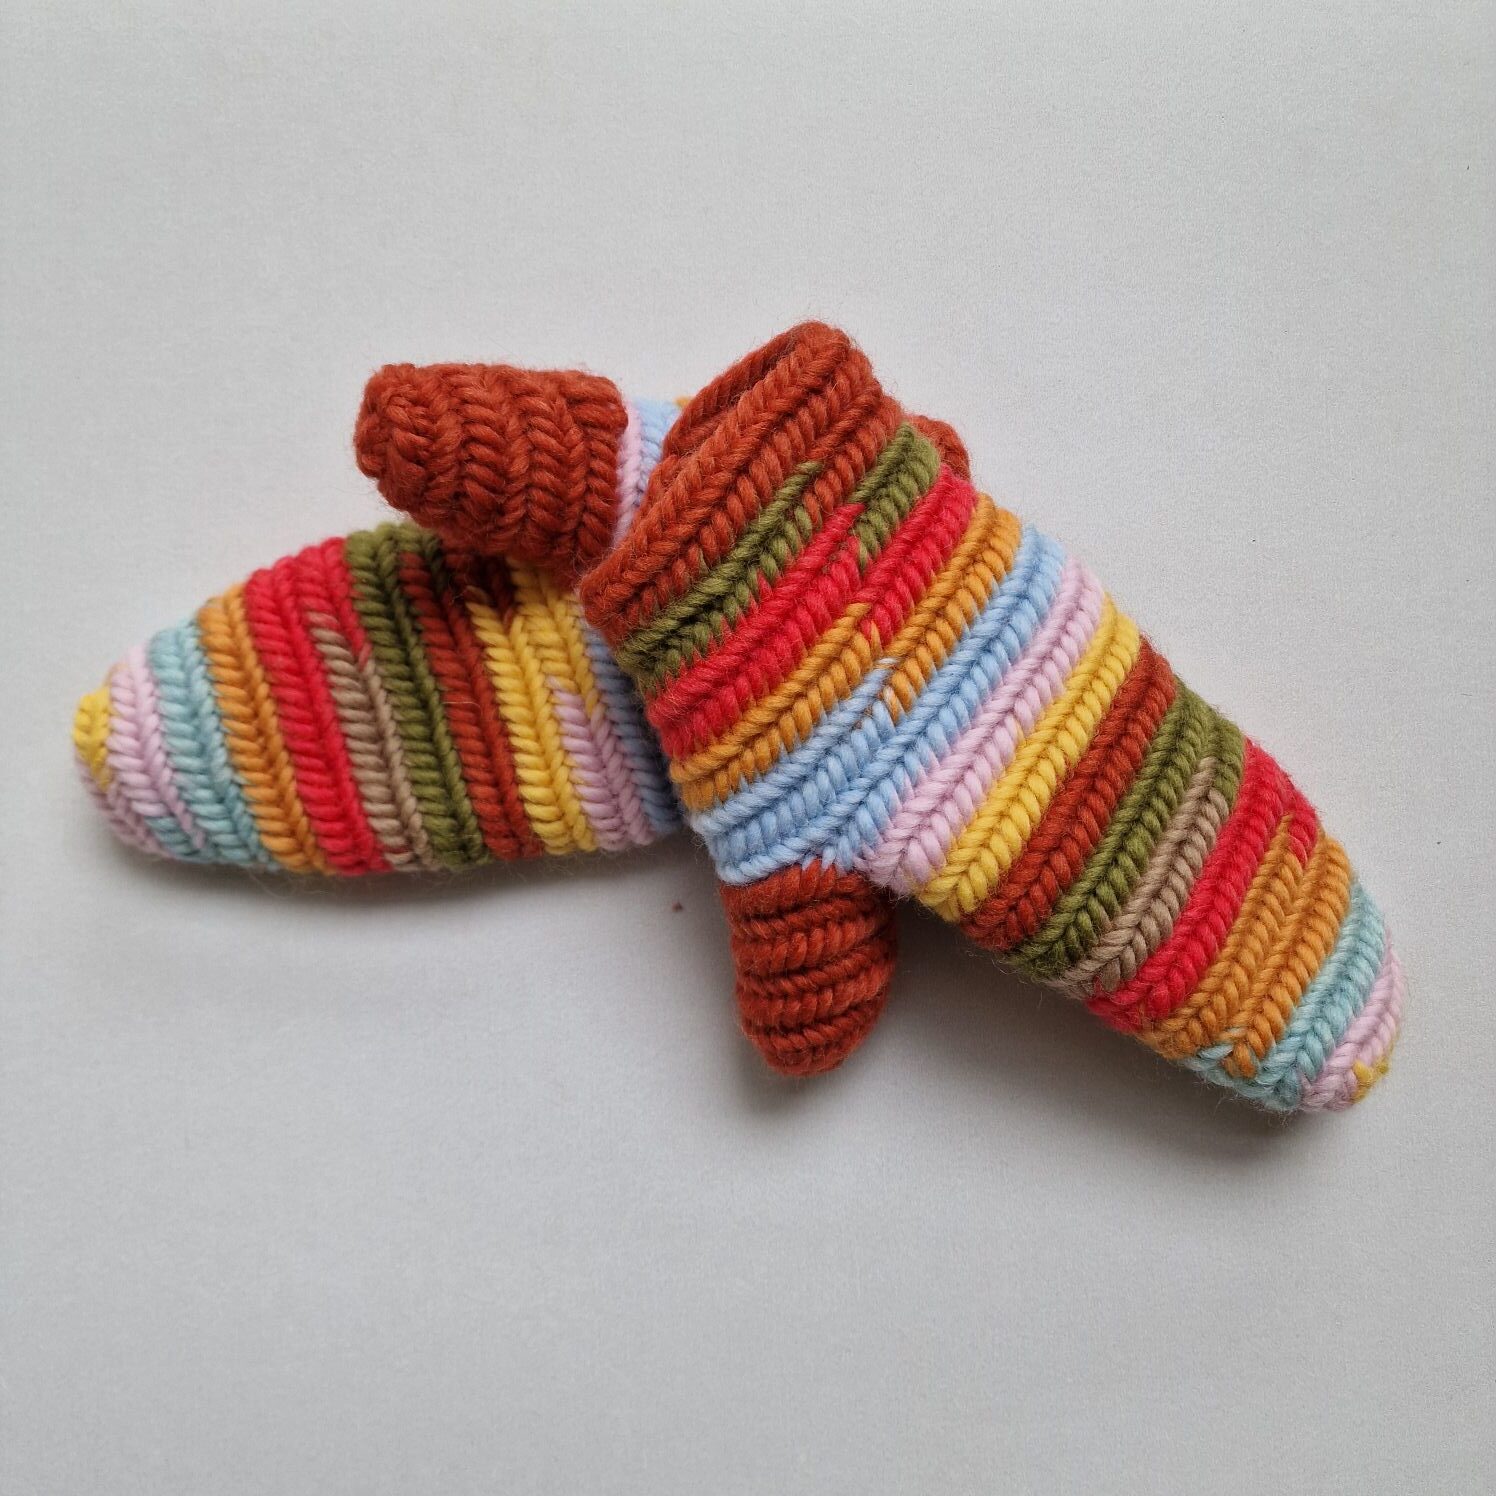
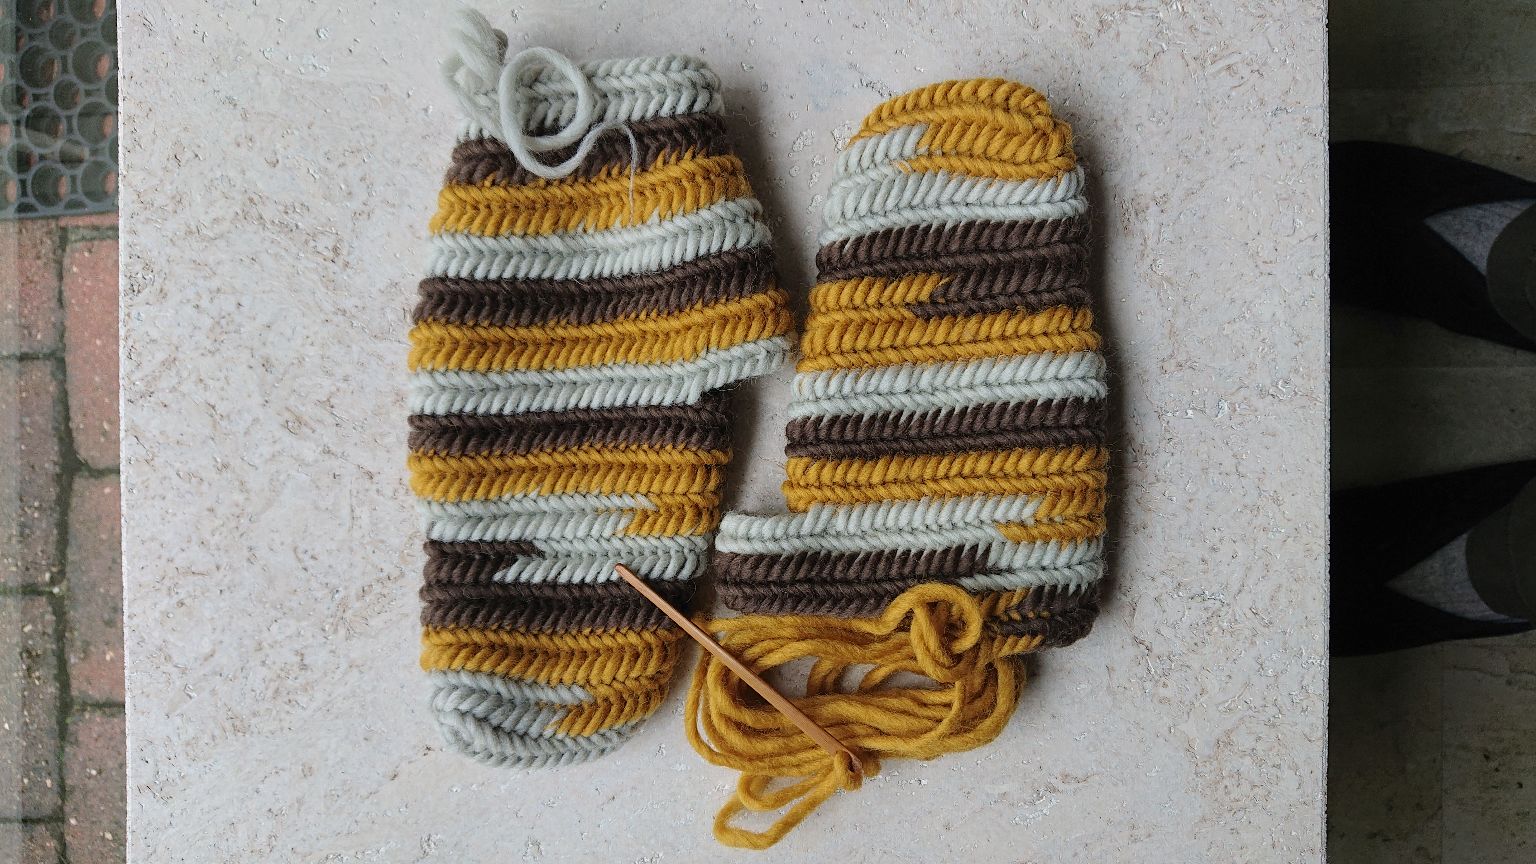
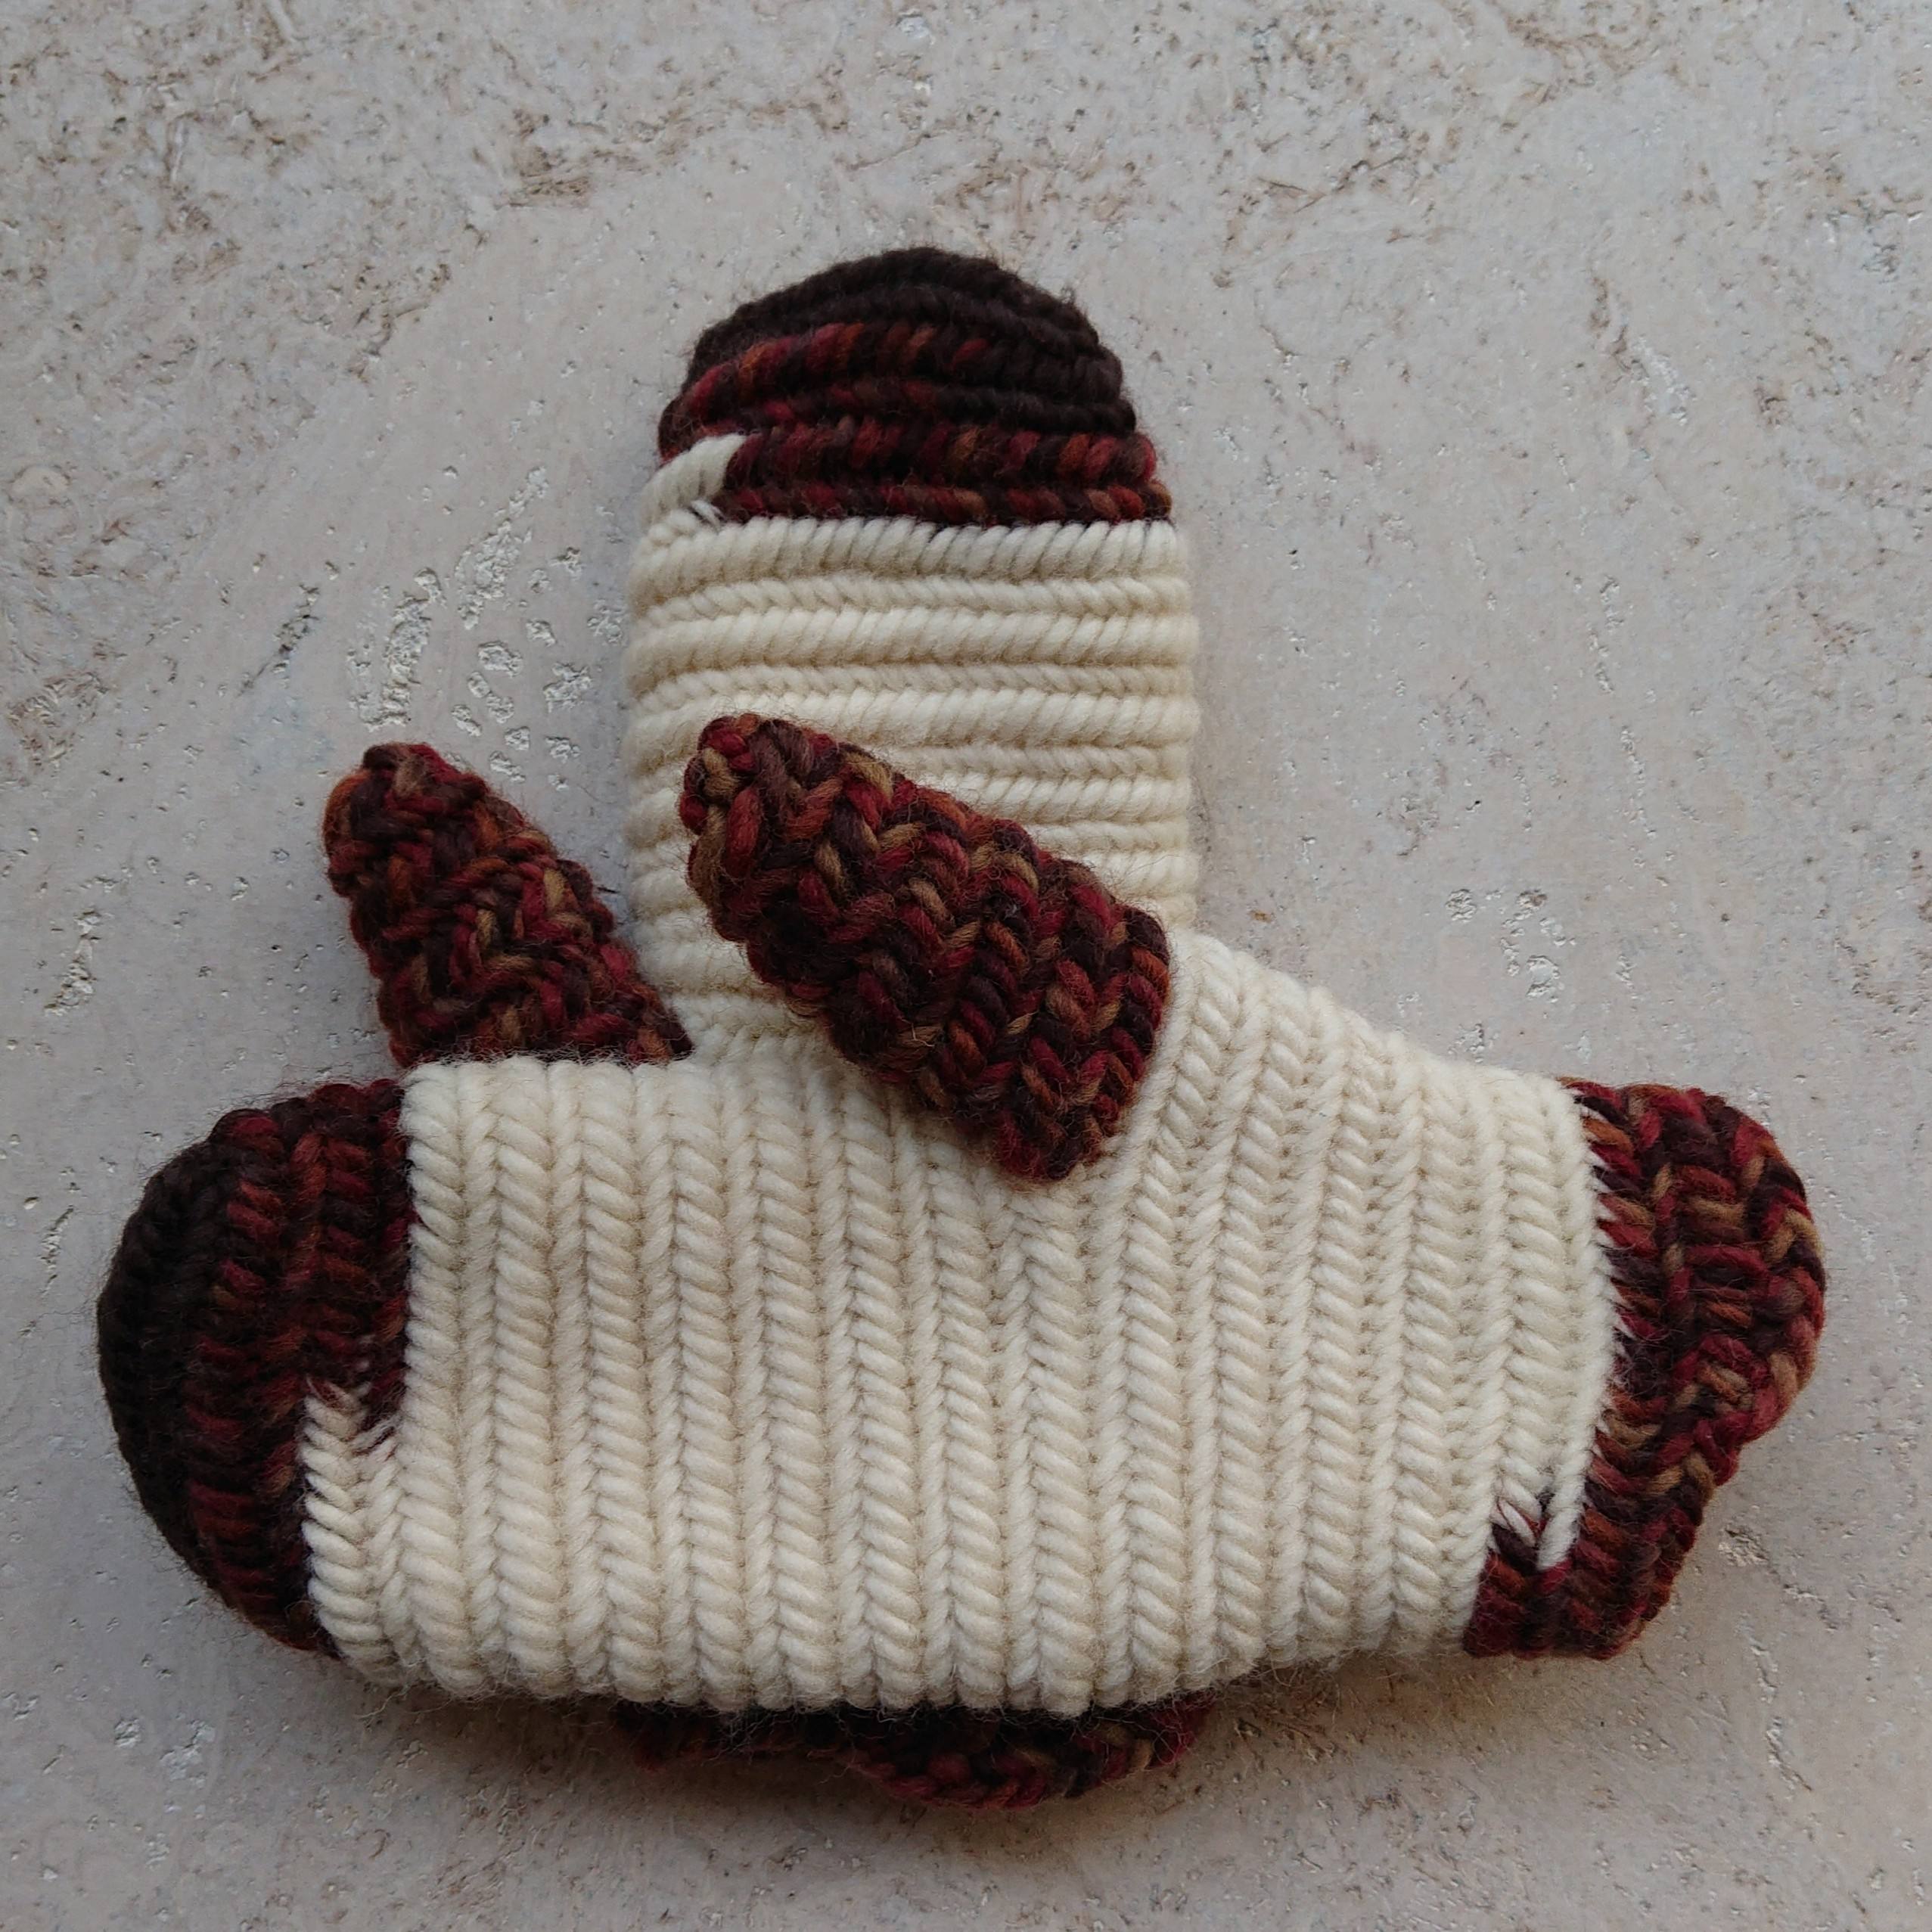
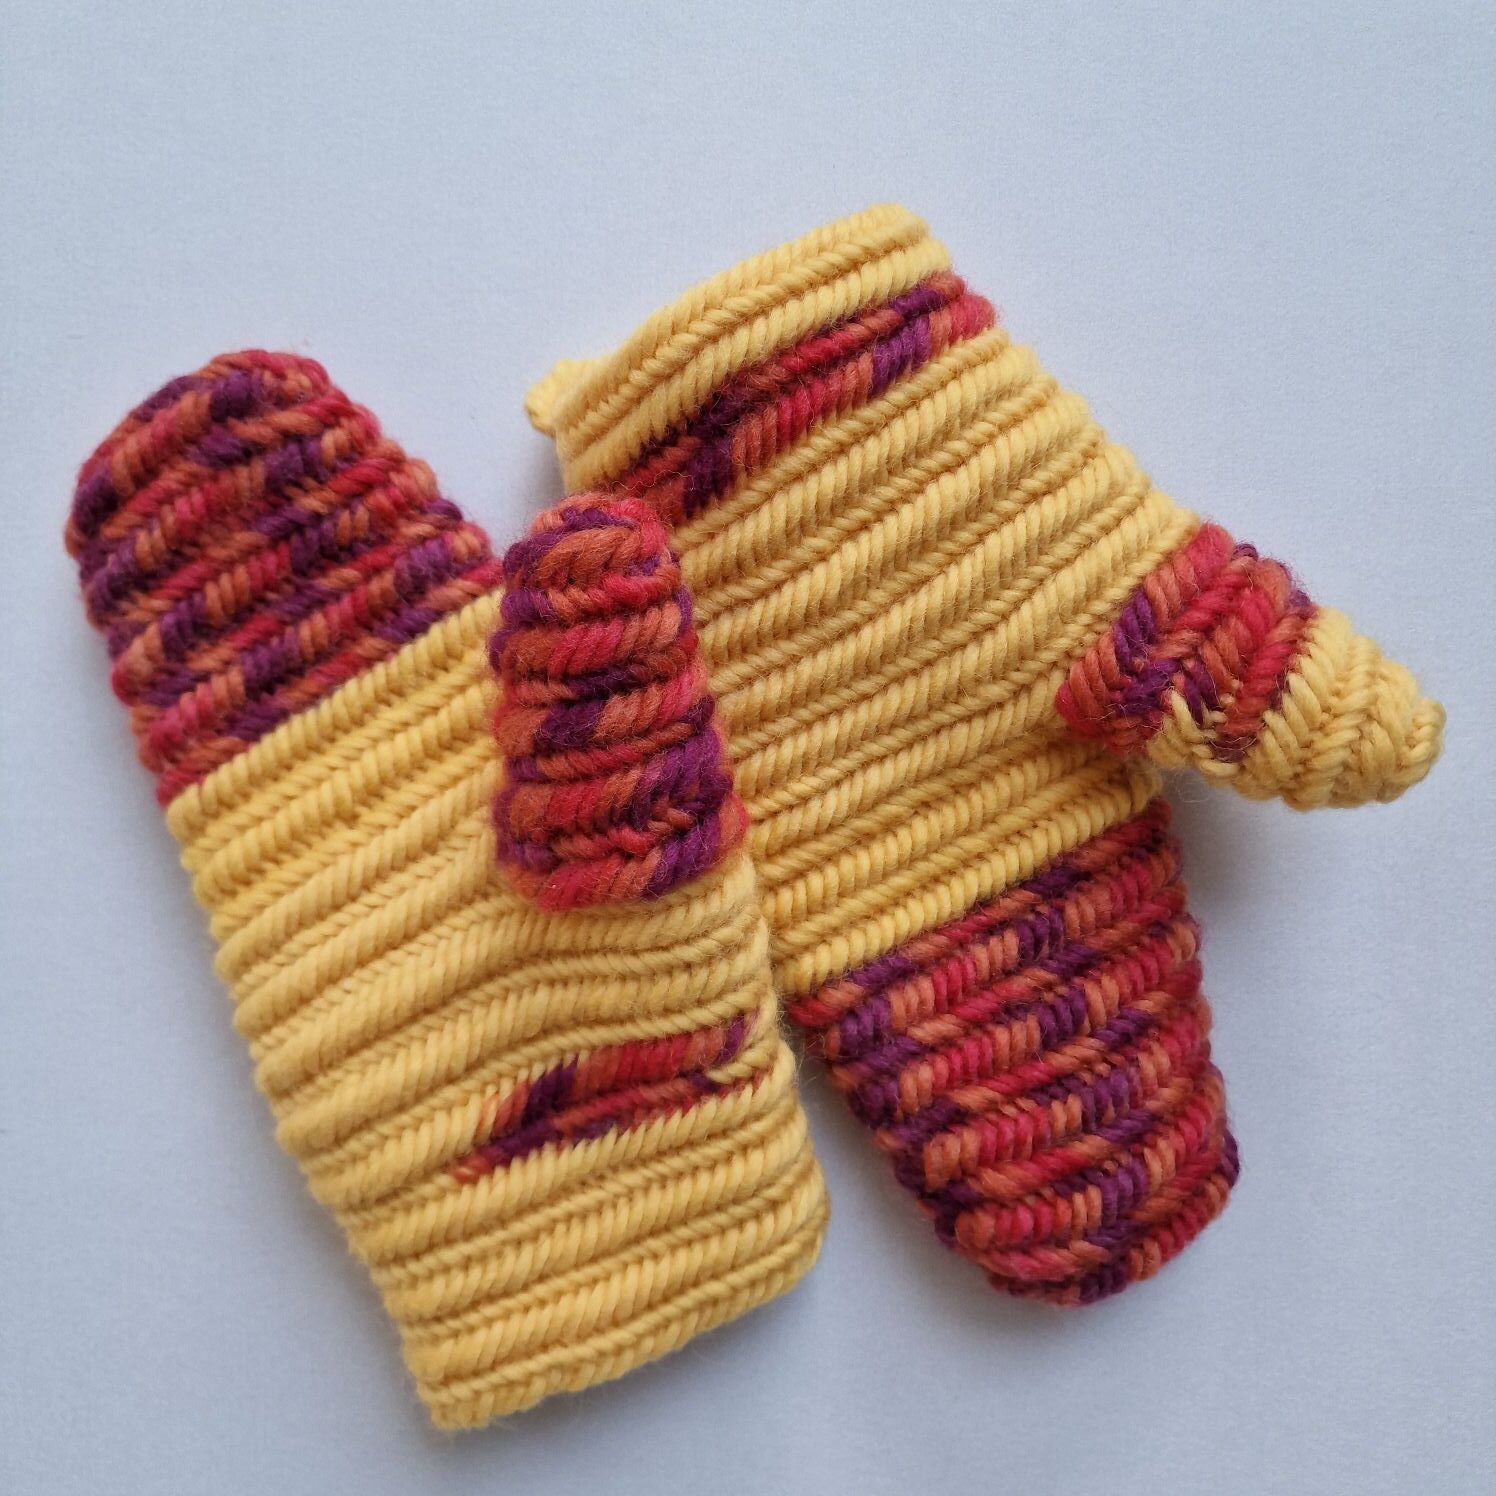
The following mittens are made according to the above pattern with the Finnish stitch F2

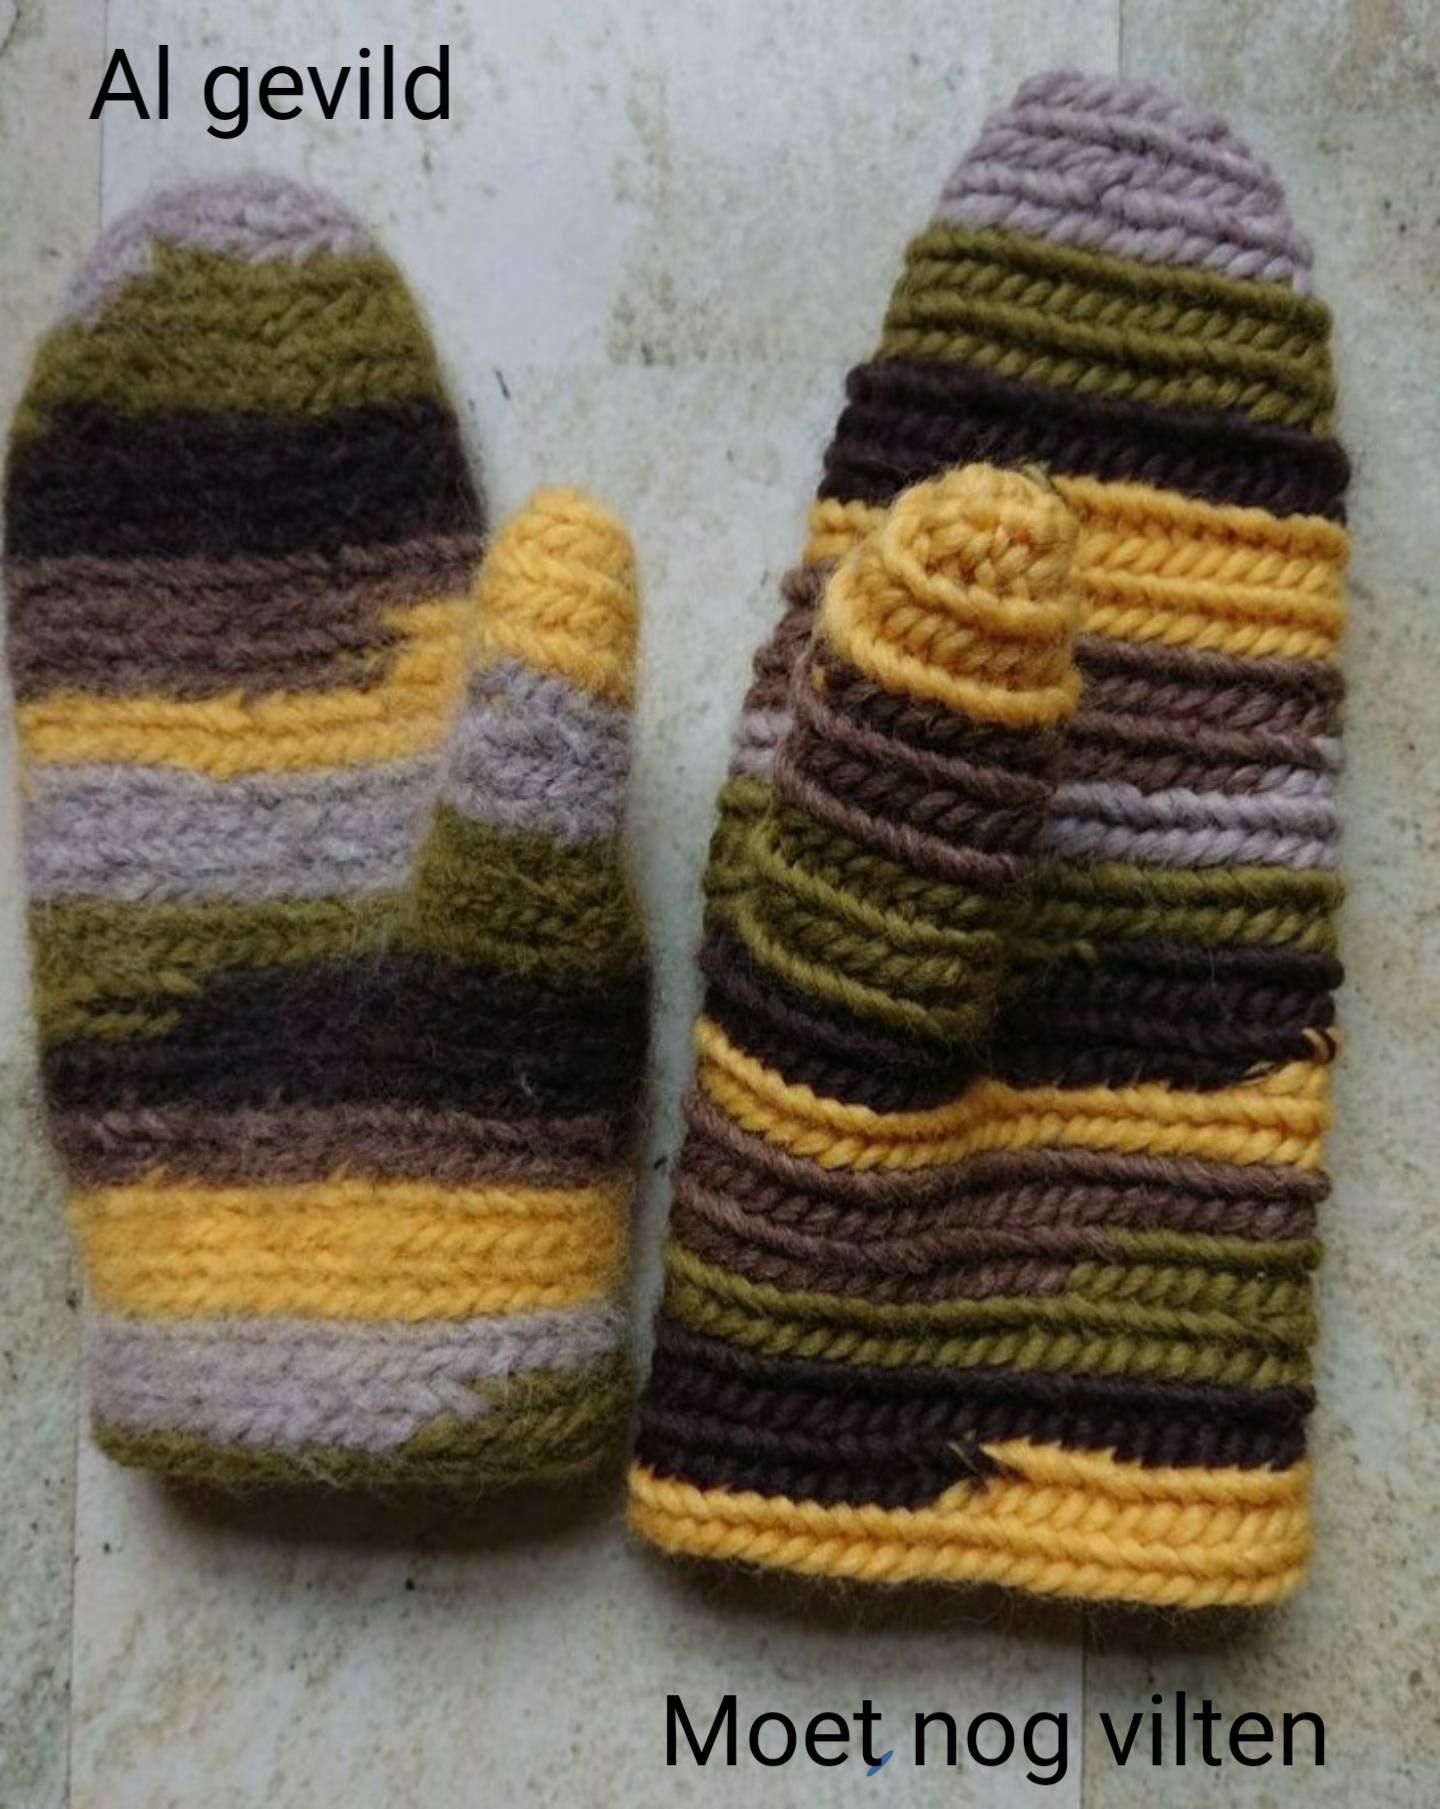
I felted these mittens a bit.
The mitten I put in the washing machine is nicely felted.
This is also a Mitten project, with a Finnish stitch F2 but with 3 loops around your thumb and 2 loops behind your thumb.
With this stitch you get an even denser fabric that is even more resistant to the cold and that you can also use as an oven mitt.
Unfortunately, the mixed wool was no longer for sale, but the rest i finished it with the yellow color which I actually like.
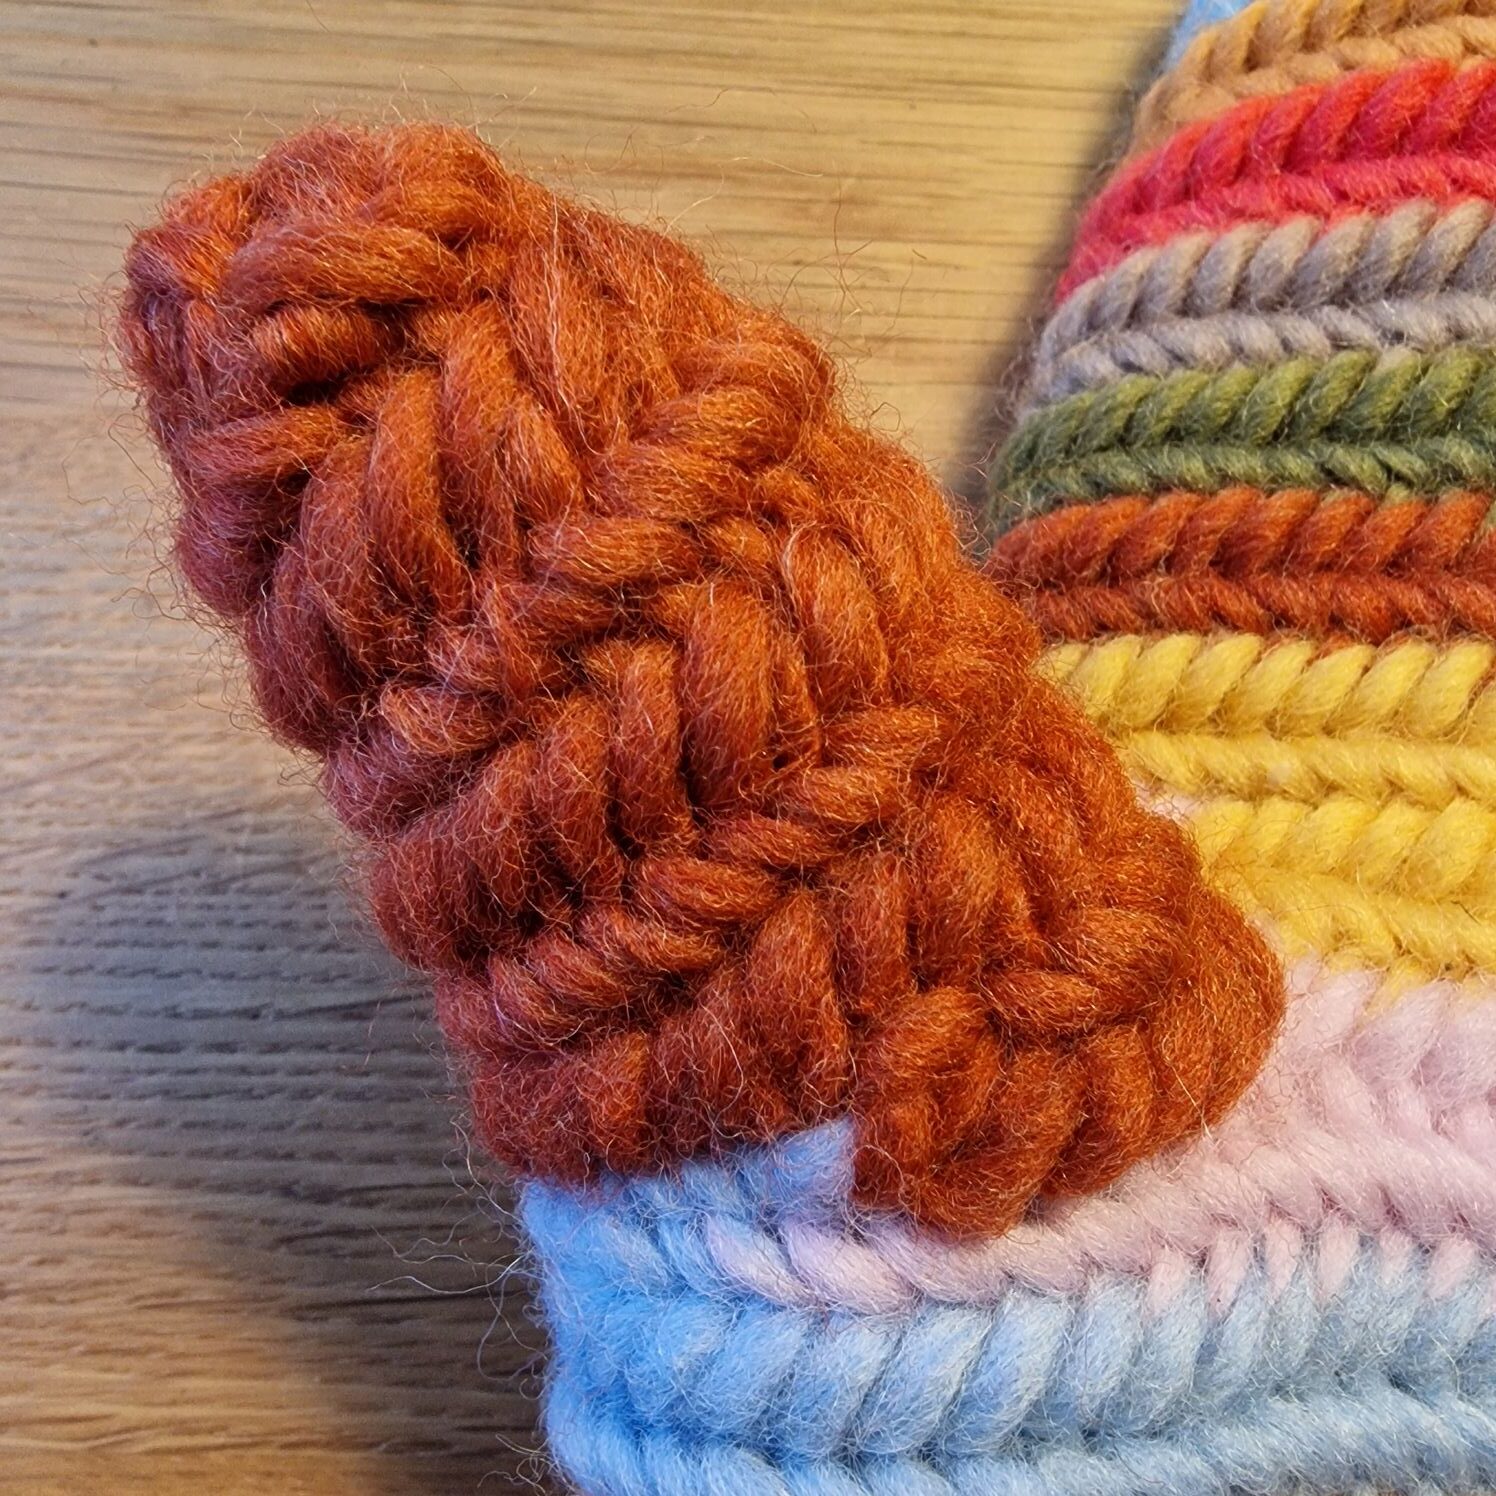
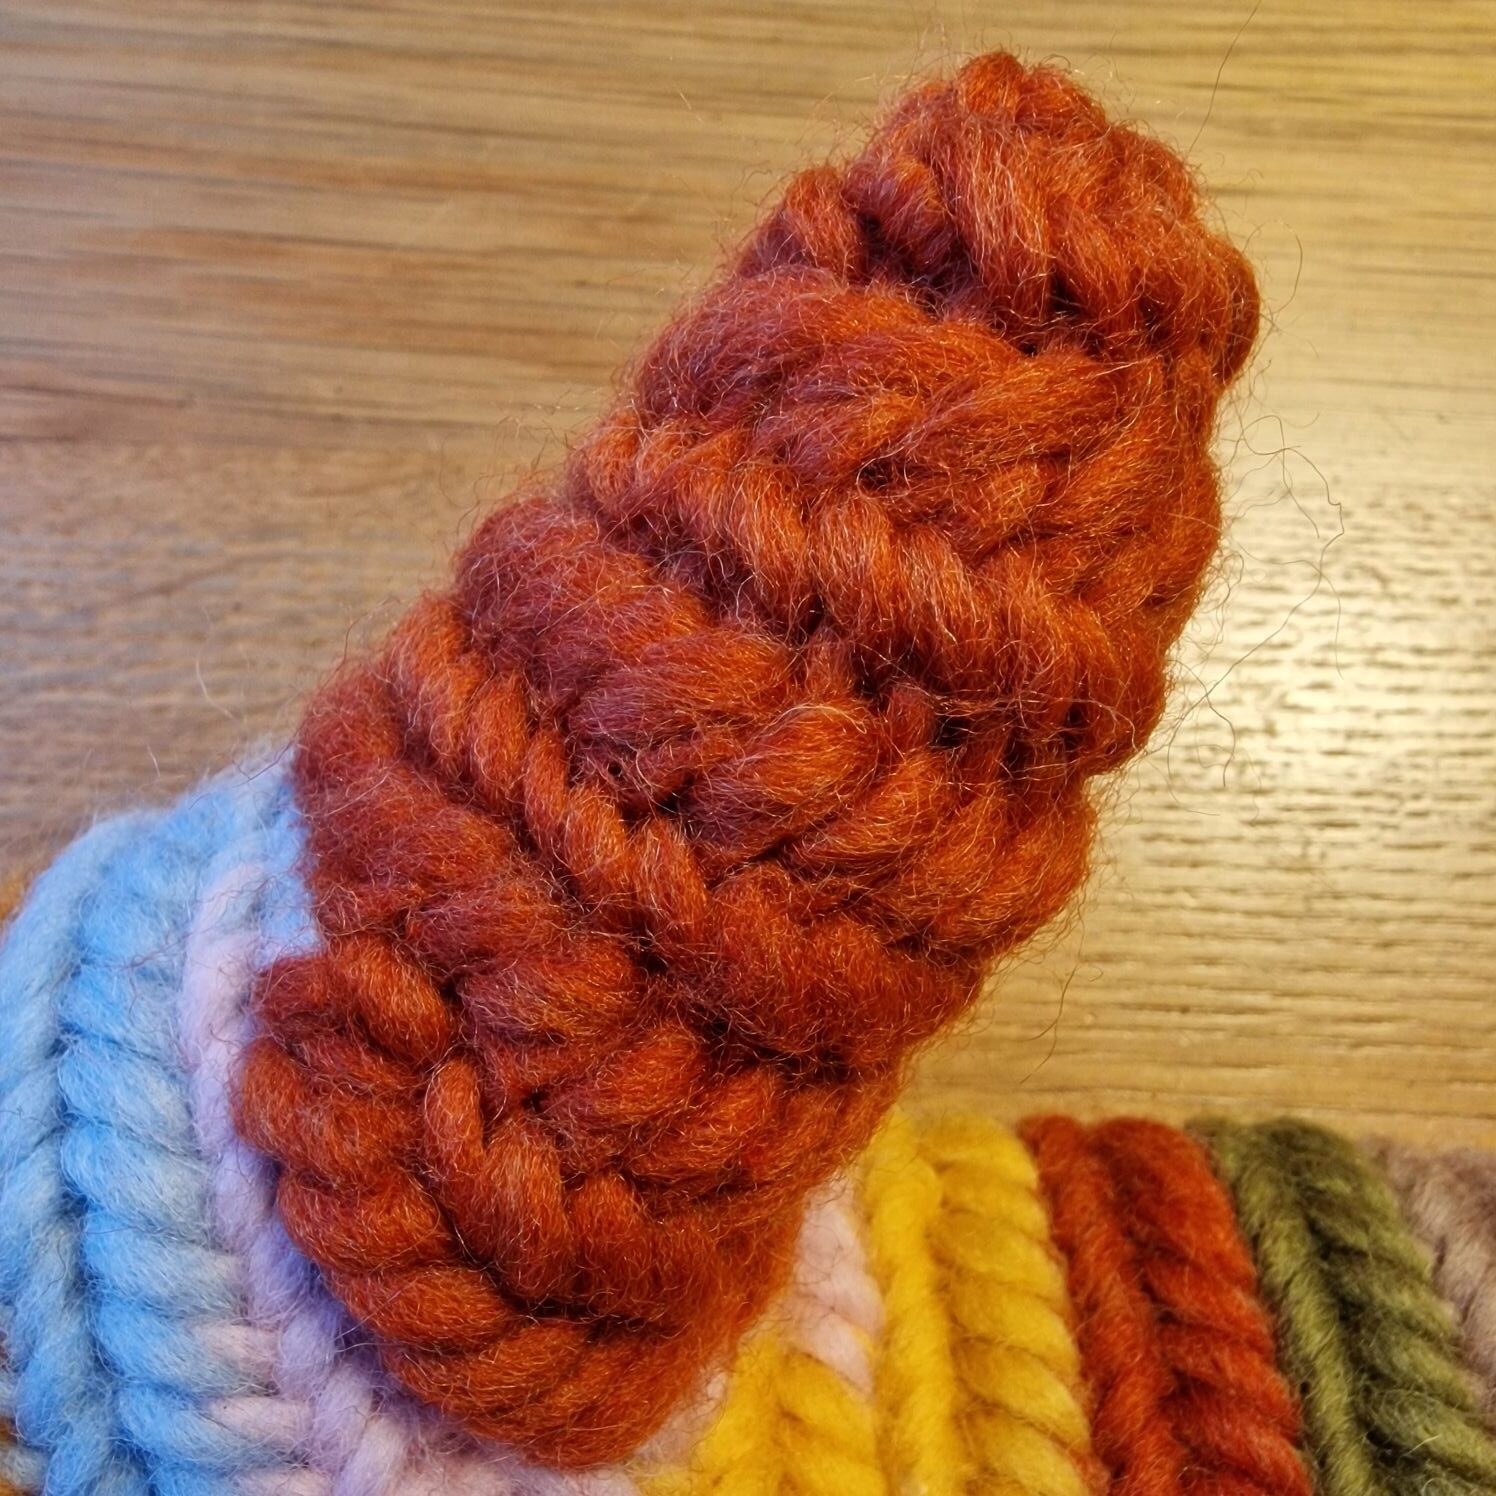
Almost forgot how to make the thumb. You can see my crooked thumb in the mittens, thick and crooked and tapered at the base.
The 1st round I will just plain needlebind round.
In the 2nd round I will decrease 2 stitches evenly around the thumb.
In the 3rd round I will decrease 3 stitches evenly around the thumb.
On the 4th round I will decrease all stitches and then finish the thumb.
You can see how to finish a project in the video below.
The thumb I needlebind is exactly my thumb.
You can also make the thumb straight in length and at the top (I don’t think it’s that nice).
Then you simply needlebind around and halve your thumbnail, decrease all stitches and then finish.
You can clearly see the decreases on the upside-down letter V

The structure of the Finnish stitch is clearly visible here.
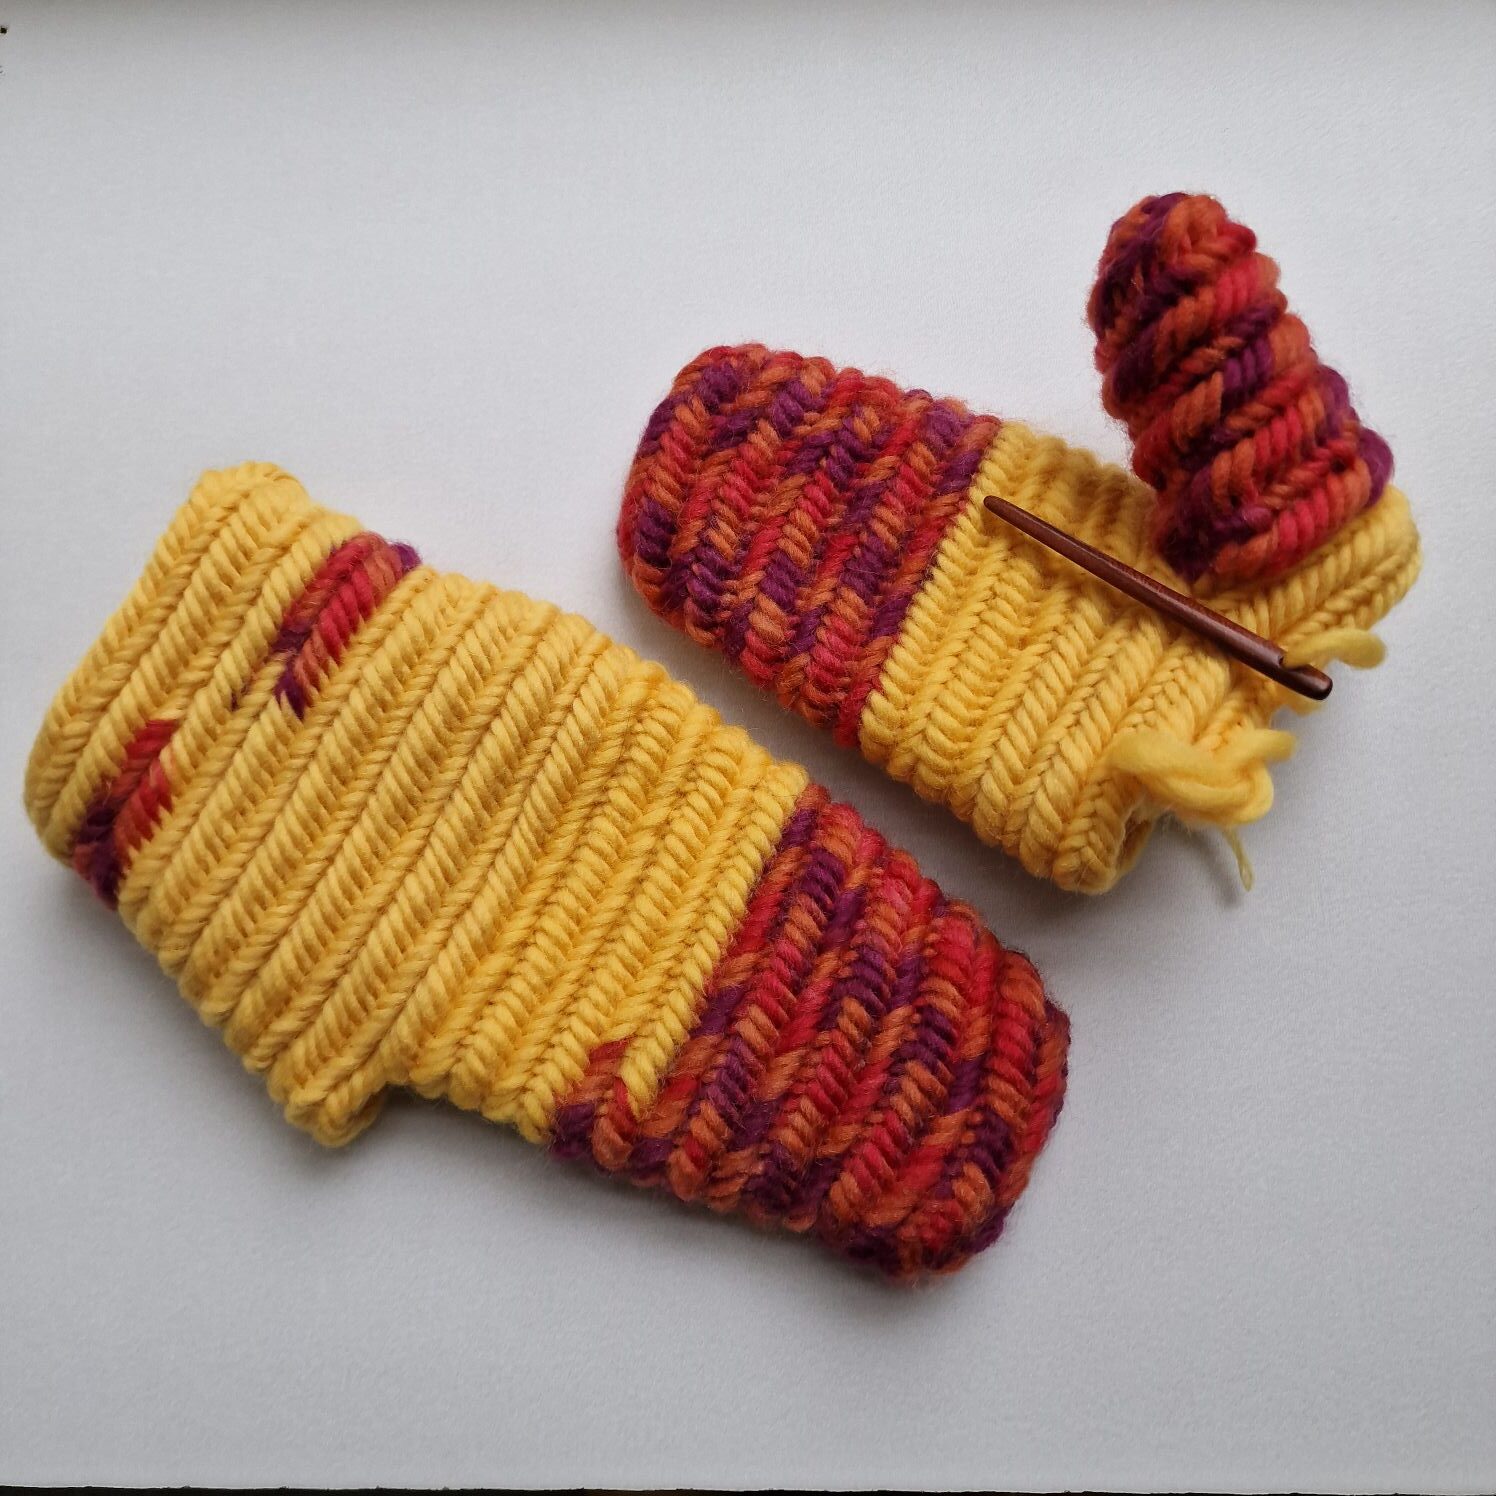
I have made many Mittens with the Finnish stitch 2+2 and F2, but I will also make my new mittens with the Finnish stitch but with 3+2 and F2.
By having 3 stitches on your thumb and 2 behind your thumb and then with connecting stitch F2, the mittens are windproof, stronger and even warmer.
Happy needlebinding your Mittens 🙂