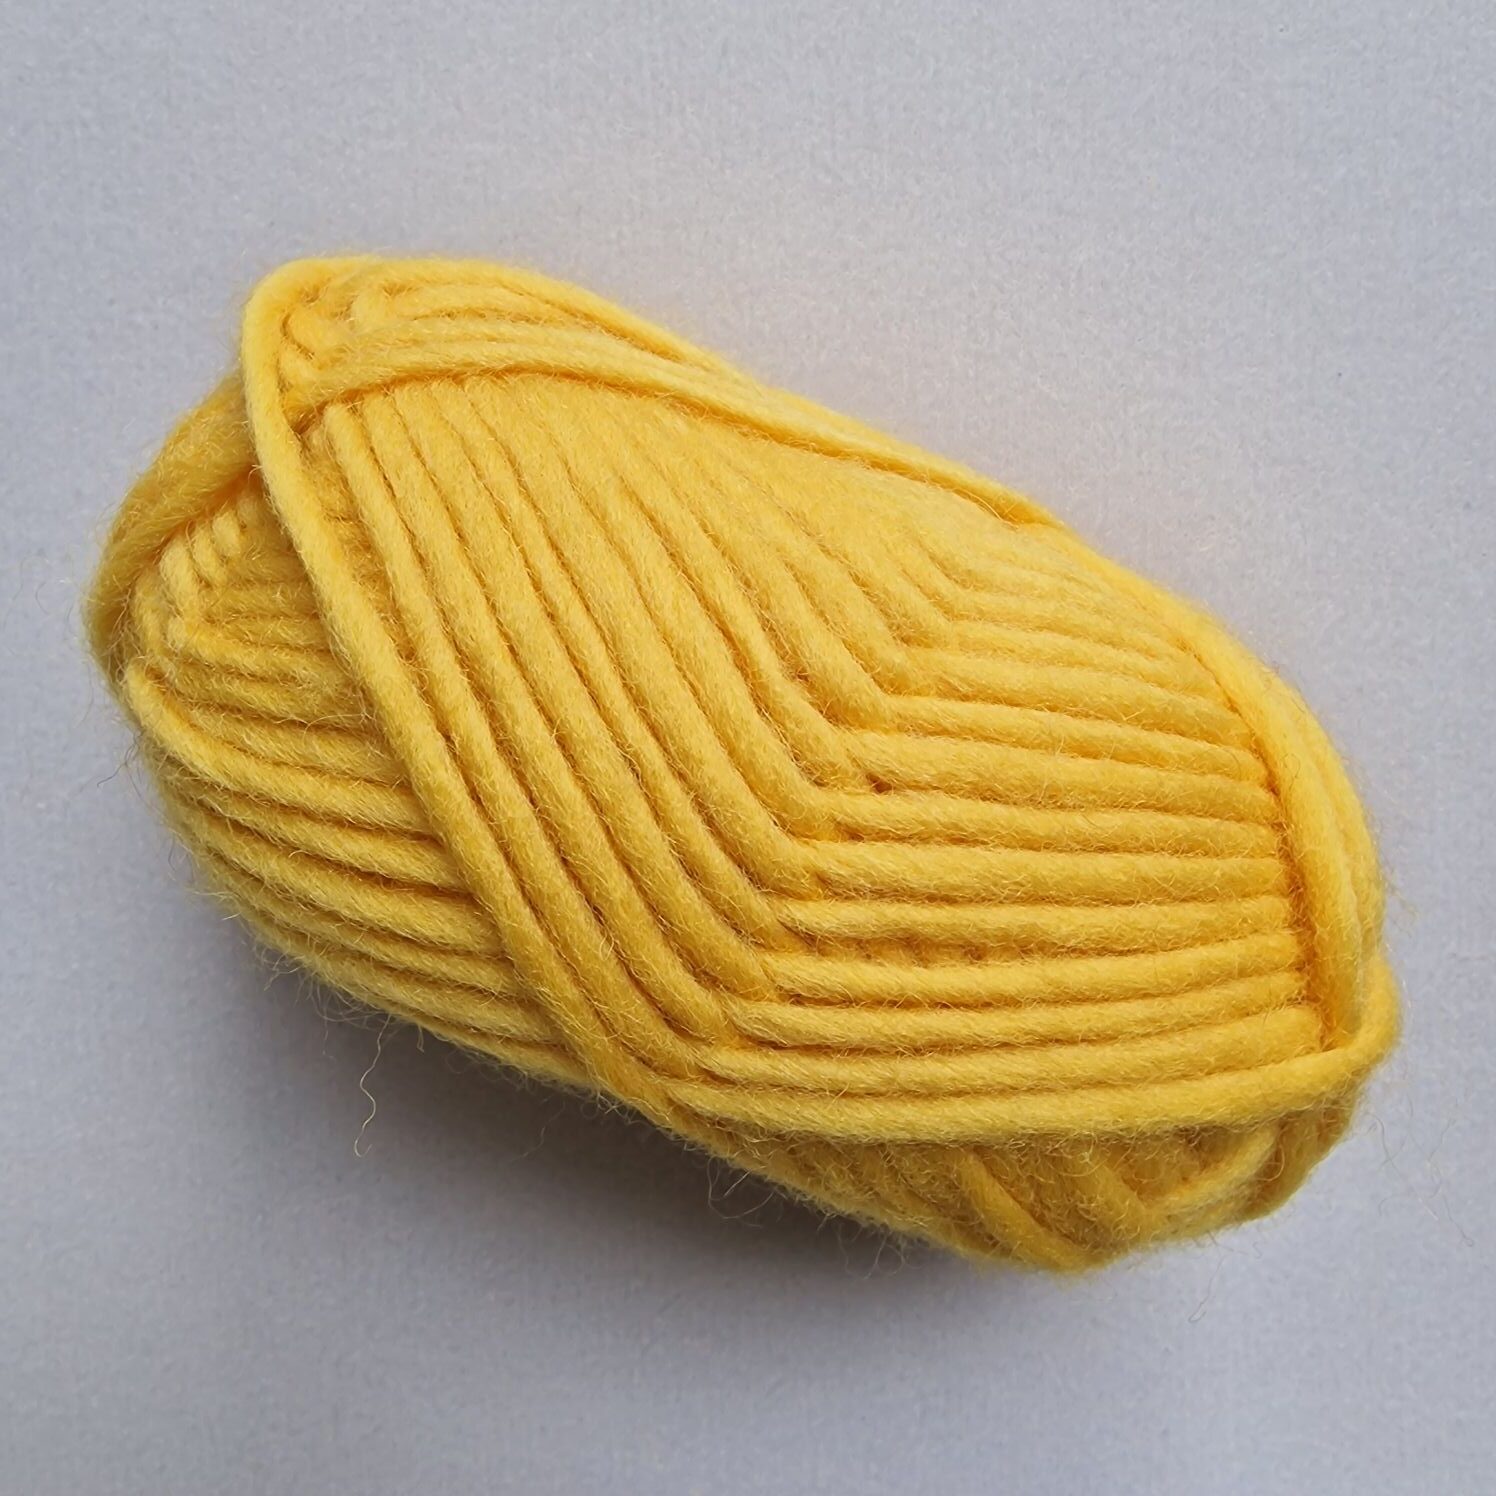
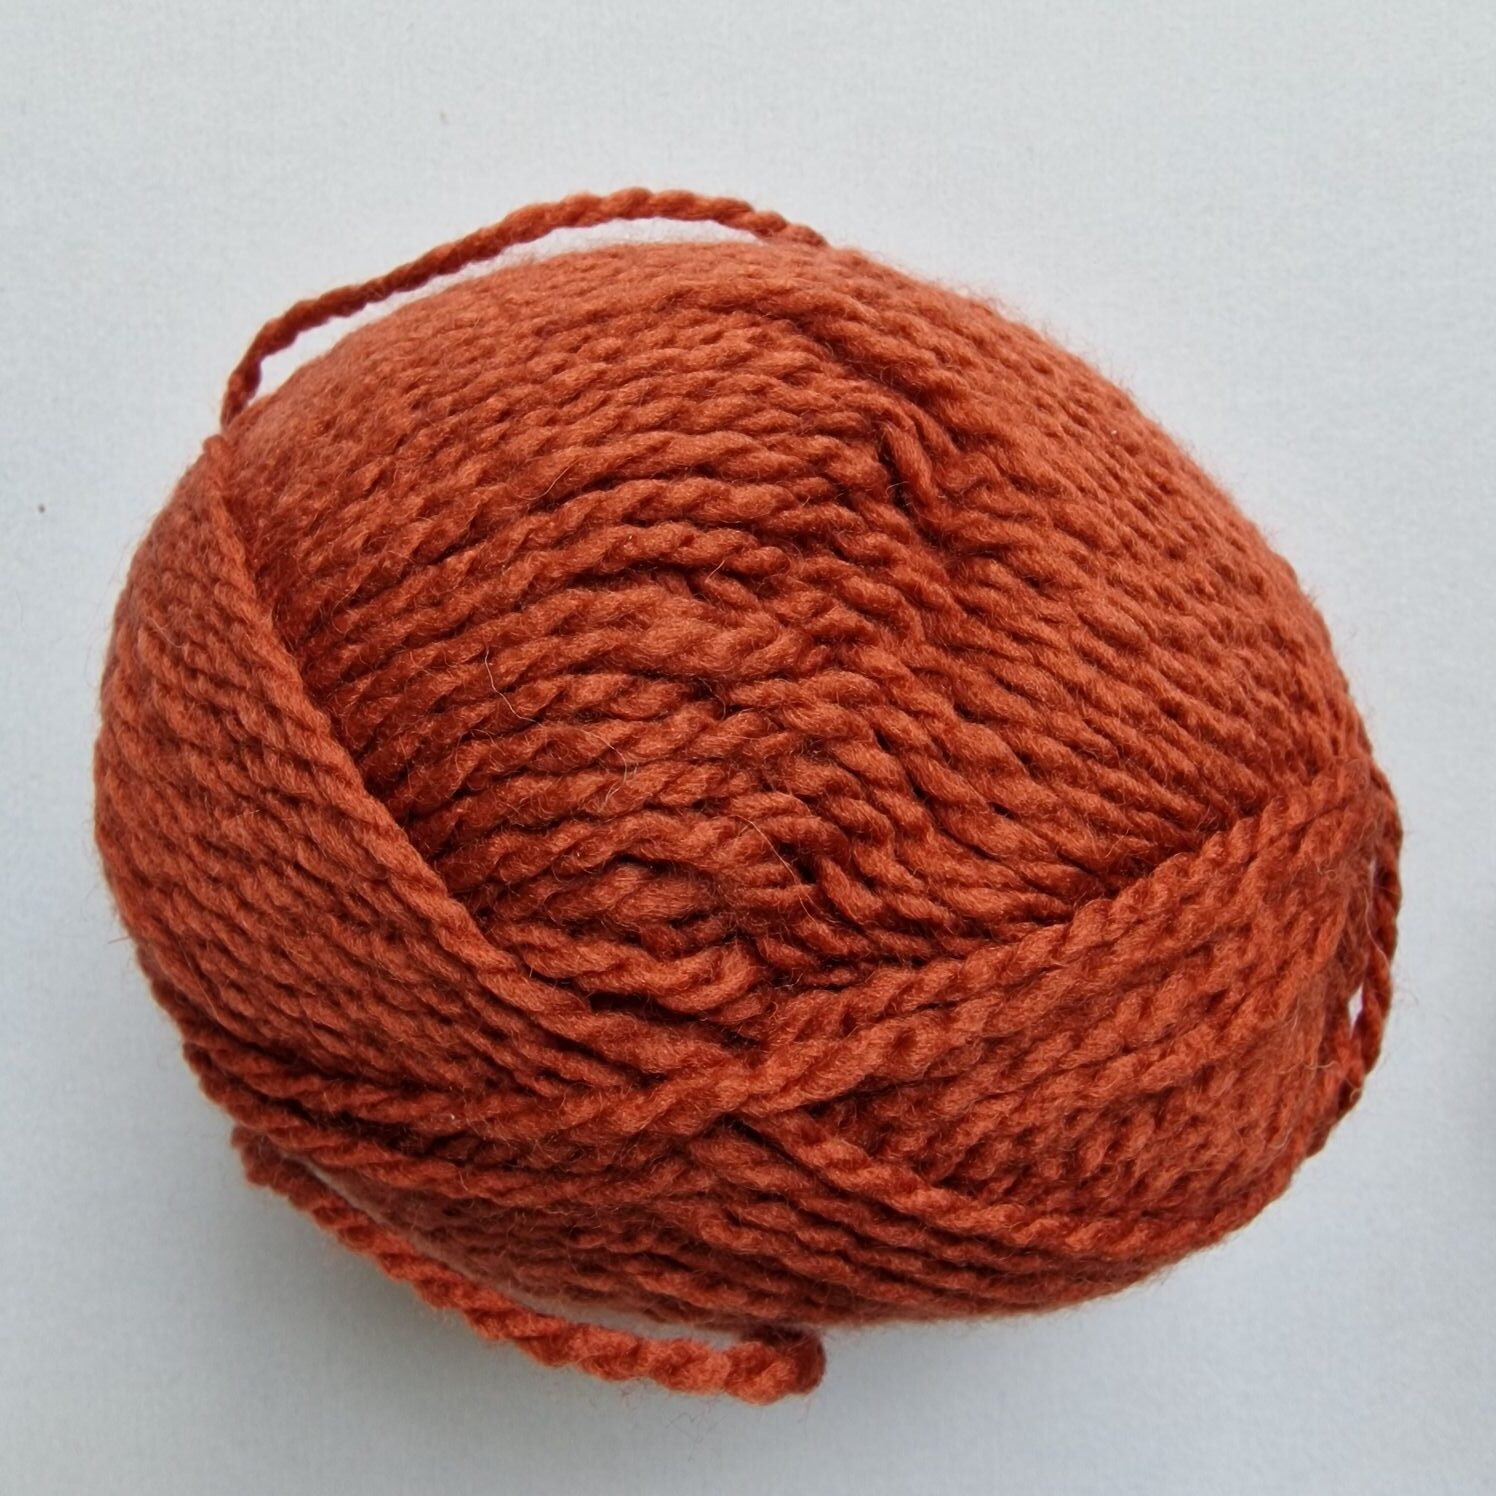
I always use 100% wool for needle binding on my websites.
The wool I use during my videos is always 1 ply wool and needle/hook 9 mm.
The thickness of the wool is approximately 5 mm.
Due to the thickness of this wool you can see the stitches clearly and also where the fewer or more stitches are. You can use thread of 3 or 5 ply yarn and 1mm thick.
On YouTube you often see knitting or crochet demonstrations where they talk a lot about the brand they use and whether you want to like them and whether you especially want to subscribe to their channel and become a member for money of course.
And you can BUY the patterns they use. Many likes are important for the BRAND and the person who promotes it, who then receives some money for this.
I want to pass on this beautiful old craft of needle binding so that this craft is not lost in time.
I buy the yarn I use and don’t get a discount (because I promote needle binding) and I don’t want that either because I want to be and remain independent.
So no brands on my videos, my viewers can decide for themselves which yarn they buy.
The designs and patterns I make are free.
Knowledge is Power and Sharing is Power. I think this is a very beautiful saying.
If SUPERWASH wool is stated on the label, it is very diffecult to felt together, the wool has been treated with all kinds of chemicals and a ‘plastic’ layer has been created around the woolen thread, which unfortunately means that the wool properties have disappeared.
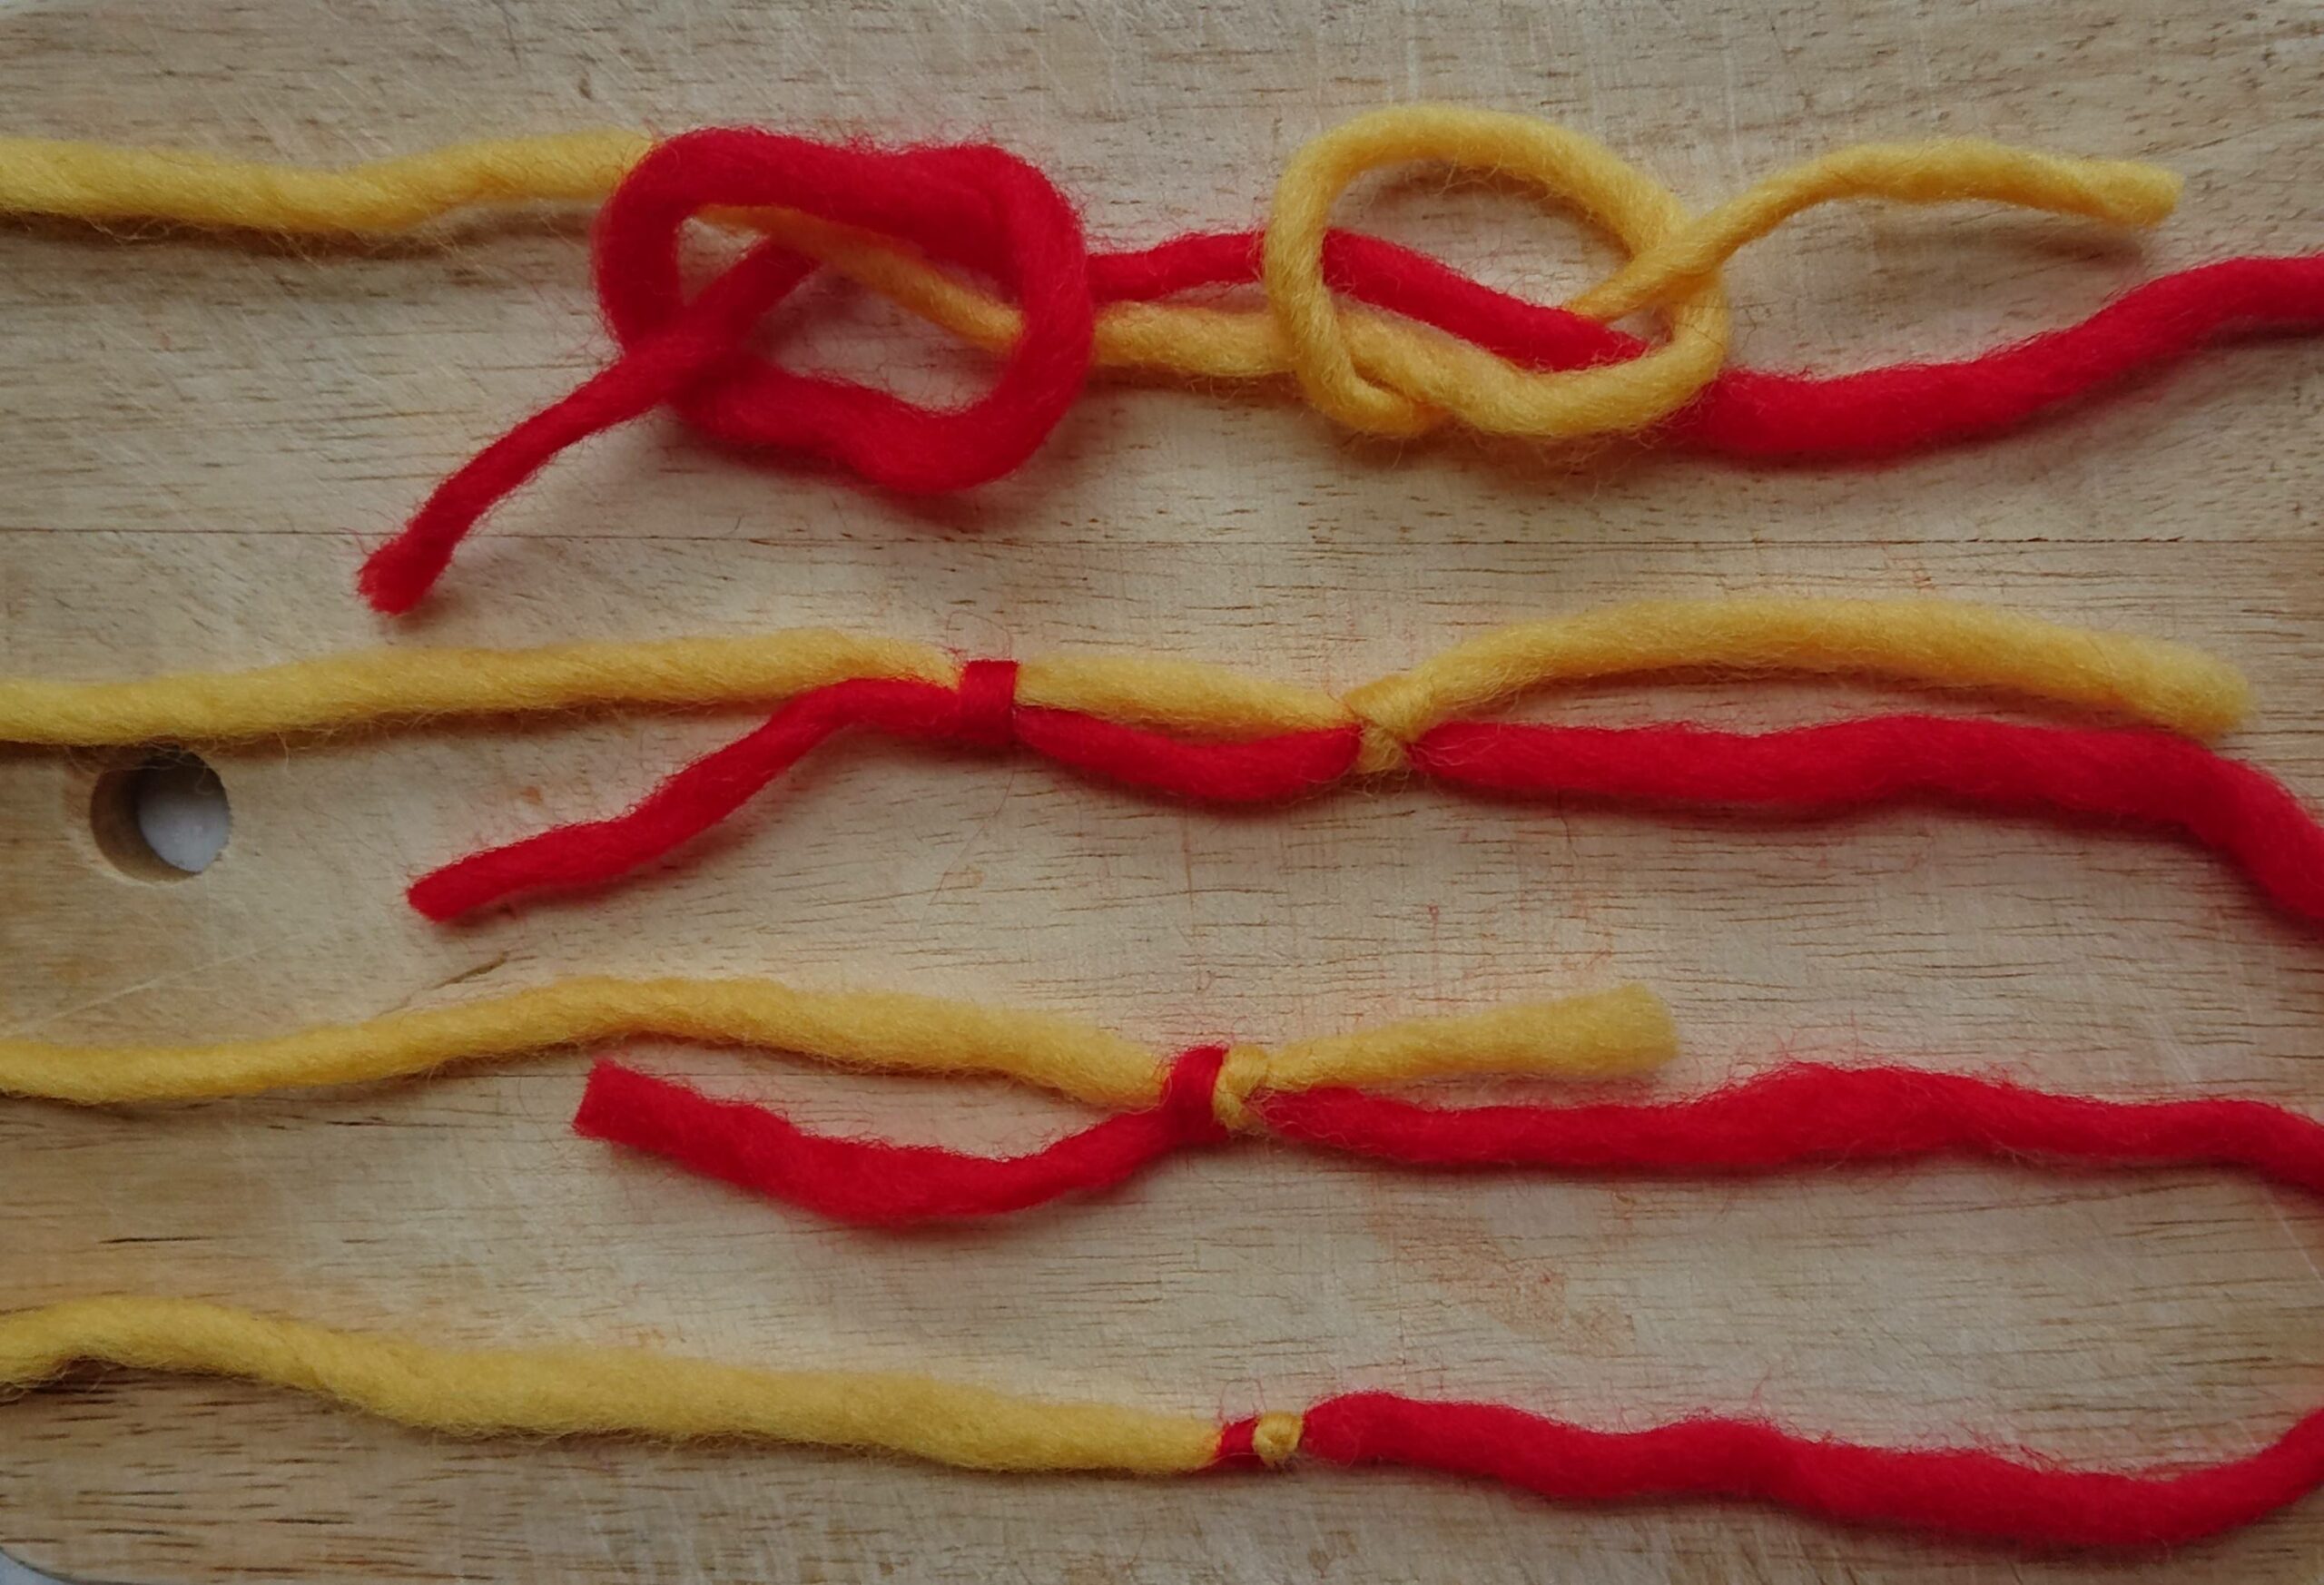
If the yarn is not wool you can knot it. With my other hobby is use the sheet bend to knit vissing nets.
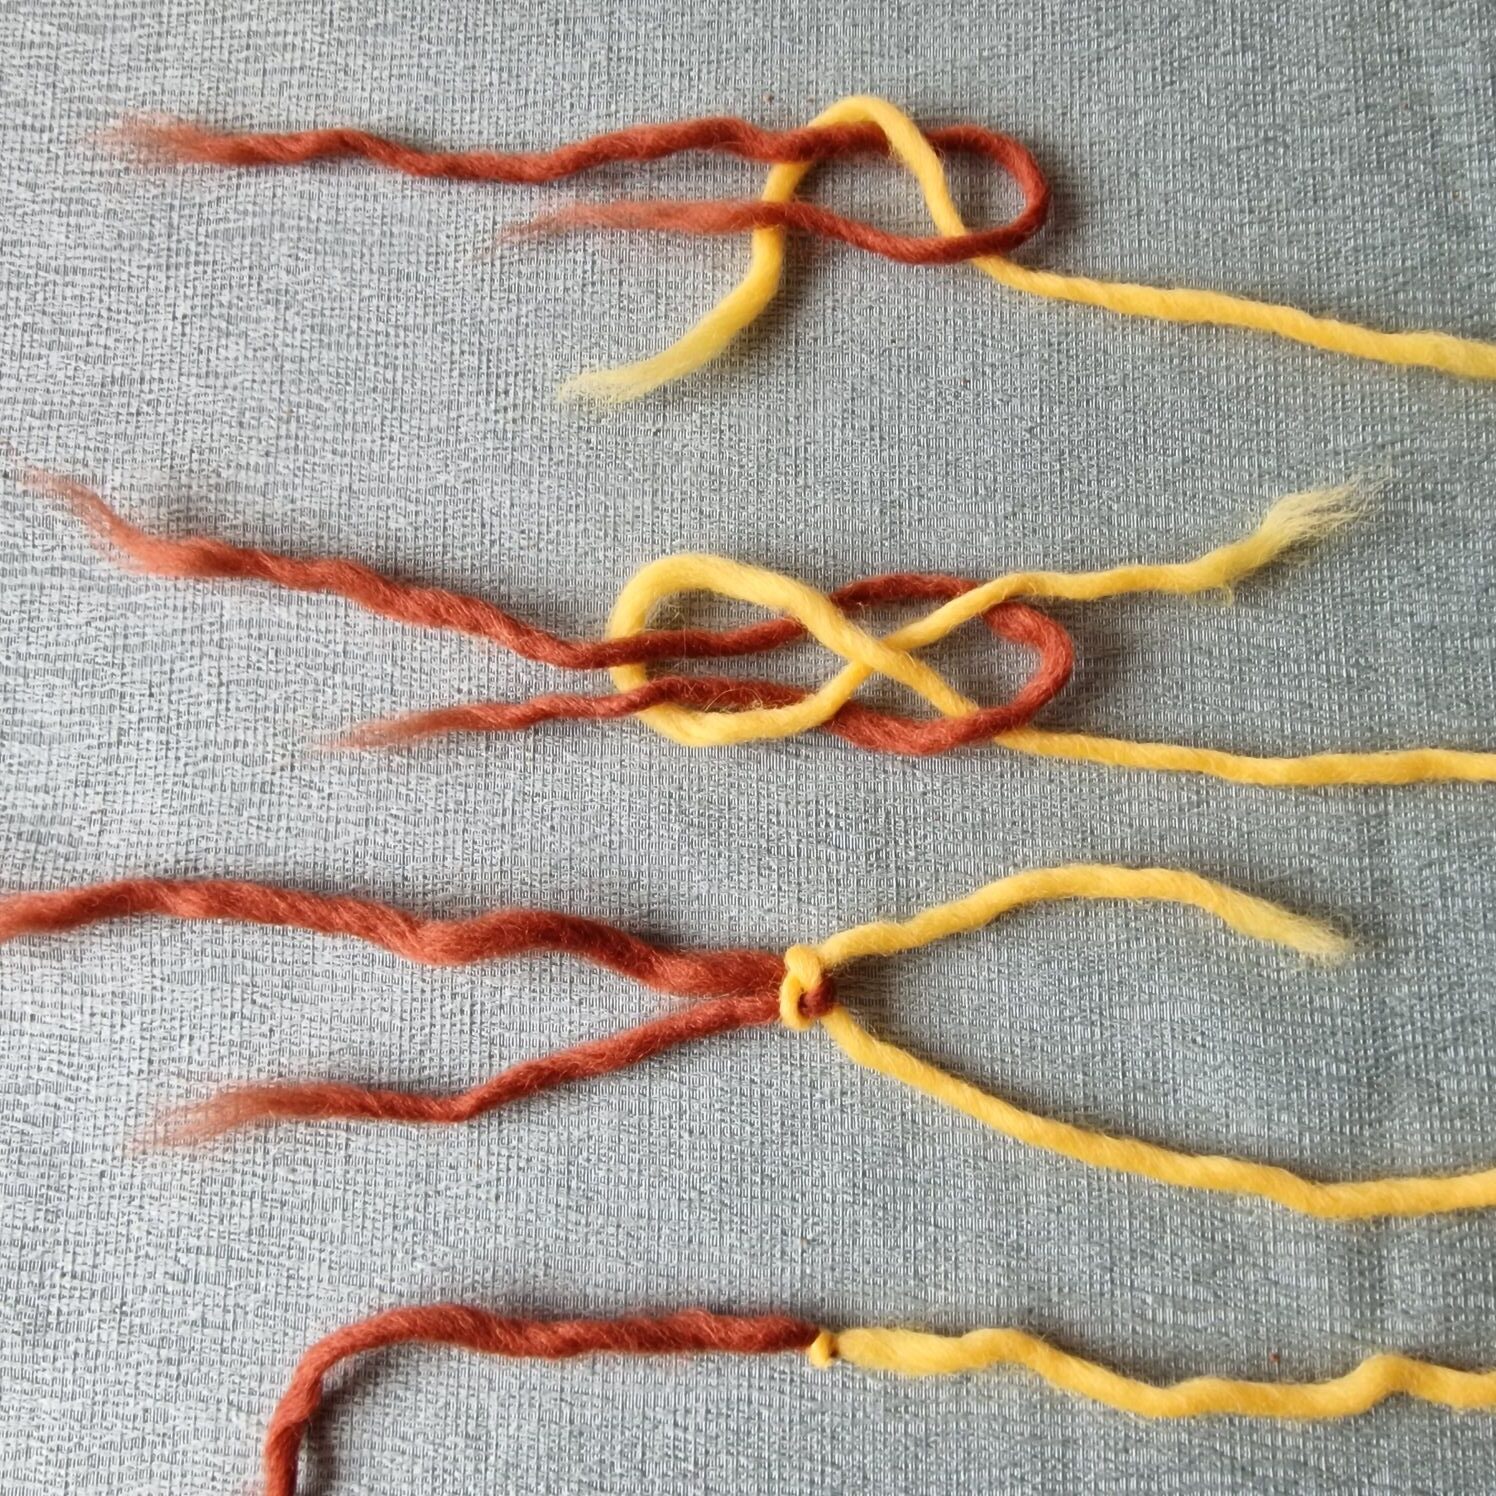
With 100% wool and 1 ply you can felt the pieces of wool together well. When there is at least 20% wool in the thread you can still felt the threads.
With the combination of acrylic and wool (80% acrylic and 20% wool) you can also felt together (2 ply yarn).
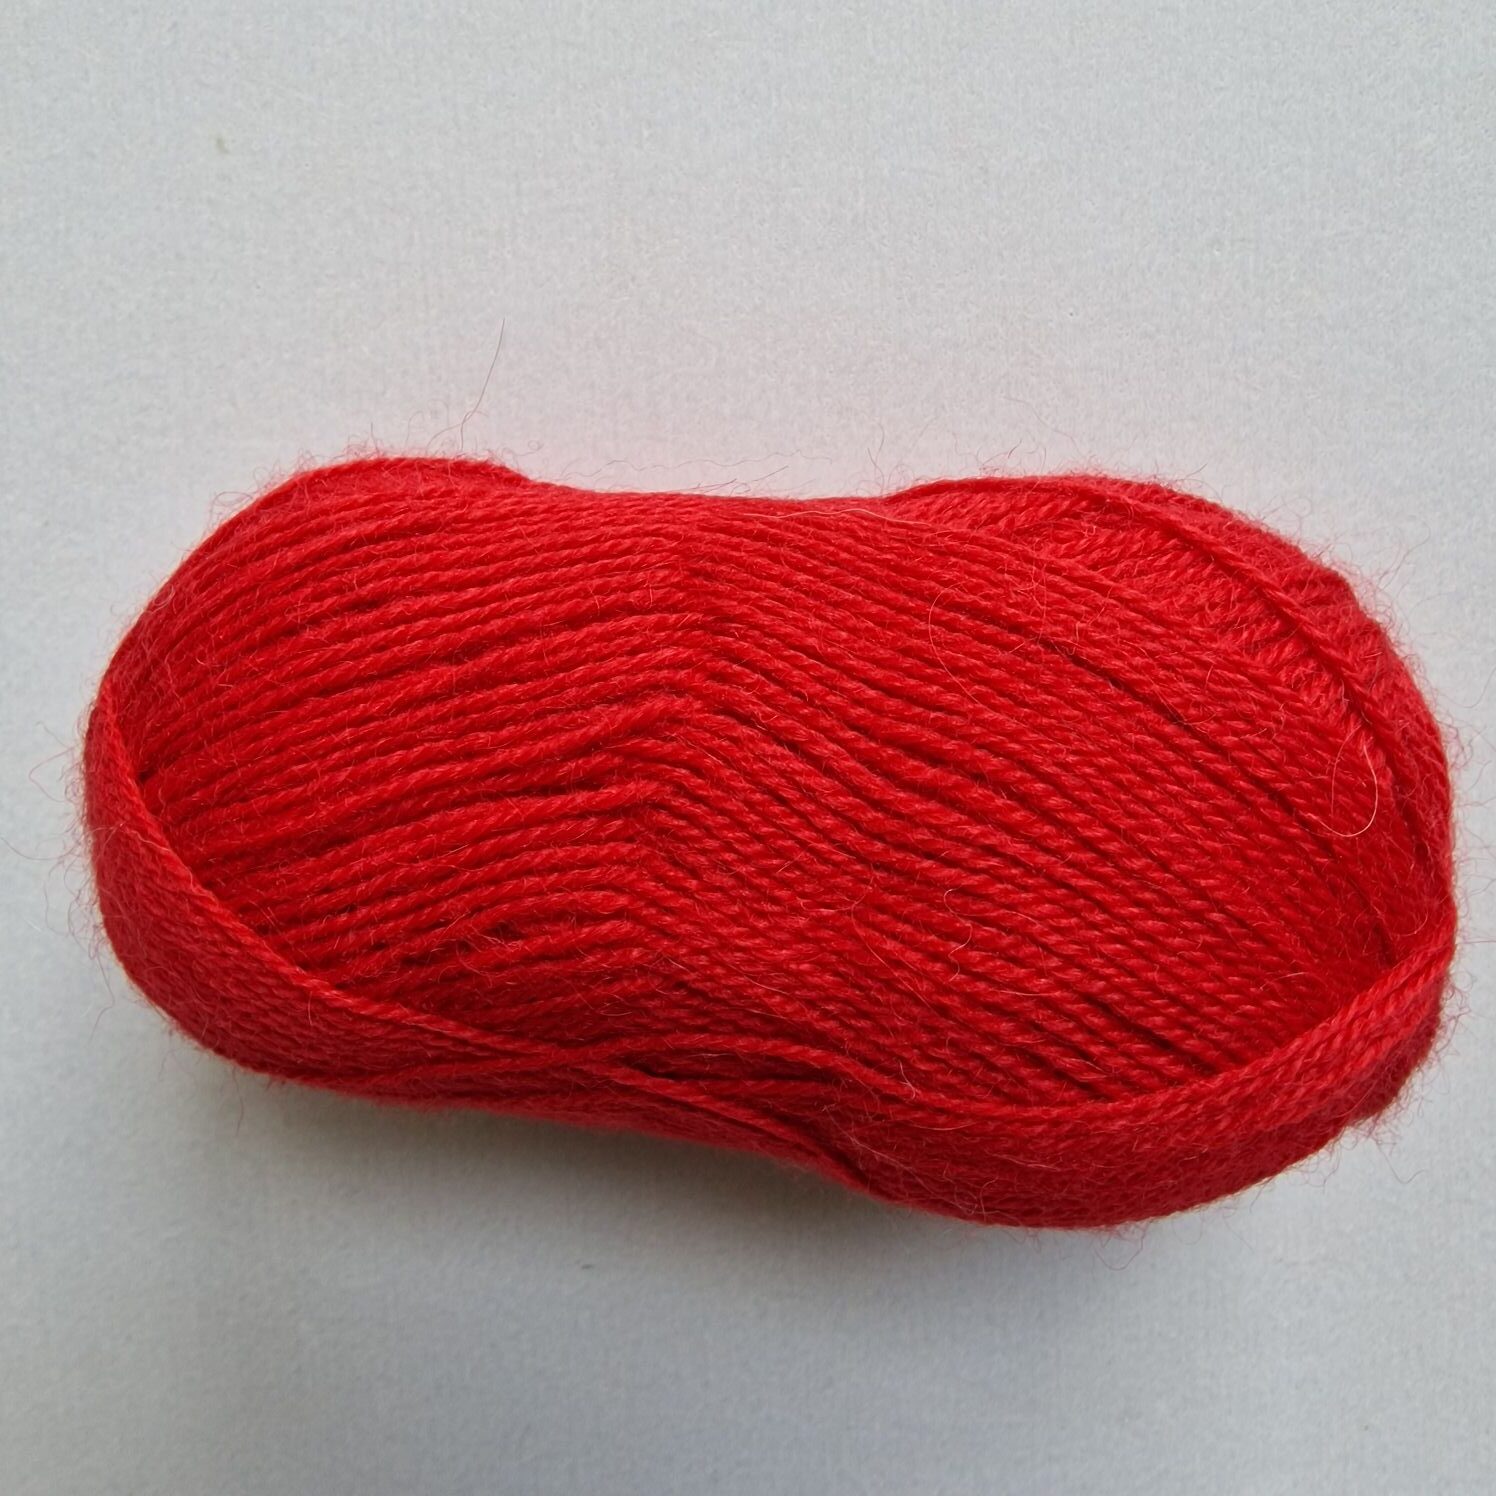
Alpaca with wool is a super combination (65% wool and 35% alpaca) where the properties of the yarns come into their own. (warm, strong and durable), 3 ply yarn.

You can also felt threads together from 100% Alpaca.
This yarn and the yarn above slide very easily through your stitches during needle binding and needle binding also goes a little faster.
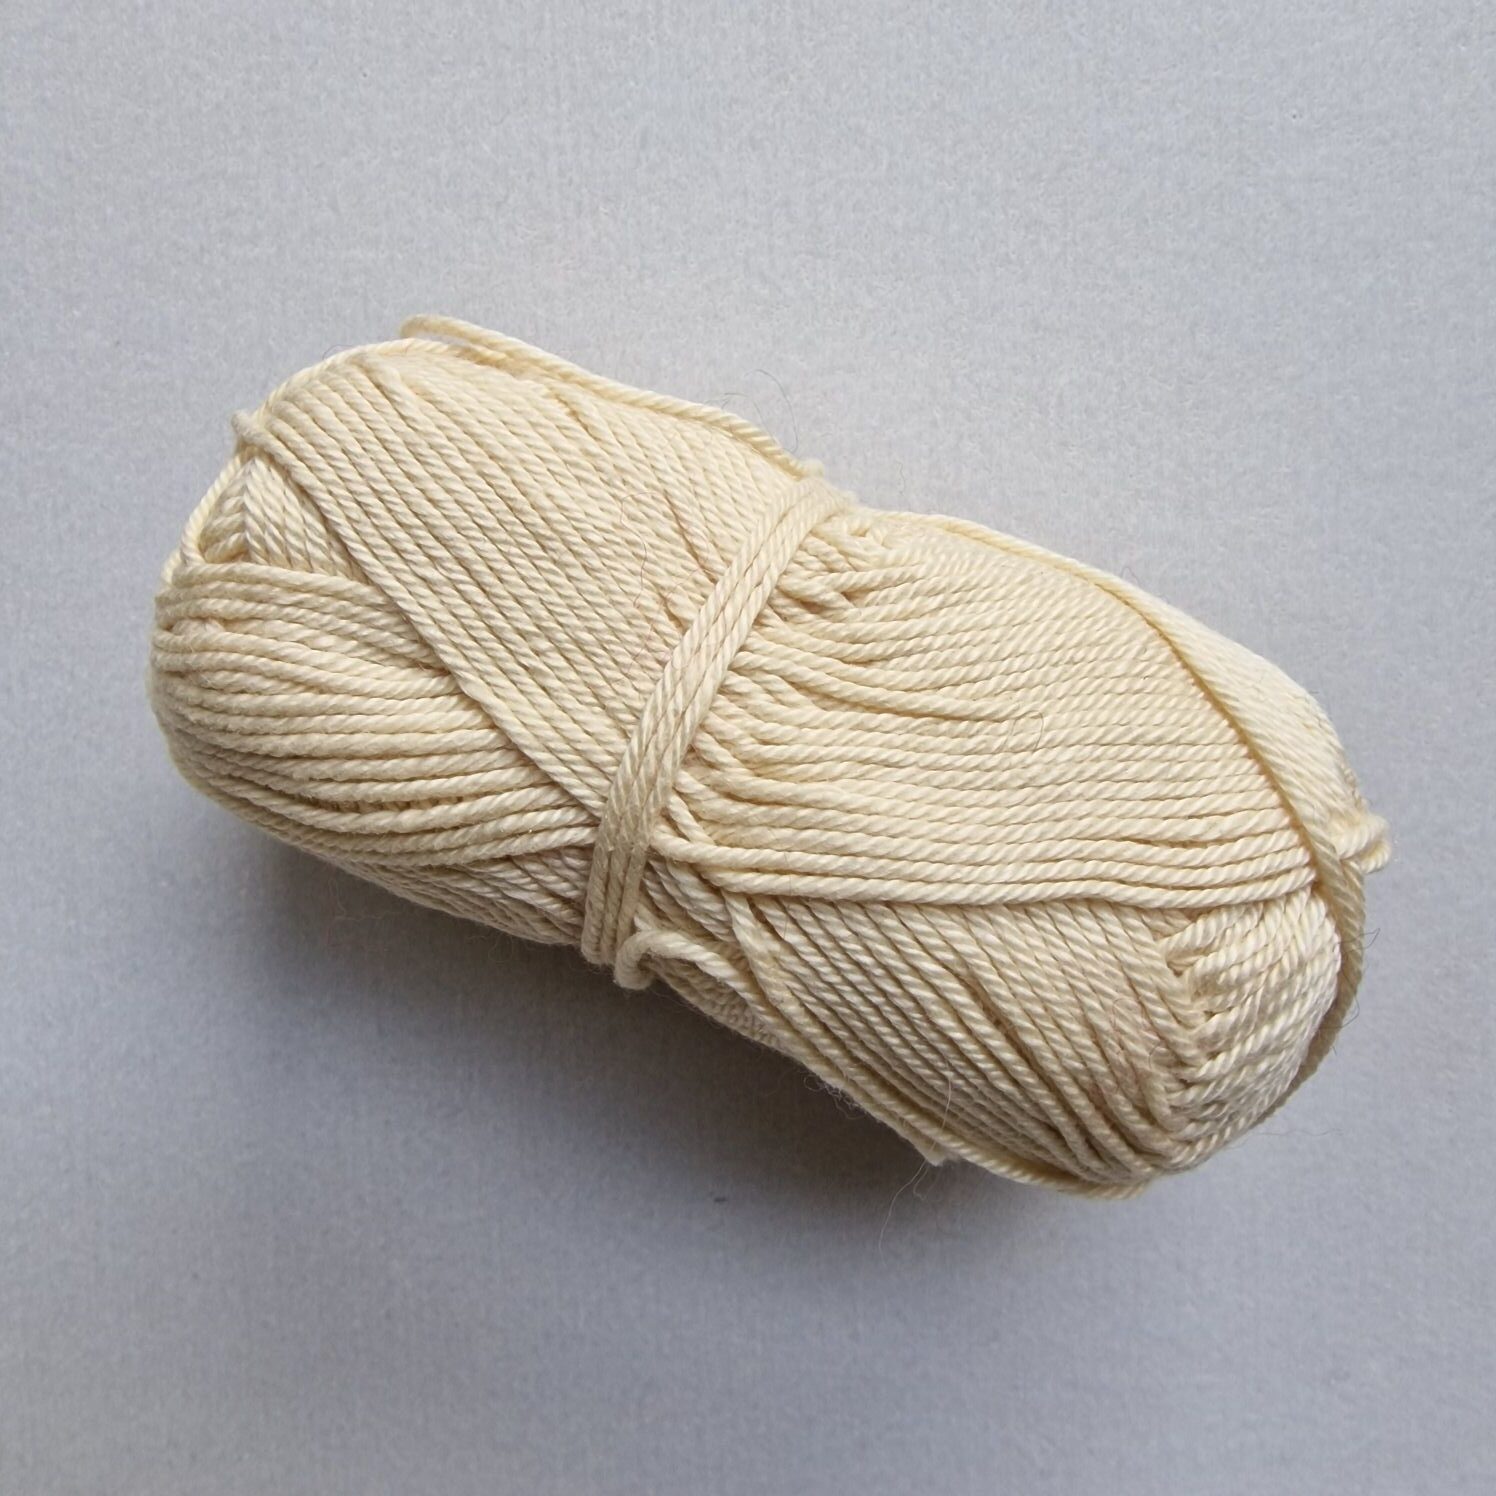
Mohair is very suitable for needle binding, the following yarn is a combination of mohair, acrylic and polyamide.
If you have just started needle binding, I would not recommend it yet because the stitches are a bit harder to see.
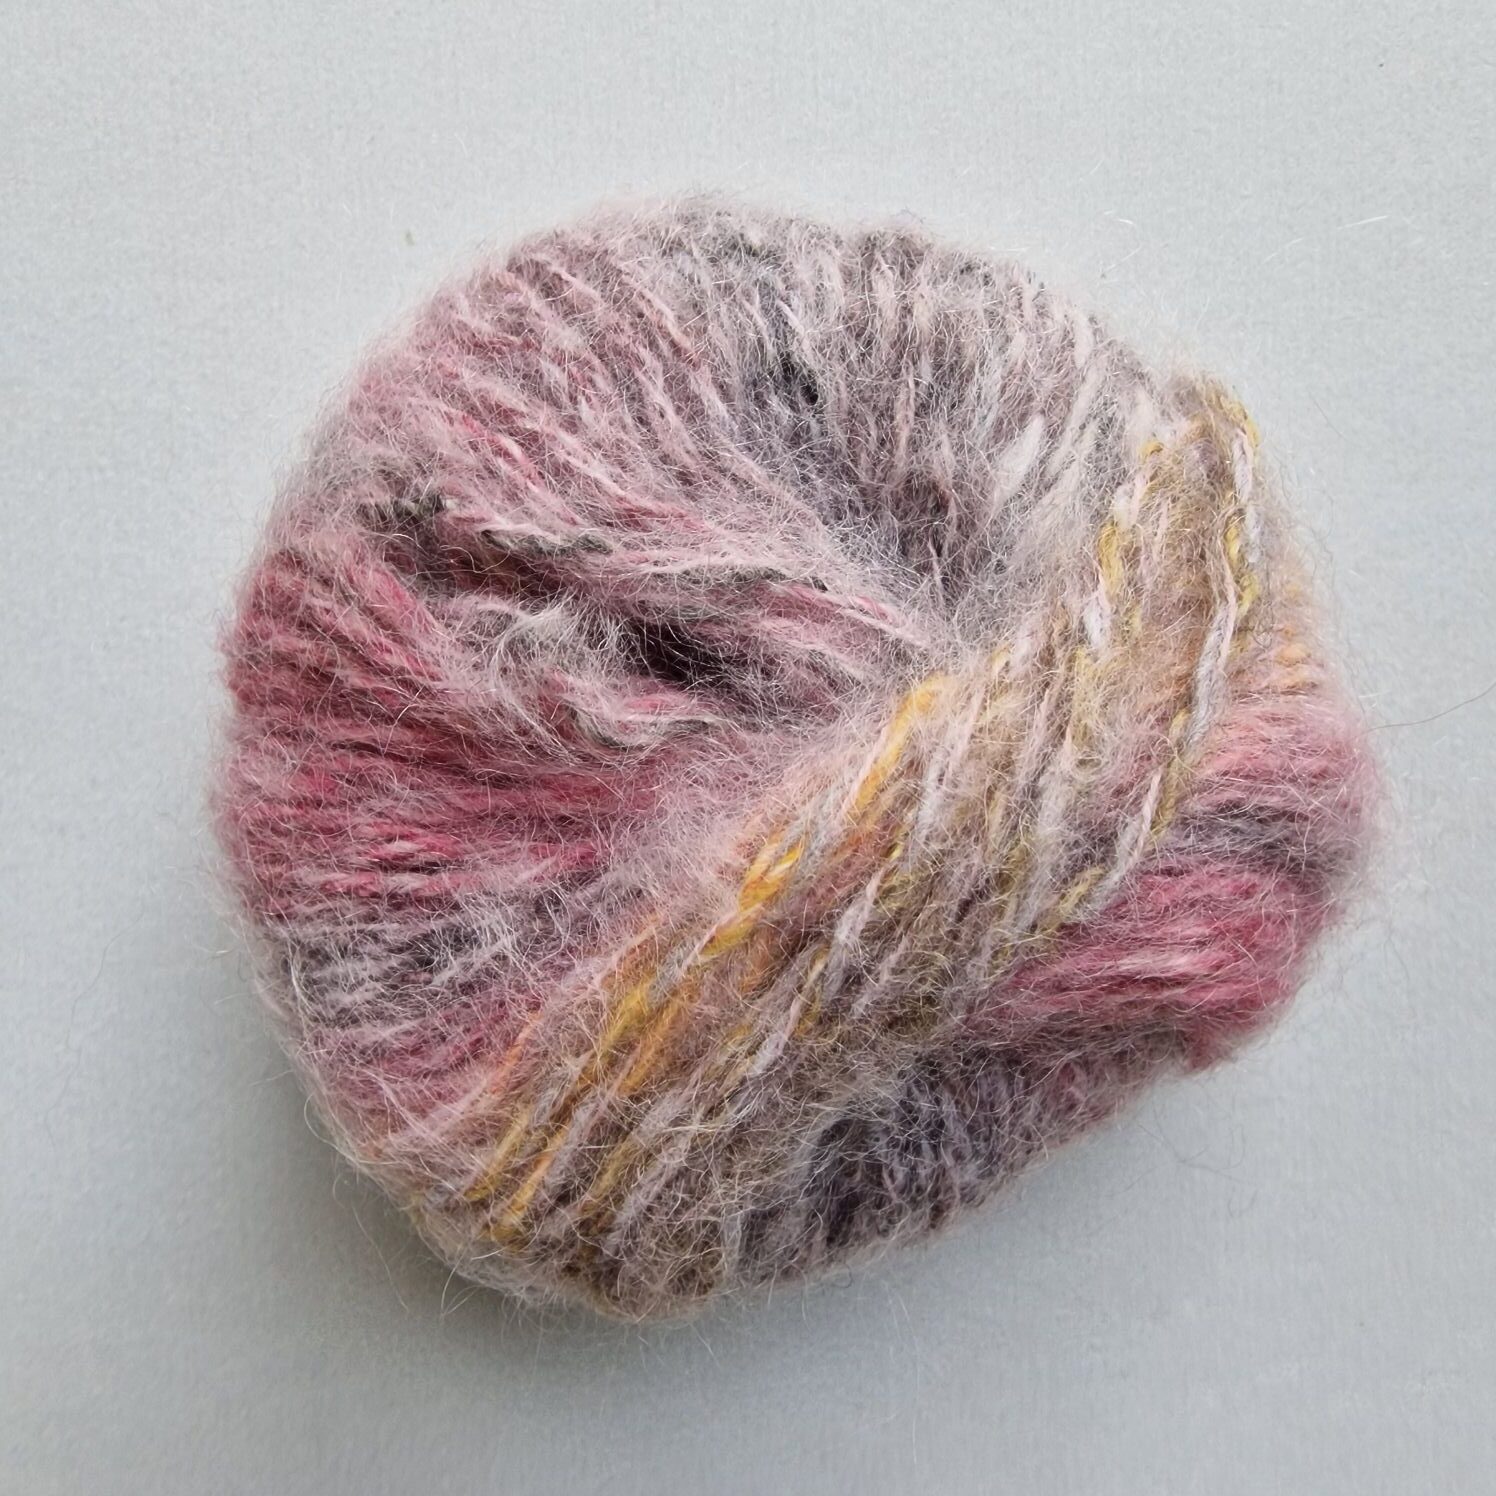
I needle-tied a hat with this Mohair (angora goat) blend. Started with an Oslo stitch and connecting stitch F1 and a cast on of 18 stitches and around.
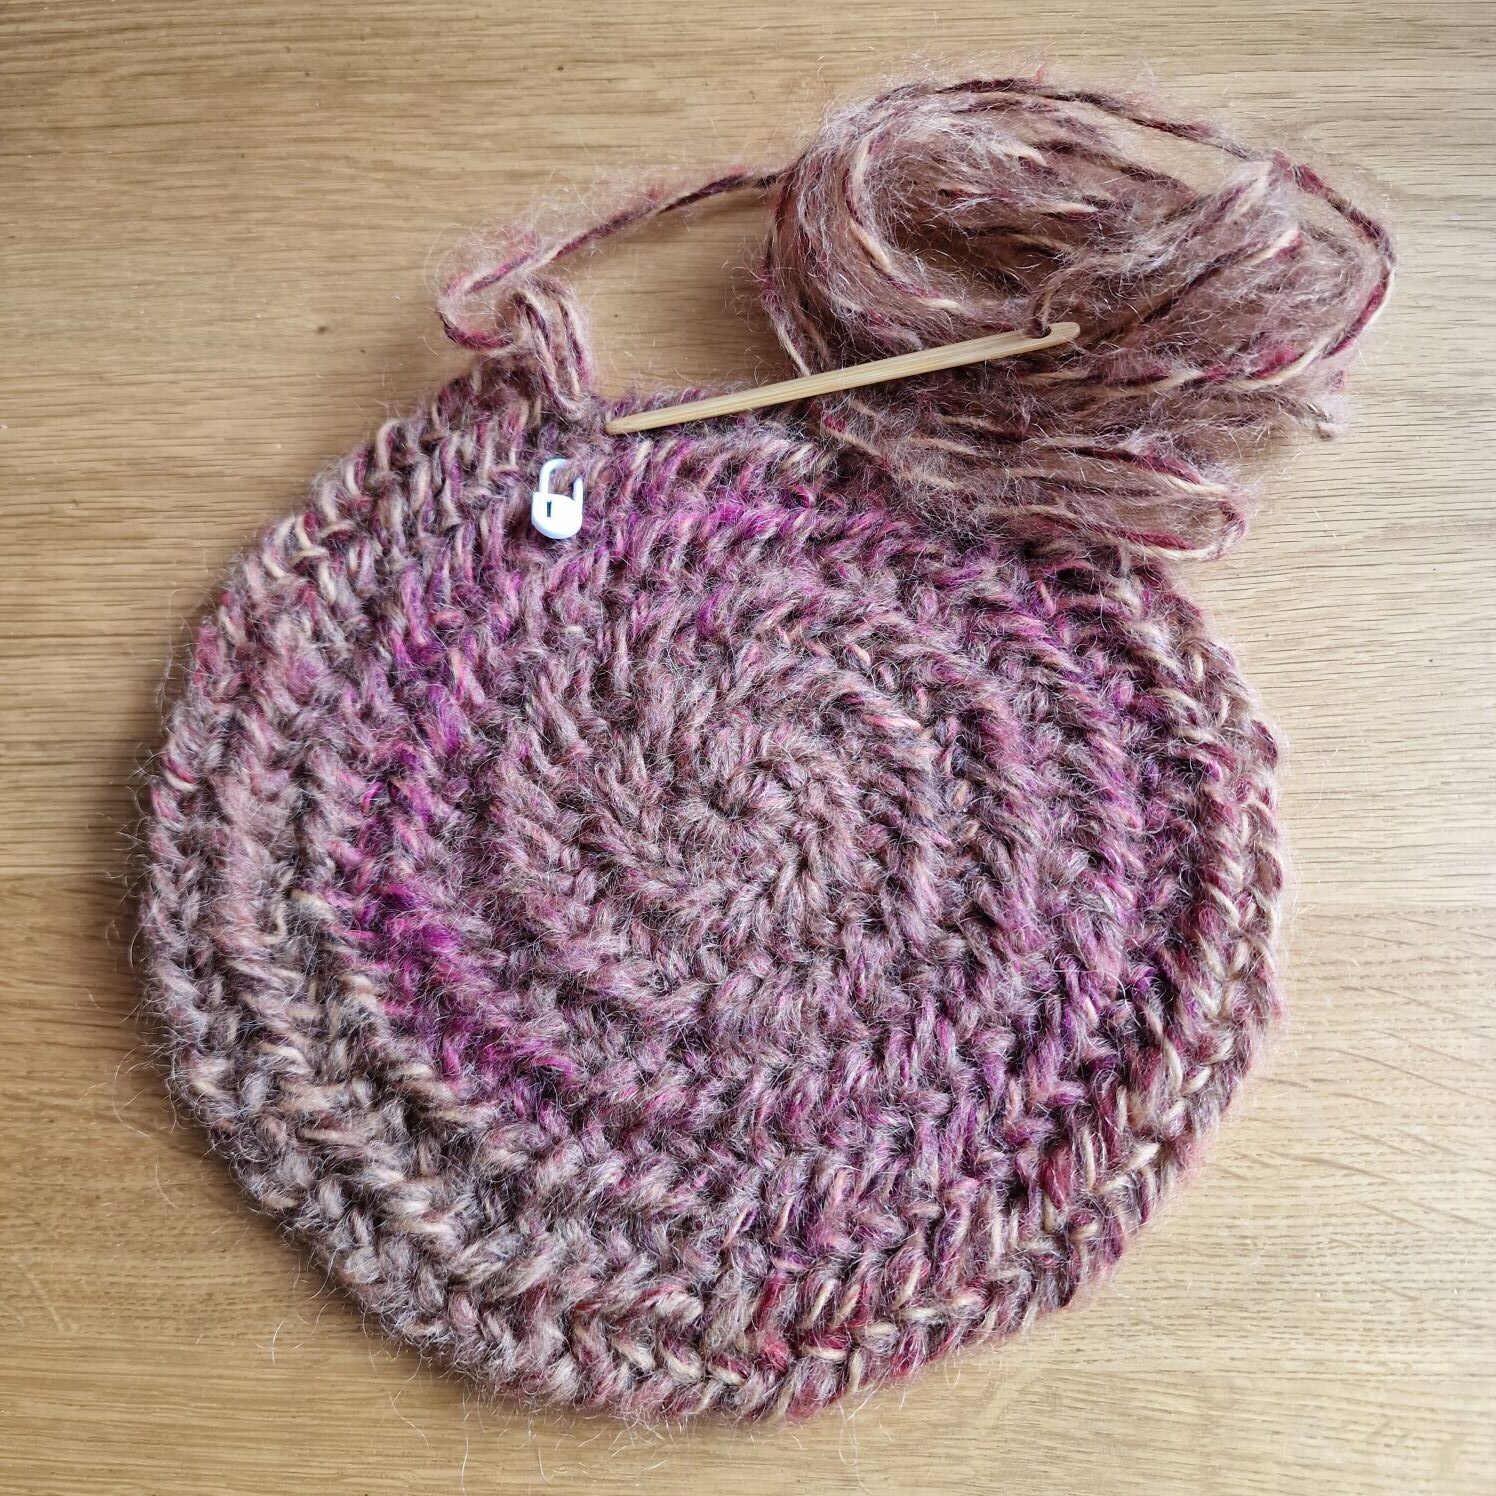
First round double all stitches (increase), then increase every 2nd stitch in 1st round.
Then increase every 3rd stitch for the 2nd round.
Then increase every 4th stitch for the 3rd round.
Then increase every 5 stitches for the 4th round.
Now measure with your hand so that you know that you don’t have to increase anymore and that it will fit.
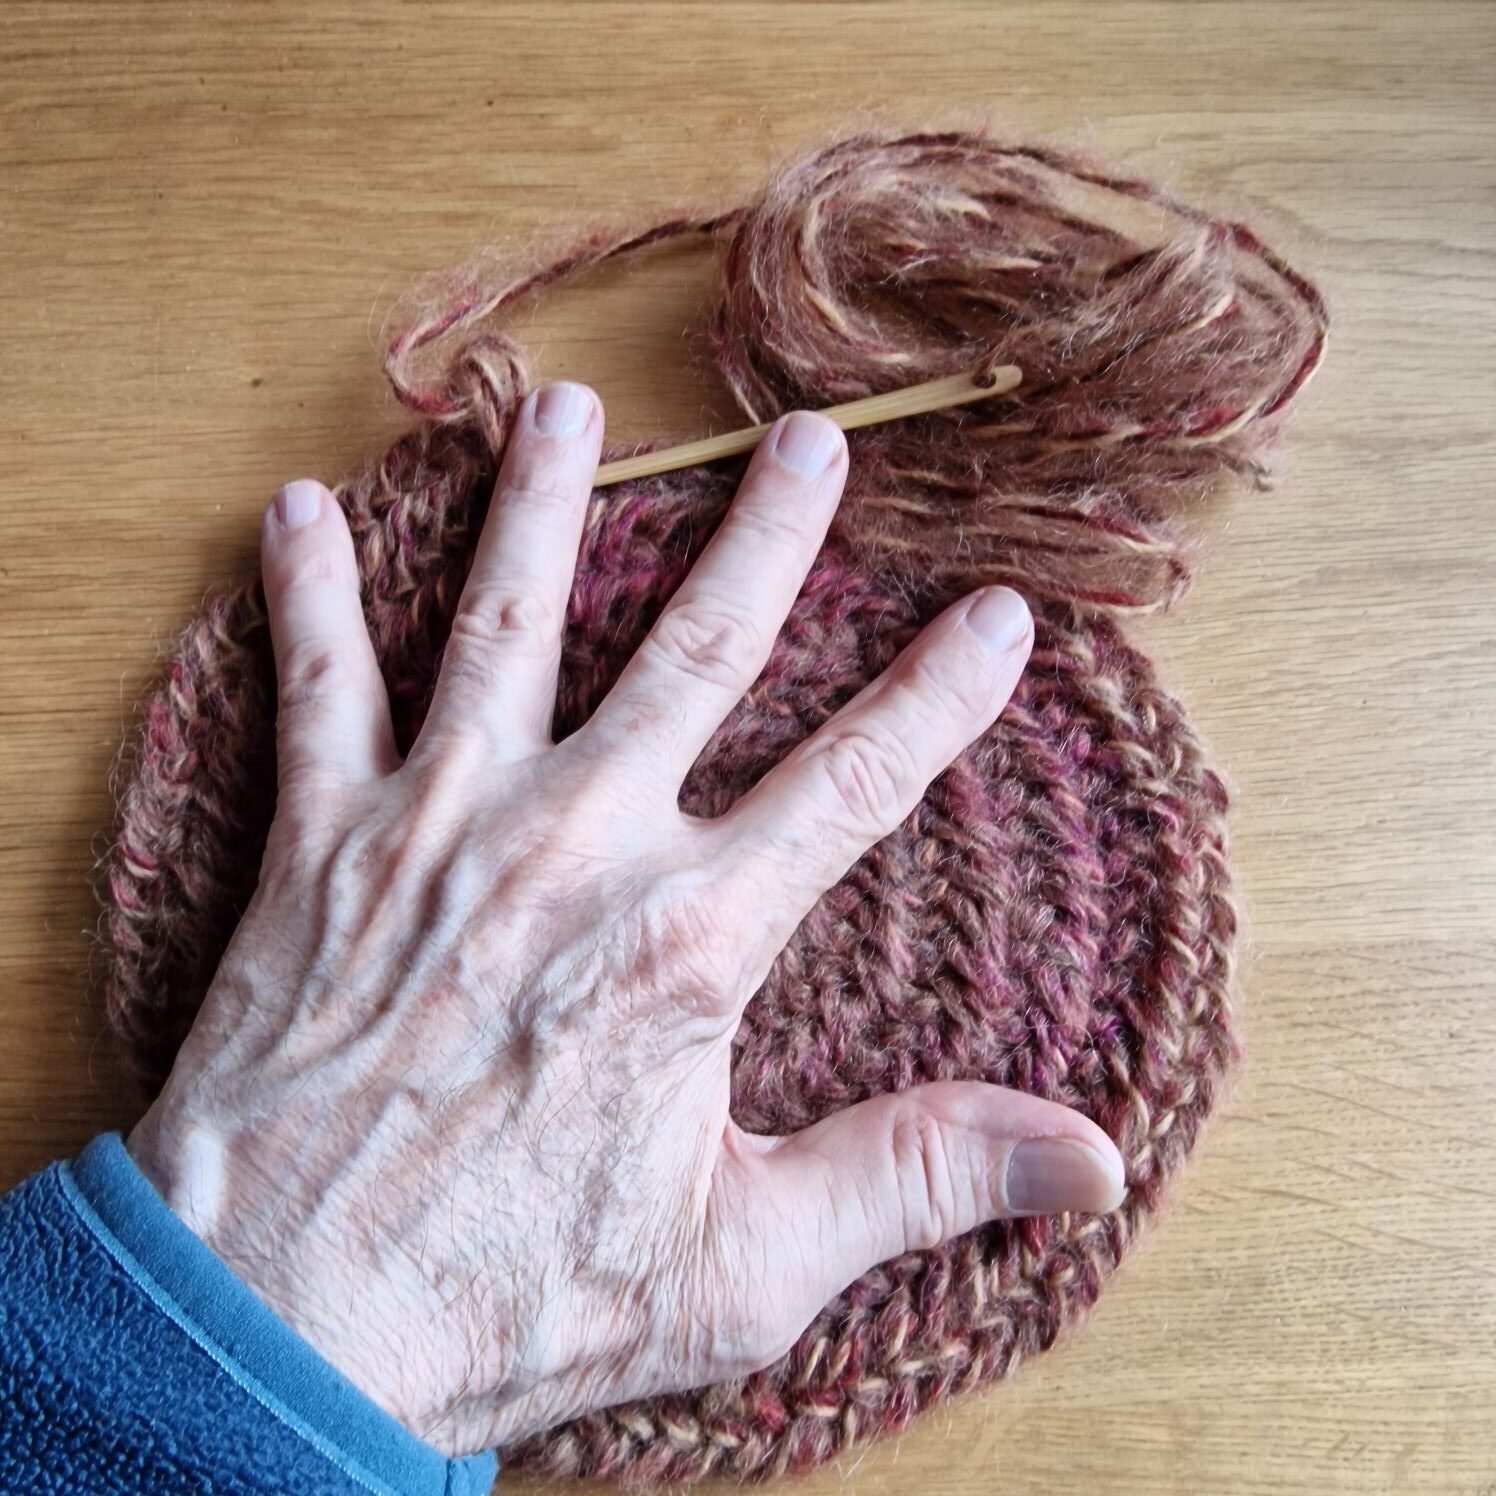
On the 5th round, all stitches are plain needlbind.
You can also use needle binding with cotton and flax, but then you have to tie the pieces of yarn together.
Decrease every 5th stitch on the 6th round.
Decrease every 4th stitch on the 7th round.
Now measure again and then bind all stitches normally for the next 4 rounds to create an edge. When the length is as desired, finish the hat.
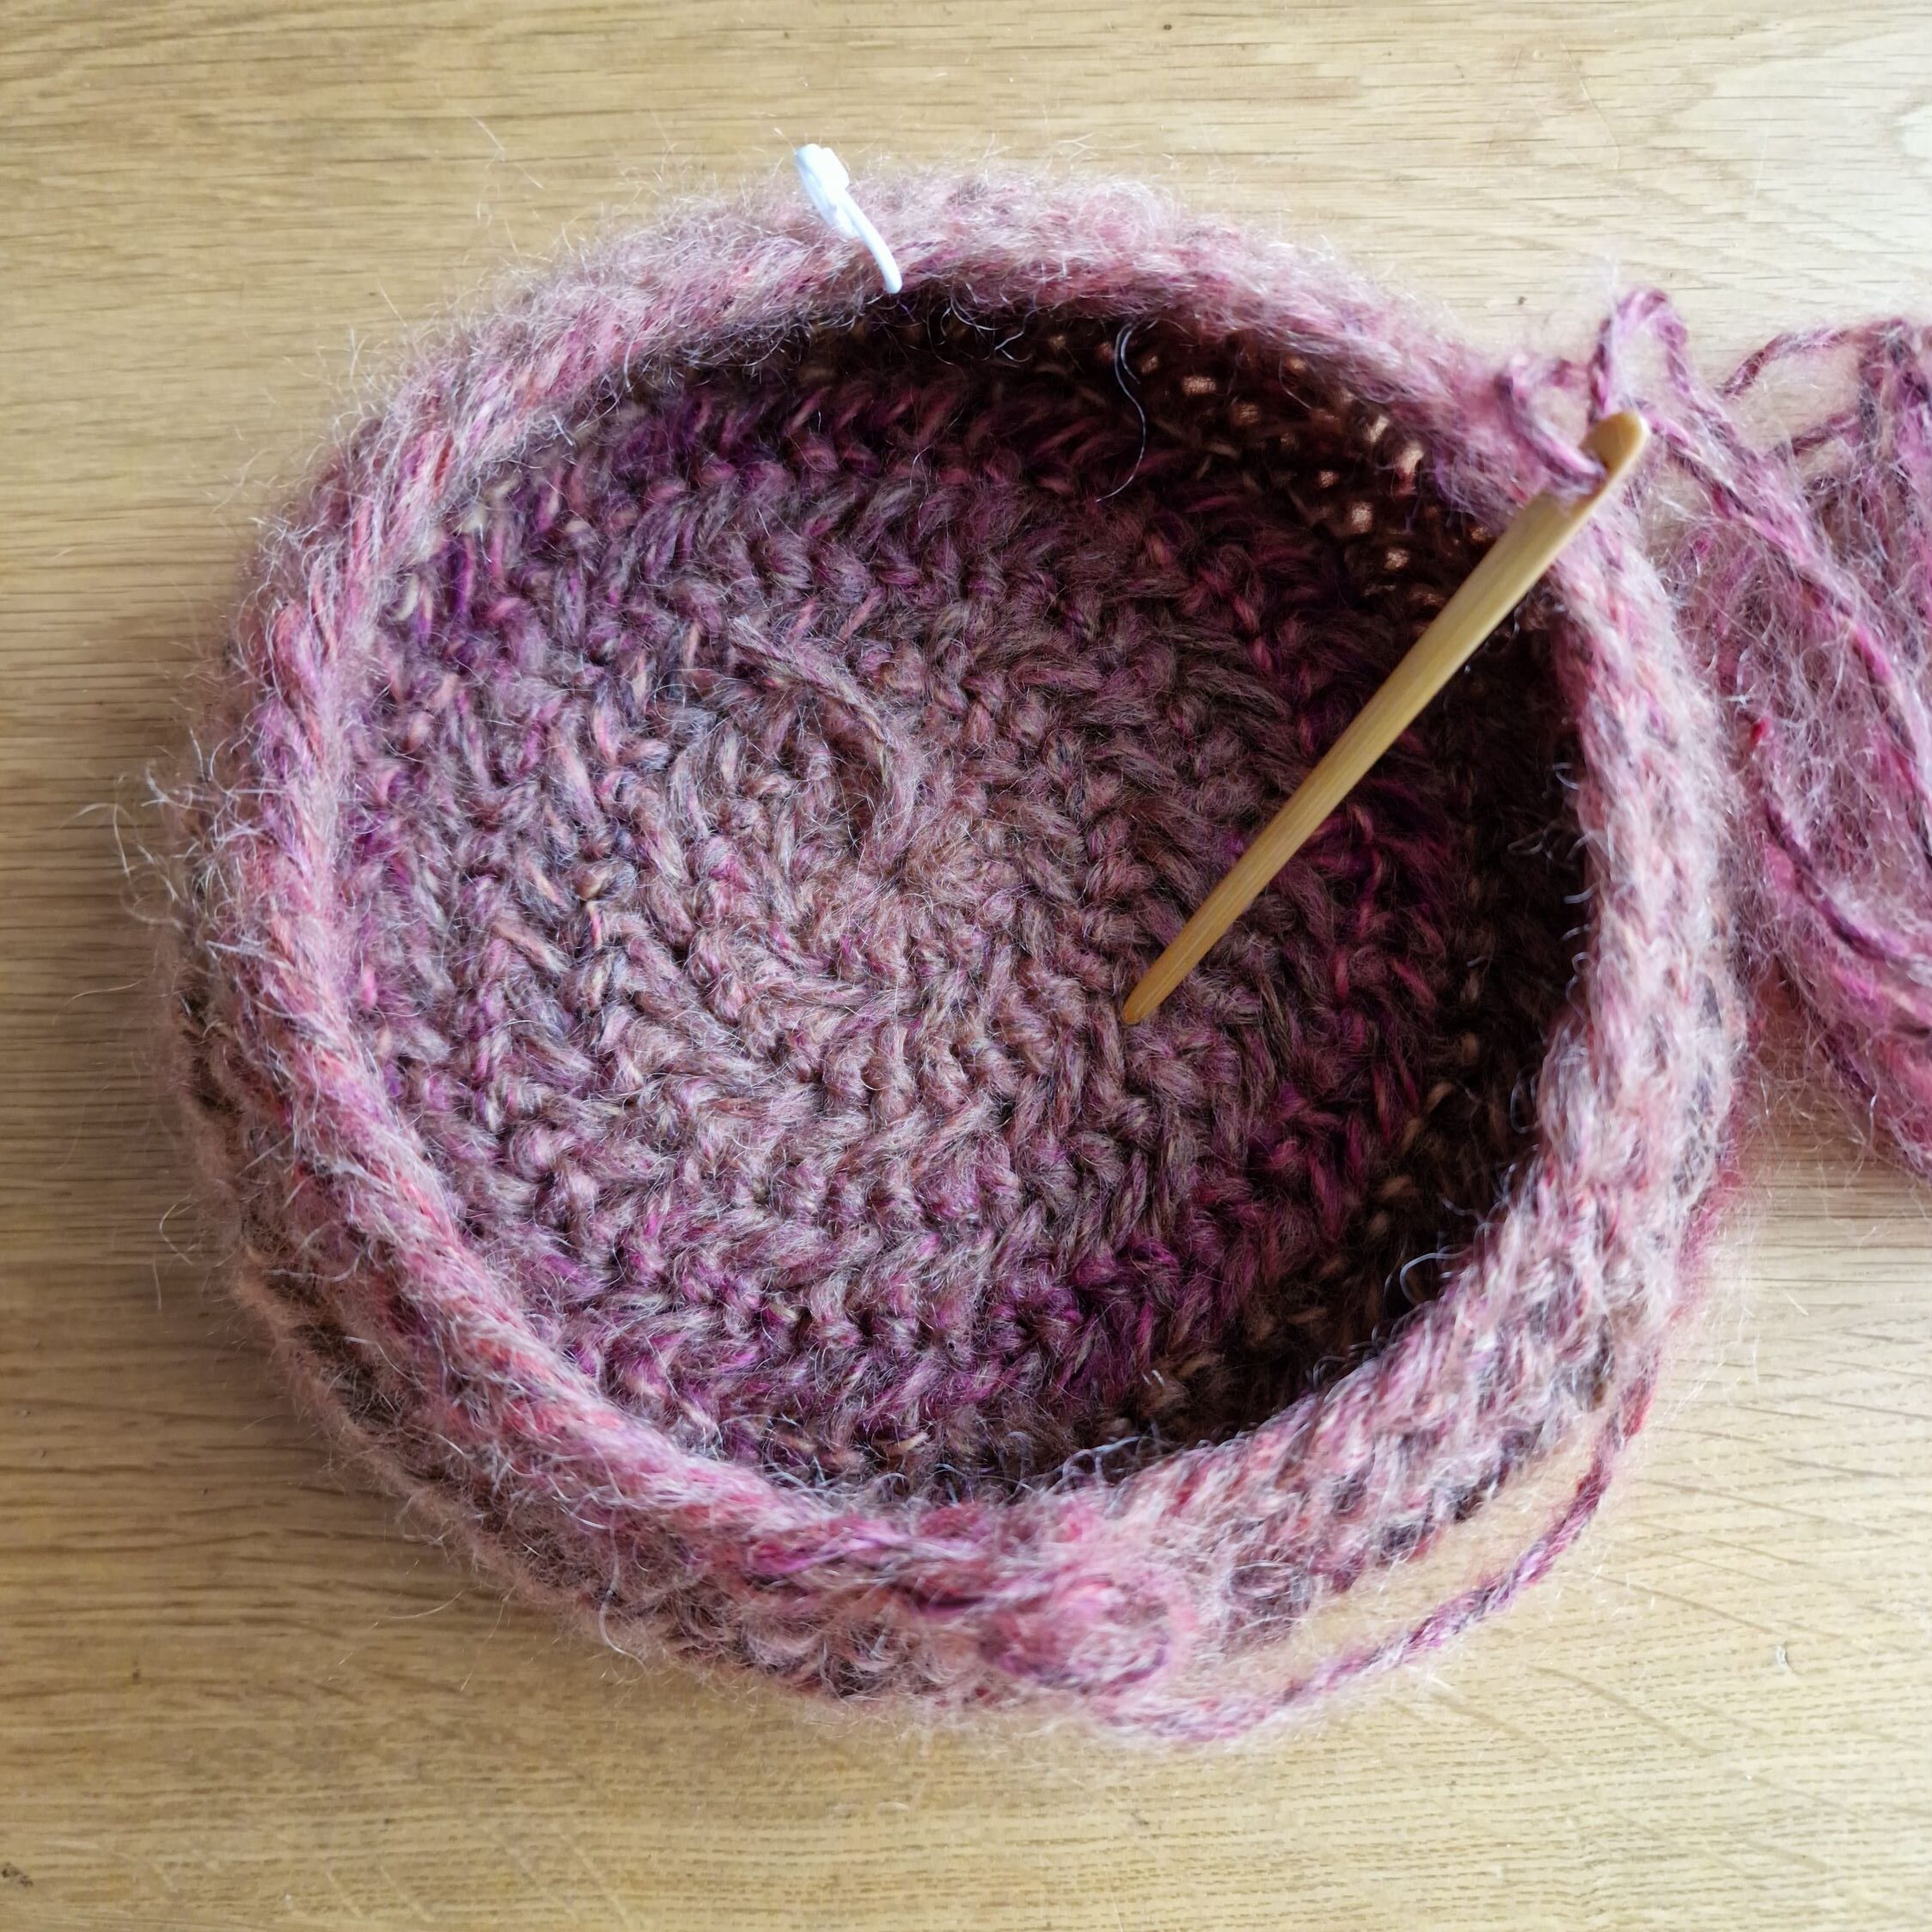
When the length is as desired, finish the hat.
Warm hat with brim and when it is a bit colder, turn the brim and you will also get warm ears.
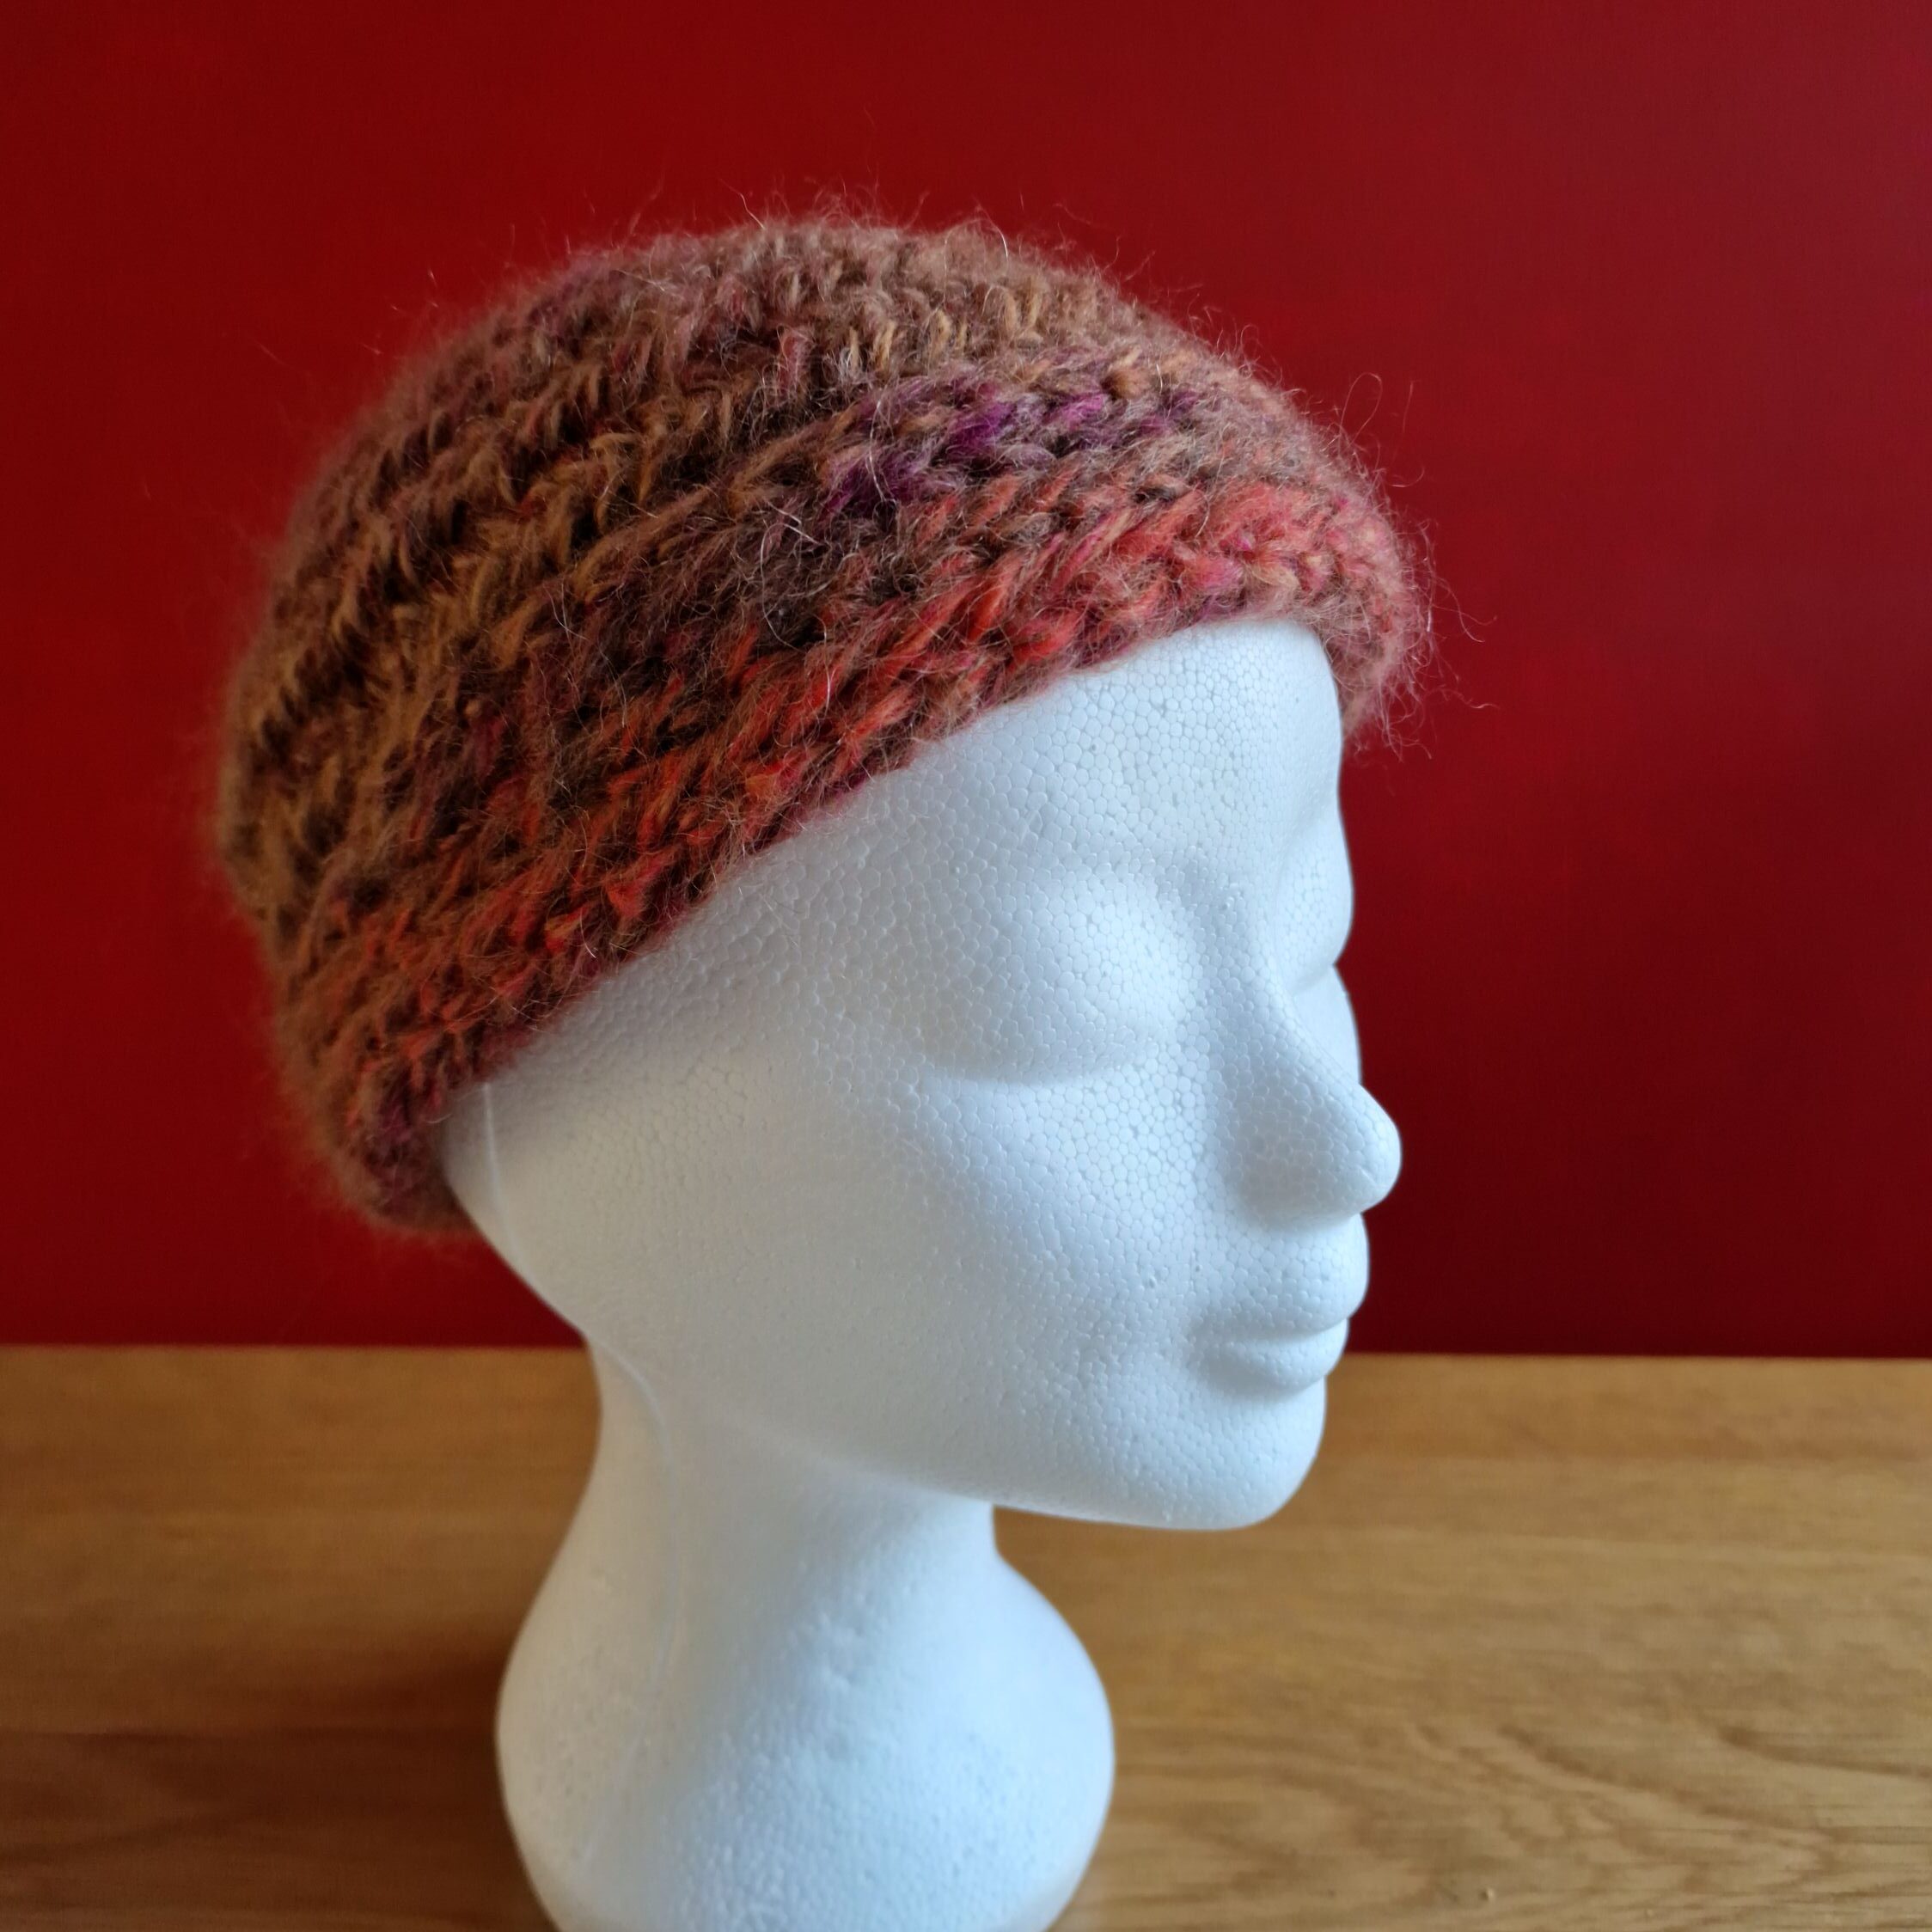
This is the first time I have needle tied with a Mohair yarn. The yarn is soft and light and feels very pleasant on your skin and it does not itch.
You cannot felt this, but with the onion knot this works fine and you get a very small strong knot. The uni knot.
You can needlebind with all kinds of yarns, just see what you like to work with. Have fun and, above all, relax with needlebinding.