I needlebind socks with the Swedish Klas Brita style, it is a different kind of heel nalbinding then basic socks.
These socks are easy to make and have a very beautiful heel.
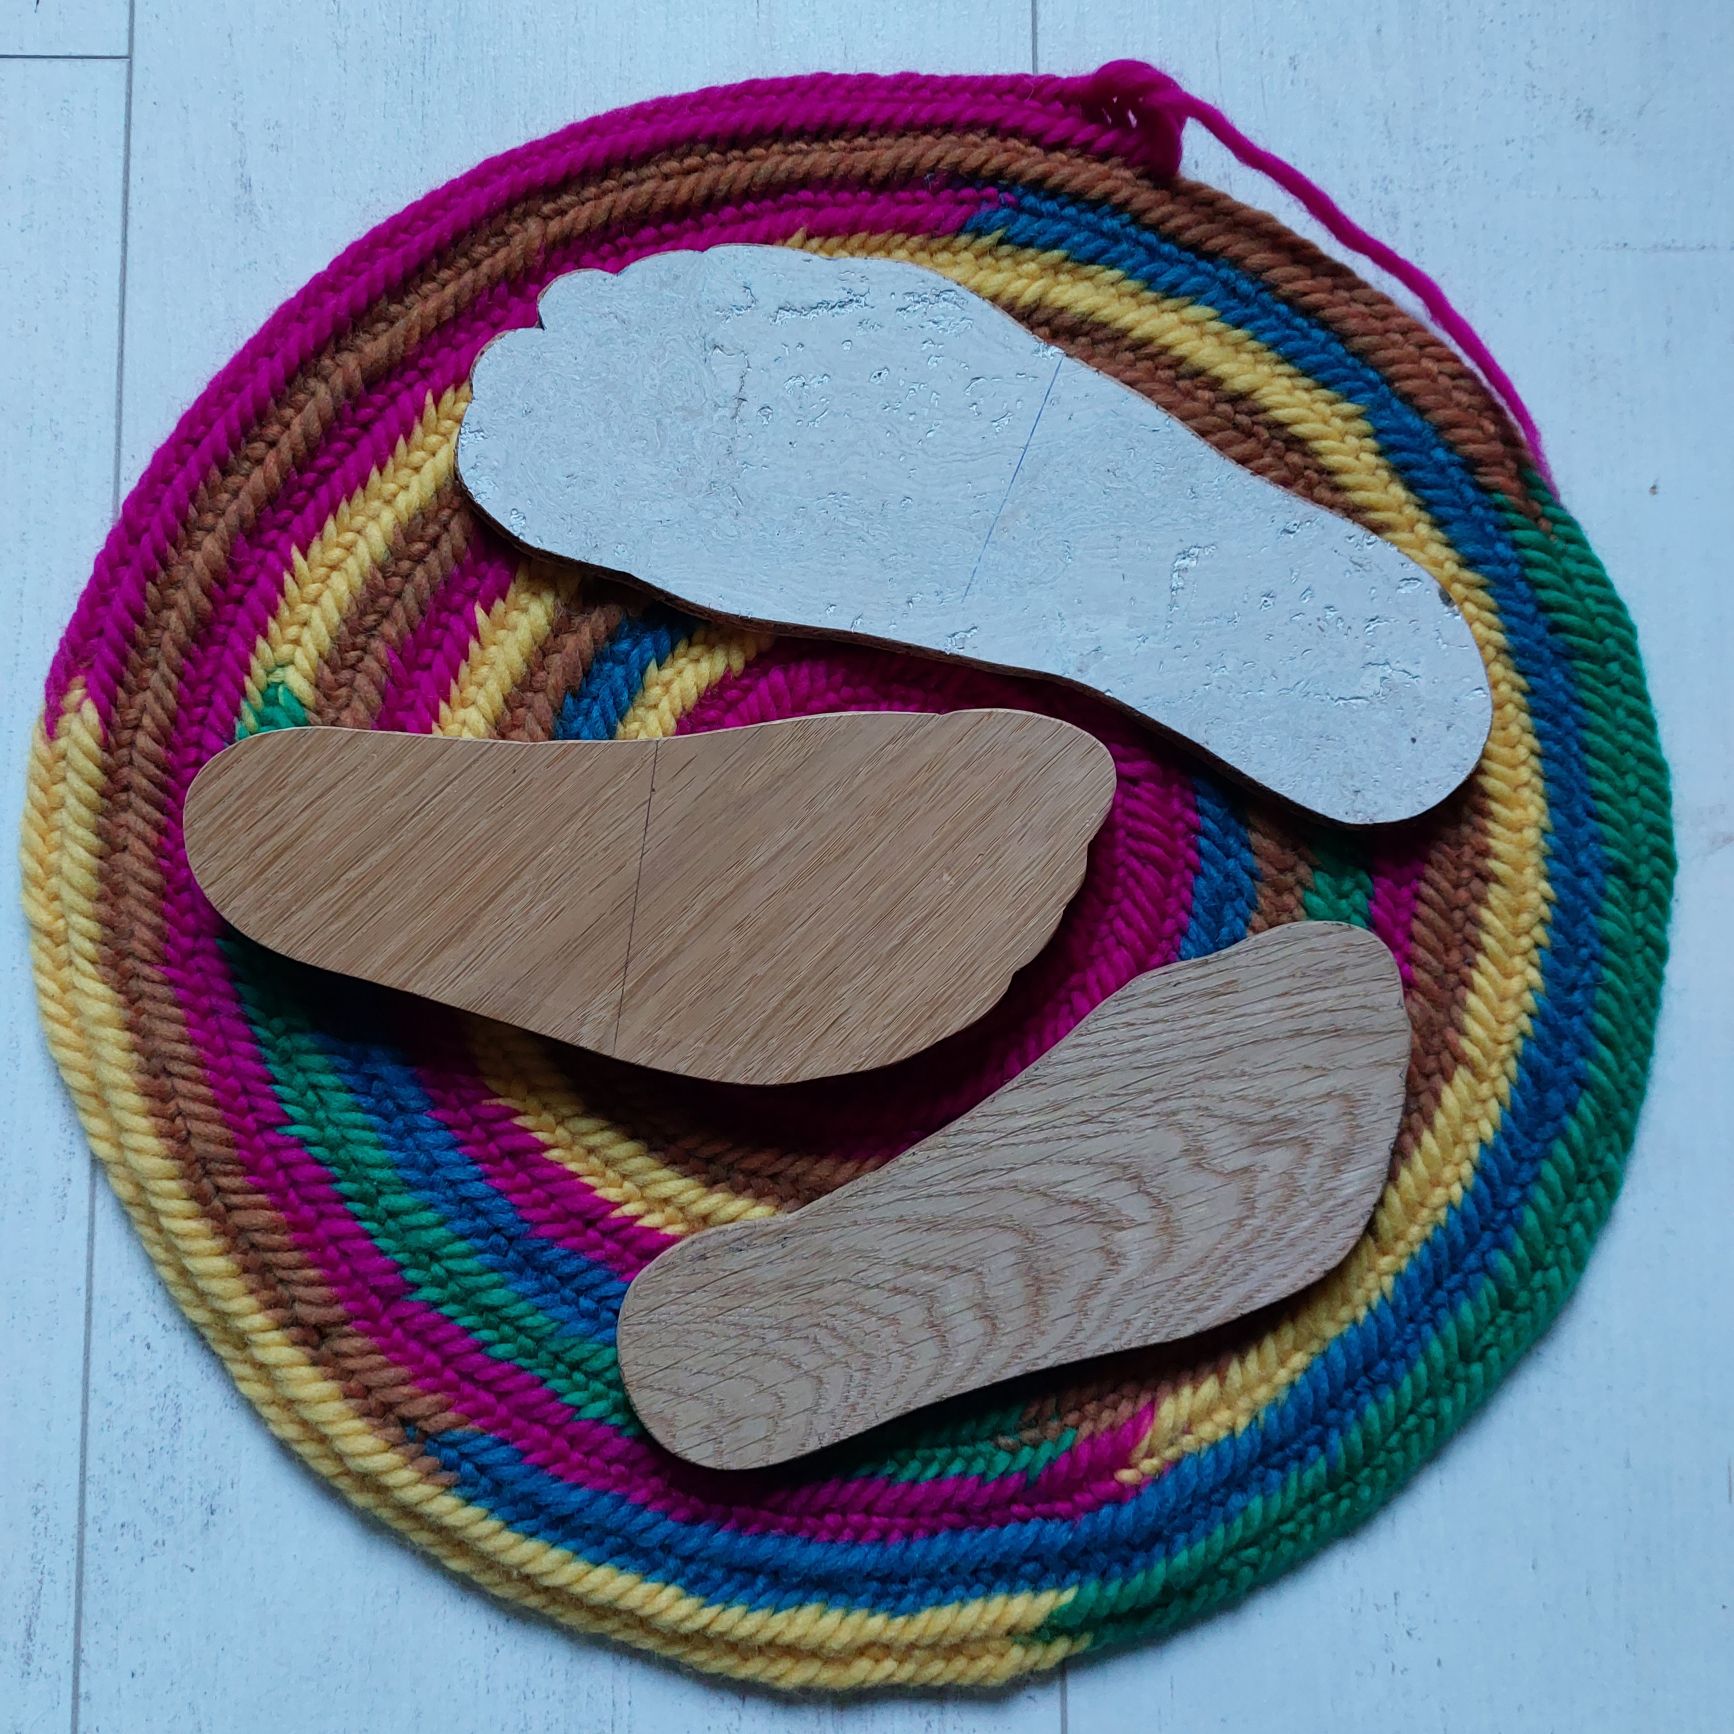
When you needlebind socks or slippers it is useful how long and wide your foot is. I made a mold of my foot, and my wife’s foot and daughter’s foot.
I stand with my bare feet on paper and draw the outline of my feet. the largest foot ( most feet are not the same size) I use.
Then i transfer this size to wood, saw it, rent it and your socks or slippers mold is ready.
Thin summer socks are made with Fin.stitch 2+2 F2 and start with a row of 20 stitches the with of my toes.
At the end of the row turn around. At the end of the next row you increase 3 stitches.
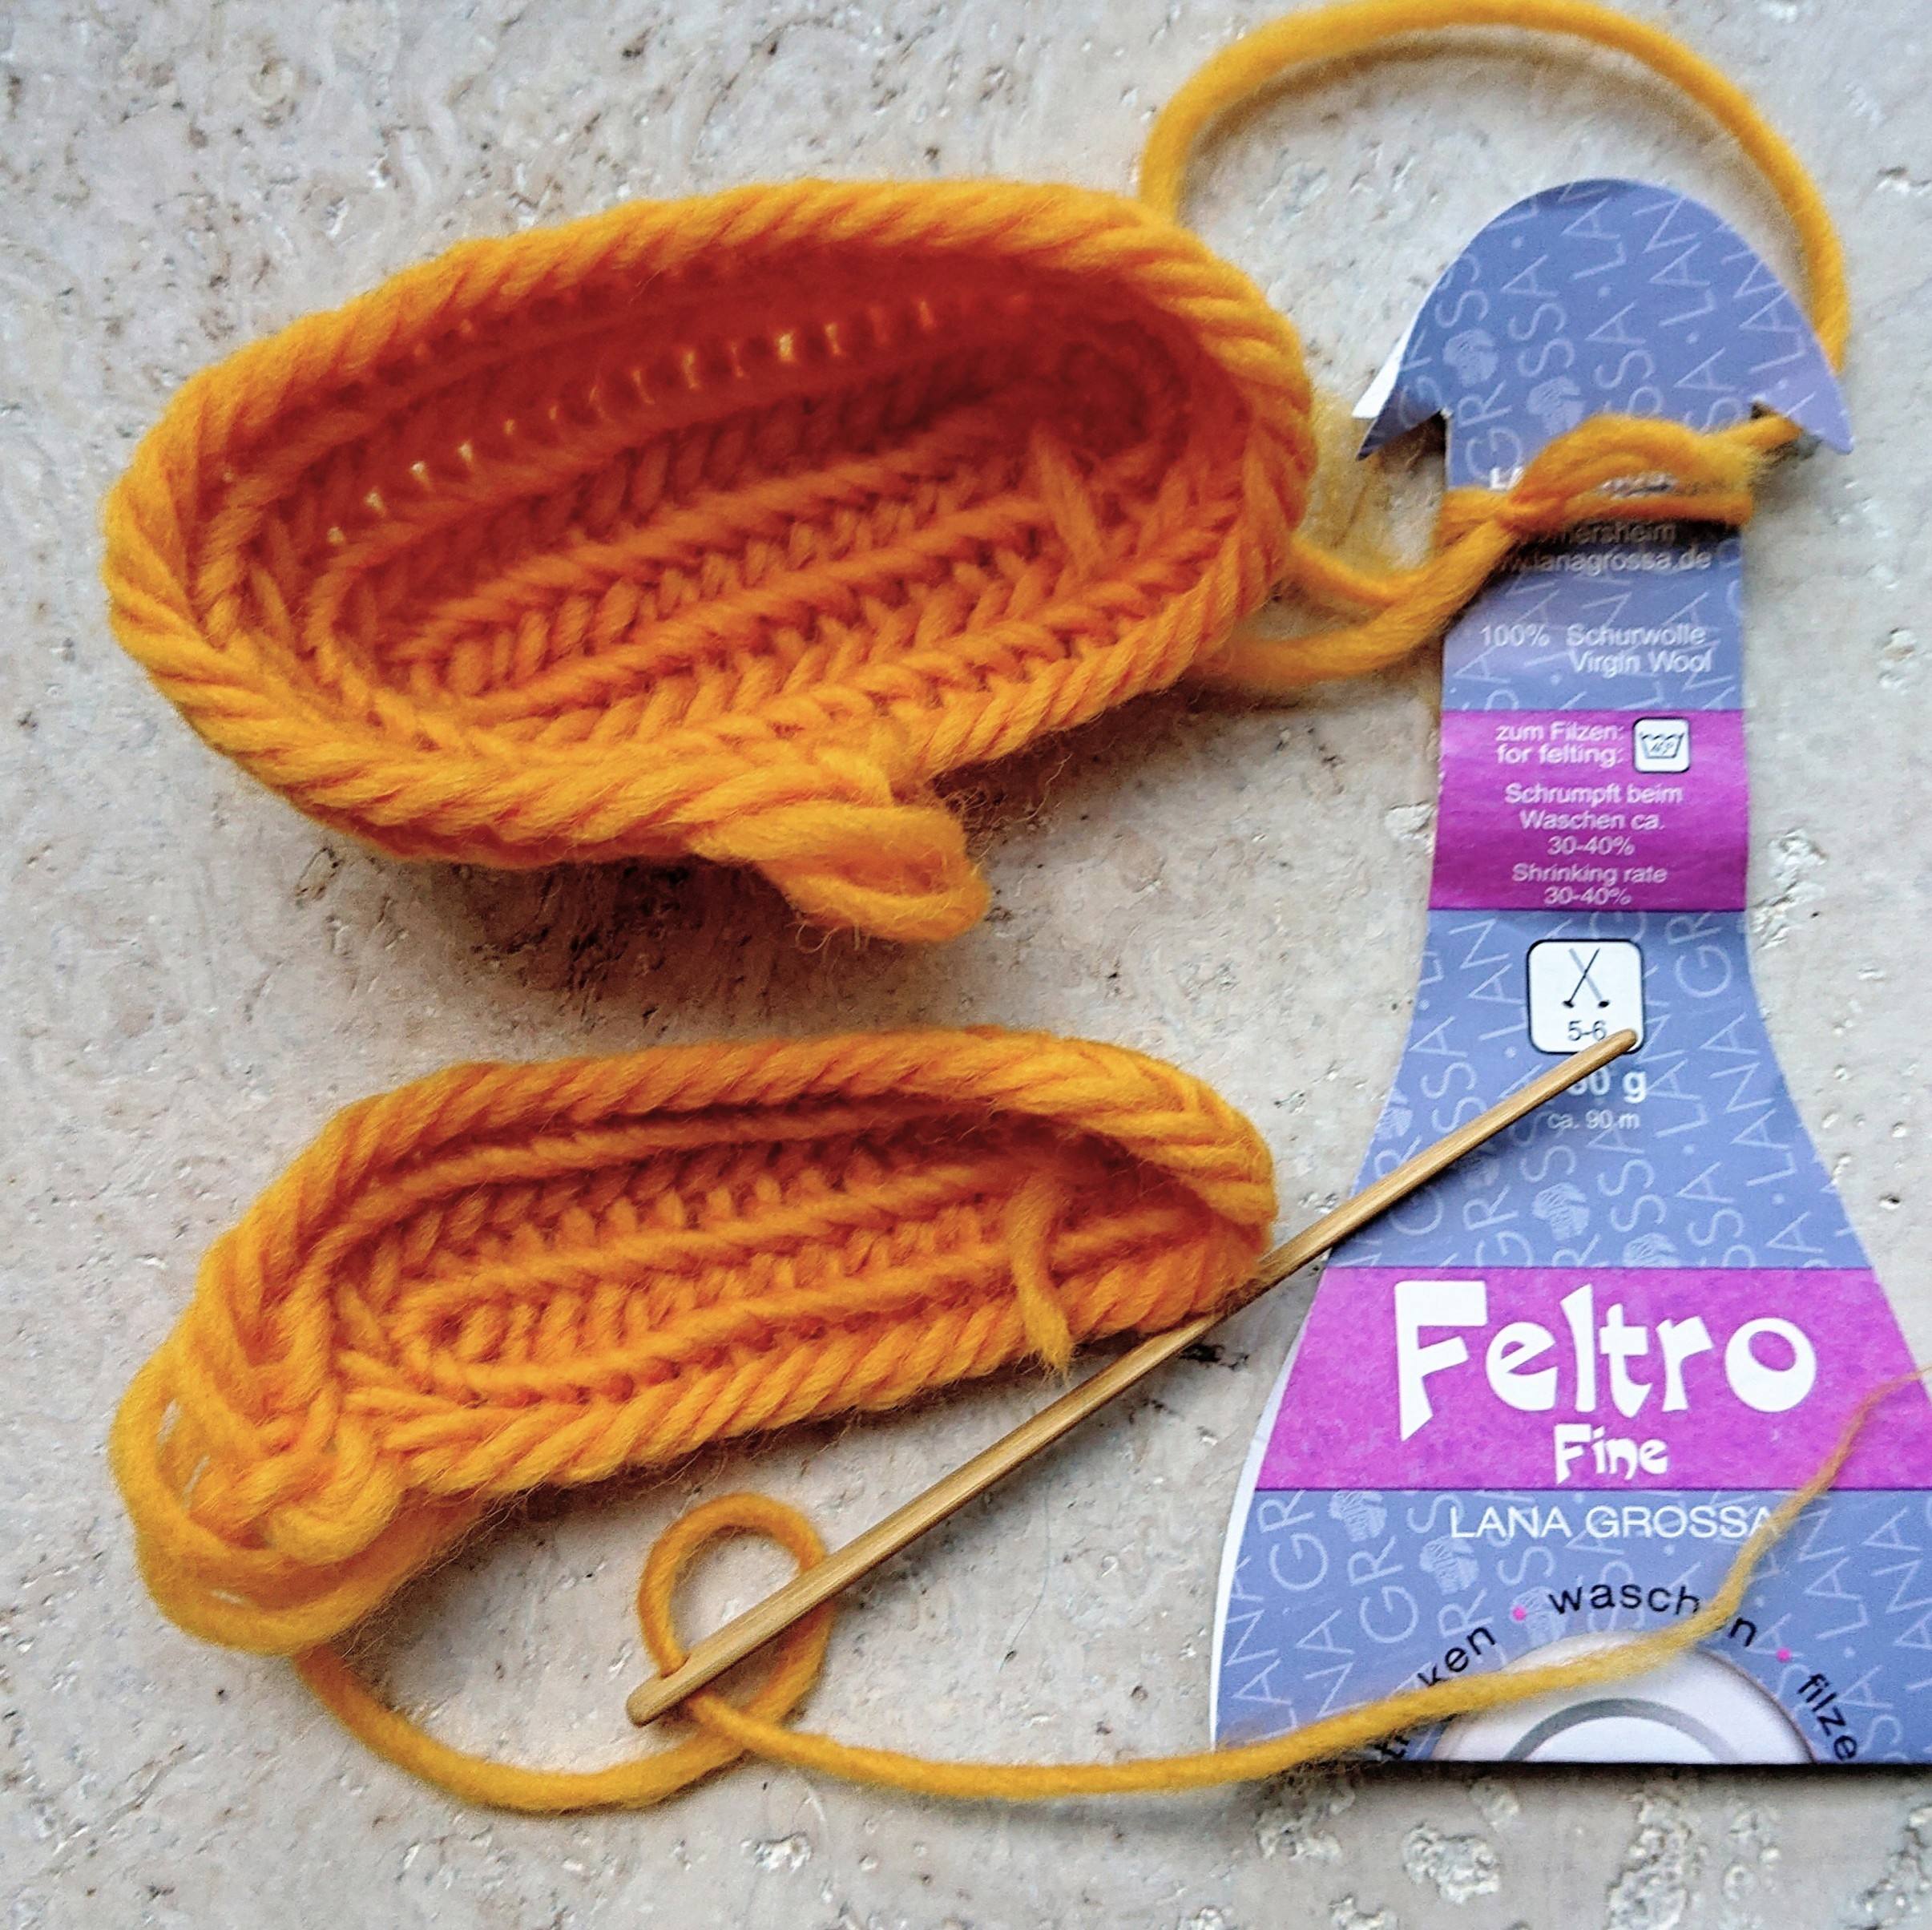
This is the first and last time that you can see a brand of wool at my foto’s.
I bought the wool myself, no discount because i am not employed by a wool brand.
My independence is very important.
I make an oval start, begin of socks and/or mittens.
I always forget to ask if you’d like to subscribe to my YouTube channel: happy needlebinding If I have a lot of subscribers, I can email magazines to write an article about this wonderful old craft so I can pass it on to the next generation.
Thank you kindly in advance. bert veugelers.
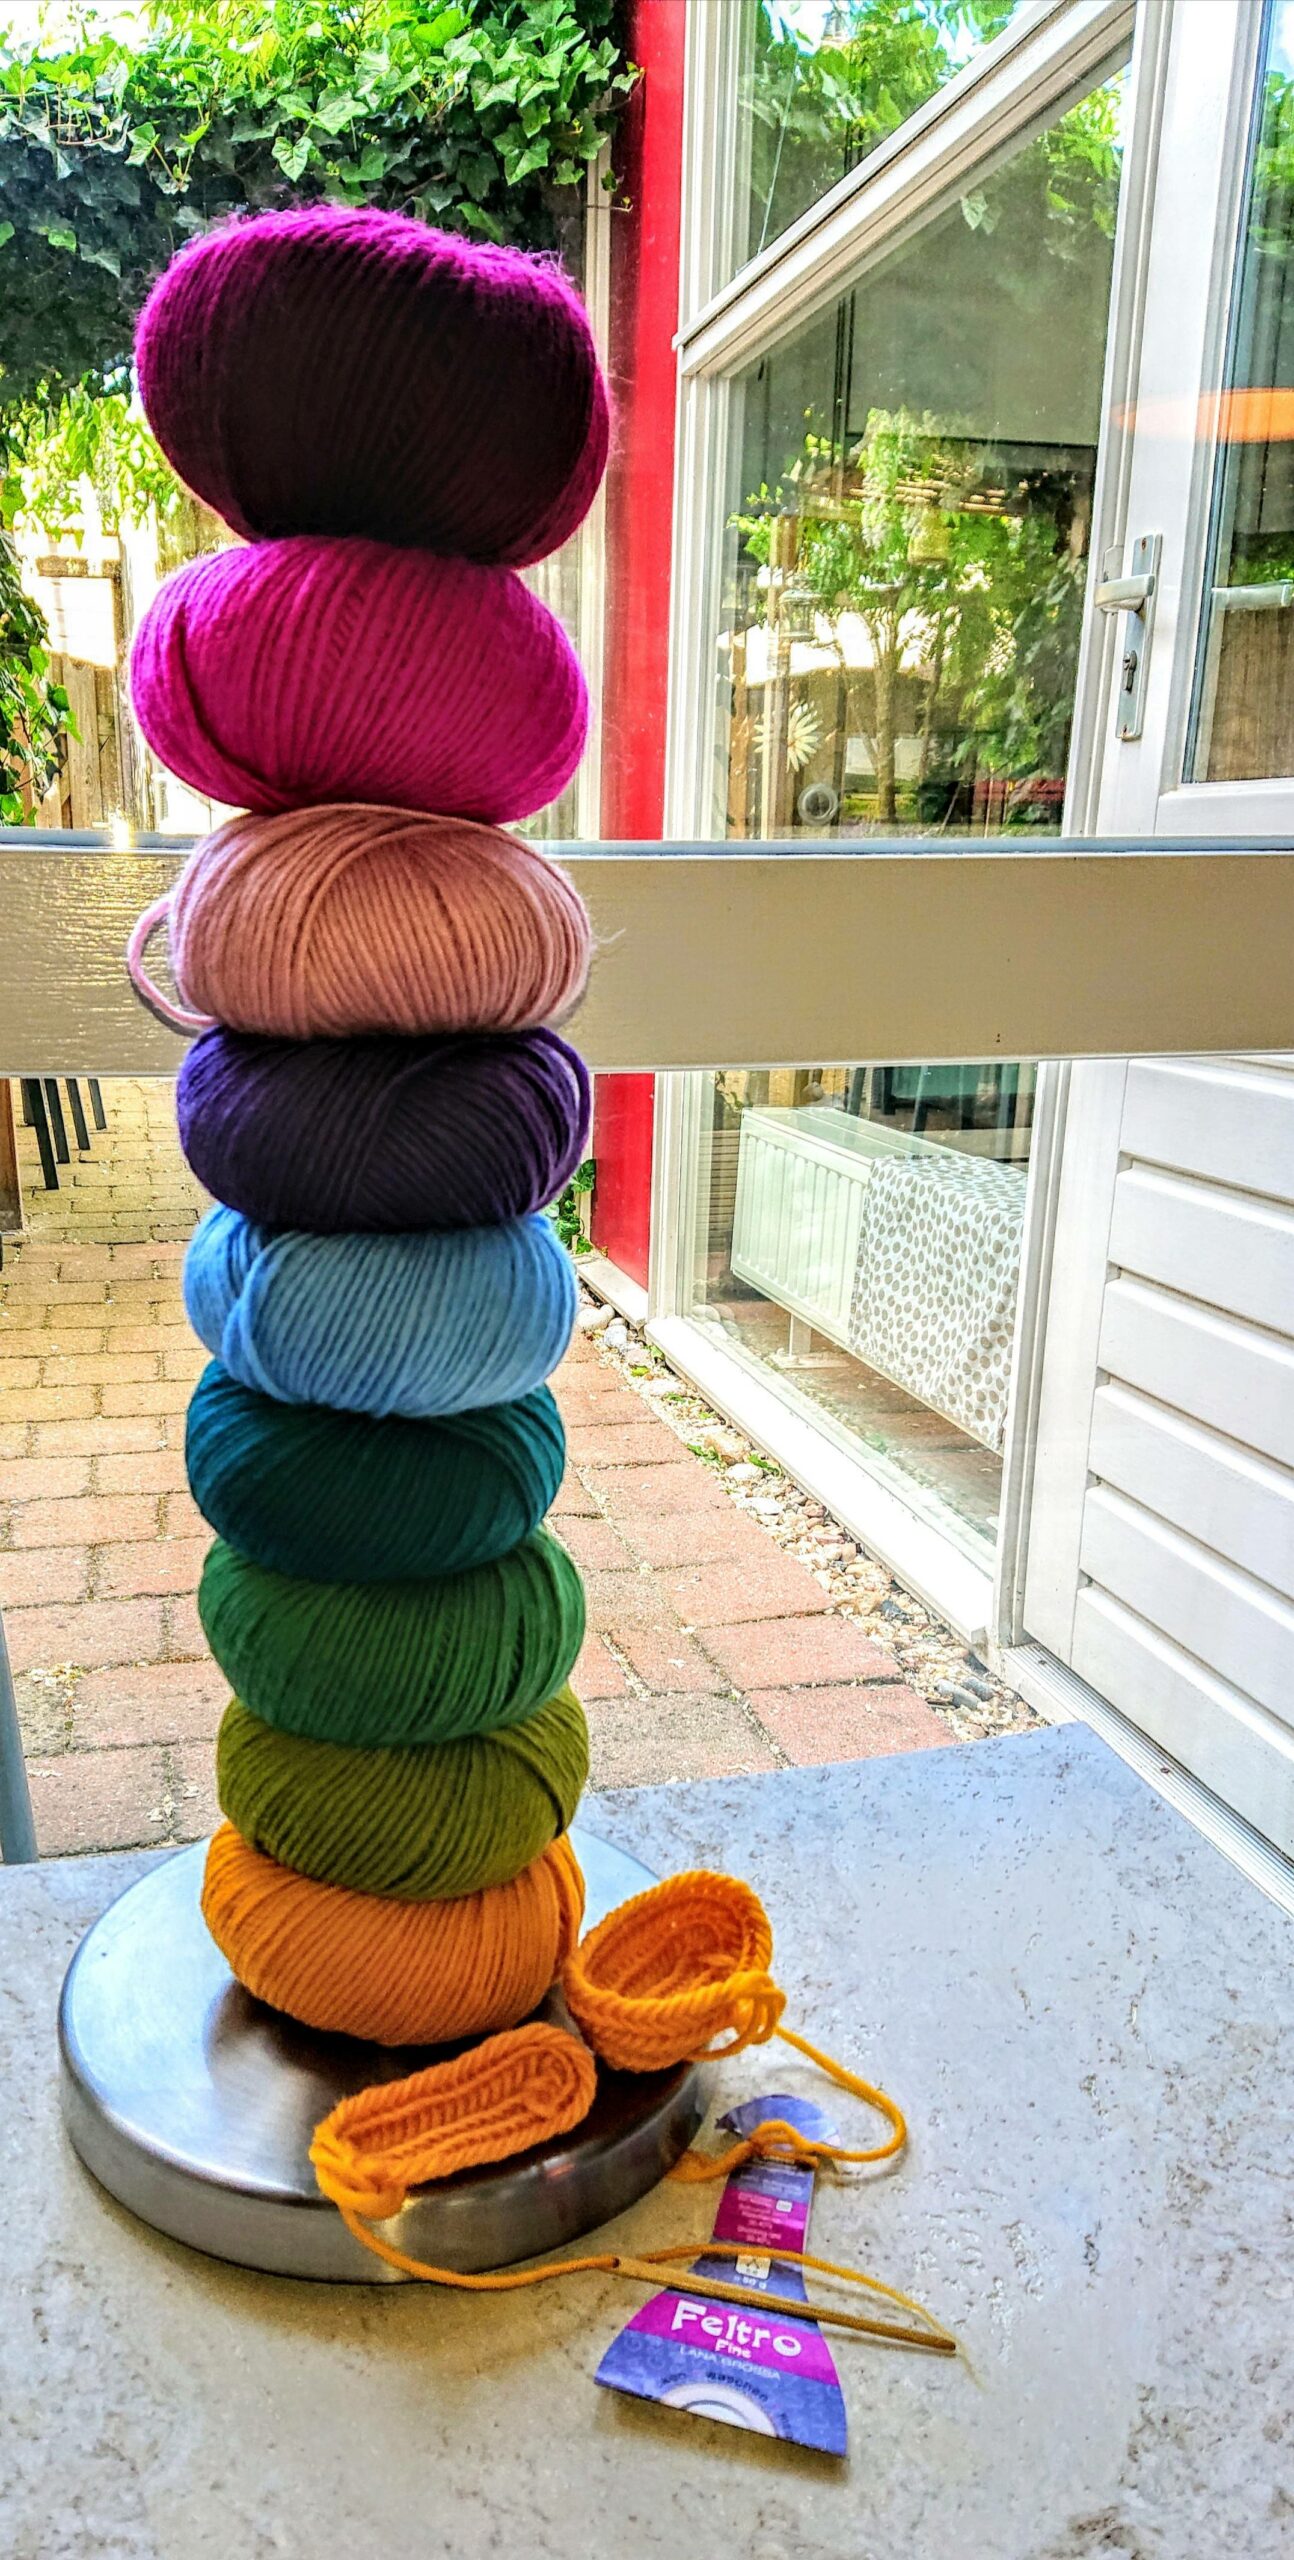
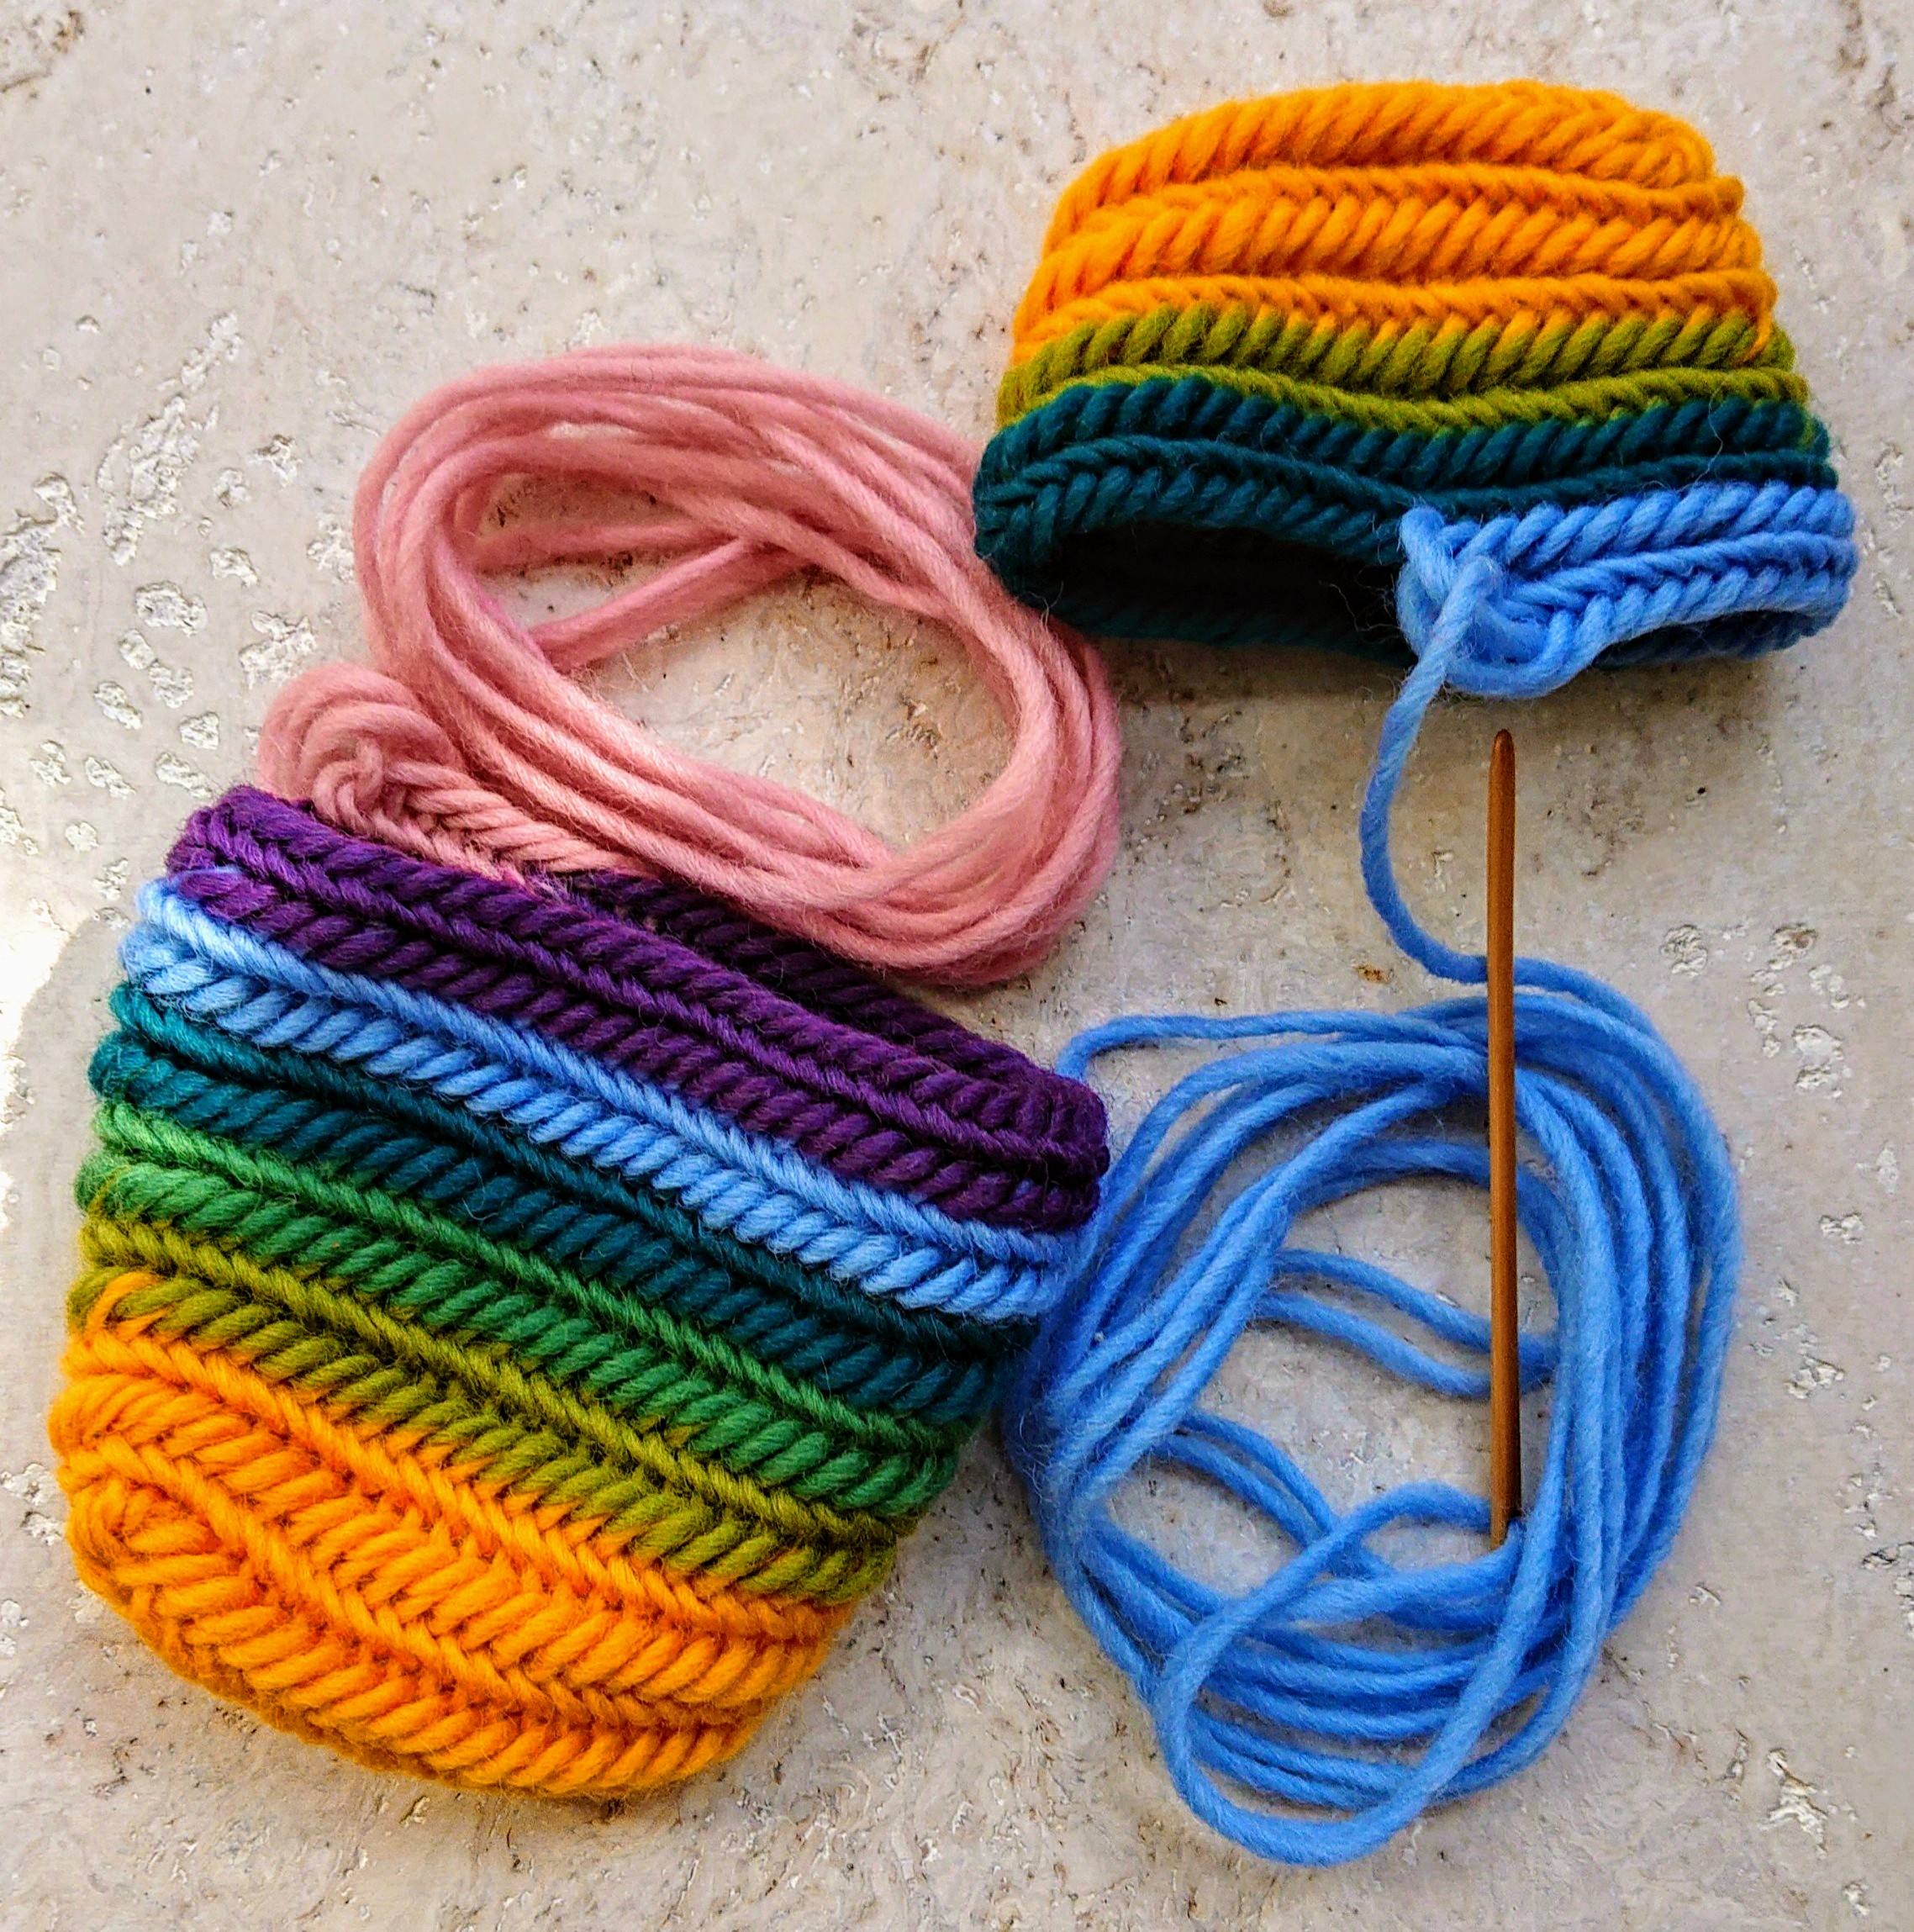
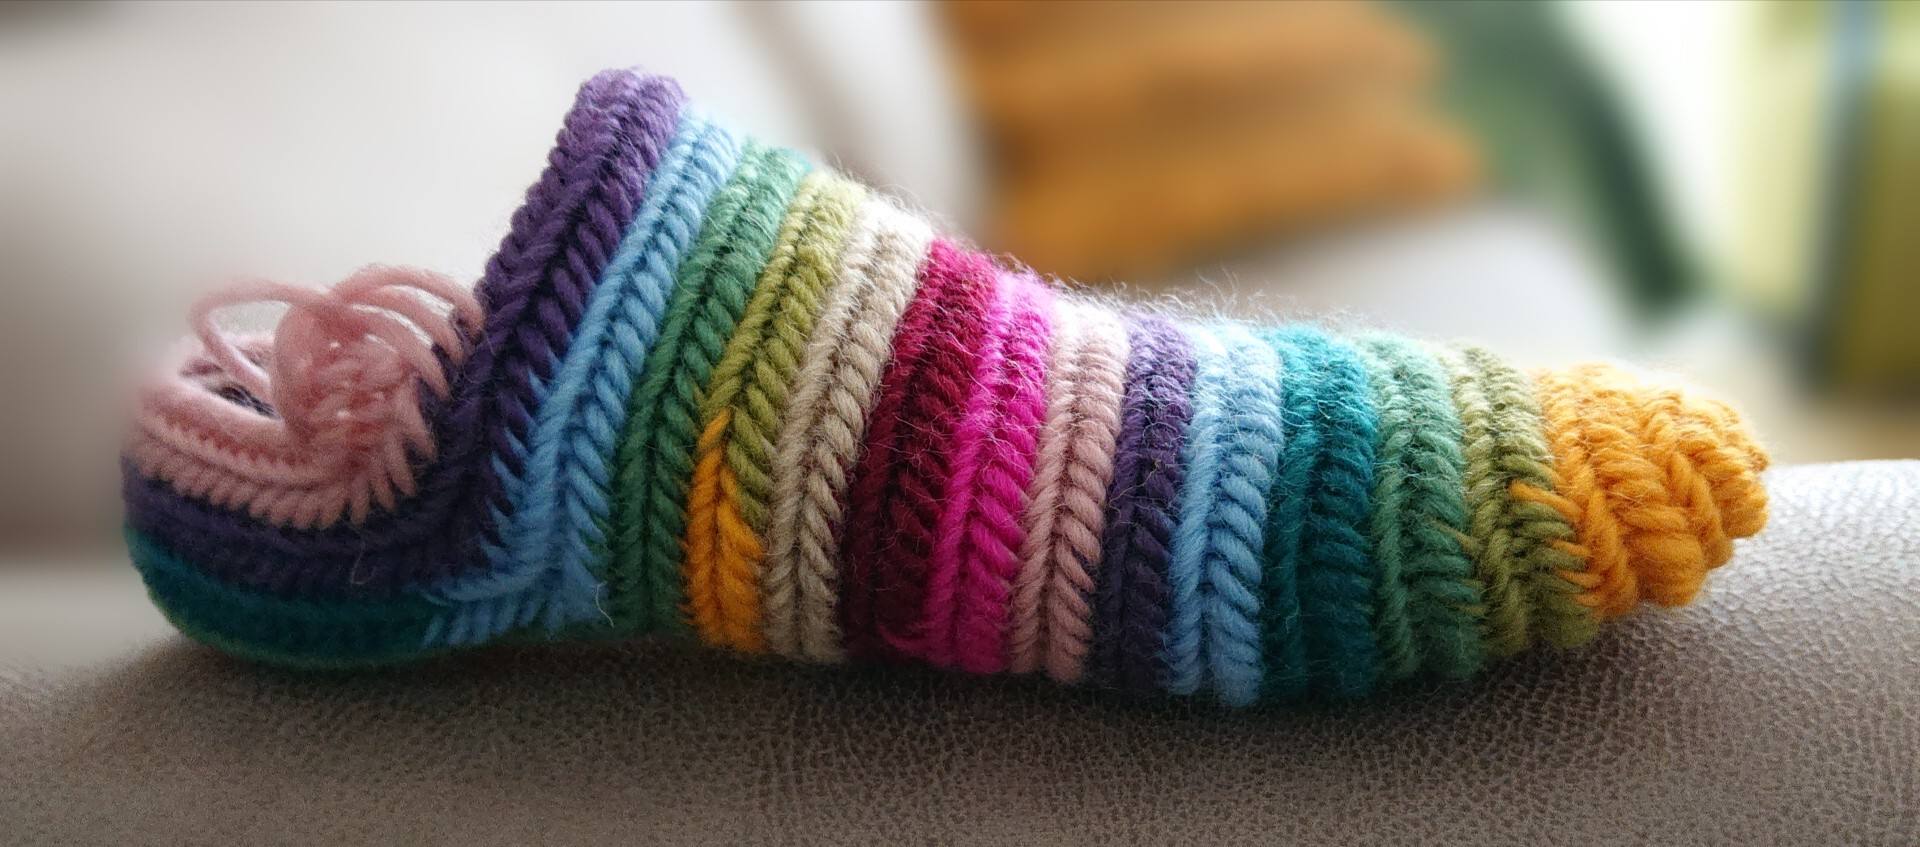
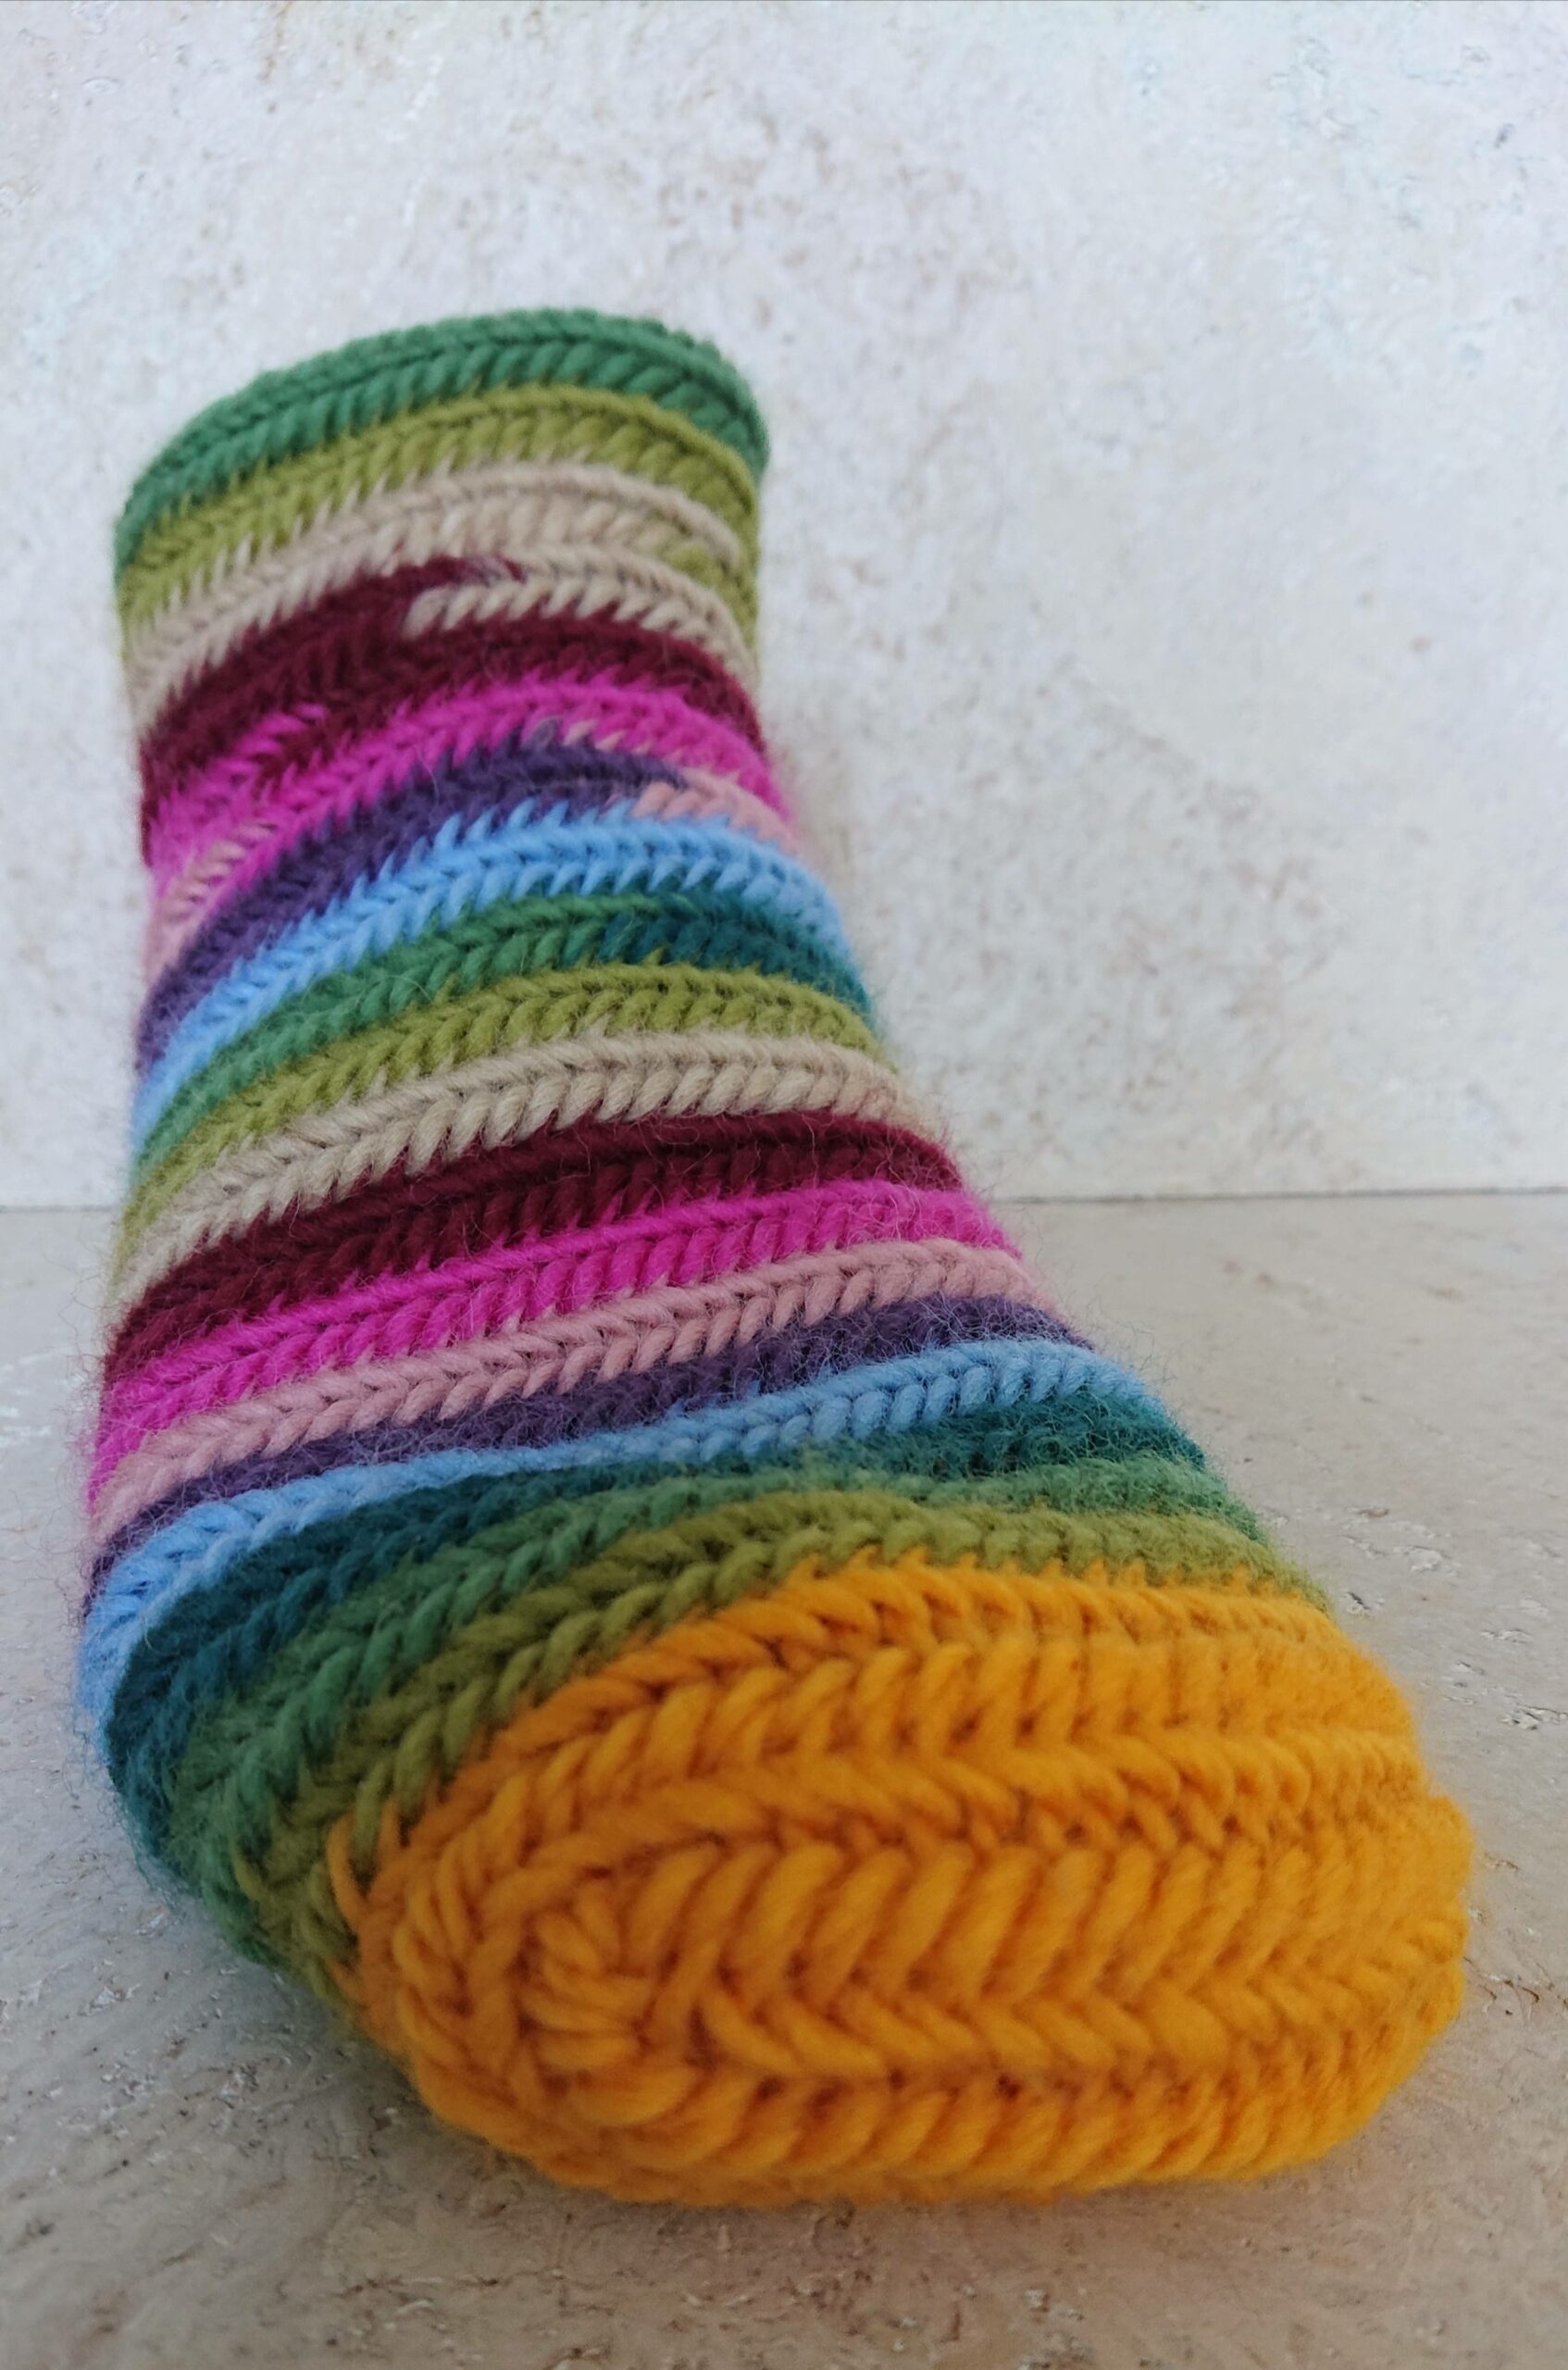
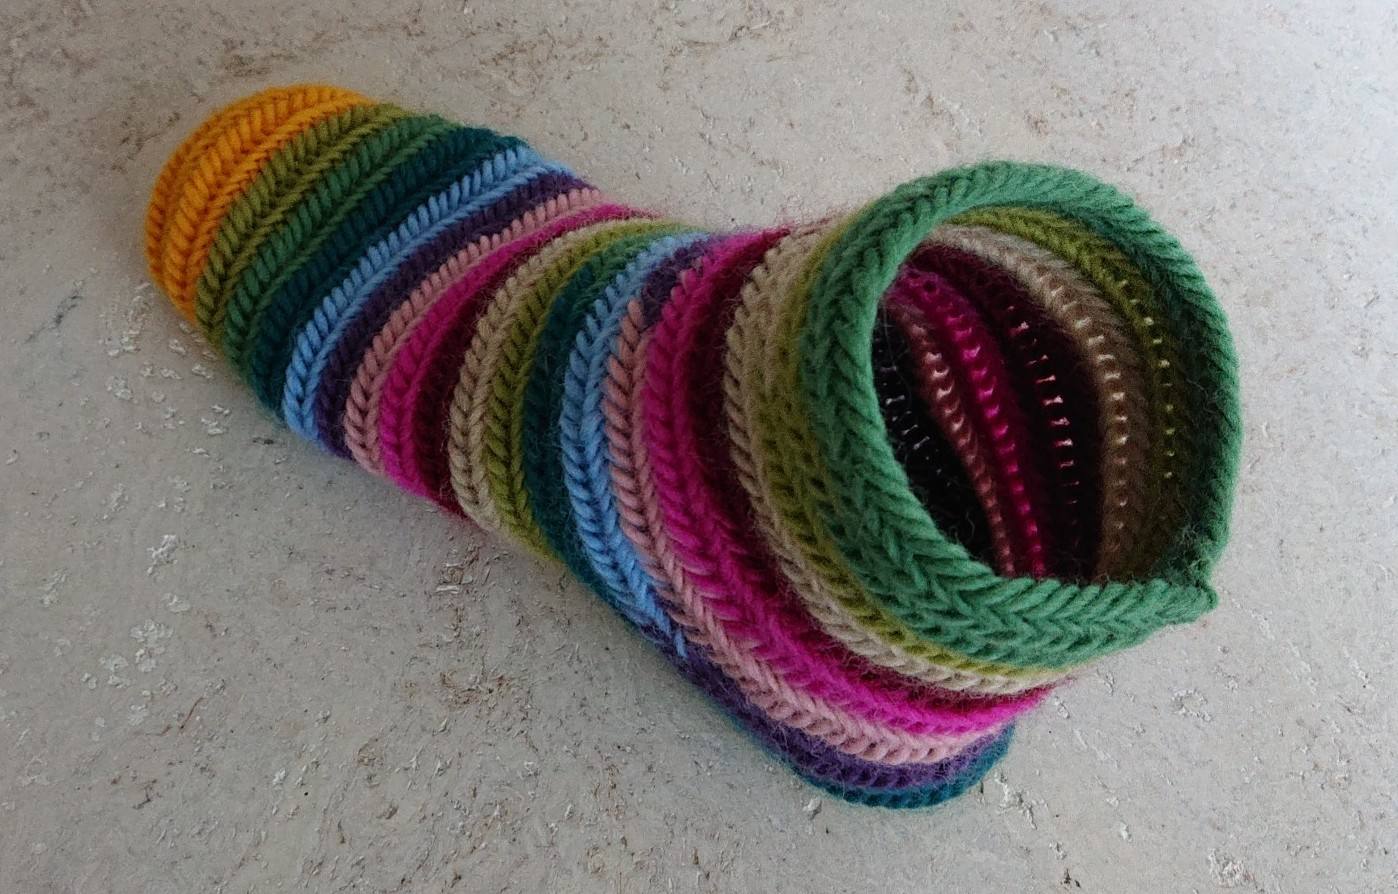
The colors stacked for a while then I remember the order 🙂
Now you increase 2 stitches on both sides of your sock, so that your socks get wider. You regularly try on your sock if they fit.
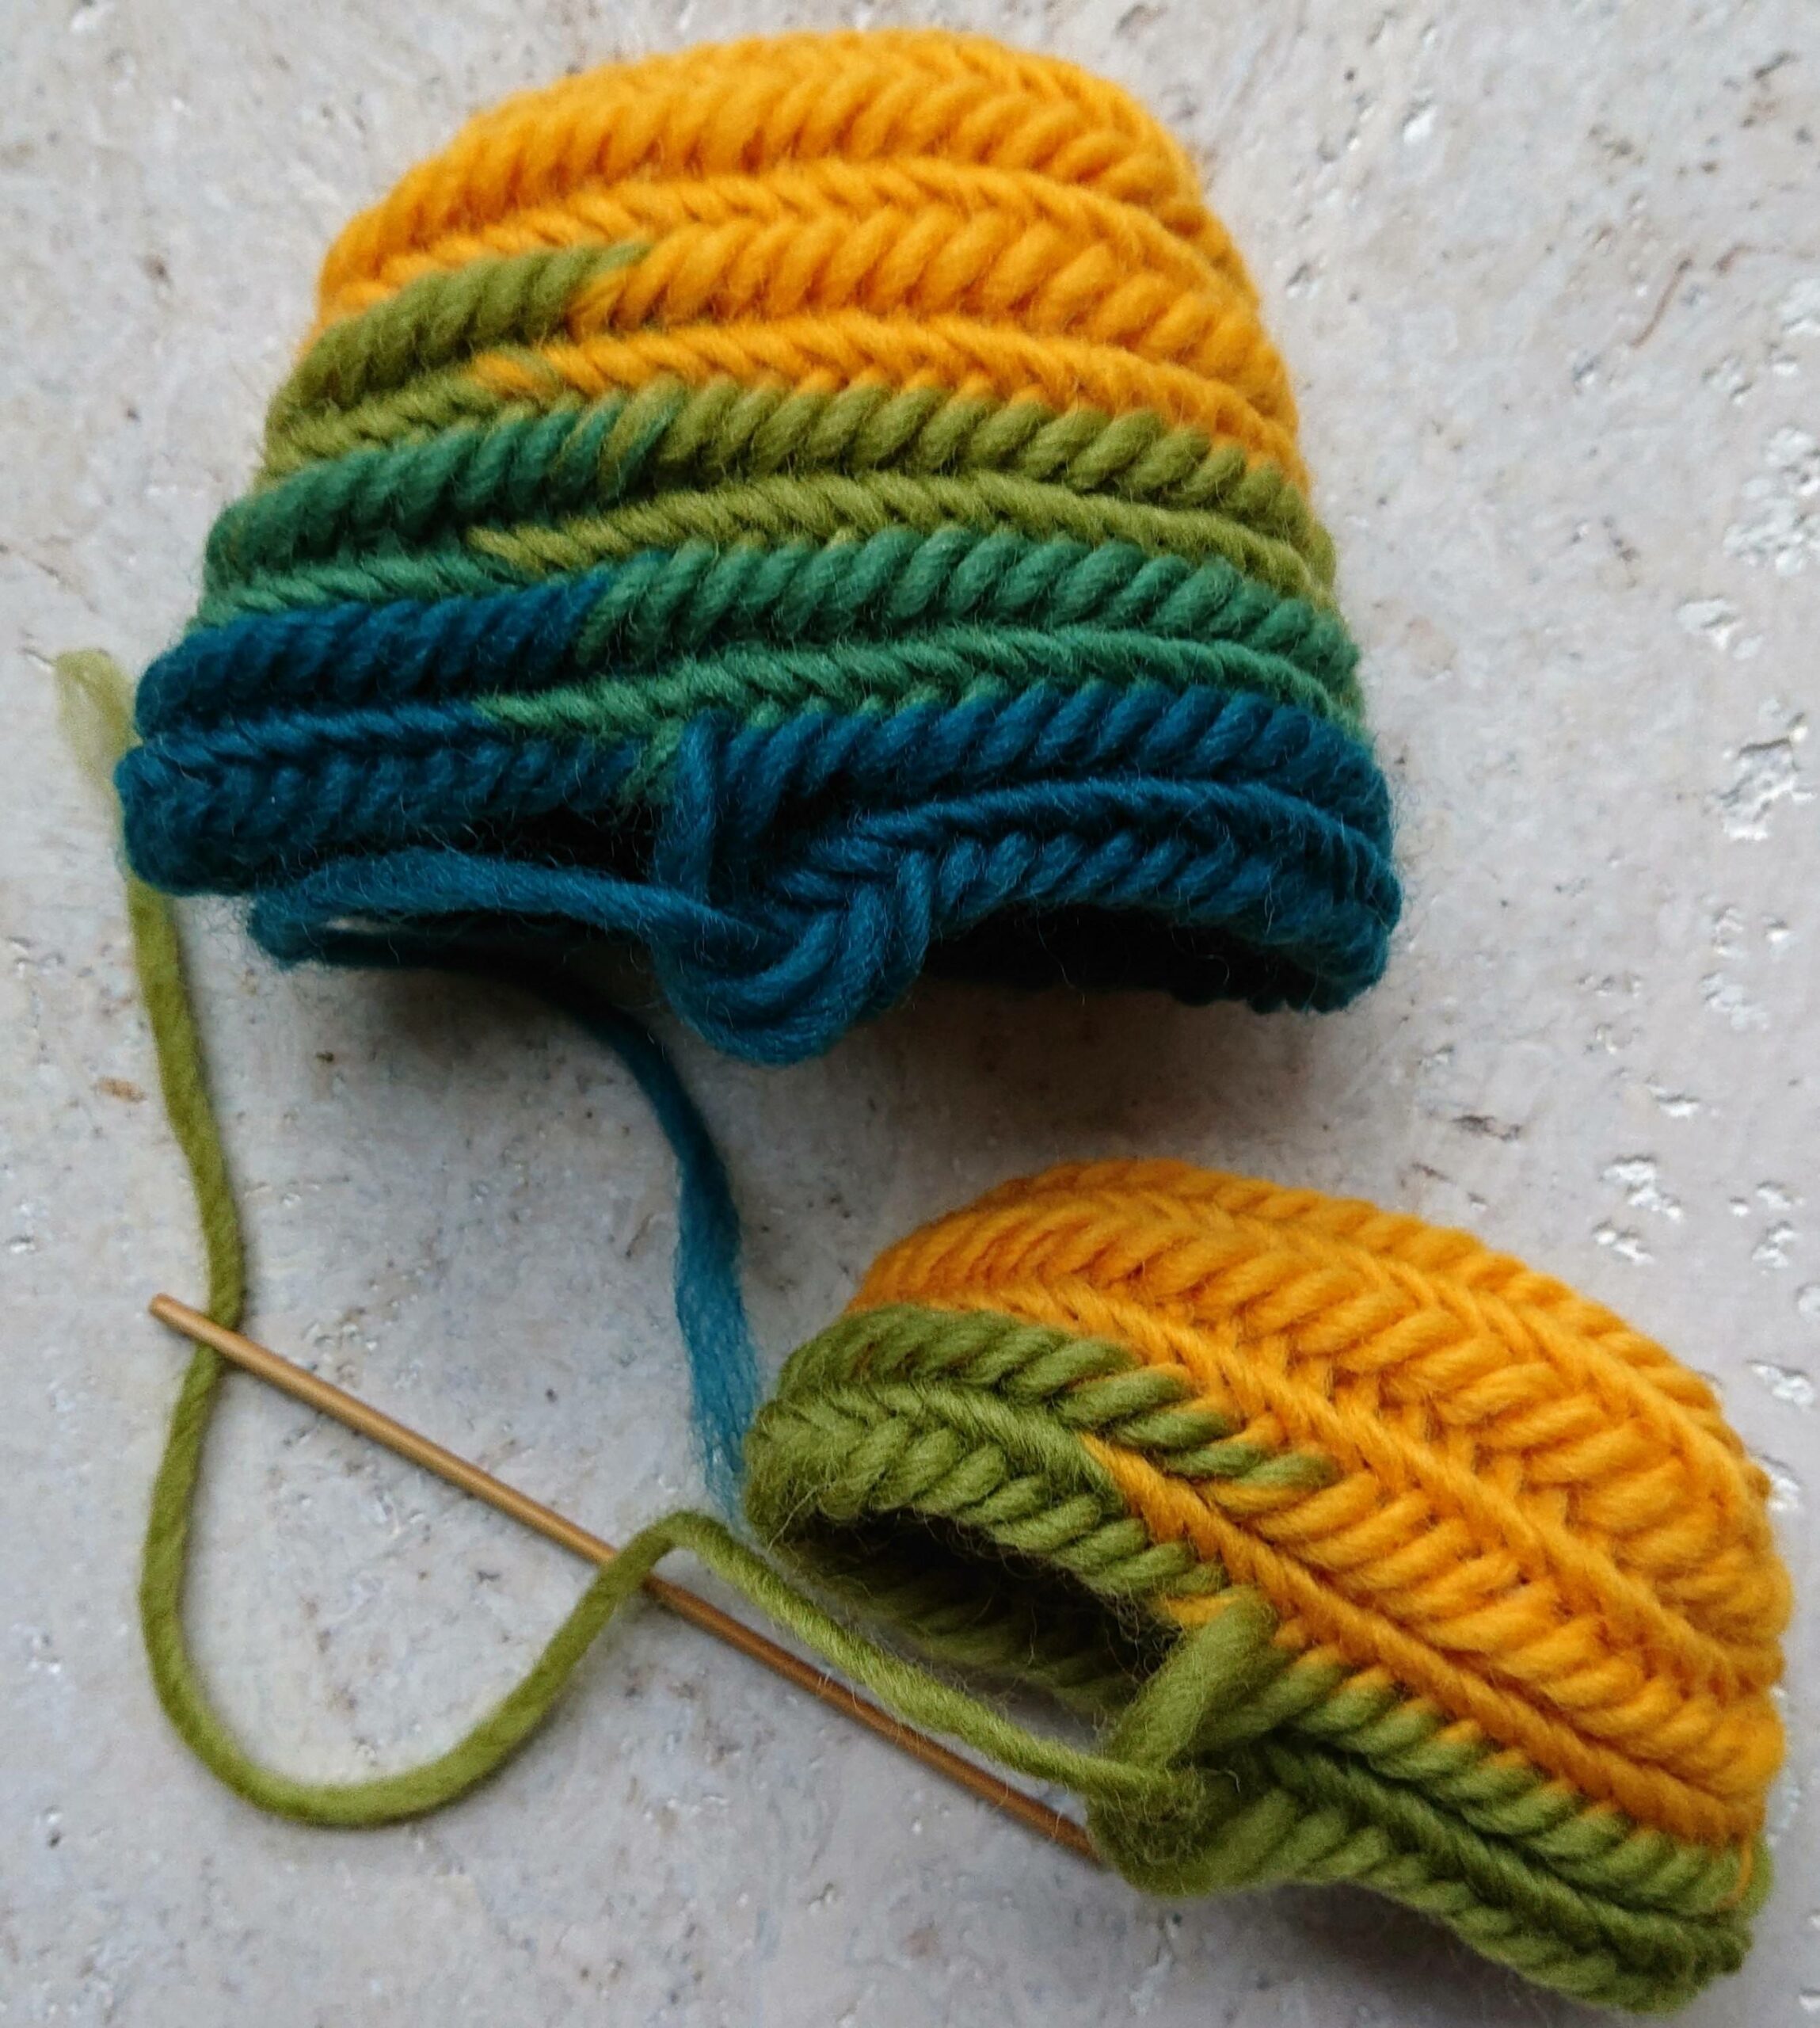
You regularly try on your sock if it fits.
With the blue row you stop with increasing on both sides because you have reached the widest point of your foot.
The length of the foot section is half plus 1 or 2 needle tying rows, this is an approximate ratio. In total I am going to tie 12 rows and then I will make the finger of the foot.
Just a measuring moment.
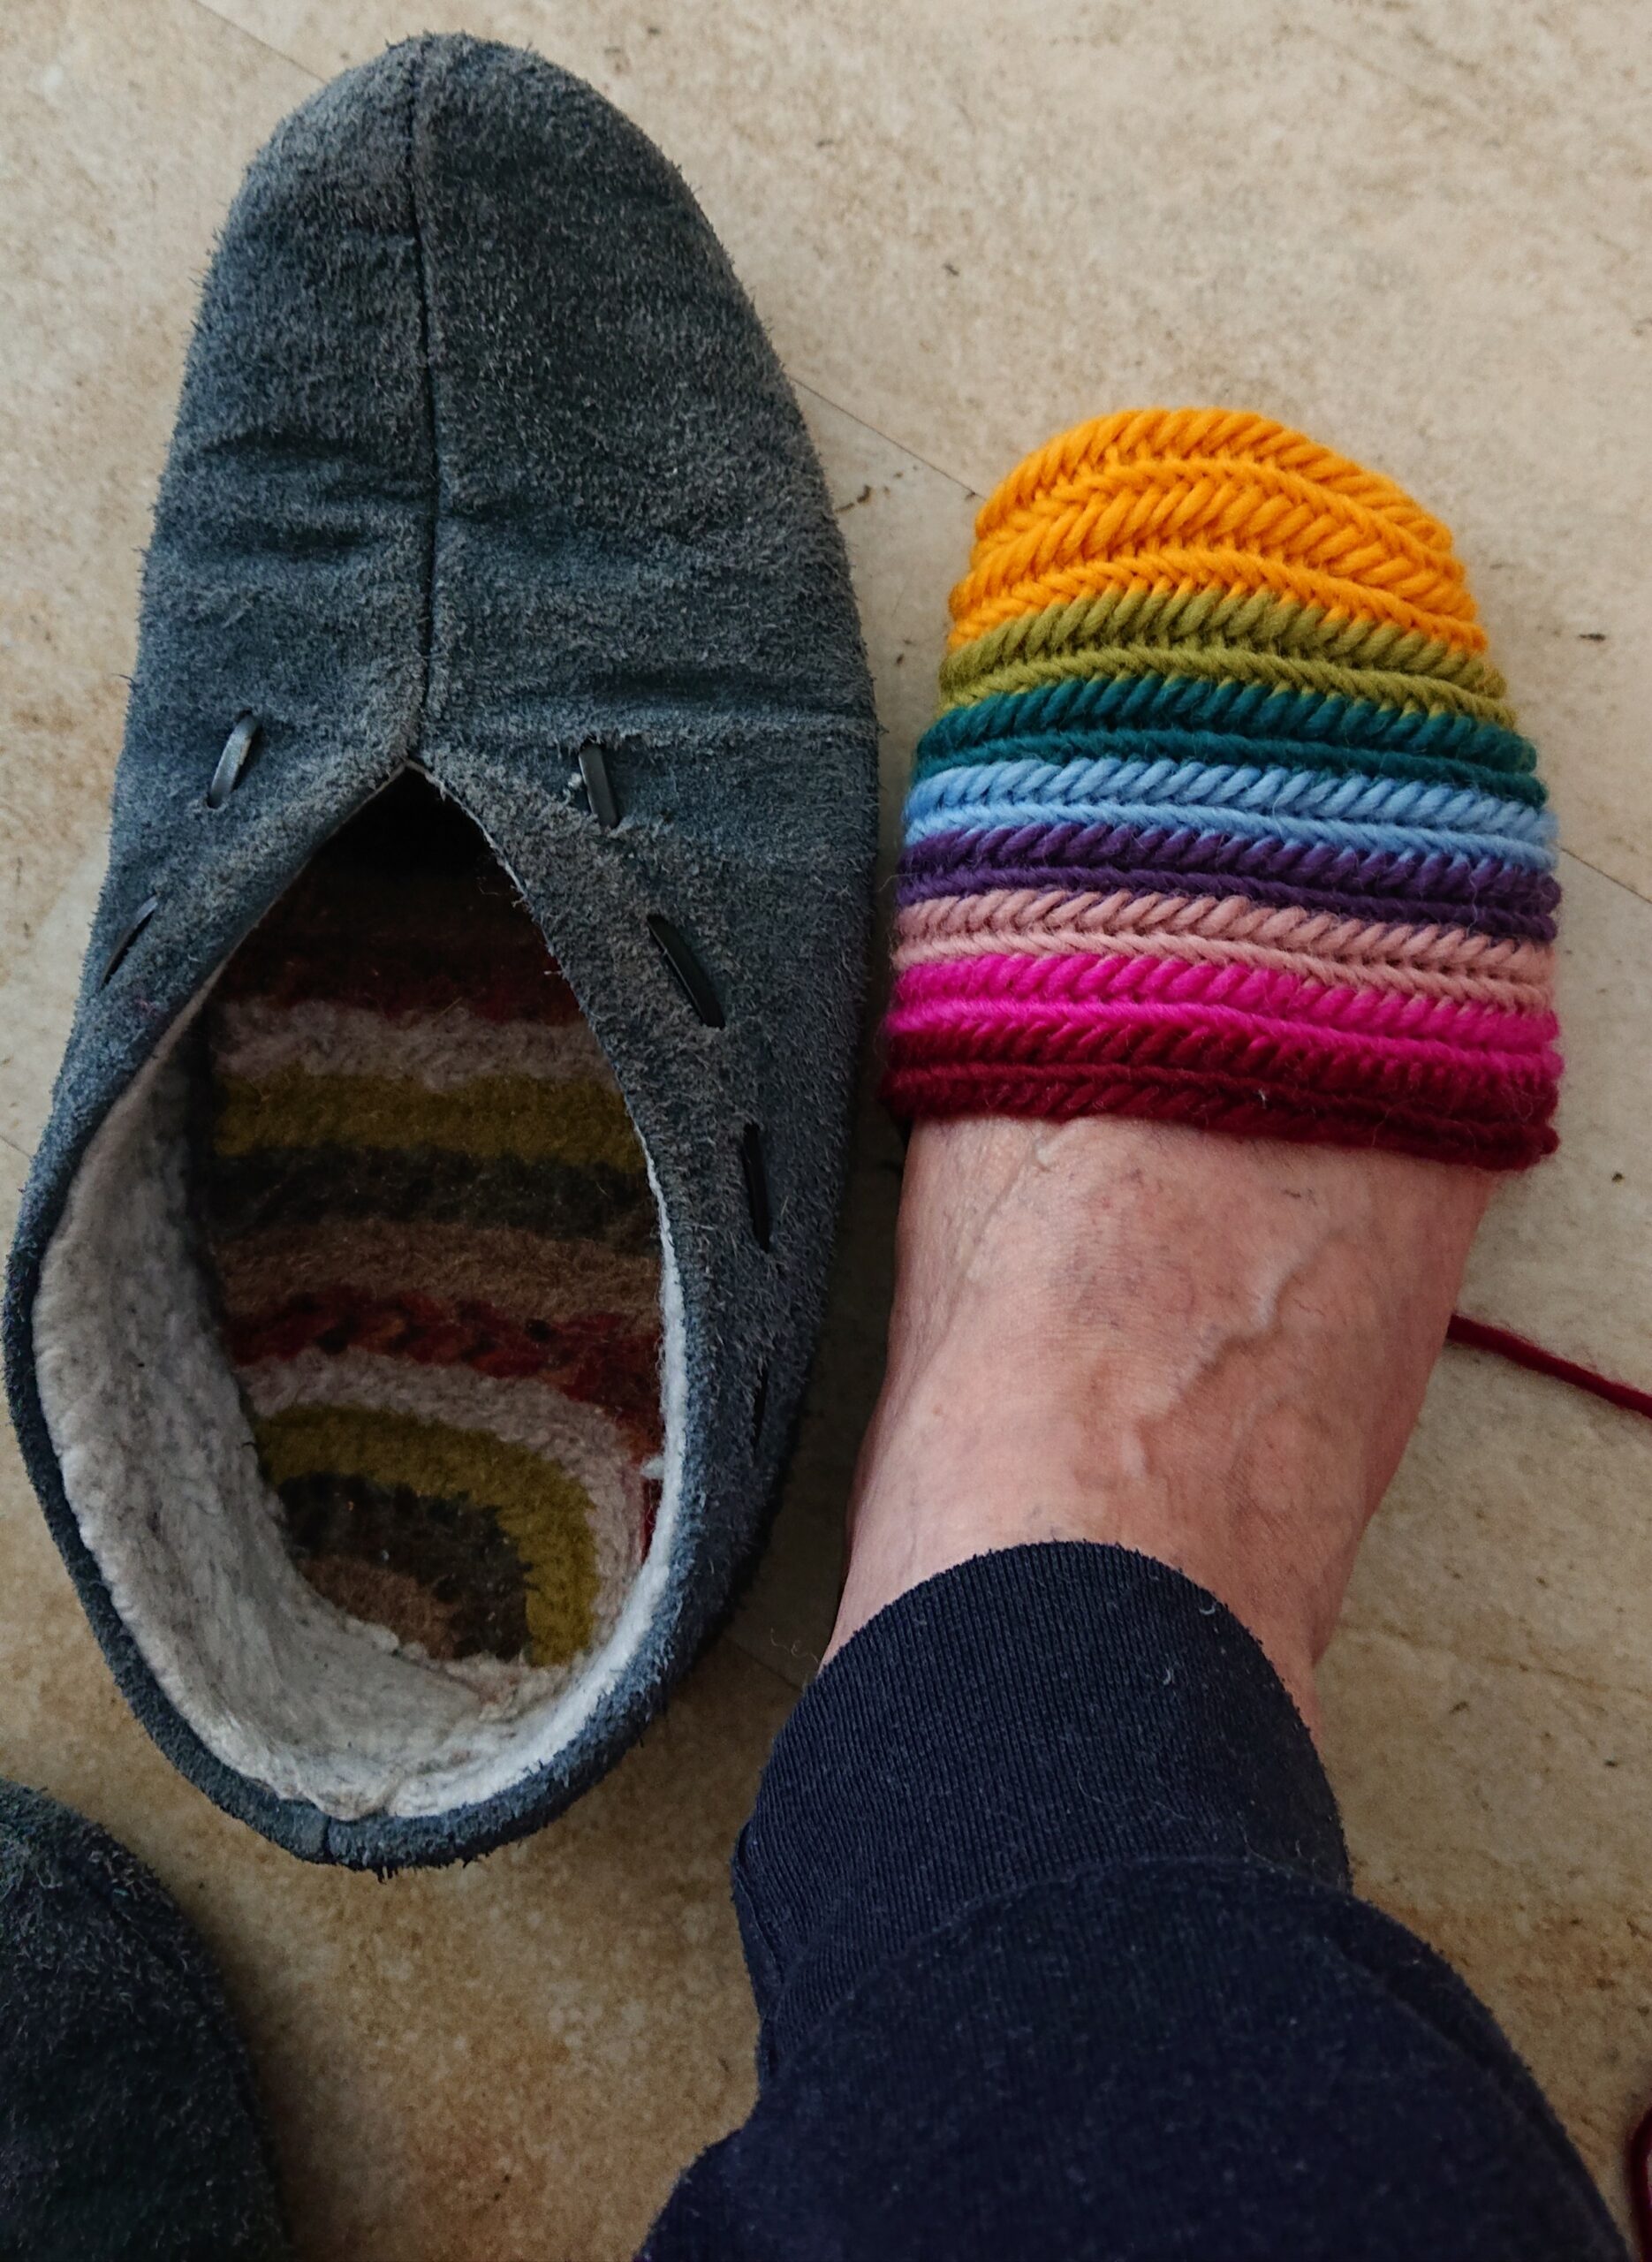
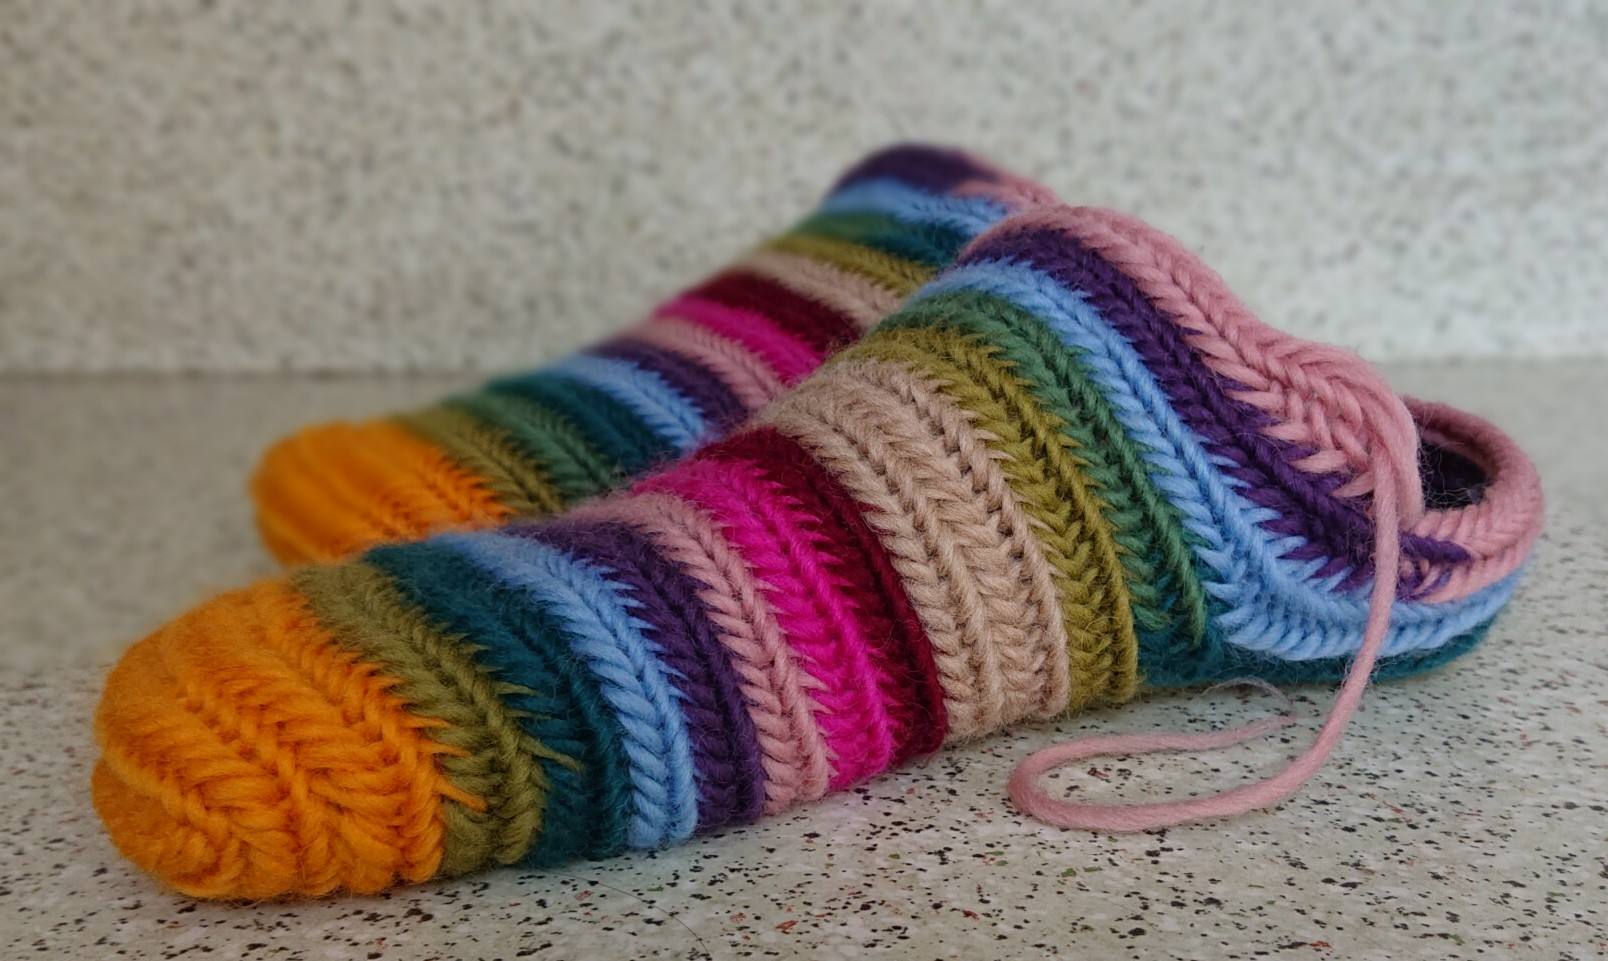
The bottom of my shoe was a failed sock that was too big after felting and now serves as a 1 cm thick insole. Nice and warm and soft.
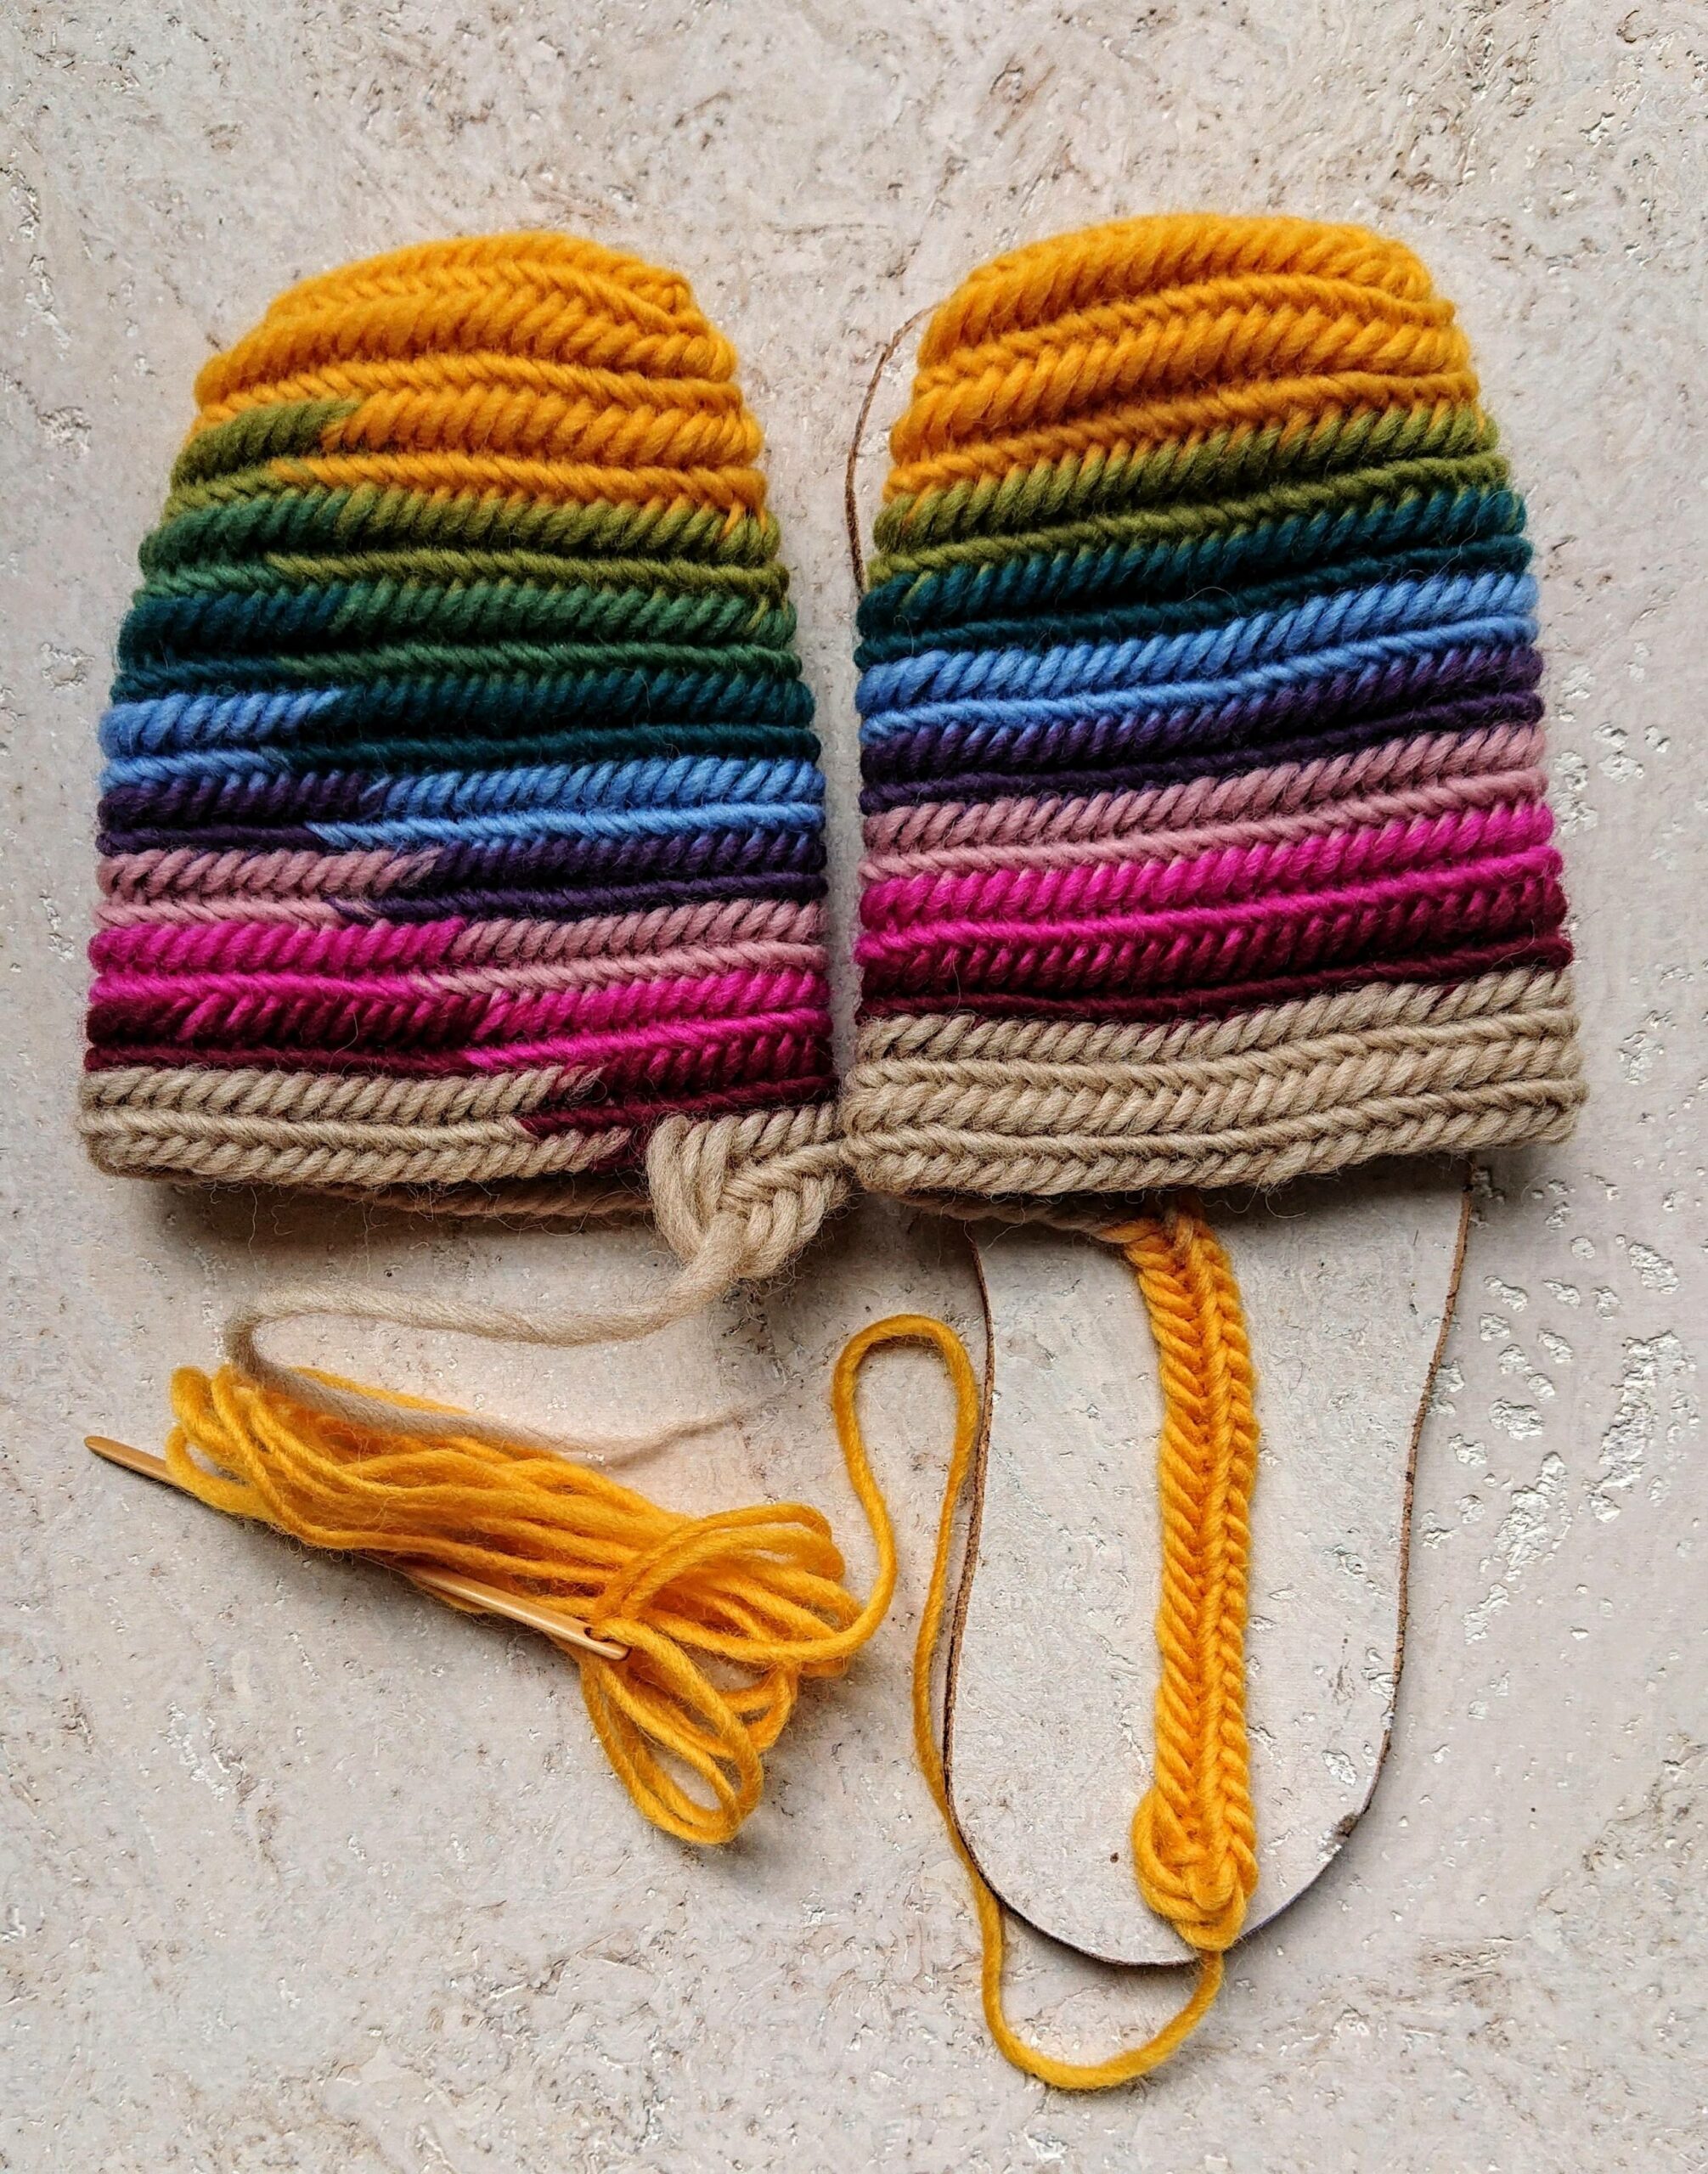
Here you see a single row of stitches they call finger.

The finger on the left sock is shorter because you made a curf and that is precies what we want because you are going to increase at the top of the finger.
The finger is tied around the needle and fastened again to the foot part and then immediately decrease 3 stitches and continue until you reach the other corner and there you will also decrease 3 stitches.
Then you come to the top of the finger and increase 5 stitches.
In the following rounds you will decrease 5 stitches in the corners.
When you are back at the top of the finger, you will increase 3 stitches and in the corners decrease 5 stitches.
Regularly try on your sock and needlebind as described above.
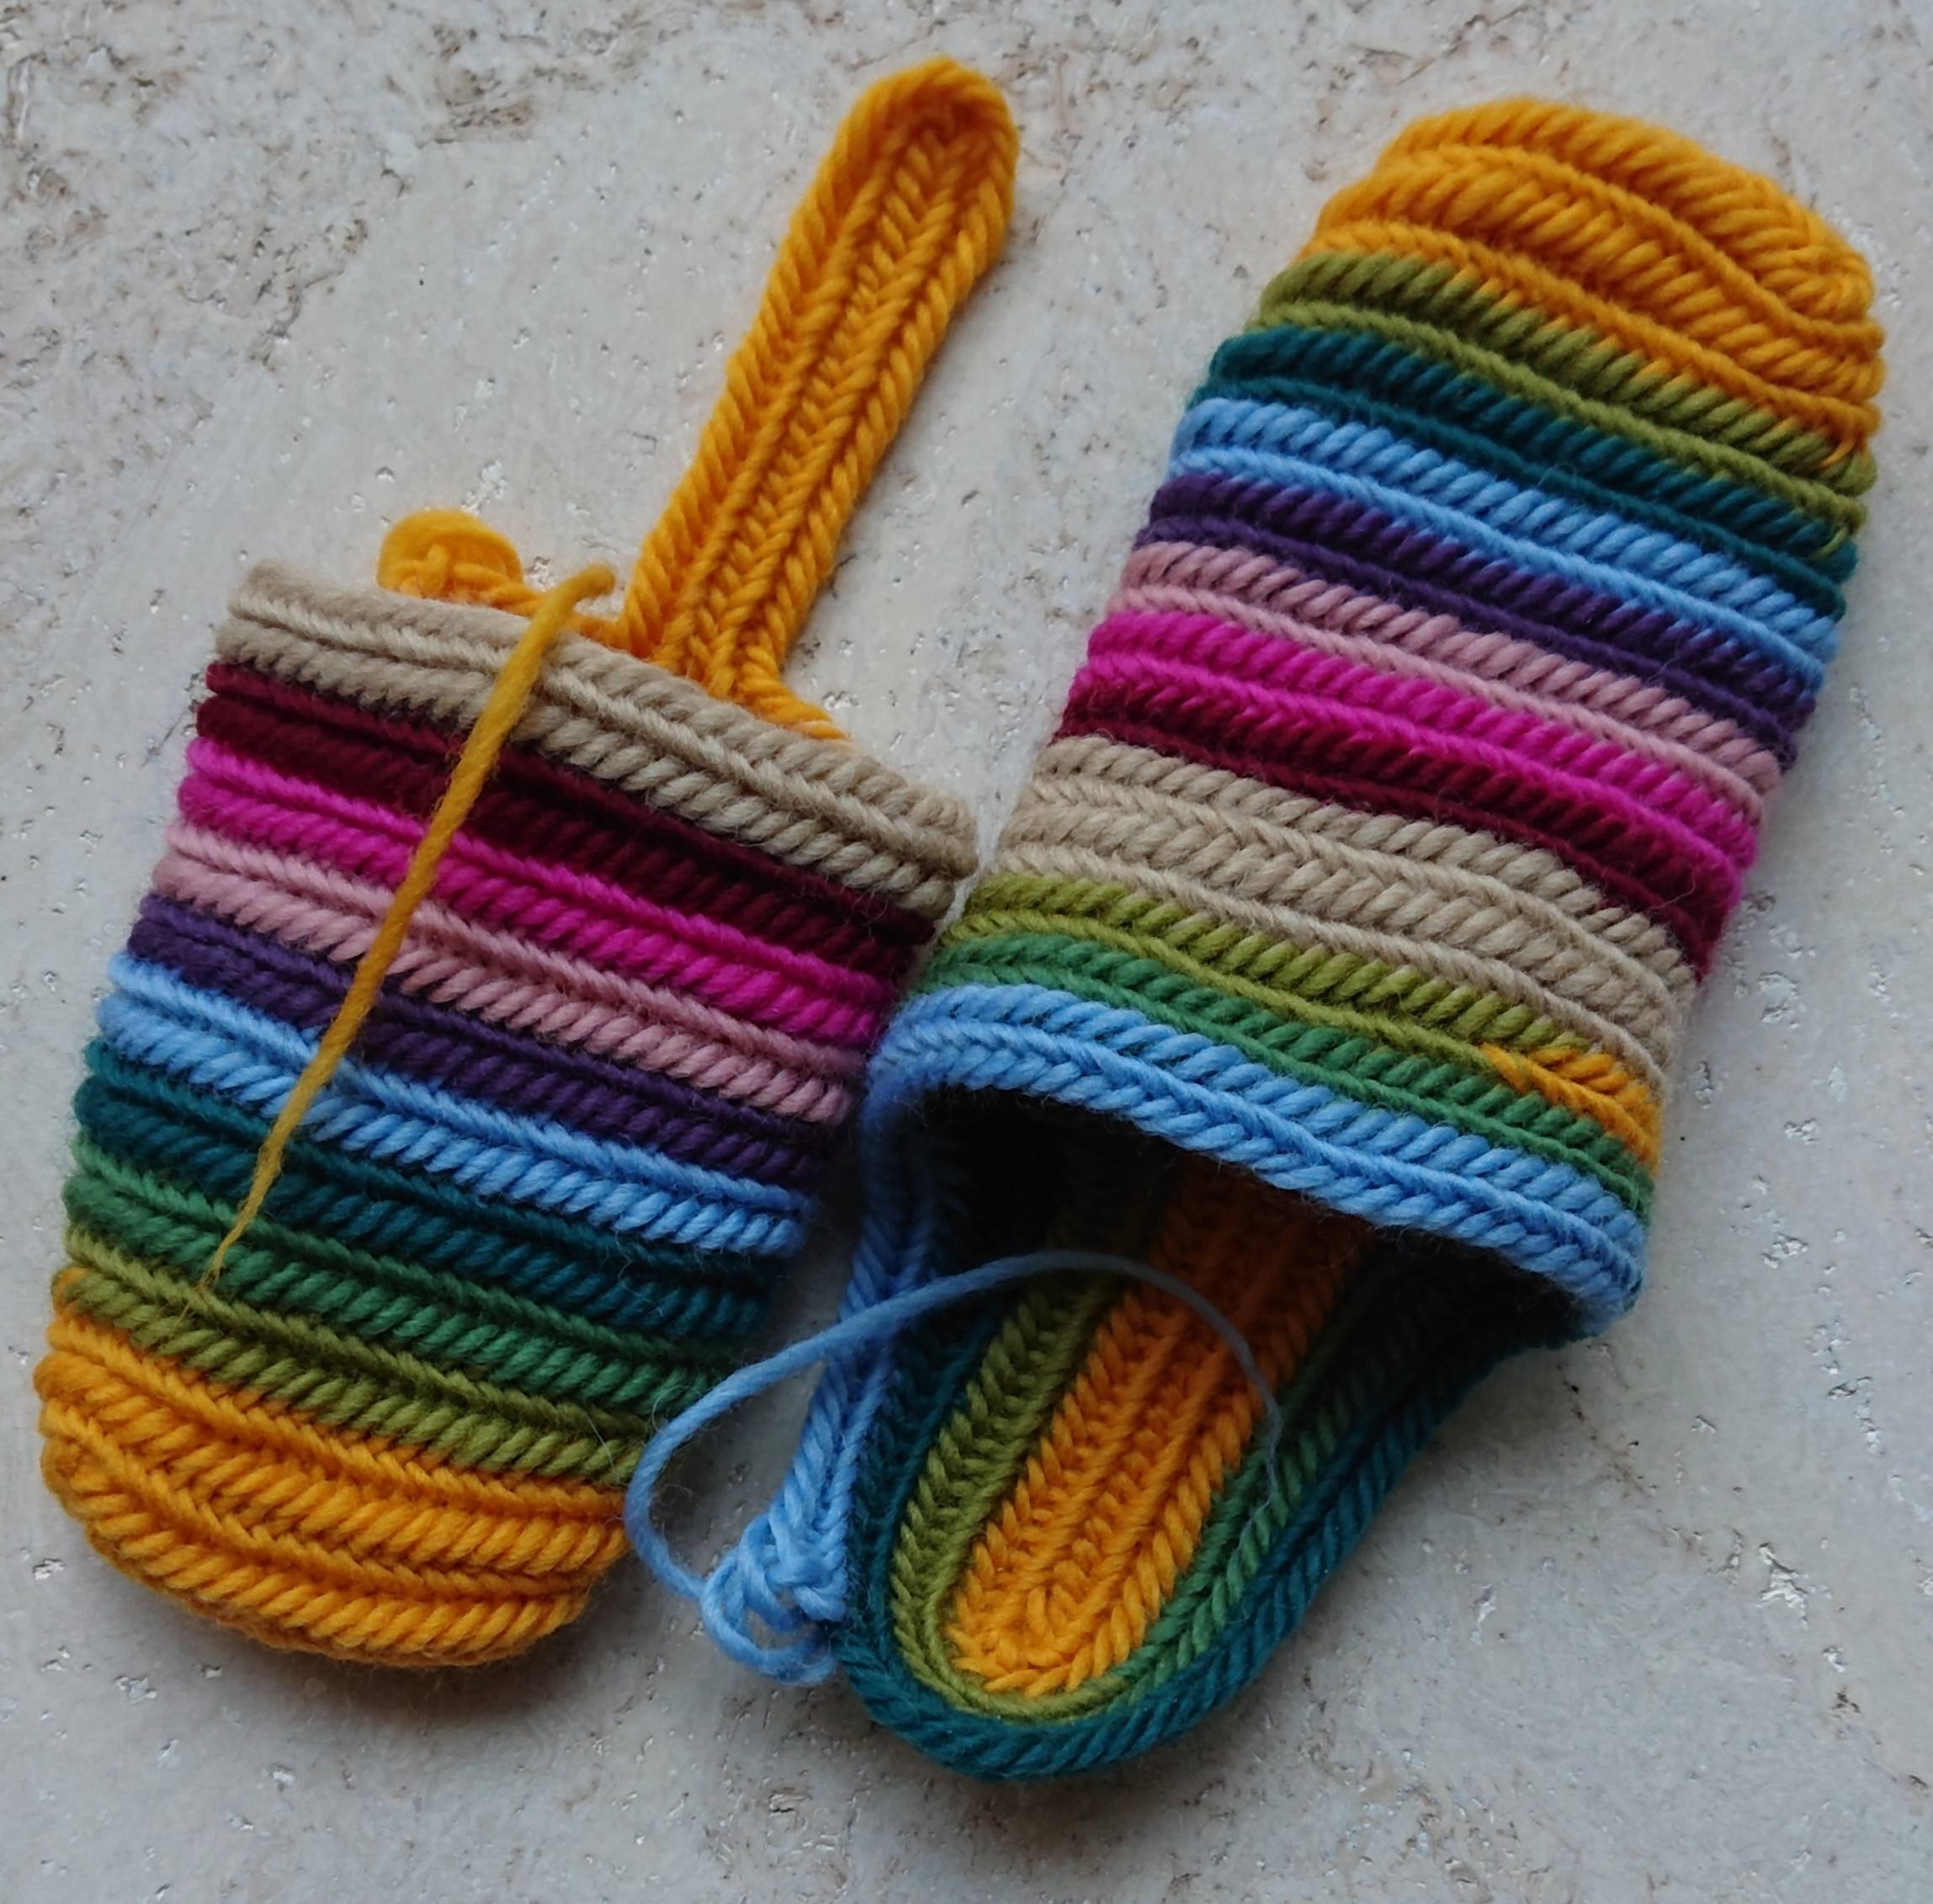
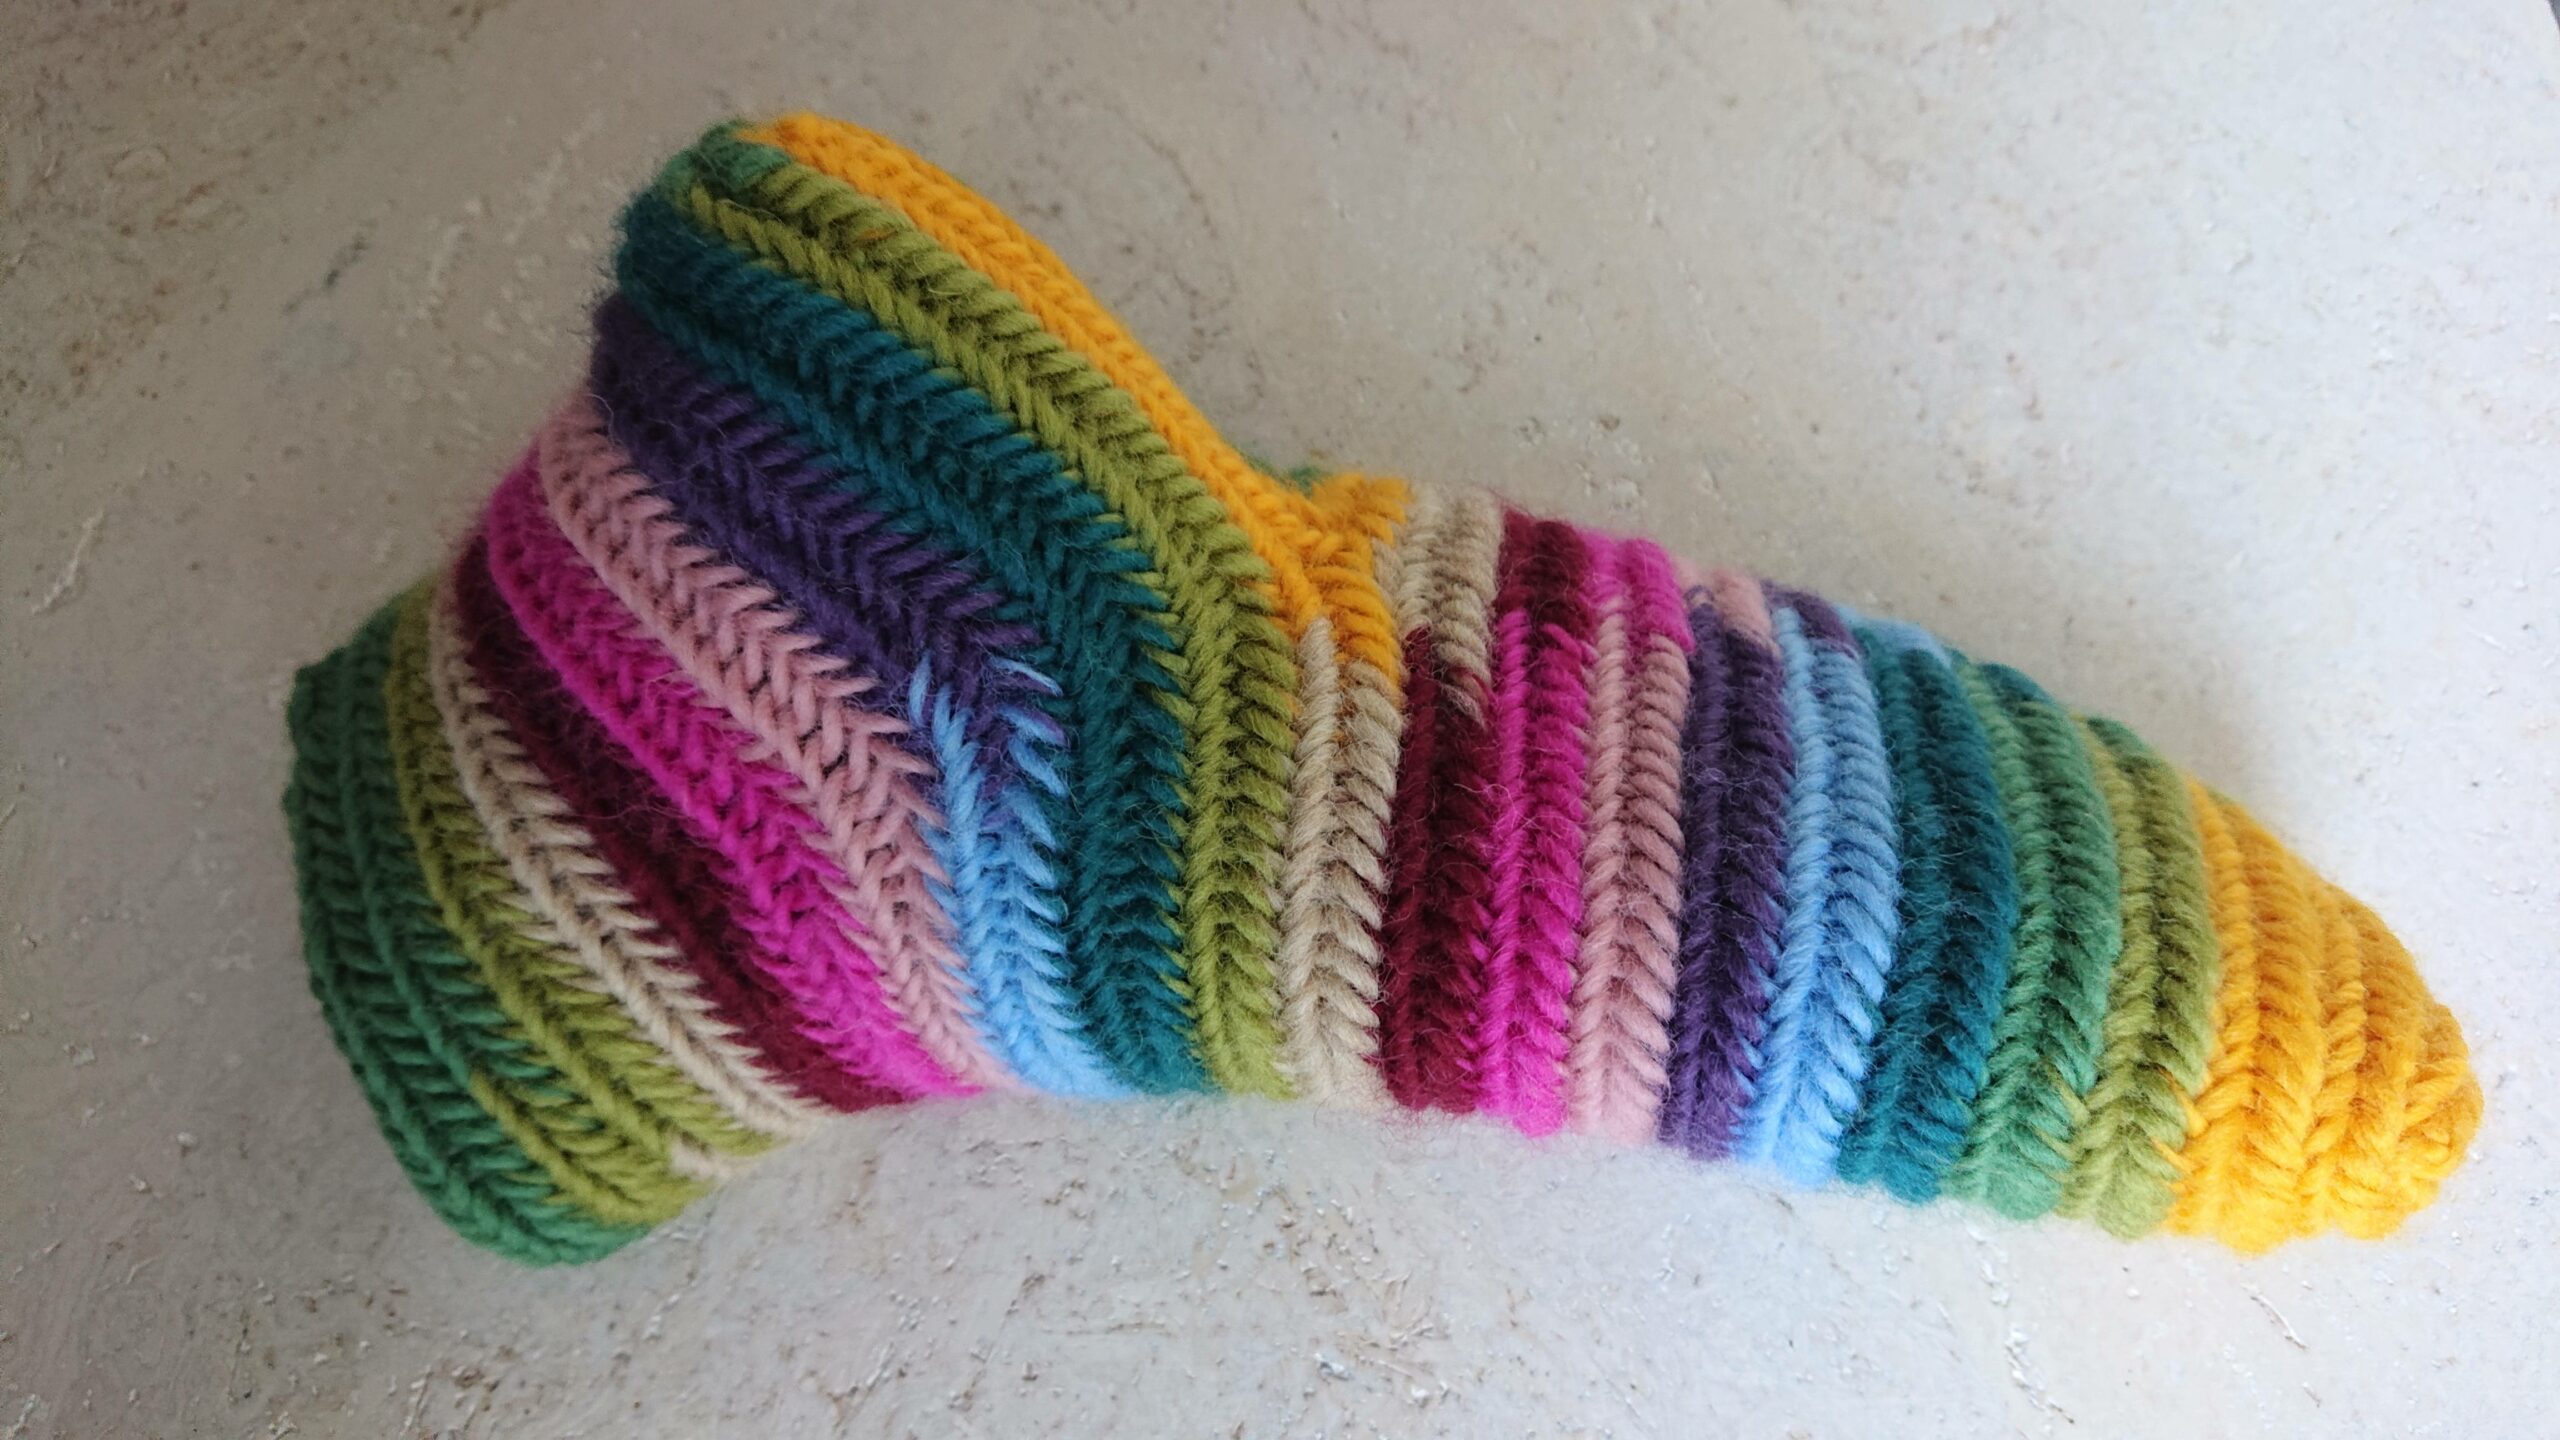
You can already see a bit how the sock is created, it now it looks like a slipper.
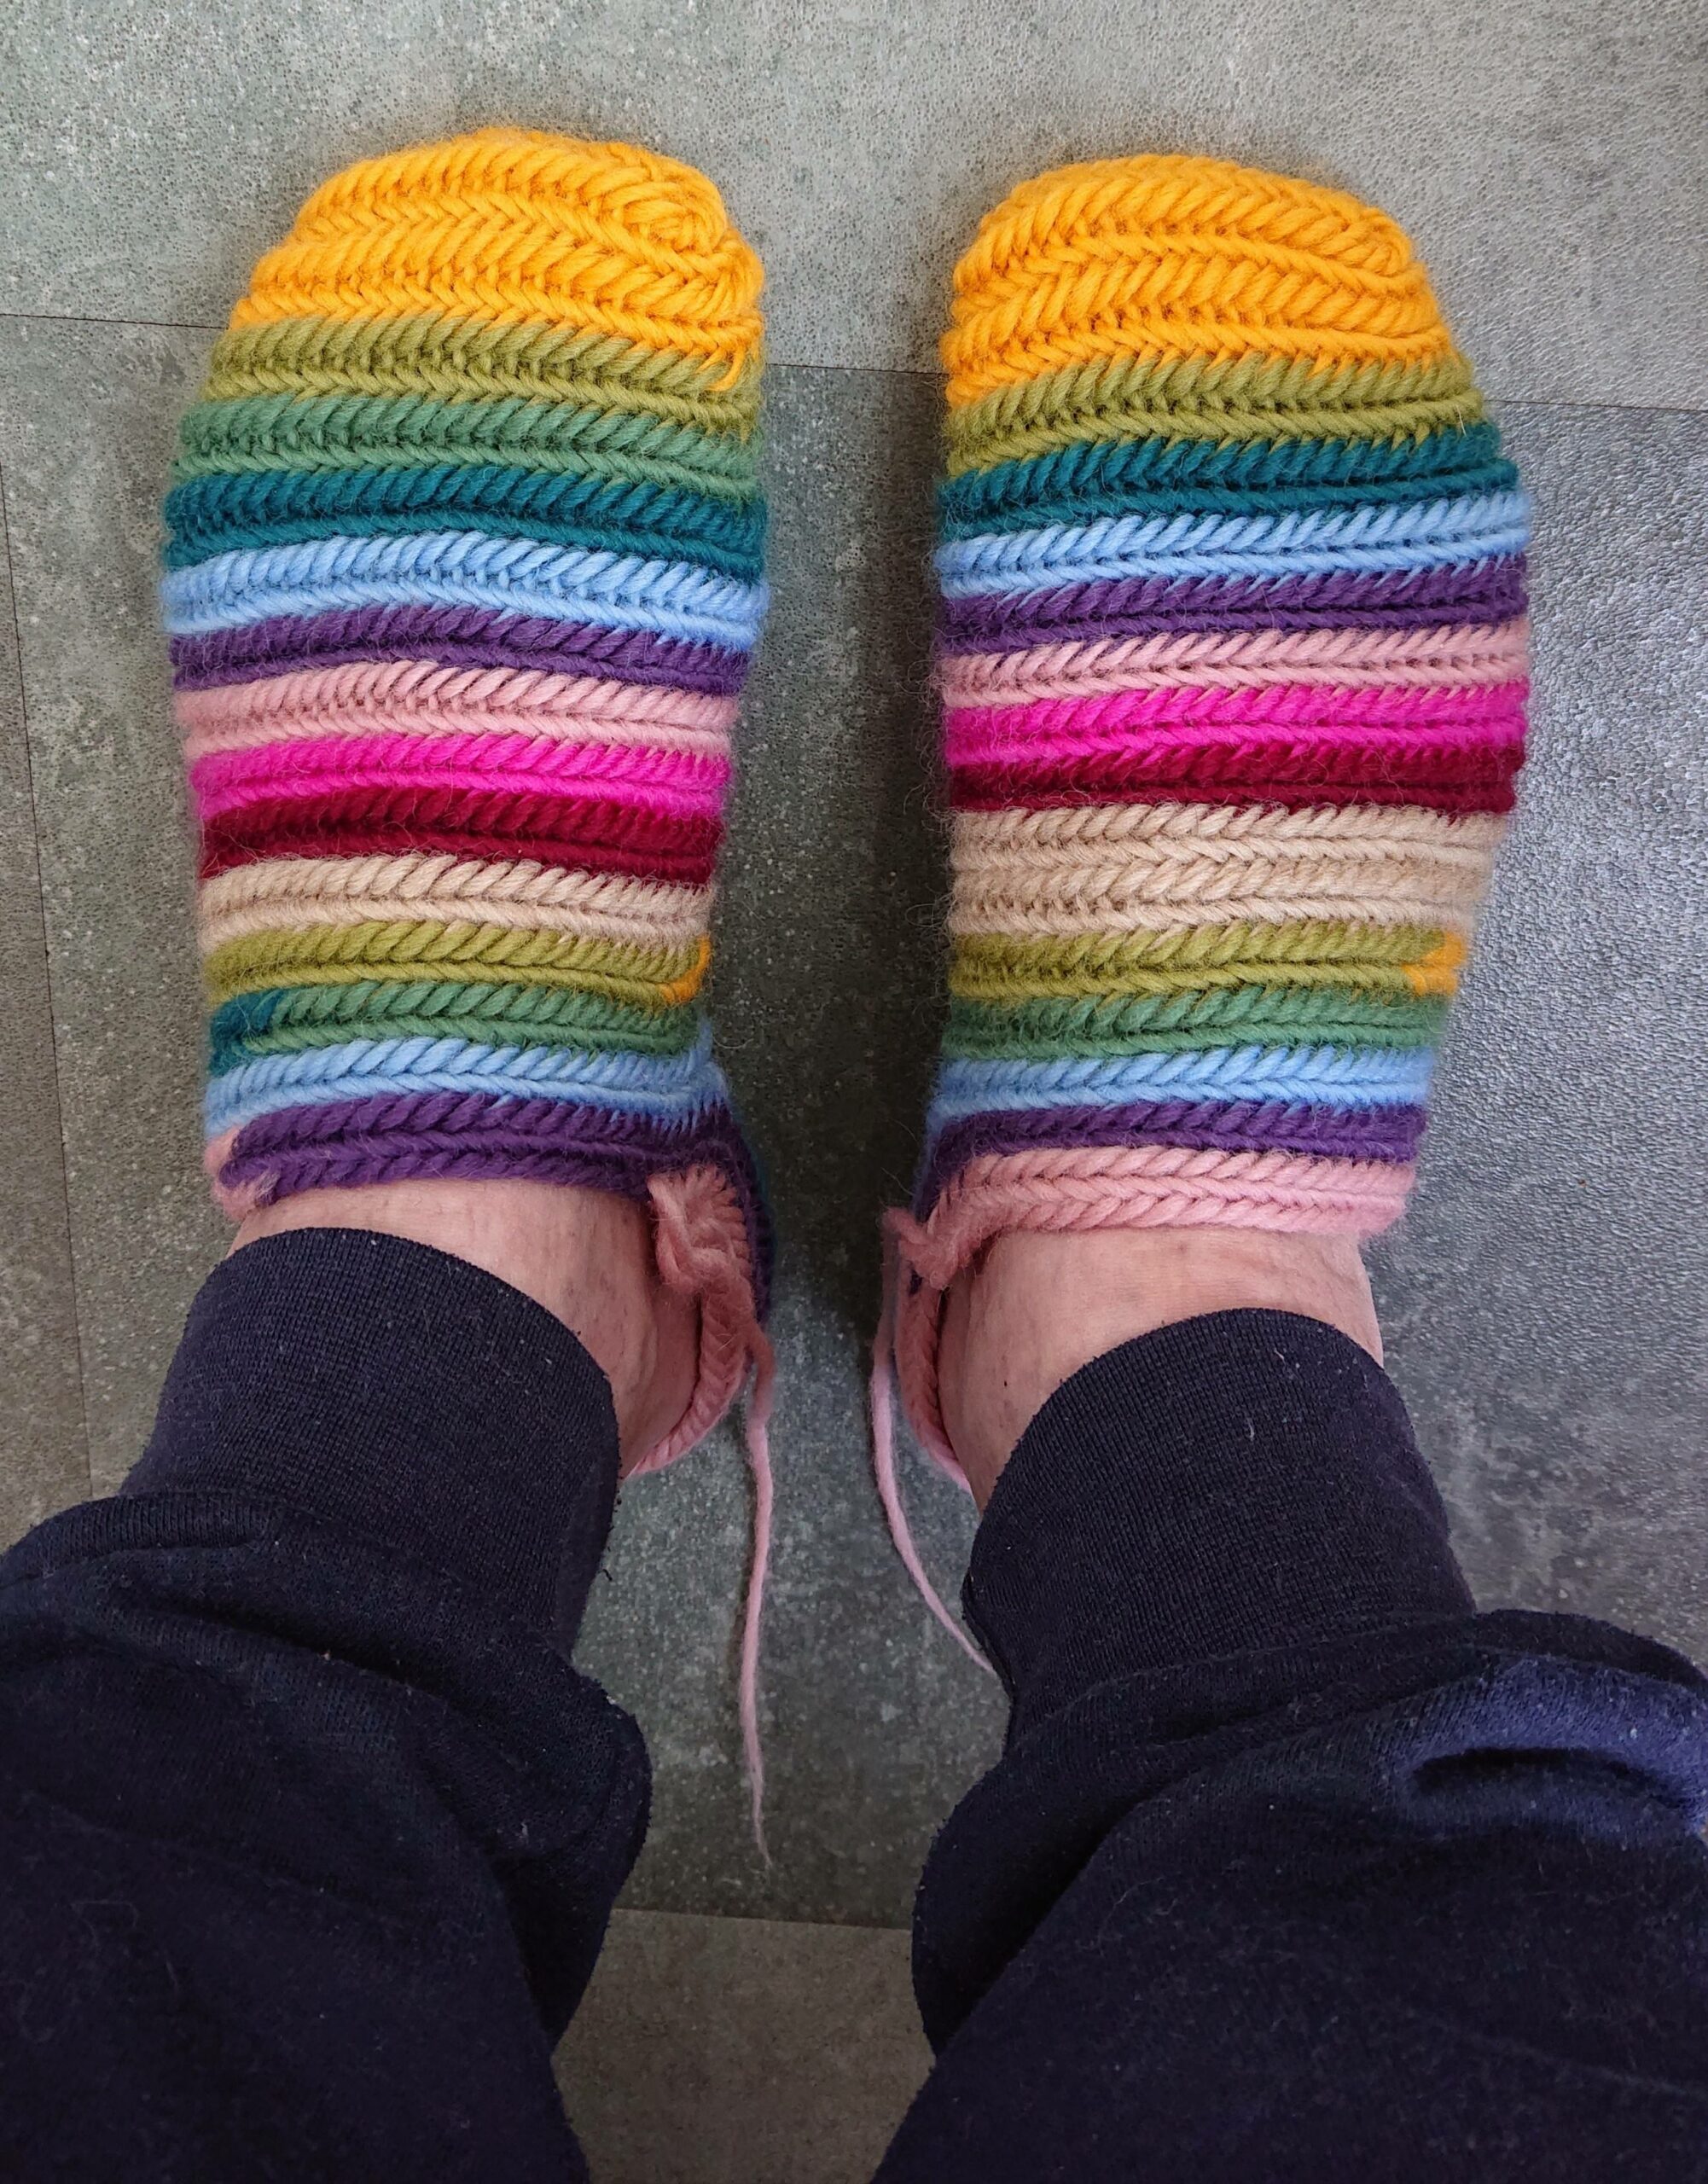
After several rows of needlebinding and fitting I passed the ankle and then needlebinding without decreasing.

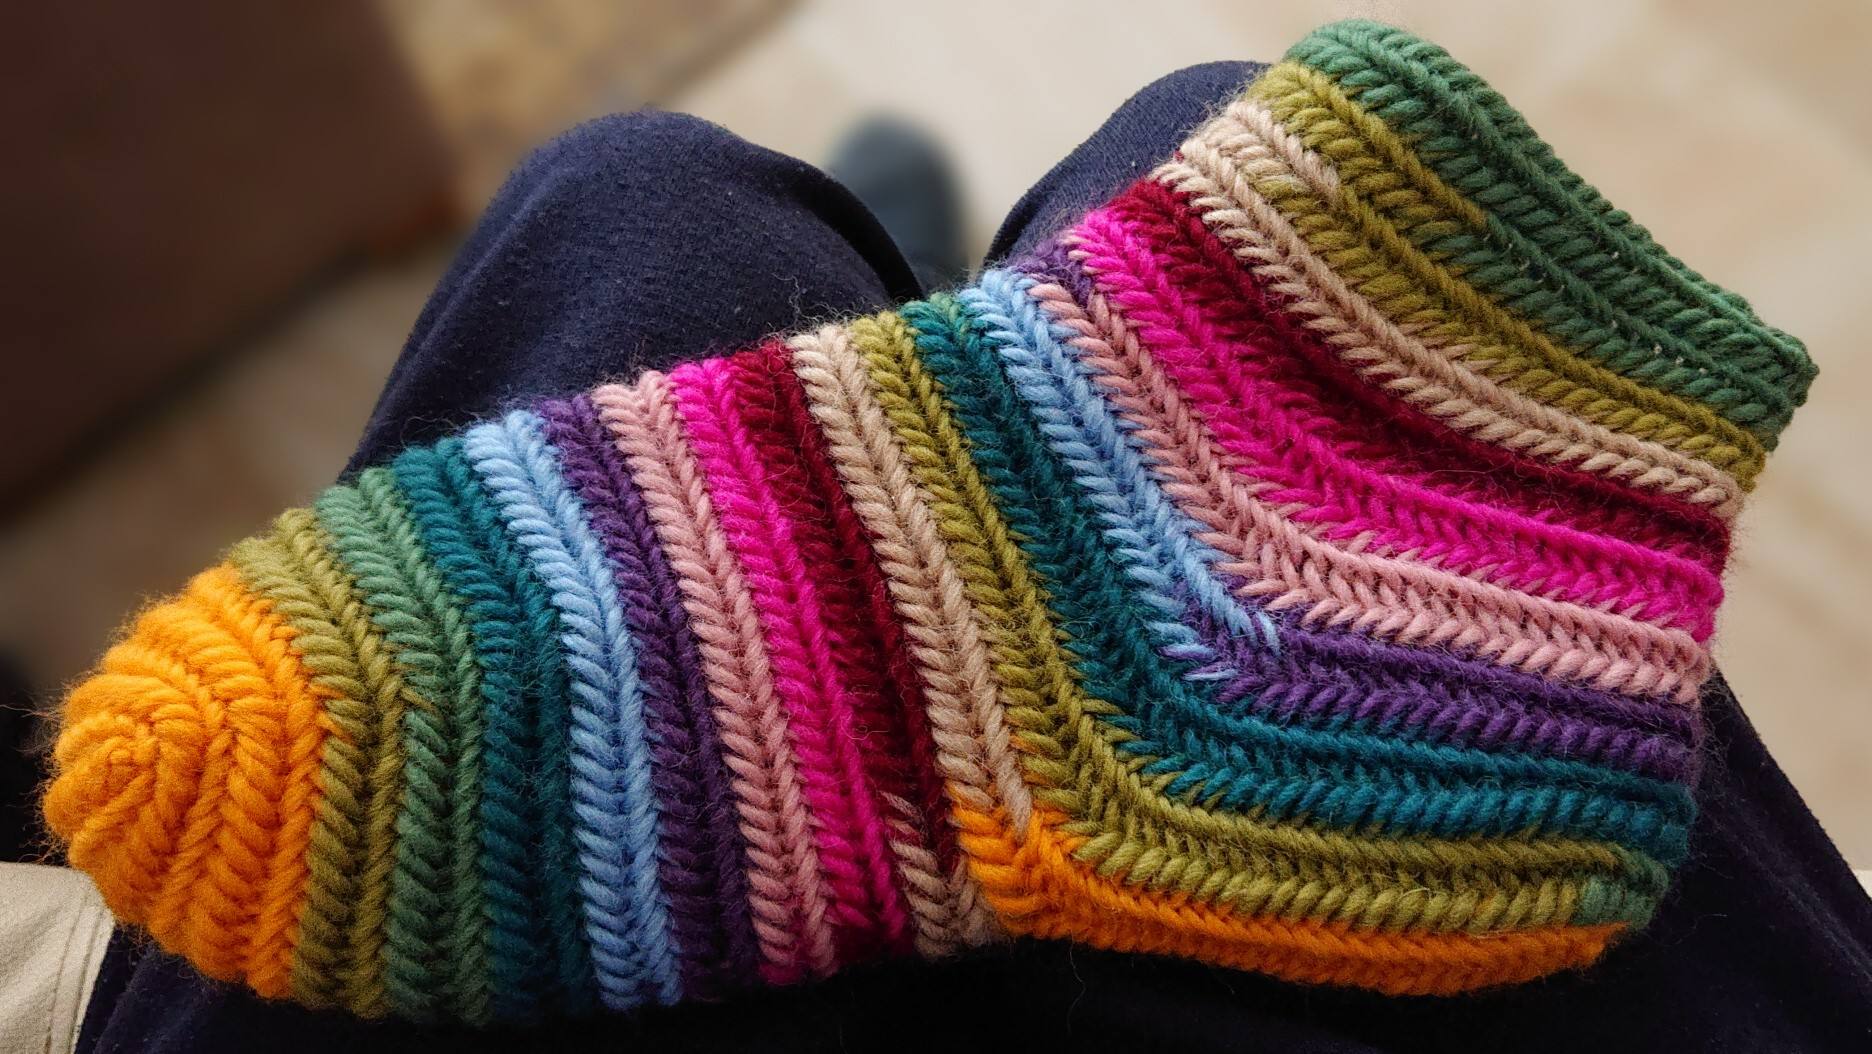
You can choose how long you want to make the sock.

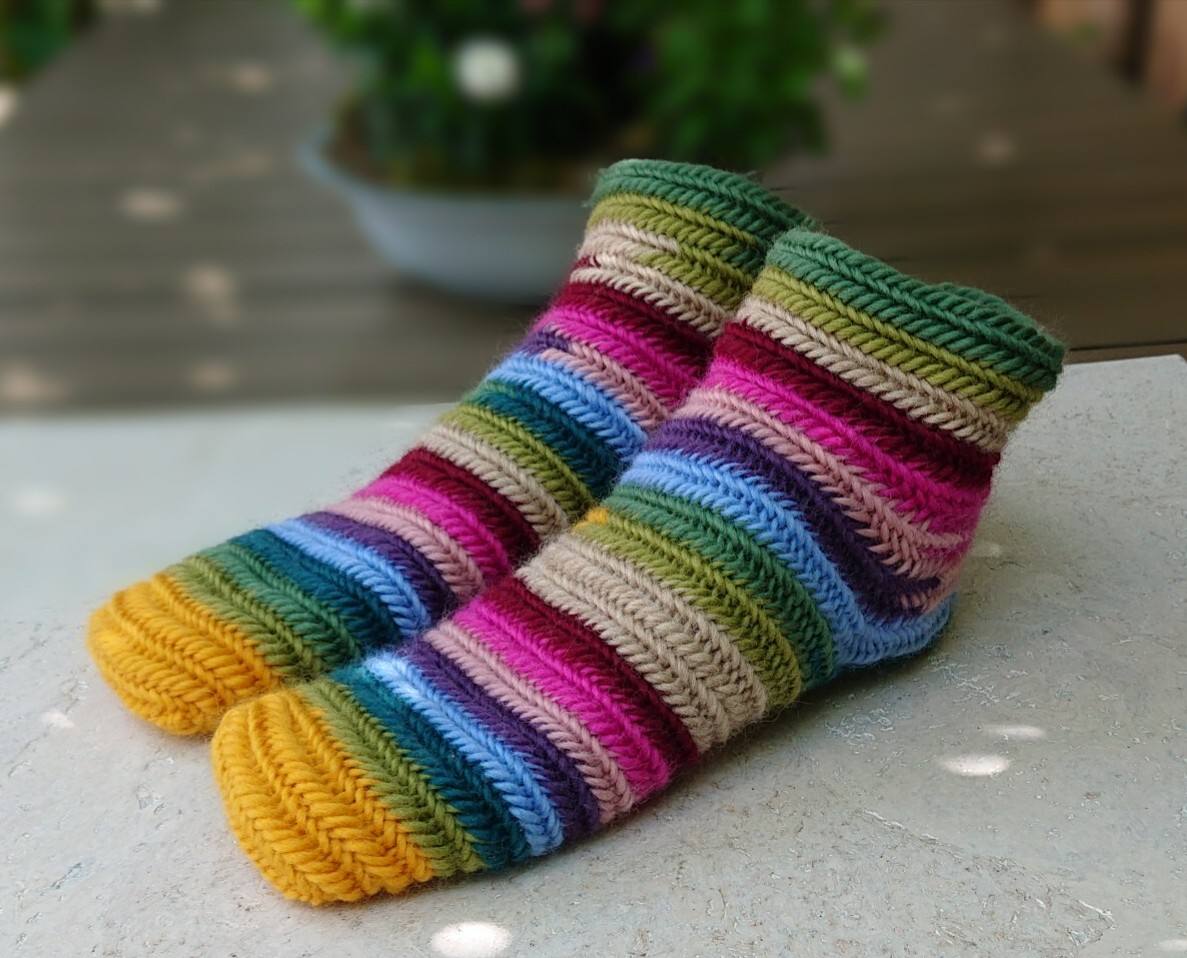
This is my 39th YouTube video about needlebinding socks / slippers at 18 januari 2024.
Good luck and excitement with needlebinding.